How to Color a Coloring Page Online in 2026

Ryan Bennett • November 2, 2026
Learn how to color a coloring page online with free browser tools, palette and shading tips, and print-ready PNG sizes for Letter and A4.
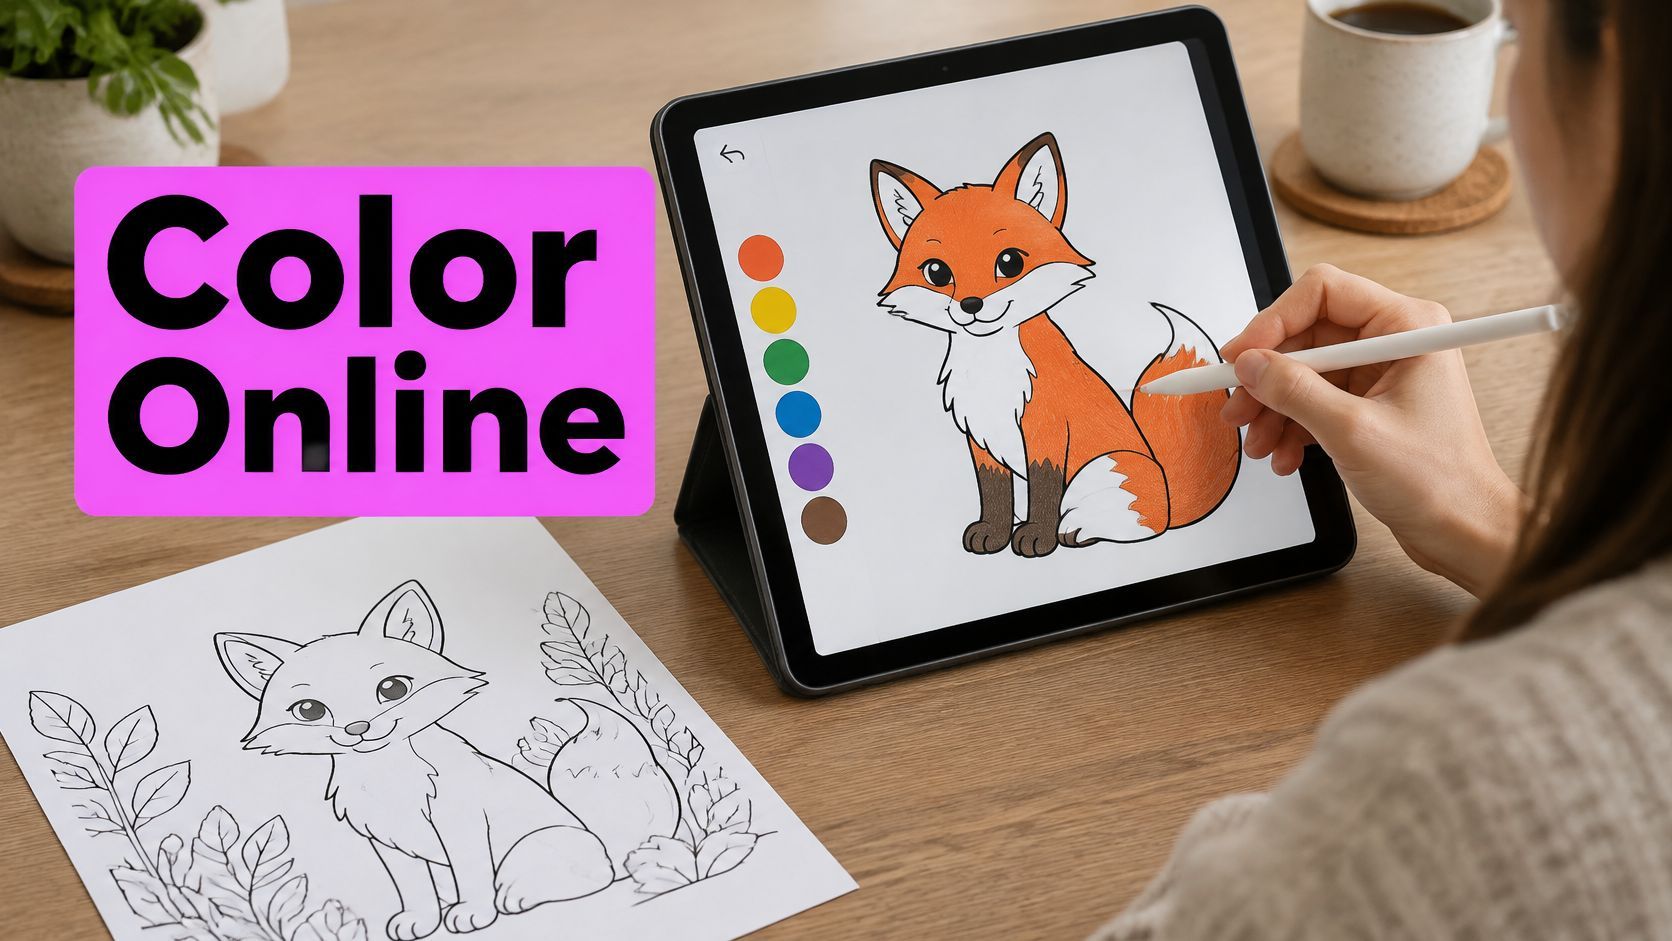
It's a weeknight, you've got a line drawing on your phone or laptop, and someone wants it colored before bedtime, class tomorrow, or a listing deadline tonight. You don't need a tour of design software. You need to know how to color a coloring page online and walk away with a file you can reopen, share, or print tomorrow.
That's the test I'll use throughout. A pretty fill that leaks past the outline, disappears when you close the tab, or prints soft isn't finished. The saved PNG at the right print size is the finish.
Choose the Right Online Coloring Method
Start with what you're holding, not with the tool menu. Closed black shapes on white suit a different method than loose botanical lines, a photo, or a page for a child who's tired of screens.
Four ways to color a page online
| Method | Best for | What you need | Result you keep |
|---|---|---|---|
| Click-to-fill in the browser | Closed line art with dark strokes | Mouse, finger, or stylus | Flat-color PNG |
| Freehand paint canvas | Open lines and marker-style blending | Stylus helps; brush and undo | Painted PNG |
| AI color suggestion | Photo, sketch, or uncolored line art | Upload plus a short prompt you can edit | Recolored page you refine |
| Print, then color on paper | Motor limits, shared devices, or screen fatigue | Printer and a 200-300 DPI file | Paper page, optional scan later |
Click-to-fill is fastest when every shape is fully closed. One tap fills a region, so it works well for younger kids and bold classroom pages. It fails the moment a petal is left open, because the color runs into the next shape.
Freehand paint handles those open lines and lets you layer marker-style strokes. A cheap stylus gives you far more control than a fingertip, especially around eyes and whiskers. If you're working on a tablet, these iPad illustration app recommendations are a useful shortlist for paint-style work beyond the browser.
Printing first isn't a fallback for people who can't manage the software. A higher-education study on digital coloring describes digital coloring as affordable, portable, and potentially useful for wellbeing, while recommending a balance between online and offline delivery. That same source notes research on a digital counting-coloring app found no improvement in counting after one training session, so don't sell an automatic fill to a parent as a lesson. It's a calm, creative activity. Sometimes paper serves motor control, sharing, and tired eyes better.
Before you open a tab, confirm five things. You've got a PNG or SVG, a white background, a working zoom, an undo button, and a download that doesn't require an account. Pick one row from the table, open that page full screen, and start there.
Pick a Palette and Add Light Shading
Most pages go wrong because people pick twelve colors before they've filled one shape. Start with three to five colors and give each one a job. You need one light, one mid tone, one dark, and a neutral for the background.
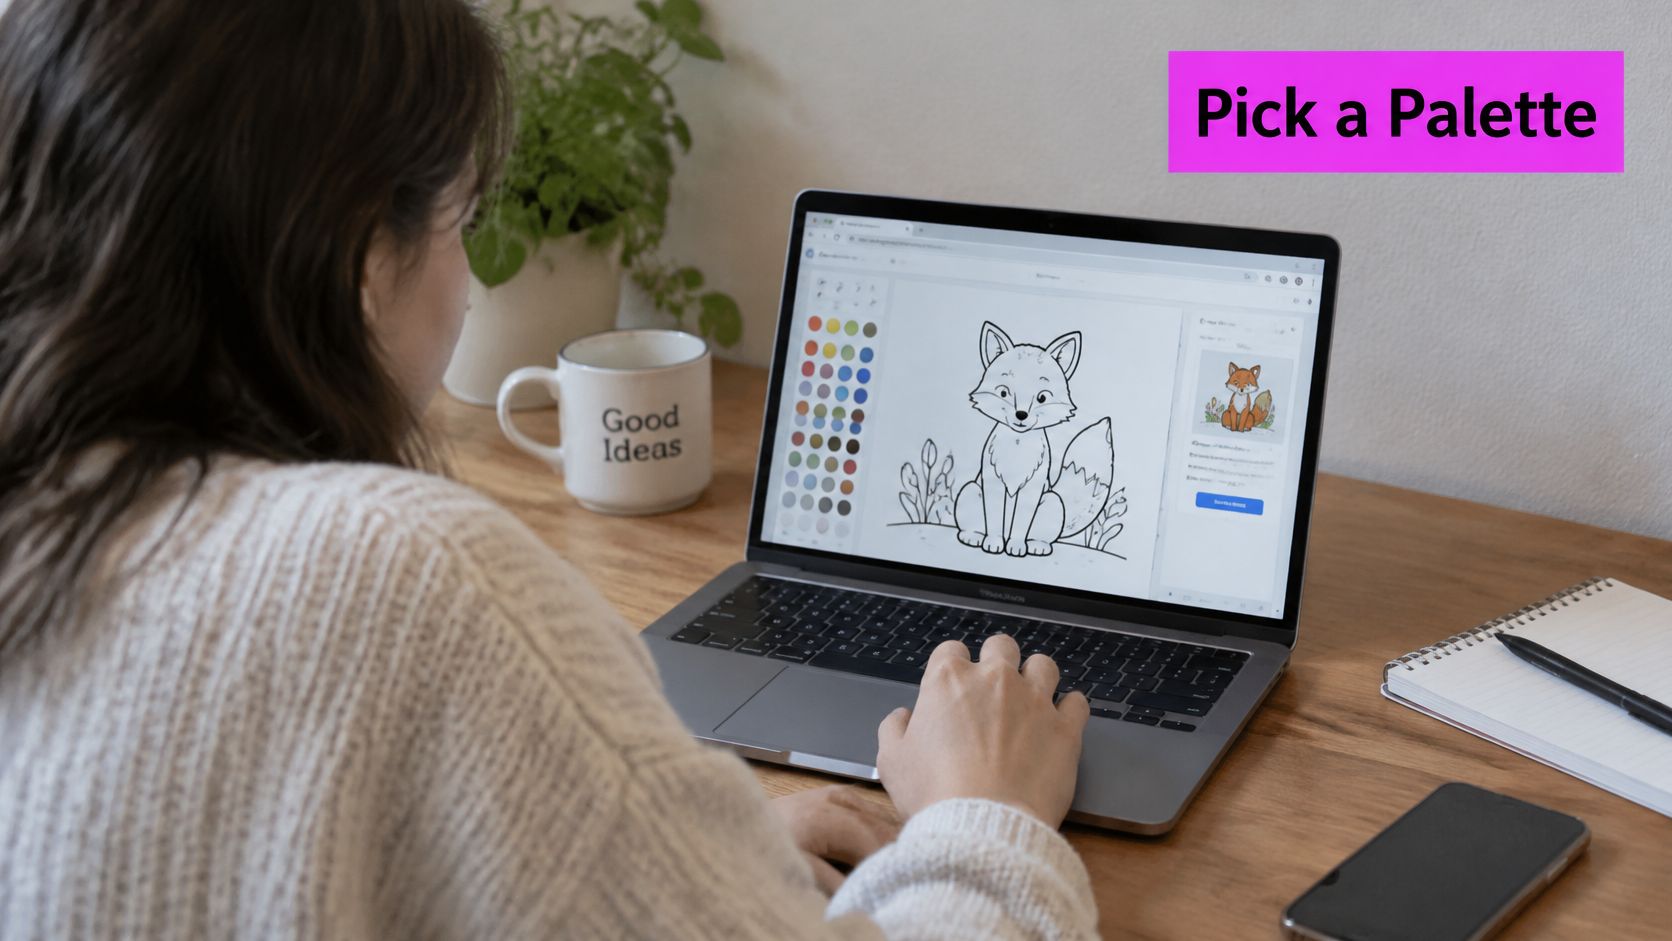
Say you're coloring a fox in a forest. Use a warm orange as the main coat, a deeper rust for the shadow side, cream for the chest and tail tip, and a cool green behind it that doesn't match the orange in darkness. If the green and orange sit at the same value, the fox disappears into the trees when you print it, even though it looked fine on a bright screen.
Keep the Outline in Charge
Your black or dark gray outline has to stay darker than every fill. That's what keeps regions readable after printing and stops a pale yellow shape from swallowing its own border. If a suggested color makes the line look gray, reject the color, not the line.
Readability applies to the controls too. The WCAG 2.1 guidance requires a minimum contrast ratio of 4.5:1 for normal-size text and 3:1 for large text, and that thinking belongs on palette labels, undo, and download buttons as well. Don't signal the selected swatch by color alone. The active chip needs a ring, label, or check mark, because a color-only state fails anyone with limited color vision.
If you want more contrast ideas before you commit, this look at line art with color shows how different fills change the same drawing.
Shade with One Second Pass
Shading isn't a second rainbow. Pick one light direction, say from the upper left, then darken the color you already have and paint a band along the opposite edge.
Practical rule: Same hue, one step darker, one light direction.
Leave a thin gap of base color between the shade and the outline. That gap keeps the darker band from eating the stroke. Skip the airbrush on thin line art. It turns closed shapes into soft gray halos, and those halos often leak or print dirty.
Use an AI Color Pass as a Draft Only
An AI suggestion can speed up a photo or rough sketch. Upload it, type a short prompt such as "warm autumn tones for the fox", then edit every suggested swatch until it fits your light, mid, and dark roles. Keep the outlines dark and unchanged. Reject anything muddy, gray, or too close in value to its neighbor.
Before you move on, recolor one shape two ways. Leave one side flat and add a single shade band to the other. You'll see immediately whether your palette holds together, and you'll catch a weak color before you've filled the whole page.
Color the Page Step by Step
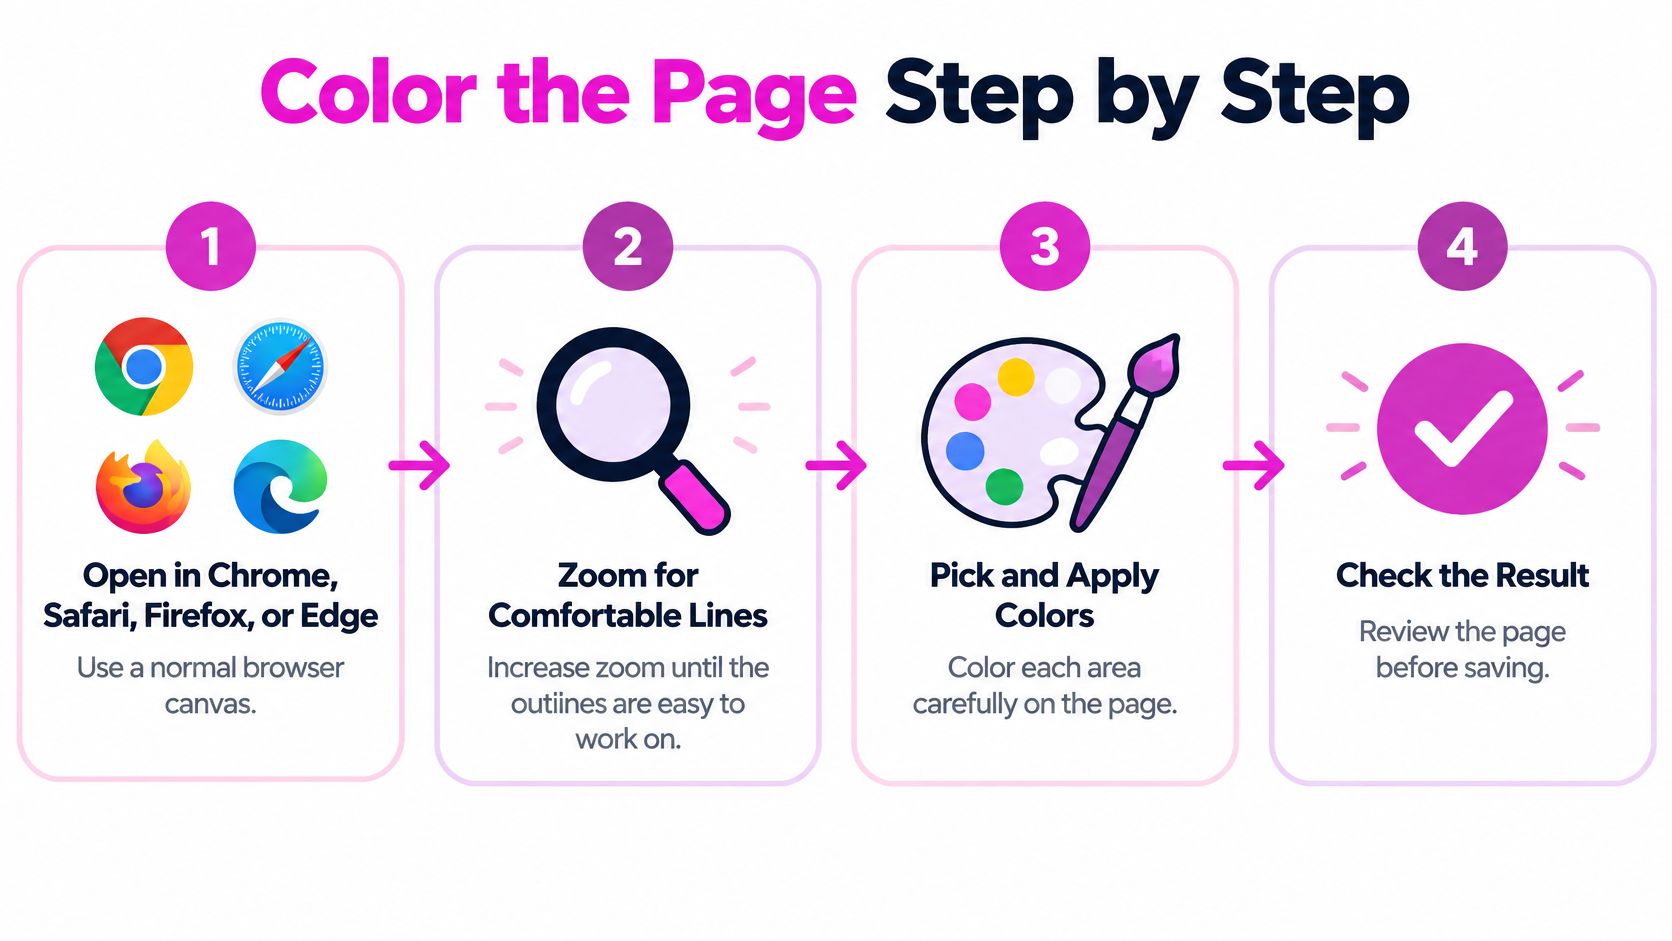
One normal browser session is enough. You don't need brand-specific tricks, layers panels, or a drawing tablet to get a clean result. What matters is the order, because each step protects the next one from a leak, a spill, or a lost file.
The Eight Steps
-
Open the page in a current browser. Use up-to-date Chrome, Safari, Firefox, or Edge and zoom until the lines feel comfortable, because pinching on a phone or using the on-screen zoom control is easier than squinting at a whole page shrunk to fit. If the tool has no zoom, pick a different one now rather than fighting tiny shapes.
-
Load clean line art. Choose built-in art or upload your PNG or SVG, because crisp input is what lets a fill stop at the border. Reject a blurry photo of a printed page if the lines are already gray and broken. You can't fill what the tool can't see as a boundary.
-
Fill the largest background first. Lay down the sky, grass, or wall before the small shapes, because later details sit more cleanly on a finished field. This also reveals your value problem early. If the main character vanishes against the background, change one of them now.
-
Bucket-fill only closed regions. Use the fill tool where strokes meet all the way around, because that's the only place it can stop. Switch to a small brush for open petals, hair strands, cheeks, and any place the artist left a deliberate gap. Forcing a bucket into an open shape is how one click colors half the page.
-
Undo after every risky fill. Test the undo before you need it and use it the second a color escapes, because one clean undo beats repainting three shapes. Keep redo available too. Sometimes the fill was right and your second thought wasn't.
-
Add one shade band per shape. Lay a slightly darker version of the base color along one edge, because a single consistent shadow reads as form without extra colors. Stop before the outline disappears. If you can't see the black stroke anymore, you've gone too far.
-
Zoom in and scan the edges. Move around the page at high zoom and look for spills, unfilled white corners, and shade sitting on top of lines, because these flaws hide at full-page view and shout on paper. Fix them with the brush while the palette is still open.
-
Download a PNG before you switch tabs. Save the file now, because private browsing and cleared site data can erase strokes that never left the browser. Don't leave a finished page sitting in a tab while you answer messages or start dinner.
Name the download with the page title right away, something like fox-forest-color.png. Tomorrow you'll search your downloads folder by subject, not by the random string the site gave you. A named file is also your restart point if you want a second version. You open the picture and keep going instead of trying to remember which orange you used.
Export a Sharp PNG for Screen or Print
Export for the destination, not for the browser preview. A page that looks sharp at phone size can print like a photocopy of a photocopy, and you won't know until the ink is down.
Pick the Pixel Size First
The technical export guide from ColoringBuds recommends rendering printable pages at 200-300 DPI, with a US Letter page at 300 DPI measuring 2,550 × 3,300 pixels and an A4 page measuring approximately 2,480 × 3,508 pixels at 300 DPI. Start from clean black line art, preferably SVG when the source is vector-based, because SVG has no inherent resolution and should become a PNG only at the final target size.
Export sizes for screen and print
| Output | Resolution | Pixel size | When to use it |
|---|---|---|---|
| US Letter print | 300 DPI | 2,550 × 3,300 | Final home or classroom print |
| A4 print | 300 DPI | about 2,480 × 3,508 | Final print outside US Letter |
| Proof at either size | 200 DPI | Scaled down from the 300 DPI file | One test sheet before a stack |
| On-screen share | Keep native pixels | Do not upscale a small raster | Email, slides, or a class display |
| SVG line art | No fixed DPI | Export PNG only at a row above | Source is vector and must stay sharp |
Use a white background, dark strokes, and closed shapes so the fill tool can detect boundaries. Save a lossless PNG for ordinary browser compatibility, and keep the SVG only when someone still needs to scale the art later. If you're printing a set for a class or a product, these notes on how to print coloring pages cover the printer side of the job.
Extra pixels don't invent missing line detail. A small raster enlarged for print is still a small raster.
That warning matters because upscaling is the most common false fix. Increasing pixel dimensions doesn't recreate detail that was never captured, and a soft photo embedded inside an SVG stays soft no matter what DPI you choose at export. If the source is small, get a better source.
Before you download, zoom to 200-400% and inspect for hairline gaps, stray gray pixels, overlapping paths, and anti-aliased edges. Those four flaws cause most leaks and halos. Then print one representative page at its intended size, because a browser preview hides faint lines and excessive detail that paper exposes immediately.
Name the file with its size, such as fox-letter-300.png. A later reprint shouldn't be a guessing game about which of four downloads was the sharp one.
Save Progress and Fix Color Leaks
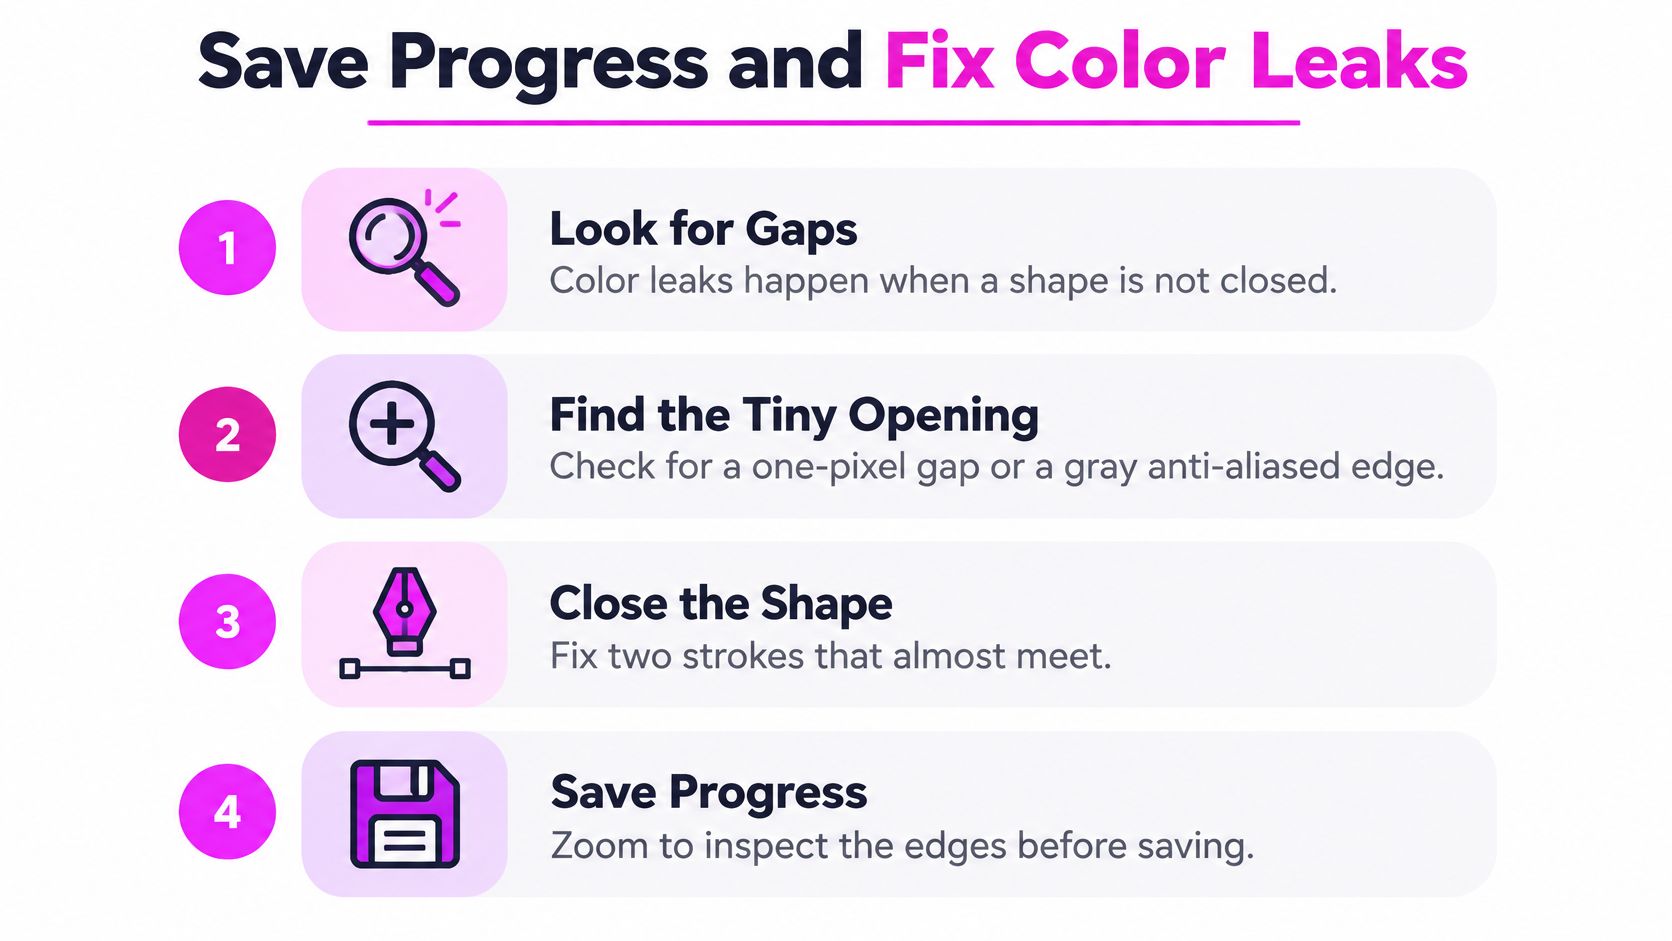
A leak has a physical cause. The shape isn't closed. There's a one-pixel gap, a gray anti-aliased edge, or two strokes that almost meet and don't.
Close the Gap, Then Fill Again
Zoom to 200-400% and find the opening before you click anything else. Close it with a small dark brush, undo the spill, then fill again. In that order. Filling first just floods the neighbor shape a second time.
- Bucket ignores a region: The lines are probably too light for the tool to read as a border. Darken the strokes instead of clicking harder.
- Halo after download: Your shade color likely covered the outline. Pull the shade back so the stroke sits on top again.
- White fringe inside a shape: The fill stopped at gray edge pixels. Brush the base color up to the line at high zoom.
Treat Saving as a Separate Job
Saving fails differently than coloring, and it fails without warning. The ColoringBunny FAQ covers the practical side of this gap, because browser-based tools may save progress locally while user-created images may not be stored at all, and clearing browser data or using private browsing can erase work. Online doesn't mean backed up.
If you haven't downloaded it, you don't have it yet.
Download a PNG the moment a page looks finished. Check whether an account is required to retrieve work later, and test whether the file opens on a second device if you're moving between a school computer and home. On a shared device, color from a copy and take your file with you when you log off.
Be careful with uploads too. Don't send a child's face, student work, or a client logo to a service unless it clearly states how long it keeps files and how you delete them. A cute coloring tool doesn't get a free pass on retention just because the subject is wholesome.
If the tab dies anyway, reopen your downloaded PNG and keep going from there. Don't expect the site to restore strokes it never stored. Your download habit is the recovery plan.
Start the Next Page From a Clean Line
After one successful page you have three sensible choices. Reprint it, recolor it, or generate the next clean outline. Pick based on the file in front of you, not on how the session felt.
If the PNG holds up at high zoom and your sample print is crisp, duplicate it. Recolor the copy for a second child, build a classroom set from it, or reuse the line for a second product listing. Redrawing from scratch wastes a proven file.
If the lines were soft, don't upscale tonight's export and hope. Go back to the SVG source or make a fresh black and white page. For a new subject, a coloring page generator gives you original line art you can run through the same fill, shade, and export steps. Our free tools include an image-to-text tool, a free image prompt generator and a coloring-page generator, and new users can sign up free with Google or email and get 10 images a month to try the service. For clean outlines specifically, Flux suits clean line art, while other models suit readable text or photorealism. This background on a line art generator explains what to ask for in the prompt.
Match the source to the need. Closed, simple outlines suit a generator. A photo or rough sketch needs an AI color pass and some cleanup first. Either way, name each file with its subject and size, such as fox-letter-300.png, so the next reprint is never a guess. One finished, saved file beats a tab full of colors you can't reopen tomorrow.
Ready to make your next clean outline instead of hunting for one? Bulk Image Generation lets you generate original coloring pages and other images in bulk from a plain-language description, then download files you can color, export, and print using the steps above. Start with one subject, save a sharp PNG, and build your set page by page.