Graphic Design Software for Beginners Made Simple

Aarav Mehta • October 7, 2025
Feeling lost? Discover the best graphic design software for beginners. This guide offers practical advice and real examples to help you start creating today.
Picking your first design tool can feel like a huge decision, but it really doesn't have to be. The best path forward depends entirely on what you want to create.
For quick, template-driven projects like social media posts, a tool like Canva is a brilliant place to start. But if you're aiming to build professional skills for a career, getting your hands dirty with an industry-standard vector tool like Figma or Adobe Illustrator is a much smarter long-term move.
How To Choose Your First Design Software
Before you download anything, it helps to understand the two fundamental camps of design software: raster and vector. Getting a grip on this core difference is the single most important step toward choosing a tool that actually fits your creative goals. It's not about which is "better," but which is the right tool for the job.
Raster vs. Vector: What New Designers Need To Know
Think of raster software like Adobe Photoshop or GIMP as digital painting. You’re working with a grid of tiny colored squares called pixels. This is perfect for editing photos or creating rich, textured digital art with complex color blends. The catch? Because they're pixel-based, blowing up a raster image too much will make it look blurry and jagged.
Vector software, on the other hand, is all about math. Tools like Adobe Illustrator and Figma use equations to draw lines, points, and curves. It's like a digital connect-the-dots that can be scaled to any size—from a tiny app icon to a massive billboard—without ever losing quality. This scalability is why vector tools are the non-negotiable standard for creating logos and illustrations.
This decision tree can help you visualize the path forward based on your needs and budget.

As you can see, your choice really boils down to whether you prioritize ease of use for quick results or are willing to tackle a steeper learning curve for more advanced, professional capabilities.
To simplify this even further, here's a quick rundown of the main players.
Beginner Software Comparison at a Glance
This table breaks down the top choices for beginners, giving you a clear look at where each one shines.
| Software | Best For | Learning Curve | Pricing Model |
|---|---|---|---|
| Canva | Social media, presentations, quick marketing assets | Very Low | Freemium (Free & Pro Tiers) |
| Figma | UI/UX design, collaborative projects, vector icons | Moderate | Freemium (Free & Pro Tiers) |
| Adobe Illustrator | Professional logos, complex illustrations, branding | High | Subscription |
| Adobe Photoshop | Photo editing, digital painting, raster graphics | High | Subscription |
Each tool has a distinct purpose. Don't feel pressured to learn Photoshop if all you need are simple social media graphics—Canva was built for that. Conversely, don't try to build a professional logo design business using a raster-only tool.
Aligning Software With Your Real-World Goals
Let’s get practical. Your personal and professional goals should be your North Star.
- Are you a small business owner who just needs to whip up social media graphics fast? A user-friendly, template-heavy tool like Canva is your best friend.
- Are you an aspiring freelancer who wants to design killer logos for clients? You absolutely need to commit to learning a vector program. It's foundational to that career path.
Your first design software is a launchpad, not a lifelong commitment. The key is to choose a tool that empowers you to start creating immediately, building confidence and foundational skills along the way.
It’s no surprise that pixel-based editors are incredibly popular. The pixel image editors segment, which includes giants like Photoshop, is projected to hold 31.2% of the market share in 2025. This is largely because they feel intuitive for photo editing, and new AI features are making complex tasks much more accessible for newcomers.
For a deeper dive, check out a few roundups of the best graphic design tools for designers to see what pros are using and why.
Decoding the Industry Giants: Adobe and Canva
Jump into any conversation about graphic design software, and two names will pop up almost immediately: Adobe and Canva. While they both help you create visuals, they’re built on completely different philosophies. Getting a handle on this difference is the first real step in picking the right tool for your creative journey.
Adobe, with its legendary suite of tools like Photoshop and Illustrator, is the undisputed professional standard. These programs are engineered for absolute creative control, giving designers a massive toolbox to build anything they can imagine from a completely blank canvas. That power, however, comes with a famously steep learning curve that can feel pretty intimidating when you're just starting out.
On the other end of the spectrum is Canva, a platform that has absolutely exploded by making design accessible to everyone. It’s all about speed and simplicity, built on a template-first model. This approach empowers anyone, regardless of their skill level, to churn out polished, professional-looking graphics in just a few minutes. You're not so much creating from scratch as you are customizing pre-made layouts for things like social media posts or presentations.
When to Choose Canva for Quick Wins
Canva is your best friend when time is of the essence. If you need something that looks good right now, its intuitive drag-and-drop interface is a lifesaver.
It's the perfect tool for tasks like:
- Social Media Content: Need an Instagram story or a Facebook post in a hurry? Canva’s ridiculously large library of templates has you covered.
- Simple Marketing Materials: Whipping up a quick flyer for an event or a simple digital brochure is a breeze.
- Presentations: Honestly, its presentation templates are often more modern and way easier to customize than PowerPoint.
The entire platform is designed to get rid of the technical hurdles. You don't have to be an expert on layers, vector paths, or image resolution to get a great result.
When You Need the Power of Adobe
When your project demands a truly custom solution, pixel-perfect precision, and assets that need to hold up in professional settings, it's time to turn to the Adobe ecosystem. The initial time investment is definitely higher, but the reward is complete creative freedom.
You'll want to lean on Adobe for projects such as:
- Custom Logo Design: A unique, scalable logo absolutely requires a vector tool like Adobe Illustrator. This is how you ensure your design looks crisp on a tiny business card and a massive billboard.
- Detailed Photo Editing: For professional-grade photo retouching, color correction, or complex image manipulation, nothing beats Adobe Photoshop.
- Building a Professional Portfolio: If a career in design is your end game, knowing your way around the Adobe Suite is non-negotiable. It's what almost every agency and client expects.
The core difference is this: Canva helps you assemble beautiful designs quickly from existing parts, while Adobe gives you the tools to create those parts from scratch. One is about speed and convenience; the other is about depth and control.
Of course, Adobe has seen Canva's massive appeal and has thrown its hat into the ring with Adobe Express. It cleverly blends the template-driven ease of Canva with access to Adobe's high-quality font and stock photo libraries, offering a solid middle ground.
Even with this new competition, Adobe's core products remain the industry benchmark. Projections show that Photoshop alone is expected to capture 41.74% of all graphic design software users by 2025. This just goes to show its deep-rooted dominance as the professional tool of choice. For a closer look at the numbers, check out the creative software market share on Statista.
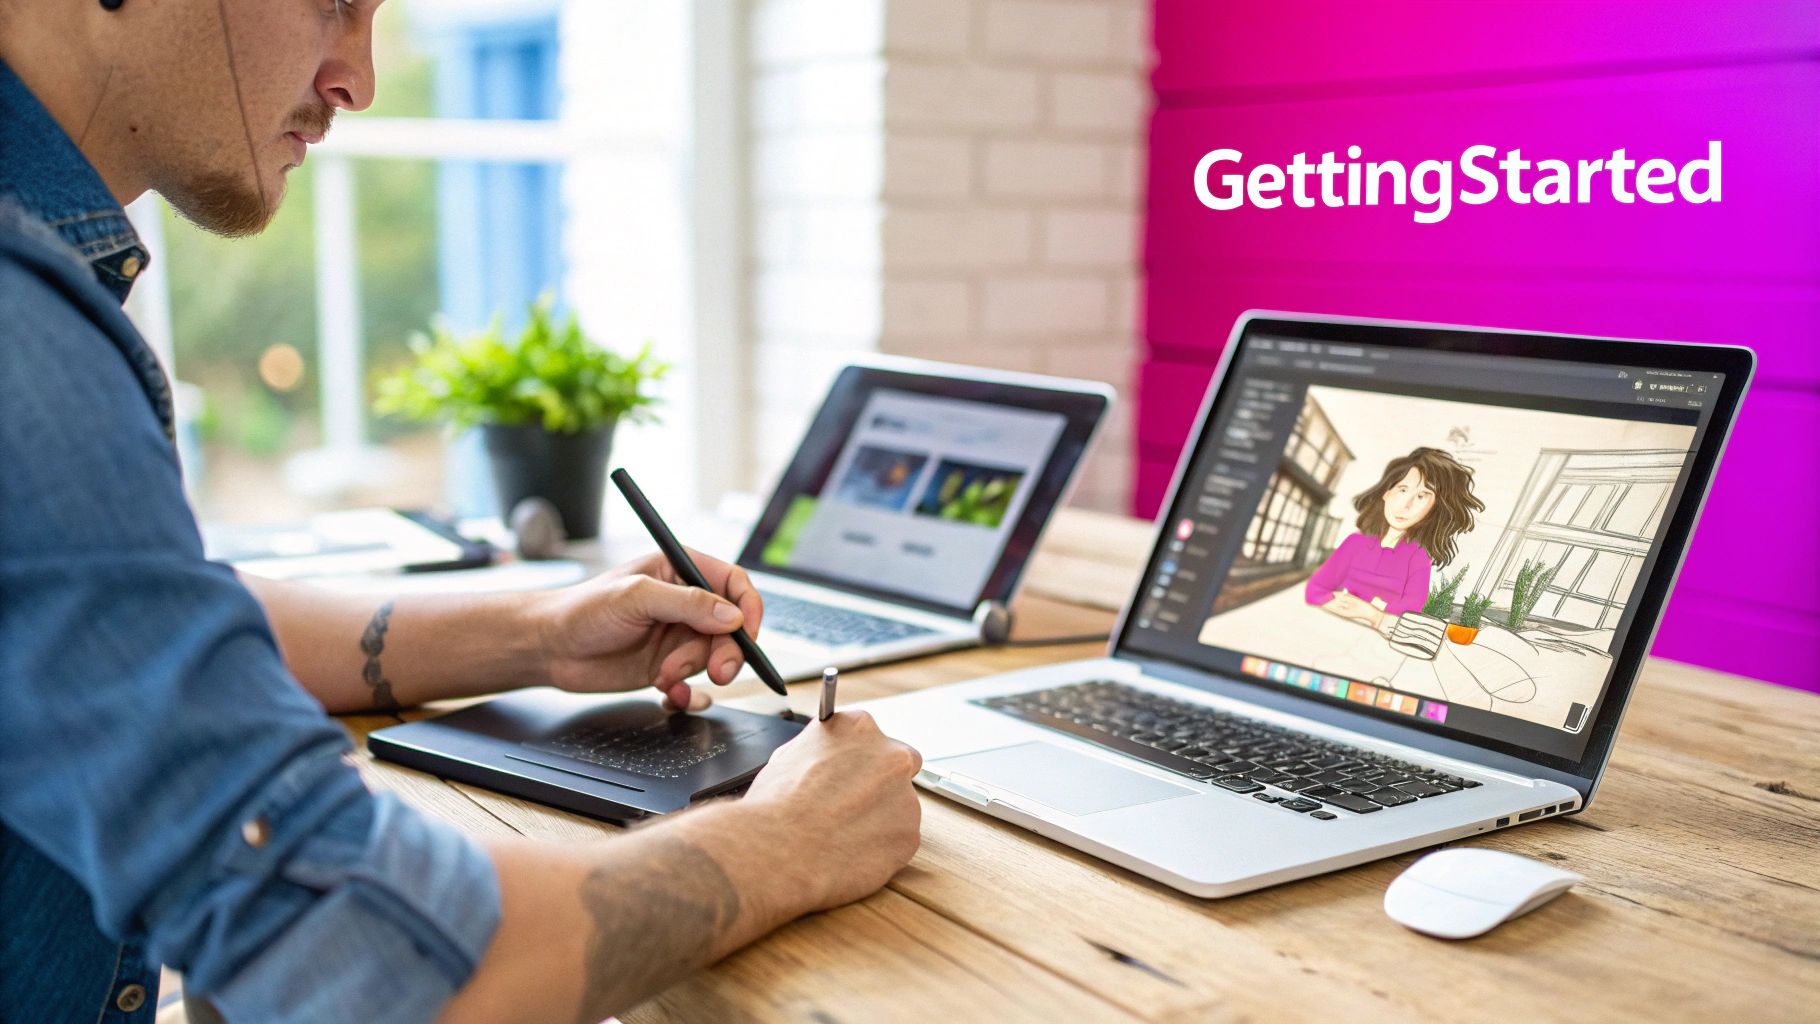
Creating Your First Social Media Graphic
Alright, theory is great, but let's get our hands dirty. Nothing builds confidence like actually making something. We're going to walk through creating a simple but professional-looking Instagram post from scratch. For this, we’ll use Canva because its free version is surprisingly powerful and a breeze for beginners to pick up.
This little exercise will show you just how fast you can go from a blank slate to a quality graphic. The goal here isn't just to check a box and finish a design, but to really get the "why" behind each choice we make.
Laying the Foundation: Your Canvas
First things first, you need the right foundation. Every social media platform has its own ideal dimensions for posts. If you design at the wrong size, you risk your image getting awkwardly cropped or, worse, looking blurry and unprofessional.
Thankfully, Canva makes this part easy. On the homepage, just click "Create a design" and type in "Instagram Post (Square)." Boom. Canva instantly sets up a blank canvas that's a perfect 1080 x 1080 pixels. This one simple step saves you from the headache of having to guess or Google the right dimensions.
Adding Your Visuals and Text
Staring at a blank canvas can feel a little intimidating, so let's start with the most powerful element: the image. In Canva's left-hand menu, you'll find an "Elements" tab where you can search through tons of free stock photos.
Let's imagine we're creating a post for a local coffee shop. Search for "coffee," find a photo that feels warm and inviting, and just drag it onto your canvas.
With the image in place, it’s time for words. Click the "Text" tool and add a heading. Let's type something eye-catching like "Morning Brew Special." Then, add a smaller subheading with the actual offer, like "50% Off All Lattes."
My Go-To Tip: Stick to two, maybe three, fonts max. A classic, effective combo is a bold, attention-grabbing font for your main headline and a clean, simple font for the details. This immediately creates a clear visual hierarchy that’s easy on the eyes.
Applying a Few Key Design Principles
This is where your graphic goes from looking like a quick DIY project to something polished and intentional. With our text and image ready, we can apply a few core principles to tie it all together.
-
Alignment: Don't just eyeball it. Select both of your text boxes. Look for the "Position" option in the top toolbar and choose "Align Left." Instantly, everything lines up perfectly, creating a clean, organized feel. Randomly placed text looks chaotic; alignment brings order.
-
Contrast: Is your text getting lost in the background photo? That's a contrast problem. An easy fix is to place a semi-transparent shape behind the words. Head back to "Elements" > "Shapes" and grab a square. Change its color to black, stretch it to fit behind your text, and then use the transparency slider in the toolbar until the text really "pops."
-
Hierarchy: You want to guide the viewer's eye. Make "Morning Brew Special" the biggest text element on the screen—it's the first thing people should see. The "50% Off" detail should be slightly smaller but still stand out. This tells a visual story in the exact order you want.
This simple workflow is the core of nearly every design you'll create. And once you get the hang of it, you'll see these principles everywhere. For anyone needing to create a lot of visuals, a bulk social media image generator can be a huge time-saver by applying these rules across dozens of graphics at once. By mastering these basics, you're building a skill set that will carry you through any project.
When you first open up a new design program, it's easy to feel overwhelmed. You're hit with a wall of icons, menus, and panels that all seem to have their own secret language.
But here's the good news: you really only need to get a handle on a few core features to start creating professional-looking work. Everything else is just advanced-level polish you can pick up as you go.
This section cuts through all that noise. We're going to focus on the tools you'll find yourself using in almost every single project, right from day one. Nail these fundamentals, and you'll build the confidence to tackle anything.
Your New Best Friend: The Layers Panel
Imagine trying to paint a complex scene on a single sheet of glass. If you mess up the background, you have to scrape everything off and start over from scratch. That’s what designing without layers feels like.
Layers are basically like stacking multiple transparent sheets on top of one another. You can put your background image on the bottom layer, your text on a middle one, and maybe a logo on the very top. This structure gives you incredible control.
- Edit without fear: Need to change the background color? No problem. Just select the bottom layer and adjust it. Nothing else in your design gets touched.
- Rearrange elements on the fly: You can easily drag a text layer to be under an image layer instead of over it, completely changing the composition in a second.
- Stay organized: Get into the habit of naming your layers (e.g., "Headline Text," "Background Photo"). It keeps complex projects from turning into a chaotic mess.
Honestly, getting comfortable with layers is the single most important habit for any new designer. It saves you from countless headaches and lets you experiment freely—which is how you learn and get better.
Mastering Selection and Text Tools
Next up are the tools that let you actually do things in your design. You don't need to learn every single one, just the basics that get the job done.
The selection tool (it’s almost always a simple arrow icon) is your digital hand. It lets you grab, move, resize, and rotate any object on your canvas—an image, a shape, a block of text. You'll be clicking back to this tool constantly.
Your text tool is just as crucial. But it's about more than just typing words. You need to get comfortable with the character panel, which is where you control the details:
- Font Family: The typeface you choose.
- Font Weight: Bold, regular, light, you name it.
- Size: How large or small the text appears.
- Kerning & Tracking: The fine-tuned spacing between letters and words.
Making small adjustments here is what separates amateur work from a professional-looking design.
Alignment: The Secret to Clean Layouts
Have you ever looked at a design and it just felt… messy? Off? Chances are, it was an alignment problem.
Alignment tools are your secret weapon for creating layouts that look intentional, organized, and clean. Instead of squinting and trying to guess if two boxes are perfectly lined up, these tools do it for you with pixel-perfect precision.
You can instantly:
- Align Left/Right/Center: Snap selected objects to the same vertical line.
- Align Top/Middle/Bottom: Line up objects perfectly along a horizontal axis.
- Distribute Spacing: Evenly space out three or more objects automatically. This is a huge time-saver.
For instance, when you're making a social media graphic, these tools make sure your text and images are perfectly centered within the frame. To get your frame set up right from the very beginning, a handy aspect ratio calculator for images can save you a lot of trouble.
Turning Your New Design Skills into a Freelance Gig
So, you're getting the hang of your new design software and feeling more confident. What's next? For many, the answer is starting to make some money from those skills. The great thing is, with today's intuitive tools, you don't need a fancy design degree to launch a freelance side hustle.
Your portfolio is everything, but you don't need paying clients to start building it. Kick things off with a few projects just for you. Dream up a fictional coffee shop and design a full brand identity for it. Create a slick set of social media graphics for an imaginary local festival. You could even try redesigning the logo for a small business you love. These projects are perfect for showing off what you can do.
Finding Your First Clients
Once you have a few solid pieces in your portfolio, it's time to find people who will actually pay you. I always recommend newcomers check out platforms like Upwork and Fiverr. On these sites, a strong portfolio and good reviews often matter more than a traditional resume.
Take the time to create a killer profile that puts your best work front and center. When you're just starting out, aim for smaller, more straightforward projects. The goal is to get a few wins under your belt and start collecting that all-important positive feedback. Those first five-star reviews are pure gold.
Pricing Your Work as a Newcomer
Figuring out what to charge can feel awkward at first, but whatever you do, don't sell yourself short. A good starting point is to see what other freelancers with a similar level of experience are charging on the platforms you're using. Many people start with a slightly lower hourly or per-project rate to get those first few clients in the door.
The real secret is to deliver amazing value and make the client experience a great one. Once you've got a few projects completed and your confidence is up, you can start inching those prices up to match your growing skills.
The demand for freelance designers is absolutely massive. It's estimated that freelancers make up about 90% of the entire global graphic design market, which shows you just how viable this path is. This shift has been powered almost entirely by how accessible modern design software has become. You can dig into more graphic design industry statistics to get a better sense of the opportunity out there.
If you're launching a new brand and need a logo fast, our guide on using an AI logo generator is a great place to start. And for anyone serious about turning this into a real business, this detailed checklist on how to start a graphic design business is an absolute must-read.
Common Questions from New Designers
Jumping into the design world is a blast, but it's totally normal to have a million questions spinning around your head. Let's clear up some of the most common ones I hear from new designers, so you can stop wondering and start creating.
Do I Need an Expensive Computer for Graphic Design Software?
Not like you used to. It's a common myth that you need a beast of a machine to get started. While power-hungry software like Adobe Photoshop can definitely benefit from more horsepower, a lot of the best graphic design software for beginners is now cloud-based.
Tools like Canva and Figma actually run in your web browser. This means their servers are doing all the heavy lifting, not your computer.
If you’ve got a reasonably modern laptop and a decent internet connection, you're good to go. Honestly, a high-quality monitor that shows colors accurately is a much smarter investment early on than a super-fast processor.
Can I Really Learn Graphic Design Without Going to School?
One hundred percent, yes. Today, the design world is full of incredible, successful designers who are completely self-taught. With endless resources on YouTube, Skillshare, and countless design blogs, you have more knowledge available to you than any generation before.
The real key to success isn't a fancy degree—it's your commitment to practice. Start with small projects. Try to recreate designs you love. Focus on nailing the fundamentals of layout, color, and typography. A solid portfolio of real work will always be more valuable to clients than a piece of paper.
This hands-on approach is what builds the practical, real-world skills that clients and employers are actually looking for.
What Is the Difference Between Raster and Vector Graphics?
Getting this concept down is a game-changer. It’s one of the most important things to understand because it dictates which software you’ll use and what you can create.
Here’s the breakdown:
-
Raster graphics are what you get from tools like Photoshop. They’re made up of a grid of tiny squares called pixels. Think of a photograph—it's perfect for complex details and textures. The catch? If you try to make a raster image bigger, it gets blurry and "pixelated." You're just stretching out the same squares.
-
Vector graphics are what you work with in software like Illustrator or Figma. They aren't made of pixels. Instead, they’re built from mathematical paths and points. This means you can scale a vector graphic to any size imaginable—from a tiny app icon to a massive billboard—and it will stay perfectly sharp and clean every single time.
This is why vector is the absolute industry standard for things like logos, icons, and illustrations that need to work across a bunch of different sizes.
Ready to stop worrying and start creating? With Bulk Image Generation, you can produce hundreds of unique, professional-quality images with simple text prompts, skipping the steep learning curve of complex software. Transform your ideas into stunning visuals in seconds at https://bulkimagegeneration.com.