
Cheap Product Photography That Looks Expensive

Aarav Mehta • June 27, 2025
Learn how to get cheap product photography that looks premium. This guide shares expert tips for creating stunning, high-quality images on a budget using AI.
Stunning product photos are non-negotiable if you want to make sales, but professional photoshoots can drain your budget fast. What’s the secret to getting high-quality, cheap product photography? It's all about using modern AI image generation tools. This approach lets you turn simple smartphone pictures into beautiful, studio-quality visuals for a tiny fraction of the usual cost.
Why AI Is a Game-Changer for Product Photography
The pressure on e-commerce stores and small businesses to create amazing visuals on a tight budget has never been higher. This is exactly where AI-powered image generation comes in, effectively leveling the playing field for everyone. It gives brands the power to create a massive volume of diverse, on-brand images without the sky-high costs and logistical headaches of a traditional photoshoot.
This shift toward more accessible and scalable imaging solutions is already making waves. The global eCommerce product photography market, valued at around USD 1 billion in 2024, is on track to double to USD 2 billion by 2033. This isn't just a small trend; it's a clear signal of where the industry is headed. You can dig into the market growth data to see the full picture.
A Quick Look at the Costs
Even a "do-it-yourself" photography setup comes with upfront and ongoing costs that can pile up surprisingly quickly. This chart breaks down some of the basic expenses you'd face with a traditional DIY approach.
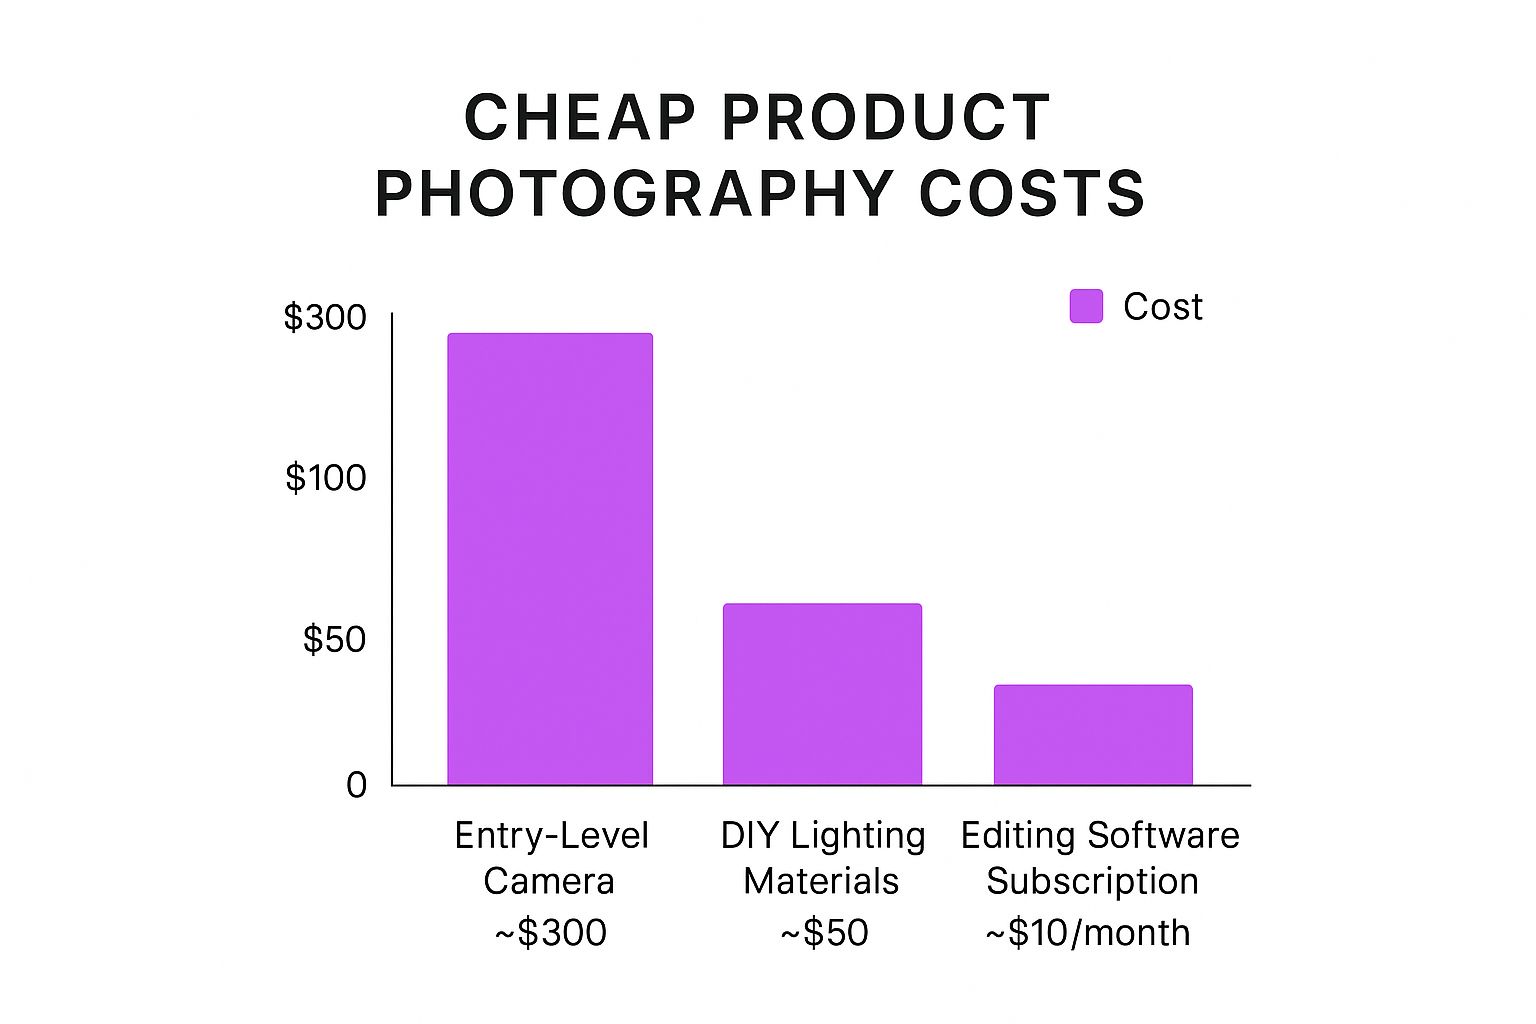
The numbers don't lie. A minimal hardware setup alone requires an initial investment of several hundred dollars, and that’s before you even factor in your time and the skills you need to learn.
To put it into perspective, let's compare the old way with the new way.
Traditional Photography vs. AI Image Generation
| Factor | Traditional Photography | AI Image Generation |
|---|---|---|
| Cost | High upfront investment (camera, lighting, props) and recurring costs (studio rental, photographer fees). | Low monthly subscription fees. No hardware costs. |
| Time | Days or weeks for planning, shooting, and post-production. | Minutes to generate hundreds of variations. |
| Resources | Requires physical space, equipment, and often a team (photographer, stylist, editor). | Needs just a computer and an internet connection. |
| Flexibility | Limited by physical props and locations. Reshoots are expensive and time-consuming. | Infinite creative freedom. Instantly test new backgrounds, styles, and concepts. |
| Scalability | Difficult and expensive to scale. Producing large volumes of images is a major project. | Effortlessly scalable. Generate thousands of images with consistent quality. |
The takeaway here is pretty clear: AI offers a much more agile and cost-effective path to professional-grade images.
AI tools completely sidestep these initial hardware costs. Instead of buying gear, you work with a low-cost subscription, turning a major capital expense into a minor operational one.
By using AI, you can finally get that premium look without the premium price tag. The benefits are impossible to ignore:
- Drastic Cost Reduction: Forget about expensive cameras, lighting, and props.
- Unmatched Speed and Scale: Create hundreds of unique images in minutes, not days.
- Creative Freedom: Instantly place your product in any setting or style you can dream up.
This guide will walk you through exactly how to use this technology to get cheap product photography that looks anything but.
Capturing Your Product for Its AI Debut
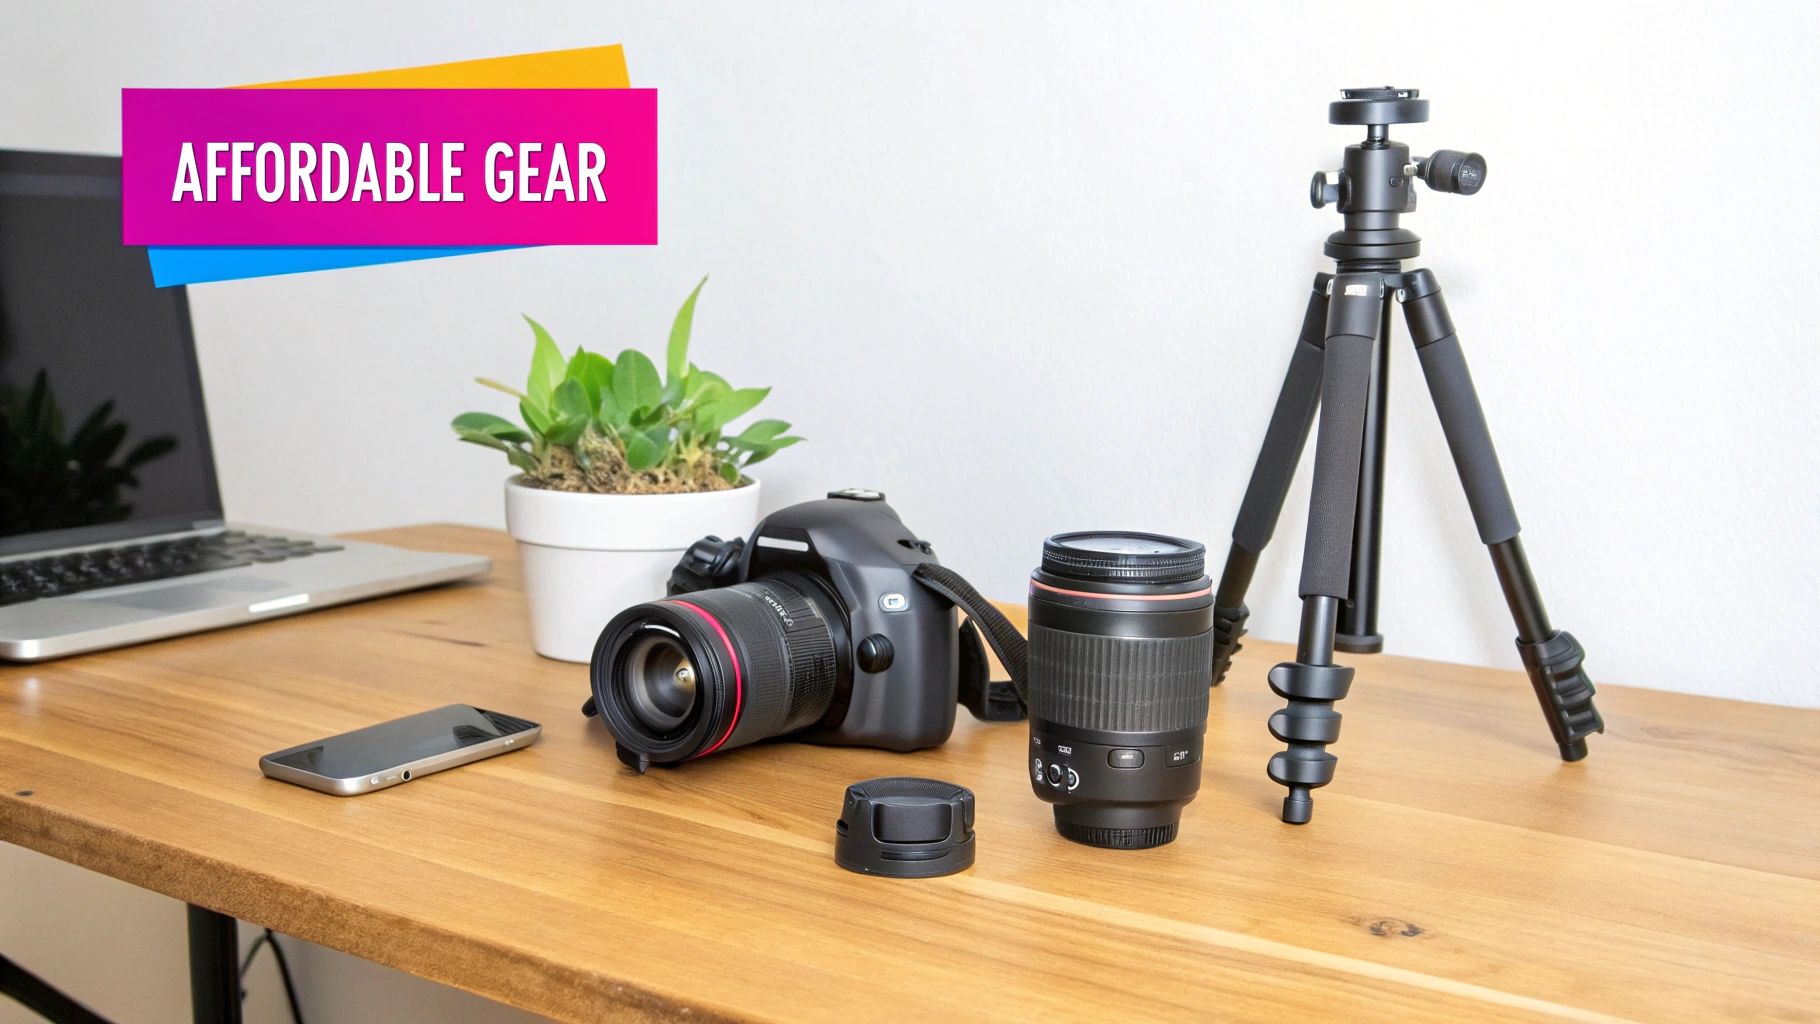 Great AI images come from a great source photo. But don't worry, you don't need a professional DSLR or a fancy studio setup. The phone in your pocket is all you need to get a shot that will serve as the perfect foundation for amazing, cheap product photography.
Our goal here isn’t some artistic masterpiece. It’s all about giving the AI a clean, clear blueprint to work with. Get this part right, and the rest is easy.
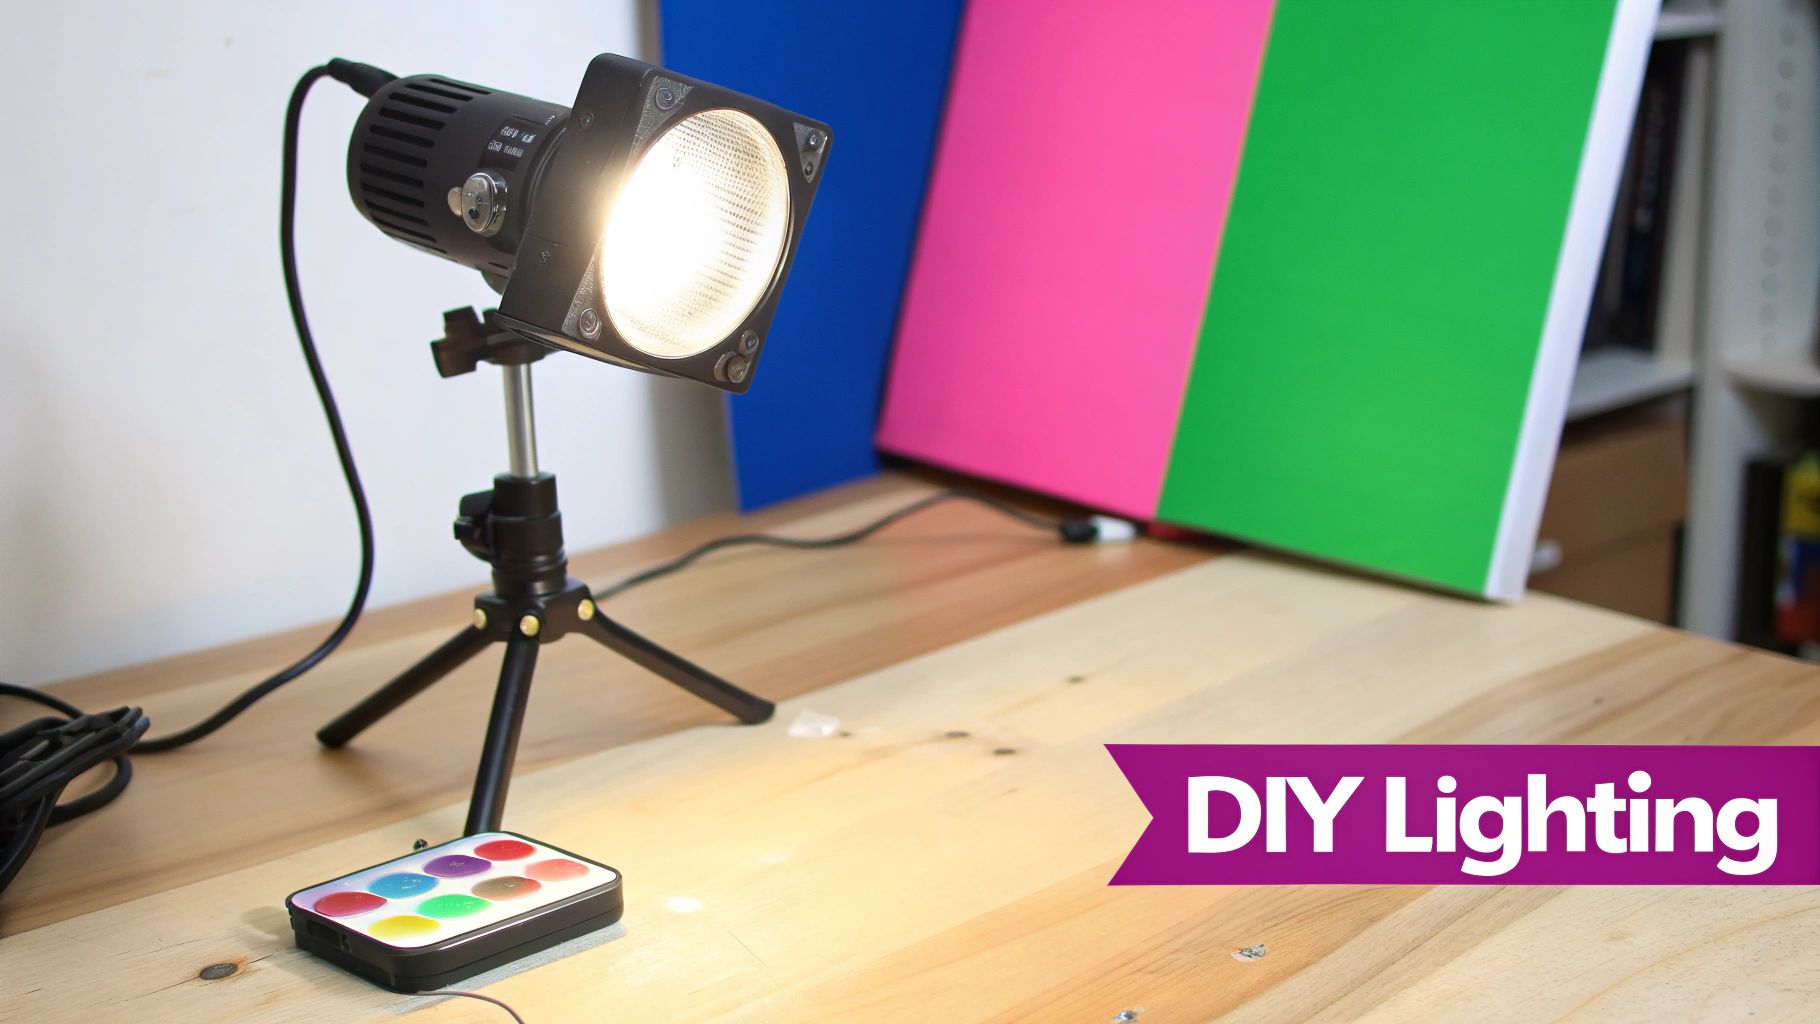
Finding the Best Light
Let’s be clear: lighting is everything. The first thing you should do is forget your phone’s flash exists. It creates harsh, ugly shadows and will ruin your shot.
Instead, go find the biggest window you can. This is your new best friend. Natural light from a window is soft, diffused, and best of all, completely free. It wraps beautifully around your product, defining its shape and texture without any weird glares.
Set up your product so the light hits it from the side, at roughly a 90-degree angle. This creates gentle shadows that give your product a sense of depth and dimension. Just make sure to avoid direct, blazing sunlight—it's way too intense.
Pro Tip: Kill all the other lights in the room. Mixing your warm indoor lamps with cool window light creates strange color tints that will throw off your camera and confuse the AI later on.
Creating a Simple and Clean Background
Your background needs to be completely non-distracting. We want the AI to lock onto your product and nothing else. The easiest way to do this is with a simple white poster board from a dollar store.
- Make a "sweep": Place your product on a table, then lean the poster board against the wall behind it. Let the bottom of the board curve down onto the table. This trick creates a seamless "infinity" background, eliminating any harsh lines or corners.
- Use a reflector: Now, grab a second piece of white poster board (or even just a sheet of printer paper). Hold it on the opposite side of your product from the window. You'll see it instantly bounce soft light back, filling in any dark shadows. It's a simple hack that makes a huge difference.
Taking a solid source photo is the most important step in this whole process. If you want a sneak peek at what's possible once you nail this, check out our guide on creating stunning digital product images for some great examples. With these simple techniques, you’ll have a crisp, clean photo that's ready for its AI makeover.
Picking the Right AI Product Photography Partner
Okay, you’ve got your clean source photo ready to go. Now comes the fun part: picking an AI tool to bring your product shots to life. The market is flooded with options, so finding the right fit is key to getting cheap product photography that actually looks professional and feels like your brand.
Some platforms are built for speed and simplicity. They offer pre-made templates where you just upload your image and pick a scene—think "on a marble countertop" or "in a lush forest." This is the fastest route if you want great-looking images without the fuss.
Other tools give you more control, letting you type out exactly what you want in a text prompt. This is for when you have a very specific vision in mind and want to fine-tune every detail.
Key Features to Look For
Don't just get distracted by the price tag. The real value is in the features that will save you time and deliver better images. As you compare your options, it's worth checking out some of the best image personalization software tools to see what the top performers offer.
Here are a few things I always look for:
- Batch Processing: This is a non-negotiable for me. Can you upload one photo and get back dozens or even hundreds of variations at once? This is how you efficiently build out a full library of marketing assets.
- Scene and Template Quality: Do the pre-made scenes look realistic? A cheap, plasticky-looking AI background will tank your product's perceived value, which completely defeats the purpose.
- Prompt Flexibility: If you're using a text-based tool, how well does it actually understand what you're asking for? Test it. See if it can create specific textures, lighting setups, and moods before you commit.
The whole industry is shifting. Clients want more images, and they want them faster. This is where AI tools become so powerful—they're a direct answer to this growing demand for volume and speed.
This is exactly why the trend toward cheap product photography is exploding. Businesses need to pump out content without breaking the bank. In fact, many photography clients in 2025 now expect these faster, more affordable options as standard. As detailed in a recent Fstoppers.com article on changing industry expectations, this isn't just a fad; it's a fundamental change.
Making a smart choice on your AI partner now will save you countless hours and a lot of money down the road.
It’s Time to Bring Your Product Photos to Life
Alright, this is where the real magic happens. You’ve got your clean source photo, and now we’re going to turn it into a full library of professional-looking images. This whole process is way easier than you might think and it’s the secret to getting ridiculously cheap product photography that actually converts.
Let's walk through it with a common example—a simple cosmetic jar.
Most AI platforms built for this kind of work give you two main ways to get started. The first, and fastest, is by using pre-made templates. You just upload your image and start browsing through a gallery of ready-to-go scenes.

You can see just how quickly you can visualize your product in different settings. A single click can place your jar ‘on a marble countertop’ or ‘in a modern spa,’ letting you see what fits your brand’s vibe almost instantly.
Crafting Custom Scenes with Text Prompts
Templates are great for speed, but the real creative control comes from writing your own text prompts. This is where you get to translate your brand's unique vision into a one-of-a-kind image. A good prompt puts you completely in the driver's seat.
Sticking with our cosmetic jar, let's ditch the templates and write our own prompt:
Prompt Example: Cosmetic jar on a wet stone slate, surrounded by gentle mist and fresh green leaves, soft morning light.
This kind of detail lets the AI generate a specific, atmospheric scene that a generic template just can't match. The trick is to be descriptive. Think about the textures, the lighting, and the objects you want in the shot. To really see what's possible, you should check out a dedicated AI product photo generator and see how it can transform your images.
What’s wild is how tiny tweaks to your prompt can lead to completely different outcomes. Changing just a word or two can shift the entire mood.
- For a luxe feel: "product on a gold-veined marble pedestal, with soft-focus floral background"
- For a minimalist vibe: "product on a simple concrete block, with a single, sharp shadow"
- For a vibrant look: "product in front of a colorful, abstract painted canvas"
This back-and-forth process is incredibly fast. You can spit out dozens of unique, on-brand visuals in a matter of minutes. If you’re ready to go deeper, our complete guide on AI product photography has even more advanced prompting tips and examples.
Give Your AI Images That Final Polish
The AI did the heavy lifting, but the magic truly happens in the final touches. This is where you take a great AI-generated image and turn it into a professional, scroll-stopping asset for your e-commerce store or social media feed.
Don't worry, you don't need a pricey Adobe subscription for this. Free and accessible tools like Canva have everything you need. A few quick tweaks to brightness, contrast, and saturation can make a world of difference, ensuring your product looks absolutely irresistible.
Crop for Every Occasion
One of the simplest yet most crucial edits is cropping. That stunning image that looks perfect on your website banner might get awkwardly decapitated on an Instagram Story. You have to think about where your customers will see these photos.
- Website Banners: These usually need a wide, panoramic crop (think 16:9).
- Instagram Posts: You're looking at a square (1:1) or a slightly vertical (4:5) format.
- Pinterest Pins: Tall and vertical is the name of the game here (2:3).
Pre-cropping your images for each platform guarantees your product is always the star of the show. No weird cut-offs, no missed details.
The goal isn't just to make one image look good. It's about creating a cohesive, professional style across all your visuals. Consistency builds brand recognition and, more importantly, trust.
Tame Your New Asset Library
Okay, so you just created dozens—maybe even hundreds—of new images. Now what? If you don't get organized from the start, you'll be drowning in a sea of final_v2_new.jpg files. Trust me, I've been there.
Adopt a clear file-naming system right away. Something like [ProductName]_[Scene]_[Platform]_[Version].jpg (e.g., CeramicMug_MarbleCounter_Instagram_01.jpg) makes finding exactly what you need a breeze.
Once your images are edited and named, the final step is getting them web-ready. Large files will slow your site down to a crawl, which is a killer for conversions. It's worth learning about optimizing your files without losing quality to keep your pages loading lightning-fast.
Got Questions About AI Product Photos?
Diving into AI for your product visuals is exciting, but it's natural to have a few questions. I hear from business owners all the time who are curious—is this a genuinely game-changing way to get cheap product photography, or just another tech trend? Let's clear the air and tackle some of the most common concerns.
First up, the big one: cost. Is an AI platform really cheaper than hiring a photographer? The short answer is a resounding yes, especially when you need a lot of images. A traditional photoshoot racks up fees for the photographer, studio rental, props, and post-production, easily running into the thousands. AI tools swap all that for a simple monthly subscription, which often costs less than a single hour of a professional's time.
Can AI Really Nail My Brand's Vibe?
This is a huge concern for many, and rightly so. Can an algorithm truly capture your unique aesthetic? Absolutely, but you have to guide it. This is where your input is crucial.
The magic lies in using detailed text prompts and style references. Forget generic prompts. Instead of "mug on a table," you need to get specific to match your brand's look and feel.
Think more like this: "a handcrafted ceramic mug on a rustic wooden table, with soft morning light and a sprig of lavender." See the difference? That level of detail is what creates a specific mood that aligns with your brand.
While AI is incredibly powerful, it’s not a silver bullet. Knowing its limits is just as important as knowing its strengths. Sometimes, the old-school approach is still the right call.
For example, products with highly reflective surfaces like polished chrome or intricate jewelry can sometimes trip up the AI, leading to results that aren't quite perfect. The same goes for transparent items or products with extremely fine details, like delicate lace, which might not render as crisply as they would with a professional macro lens.
Understanding when to use AI is a key part of a smart content strategy, especially if you're a small business trying to stretch every dollar. You can learn more about how AI can be a superpower for small businesses in our detailed article.
Ready to slash your photography costs and get hundreds of on-brand images in minutes? Give Bulk Image Generation a try and see how it can transform your product visuals. Explore the platform and get started.