
AI Character Reference Sheet A Creator's Guide

Aarav Mehta • August 27, 2025
Create a professional AI character reference sheet with this guide. Learn proven techniques for consistency, from concept to final assembly.
A character reference sheet is the visual blueprint for your character. It’s a single document that shows their design from every important angle, along with different expressions, outfits, and other key details. Think of it as the ultimate guide for anyone—artists, animators, or even AI—to keep a character looking exactly right, every single time.
Why Character Reference Sheets Are Non-Negotiable in Modern Media
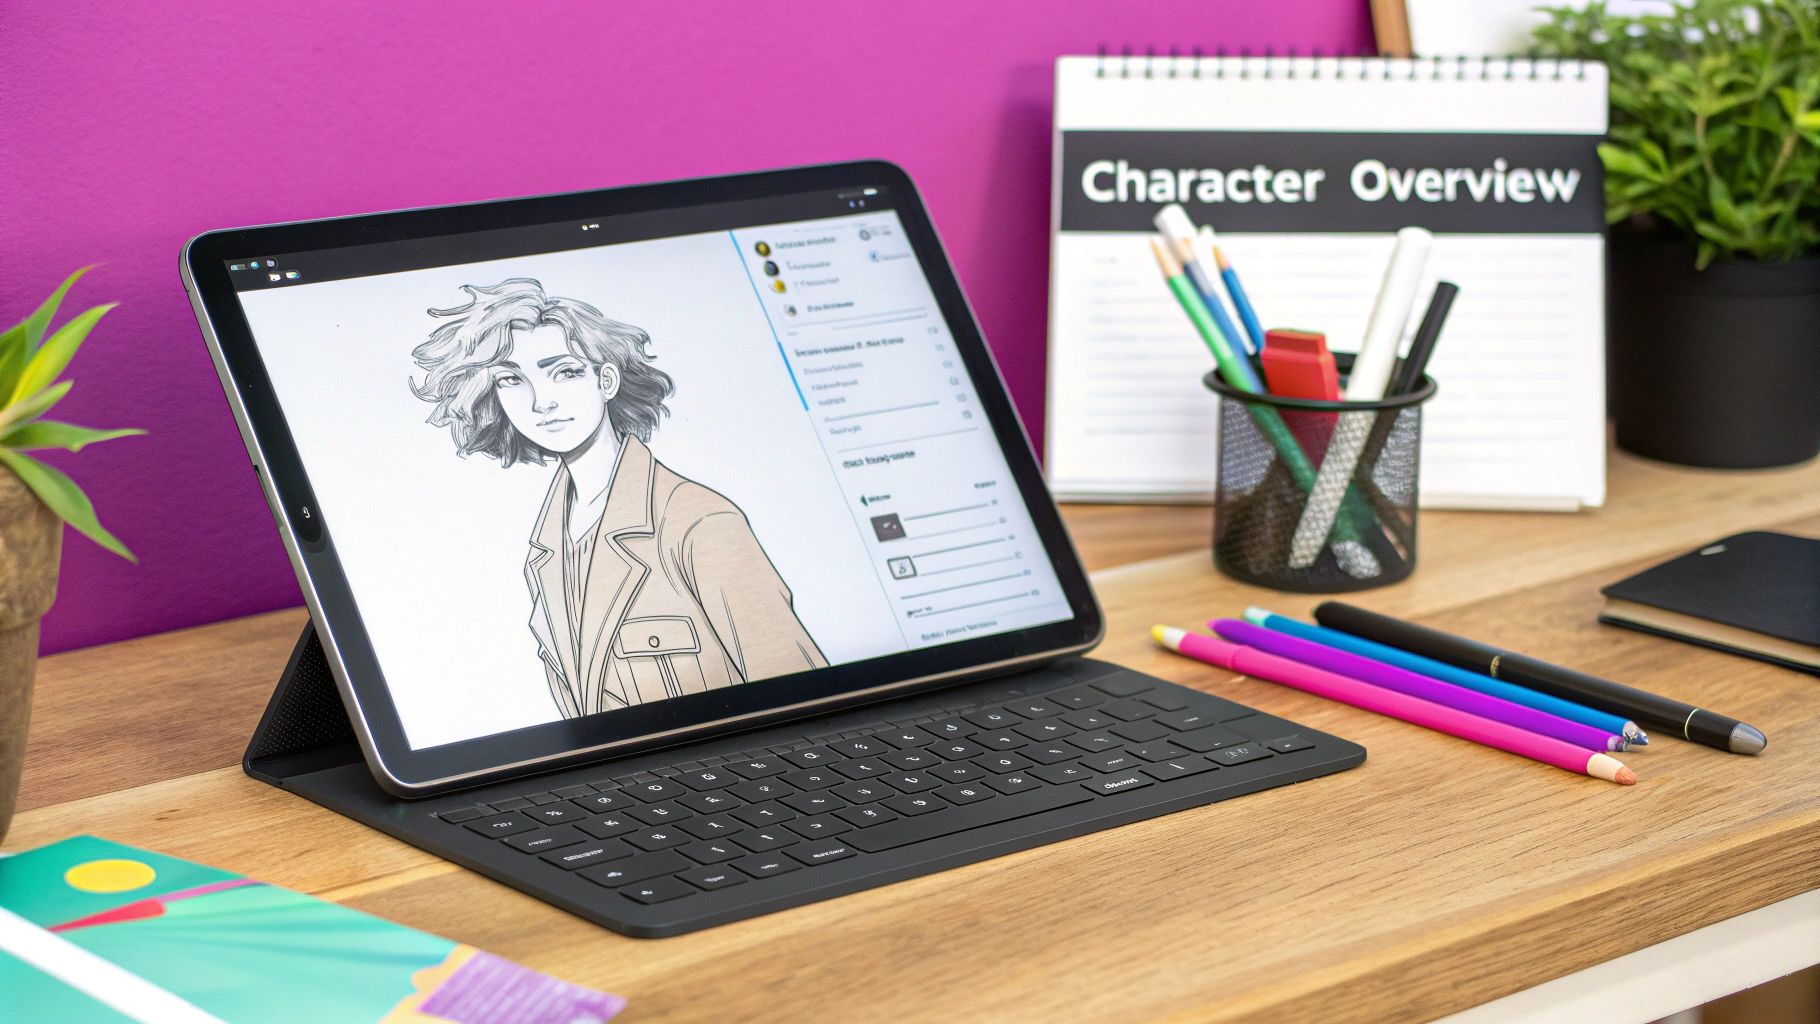
Before you generate a single image, you need to get your head around why this document is the foundation of almost any creative project. It’s the single source of truth for your character’s appearance. Period. This sheet establishes the definitive visual guide that guarantees consistency, which is absolutely vital whether you’re a solo artist or part of a huge team building an animated series.
That core job—maintaining consistency—has never been more important. We live in a world where a character can pop up in a video game, a webcomic, on merchandise, and in social media campaigns all at once. A solid reference sheet is the only thing preventing that character from looking slightly different in each one. It ensures your character is always recognizable, no matter who’s drawing them or where they show up.
The Evolution From Classic Animation to Digital Assets
This idea isn't new. Character reference sheets, often called "model sheets," have been a staple in animation and gaming since the early 1900s. Back in the golden age of animation, studios like Disney relied on them to keep icons like Mickey Mouse looking consistent across dozens of different animators. The groundbreaking quality of films like Snow White and the Seven Dwarfs (1937) was only possible because of these detailed guides. You can learn more about the history of character model sheets and see just how deep their roots go.
Today, these documents have evolved from hand-drawn pages into dynamic digital assets, and their applications are broader than ever:
- For Indie Game Developers: The ref sheet is the roadmap for creating 2D sprites or 3D models, making sure the final in-game character is a perfect match for the original concept.
- For Webcomic Artists: It’s a personal bible that keeps characters from slowly changing shape or proportion over hundreds of panels.
- For Marketing Teams: A clear sheet allows different designers to create promotional materials that stay perfectly on-brand.
- For AI Creators: And for us, it’s the visual data we feed the machine. It’s what we use to craft prompts that generate consistent images, turning an idea into a reproducible digital person.
A character reference sheet is so much more than a collection of drawings; it's a communication tool. It translates the abstract idea of a character into a concrete, actionable guide that empowers collaboration and preserves your creative vision.
When you see it this way, you realize just how powerful AI tools have become. What used to be an intense, time-consuming process that demanded serious artistic skill is now within reach for every writer, world-builder, and creator out there. You can build a professional-grade character reference sheet without being a master illustrator, completely changing the game for modern storytelling.
Building Your Character's Core Concept
Before you even think about writing a prompt, stop. A great character reference sheet doesn’t start in an AI tool; it starts with a rock-solid idea of who your character is, inside and out.
If you jump straight into an AI generator with a vague concept like "a fantasy elf," you’re signing up for a world of frustration. You'll get generic, inconsistent images that feel like they belong to a dozen different characters. The real secret to making the AI work for you is to do the foundational work first.
Think of this prep phase as creating a "prompt bible" for your character. You're building a detailed profile that translates their entire essence into a library of powerful, specific keywords. This document becomes your guide for every single image you generate, ensuring each one feels authentic.
Translating Personality into Prompts
Looks are only half the story. To truly bring a character to life, you have to know who they are on the inside. Their personality, backstory, and motivations are what dictate how they look and carry themselves.
Is your character a grizzled war veteran? Their posture will probably be rigid, their expression a perpetual scowl, and their face will be a roadmap of scars. On the flip side, a cheerful, wide-eyed adventurer is going to have a much more relaxed stance and expressive features.
Start by jotting down their core personality traits. Here are a few things to think about:
- Core Demeanor: Are they confident, shy, arrogant, or anxious? Use descriptive words like brooding, joyful, pensive, or intimidating.
- Key Motivations: What gets them out of bed in the morning? A character driven by revenge will have a fire in their eyes that’s completely different from one motivated by a desire to protect their family.
- Backstory Elements: A tough life on the streets might lead to weathered skin and wary eyes, whereas a life of luxury could mean immaculate clothing and a soft, unblemished complexion.
The goal here is to get hyper-specific. Don't just settle for "sad." Define the type of sadness. Is it a quiet, melancholic sorrow or a fiery, resentful grief? This is the level of detail that gives an AI the direction it needs to create something truly special.
Building Your Visual Keyword Library
Once you've nailed down the character's core identity, it's time to build the visual language the AI will understand. This is where you translate all those abstract traits and physical descriptions into a concrete, organized list of keywords.
Grouping these keywords by category is a lifesaver. It keeps your prompts tidy and makes it much easier to maintain consistency from one generation to the next. The better your "prompt bible," the more consistent your results.
Let's walk through how to translate a character idea into a set of keywords the AI can actually work with.
Translating Character Concepts into AI Prompts
A keyword library is your most powerful tool for consistency. By defining these attributes upfront, you create a reusable cheat sheet that ensures every image aligns with your vision. This table breaks down how to turn high-level concepts into concrete, repeatable prompt keywords.
| Attribute Category | What to Define | Example Keywords for Prompts |
|---|---|---|
| Physical Build | Height, weight, muscle tone | slender frame, wiry muscles, agile build, broad-shouldered |
| Facial Features | Eye shape, nose, jawline | sharp cheekbones, aquiline nose, piercing blue eyes, square jaw |
| Hair | Style, color, texture | cropped silver hair, undercut, slight wave, braided auburn hair |
| Unique Marks | Scars, tattoos, birthmarks | cybernetic tattoo on left arm, small scar over right eyebrow, freckles |
| Clothing Style | Type of clothes, materials | tactical jumpsuit, worn leather jacket, fingerless gloves, silk robes |
| Color Palette | Main colors for outfit/look | muted grays, cobalt blue accents, black, earth tones, pastel pink |
This detailed library is your ultimate weapon. When you start generating images, you'll pull from these exact keywords over and over. This disciplined, organized approach is, hands down, the most effective way to create a believable character reference sheet using AI.
Bringing Your Character to Life with AI-Generated Poses
Alright, this is where the magic happens. We’re taking that carefully crafted character concept and feeding it to the machine to generate the core visuals for your reference sheet. The biggest hurdle you're going to face right away is visual consistency—the notorious weak spot for most AI art tools. But don't worry, with a solid workflow, you can absolutely nail it.
Success here isn’t about just cranking out pretty pictures. Think of it more like producing a set of cohesive, technical illustrations. A disciplined, methodical approach is your best friend.
One of the best tricks is to lock in a specific seed number if your tool supports it. This helps anchor the AI's randomness. Using that same seed for every single pose variation dramatically boosts your chances of keeping your character's key features intact from one image to the next.
Don't sleep on the negative prompt, either. Use it aggressively to filter out common AI weirdness and unwanted traits before they even show up. For example, a negative prompt like blurry, distorted hands, extra fingers, mismatched eyes, asymmetrical face, watermark does a ton of heavy lifting to clean up your generations. It’s just as important as telling the AI what you do want.
Mastering the Turnaround
The absolute cornerstone of any character ref sheet is the turnaround. We're talking front, side, and three-quarter views. The whole point is to generate these poses while keeping the character's design perfectly identical across all of them.
This calls for a structured prompting strategy. Start with the core character description from your "prompt bible" and only tweak the part that defines the pose.
- Front View:
full body character turnaround, straight-on front view, T-pose, neutral expression, plain white background... [your character keywords] - Side View:
full body character turnaround, side profile view, T-pose, neutral expression, plain white background... [your character keywords] - Three-Quarter View:
full body character turnaround, three-quarter view, T-pose, neutral expression, plain white background... [your character keywords]
See how everything but the view angle stays exactly the same? That level of discipline is the secret sauce for a coherent turnaround. If you need a little more creative spark for your base prompt, check out our guide on the 25 best prompt ideas for AI image generators.
Pro Tip: Never settle for the first image. Generate a whole batch—at least 5-10 options—for the front view first. Pick the one that truly nails your vision, and then use its seed number (if you can) to generate the other angles. This builds your entire turnaround on a strong foundation.
This workflow shows how the initial concept work you do flows directly into the quality and consistency of the final poses. It’s all connected.
Injecting Personality with Expressions and Poses
Once you've got the static turnaround locked in, it's time to let your character's personality shine through. A great reference sheet shows who the character is, not just what they look like. Stick with the same base prompt and seed number, but now you can start swapping in emotional and dynamic keywords.
For instance, to really show who your character is, you could try prompts for things like:
upper body portrait, sly smirk, looking at viewerfull body action pose, leaping forward, determined expressionheadshot, looking downcast, sorrowful expression
These extra shots are what breathe life into the design. They give animators, illustrators, or anyone else using your ref sheet a much deeper understanding of the character's emotional range and physicality. By building everything systematically from that consistent base, you end up with a genuinely powerful and professional creative tool.
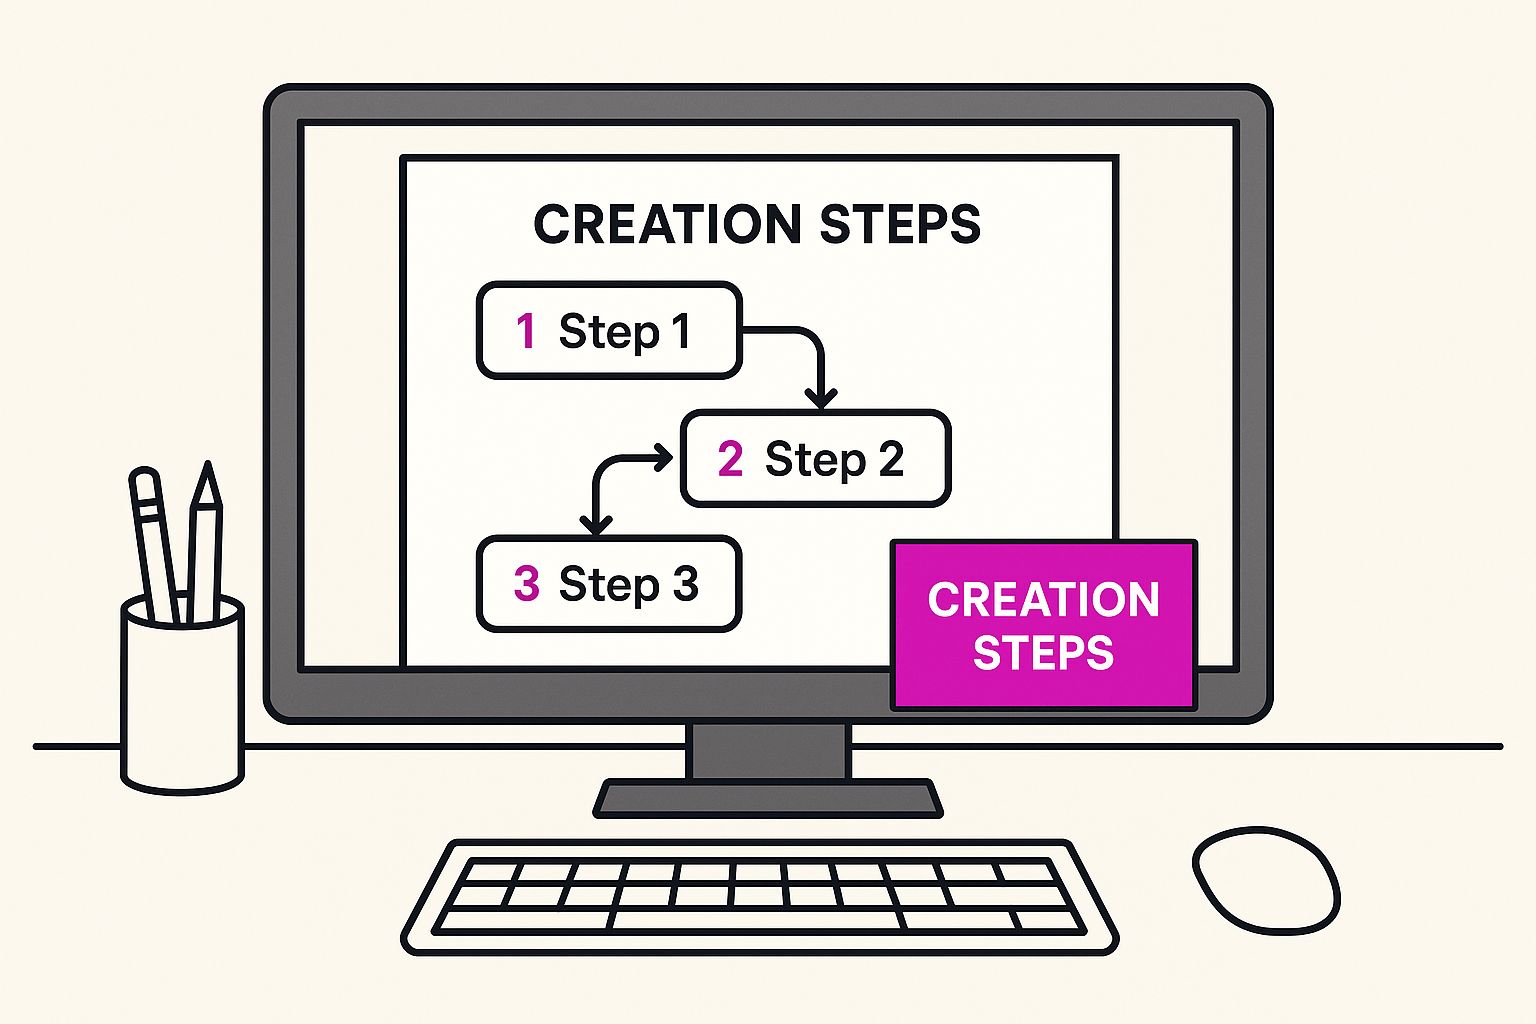
Putting It All Together: Your Professional Reference Sheet
Alright, you've run your prompts and now you've got a folder full of raw AI images. That's the first hurdle cleared, but the real magic happens next. It's time to sift through that collection and build a clean, professional character reference sheet. This is where you turn a bunch of pixels into a genuinely useful guide for yourself or any artist you're working with.
First things first: you have to be a ruthless curator. I know it's tempting to keep every cool-looking image, but consistency is king. Go through your generations and pick out only the ones where the AI truly nailed your character's look—the facial features, the hairstyle, the little details on their outfit—across every single pose.
Honestly, it’s far better to have three rock-solid, consistent poses than ten that are just "kinda close." You can fix minor weirdness later, but if the core design is wobbly from one image to the next, the whole sheet falls apart.
Refining and Polishing Your Best Shots
Once you’ve cherry-picked the winners, it's time for a little digital cleanup. You don't need to be a Photoshop wizard for this part. Basic tools like GIMP, Canva, or even your favorite photo editor can do the trick.
Your goal here is to hunt down and correct those small but distracting AI artifacts. I'm talking about things like:
- Fixing a slightly wonky or asymmetrical eye.
- Cleaning up a seam on a shirt that looks a bit melted.
- Color-correcting images so the palette is identical across the board.
- Erasing any bizarre background blobs the AI decided to add.
Think of this as quality control, not a complete do-over. Just a few strategic tweaks can take your sheet from a messy AI image dump to a polished, professional tool that's ready for any project.
Structuring Your Layout for Maximum Clarity
With your images curated and cleaned up, the last piece of the puzzle is the layout. How you arrange everything on the page is critical. A clean, organized sheet is non-negotiable if you want it to be useful.
I always start by placing the core turnaround poses—front, side, and three-quarter view—right in the middle or across the top. They're the most important, so give them prime real estate. Then, you can arrange the other shots, like different facial expressions or cool action poses, around them.
To make your sheet truly bulletproof, you need to add a few key details:
- Color Swatches: Drop in some small boxes filled with the exact hex codes for your character’s main colors (skin, hair, eyes, clothes, etc.). This is a lifesaver for keeping colors consistent.
- Annotations: Use simple arrows and text boxes to call out important stuff. Is that a specific tattoo? A scar with a backstory? The exact material of their jacket? Point it out.
- Character Notes: Add a small text block with the basics: name, age, height, and maybe a one-sentence blurb about their personality.
This level of detail means anyone—an animator, a 3D modeler, or even just you six months from now—can look at the sheet and get the character instantly. If you're making assets for a game, these same principles are essential when you move on to creating an AI character sprite sheet, which has its own unique layout demands.
Using Your Sheet to Expand Your Character's World
Alright, you’ve got your newly minted character reference sheet. Don't just stick it in a folder and admire it—that sheet is a launchpad for everything that comes next. Think of it as your character's visual DNA, a blueprint you can now use to drop them into entirely new worlds and situations without losing what makes them them. This is where a static design transforms into a dynamic, living asset for your creative work.
The whole process boils down to treating your core prompt—the one that finally nailed your character's look—as a foundational template. You'll keep the most critical descriptors locked in place (like their facial structure, hair, and key physical traits) while strategically swapping out other elements. It's a surprisingly powerful and modular approach.
Adapting Your Character for New Scenarios
Want to see your stoic space marine in formal wear? Or maybe your whimsical fantasy rogue needs to gear up for a heist? It's all about modifying that base prompt. Just take the exact prompt that gave you your best turnaround pose, then simply change up the clothing description.
Let's say your original prompt included something like worn leather jacket, tactical pants. You could easily adapt it for different scenes:
- For a formal event:
wearing a tailored black tuxedo, crisp white shirt - For a new environment:
wearing a heavy winter parka, snow-dusted boots - For an alternate style:
cel-shaded comic book art style, bold outlines
This same trick works for placing them in new environments, too. Keep the character part of the prompt identical, but add detailed background descriptions. These kinds of contextual visuals are perfect for creating stunning digital product images, where the setting is just as important as the subject.
The real magic of a well-defined character reference sheet is its ability to lock in consistency, even when the context changes completely. It’s the anchor that lets you experiment freely without losing your character's recognizable soul.
Fueling a Larger Creative Ecosystem
This level of adaptability is precisely why character reference sheets are such a critical tool in major creative industries. Just look at the global animation market—a sector that absolutely relies on this kind of consistency—which has swelled to over $270 billion. In massive industries like game development, which contributes over $200 billion globally, detailed model sheets are the bedrock for building the vast libraries of characters needed for immersive worlds. You can dig into more of this data over at Grand View Research.
This is where your sheet stops being just a design and becomes a cornerstone for much larger projects. You can generate art for a webcomic, create marketing materials for a game, or even develop a whole series of character portraits for a novel. Each new image you create builds upon that established visual identity, strengthening your character's presence and their world.
By treating your reference sheet as a starting point, you move from simply designing a character to actively developing their story. You're building a robust, flexible asset that can grow right alongside your project, ensuring every new piece of art feels like a natural extension of your original vision.
Got Questions About AI Character Creation?
Diving into AI for your creative work is exciting, but it's not without its quirks. When it comes to making a solid character reference sheet, a few common hurdles always seem to pop up. Don't worry, though—once you know the tricks, they're surprisingly easy to clear. Let's get into the questions I hear most often.
Getting a consistent face across a dozen different images is, without a doubt, the big one. The secret isn't one magic button but a mix of smart prompting and a little cleanup work afterward.
How Do I Keep a Character's Face Consistent?
This is the holy grail of AI character design, and it's also the toughest part. Your best bet is to start by locking in a seed number if your AI tool allows it—this tells the AI to start from the same random point every time, which helps a ton.
Next, get brutally specific with your facial descriptions in every single prompt. I'm talking eye color and shape, nose type, jawline, any unique marks like scars or freckles. You need to nail down that core description and keep it identical across every generation, only changing the parts about the pose or expression.
Finally, don't be shy about post-production. A little time in an editing app can work wonders. You might just need to tweak a minor detail, or you could even composite the one perfect face you generated onto other poses to get a flawless result.
What Are the Biggest Mistakes to Avoid?
The number one mistake I see is jumping in with a vague idea and even vaguer prompts. If you just type "red-haired elf warrior," you're setting yourself up for a mess of generic, inconsistent images. You need a clear concept first.
Another classic pitfall is not generating enough options. Volume is your best friend here. You need a big batch of images to sift through so you can pick out the absolute best, most consistent ones to build your character reference sheet from.
Lastly, so many creators forget about the power of negative prompts.
Telling the AI what you don't want is just as important as telling it what you do. Simple additions like 'blurry, distorted hands, extra fingers, mismatched eyes' can save you hours of frustration. It’s a game-changer.
Can I Generate a Character in a Specific Style?
Absolutely, but it’s crucial to do it the right way. While prompting "in the style of [living artist's name]" might seem like a shortcut, it opens up a huge can of ethical and copyright worms.
A much better (and more creative) approach is to describe the style itself. Instead of naming a famous animation studio, try prompting with descriptive terms. Think ‘charming anime style, painterly watercolor backgrounds, soft lighting, whimsical.’ This lets you capture a specific aesthetic, create something far more original, and respect the work of other artists.
Ready to stop wrestling with prompts and start creating? Bulk Image Generation lets you generate up to 100 consistent images in seconds, giving you the perfect assets for your next character reference sheet. Try it now and bring your vision to life faster than ever before at https://bulkimagegeneration.com.