How to Blend 2 Pictures Like a Pro

Aarav Mehta • October 17, 2025
Learn how to blend 2 pictures for stunning results. Our guide covers AI-powered workflows and manual techniques for creating seamless composites.
Knowing how to blend two pictures was once a painstaking craft, demanding hours of manual work in a darkroom. Today, AI tools can create seamless composites in seconds. But the core idea hasn't changed: it's all about merging elements from multiple images to create a single, cohesive visual story. It's a journey from darkroom chemistry to intelligent algorithms.
The Art of Combining Images: Then and Now
Long before digital software, the concept of blending images was born from creative necessity. Early filmmakers and photographers experimented with techniques like double exposure and compositing, manually layering negatives in darkrooms to merge scenes. It was a true craft, one that required immense patience, skill, and a bit of luck to get just right.
This foundational idea has surprisingly deep roots. One of the earliest examples dates back to 1899, when Edward Raymond Turner patented a color motion picture system. His method involved projecting separately filmed color frames at the same time to form a single full-color image. You can actually explore more about this foundational film technology to see how these early concepts paved the way for the tools we use today.
From Darkrooms to Desktops
The shift from the chemical bath to the computer screen really took off with the arrival of digital technology, particularly the charge-coupled device (CCD) sensor. This gave artists a level of control that was previously unimaginable, allowing for pixel-level adjustments. Instead of physically layering film, creators could now use digital layers, masks, and opacity settings to achieve far more sophisticated results.
This evolution wasn't just about better tools; it was about democratizing creativity. What once took a specialist hours in a dedicated darkroom could now be attempted by anyone with a personal computer.
The AI Revolution in Image Blending
Today, we're at another major turning point. AI-powered workflows have automated the most tedious parts of image blending. These smart systems can analyze the lighting, color, and texture of two different pictures and merge them seamlessly with minimal human input.
This is a game-changer. It allows creators to focus on the artistic vision rather than getting bogged down in the technical execution, making it easier than ever to produce stunning, professional-quality composites.
Foundations of Digital Image Blending
The jump from physical film to digital pixels completely changed the game, handing creators a level of control that photographers from an earlier era could only dream of. Getting a handle on how to blend two pictures digitally is essential, whether you're using a slick AI workflow or doing it the old-school way in an editor. These core ideas are the engine behind every composite image you see.
The entire world of digital image manipulation really kicked off with the invention of digital imaging sensors. The charge-coupled device (CCD), which first appeared back in the late 1960s, was the breakthrough that finally let us blend images algorithmically, pixel by pixel. This move from physically layering film to software-driven edits opened up a whole new creative universe.
The Three Pillars of Blending
At the very heart of any digital blend, you'll find three fundamental concepts. Once you get these down, you have the power to create composites that are not just cool, but believable.
- Layers: Just think of layers as transparent sheets stacked on top of each other. Every image or adjustment you make gets its own sheet. This is huge because it means you can tweak one element without messing up everything else.
- Masks: A layer mask is basically a stencil for your layer. It lets you selectively hide or show parts of that layer with surgical precision. When you paint black on a mask, you hide what's on that layer; white brings it back. This gives you pinpoint control over what parts of each picture show through.
- Opacity: This one’s pretty straightforward—it controls how see-through a layer is. At 100% opacity, the layer is solid and completely visible. At 0%, it's totally invisible. Playing with opacity is the simplest, quickest way to get a subtle blend between two images.
These three elements—layers, masks, and opacity—are the bedrock of all digital blending. Understanding how they interact is way more important than memorizing any single software feature.
To truly take your skills to the next level, a good grasp of basic design is a massive help. Knowing about color theory principles like split complementary colors can make your final image feel much more harmonious and impactful.
On a practical note, always make sure your images are the right size before you start. It’s a crucial first step that’s easy to overlook but saves a ton of headaches. You can use our free bulk image resizer to get that sorted in no time. With these basics covered, you’re ready to tackle just about any blending project.
Your AI-Powered Blending Workflow
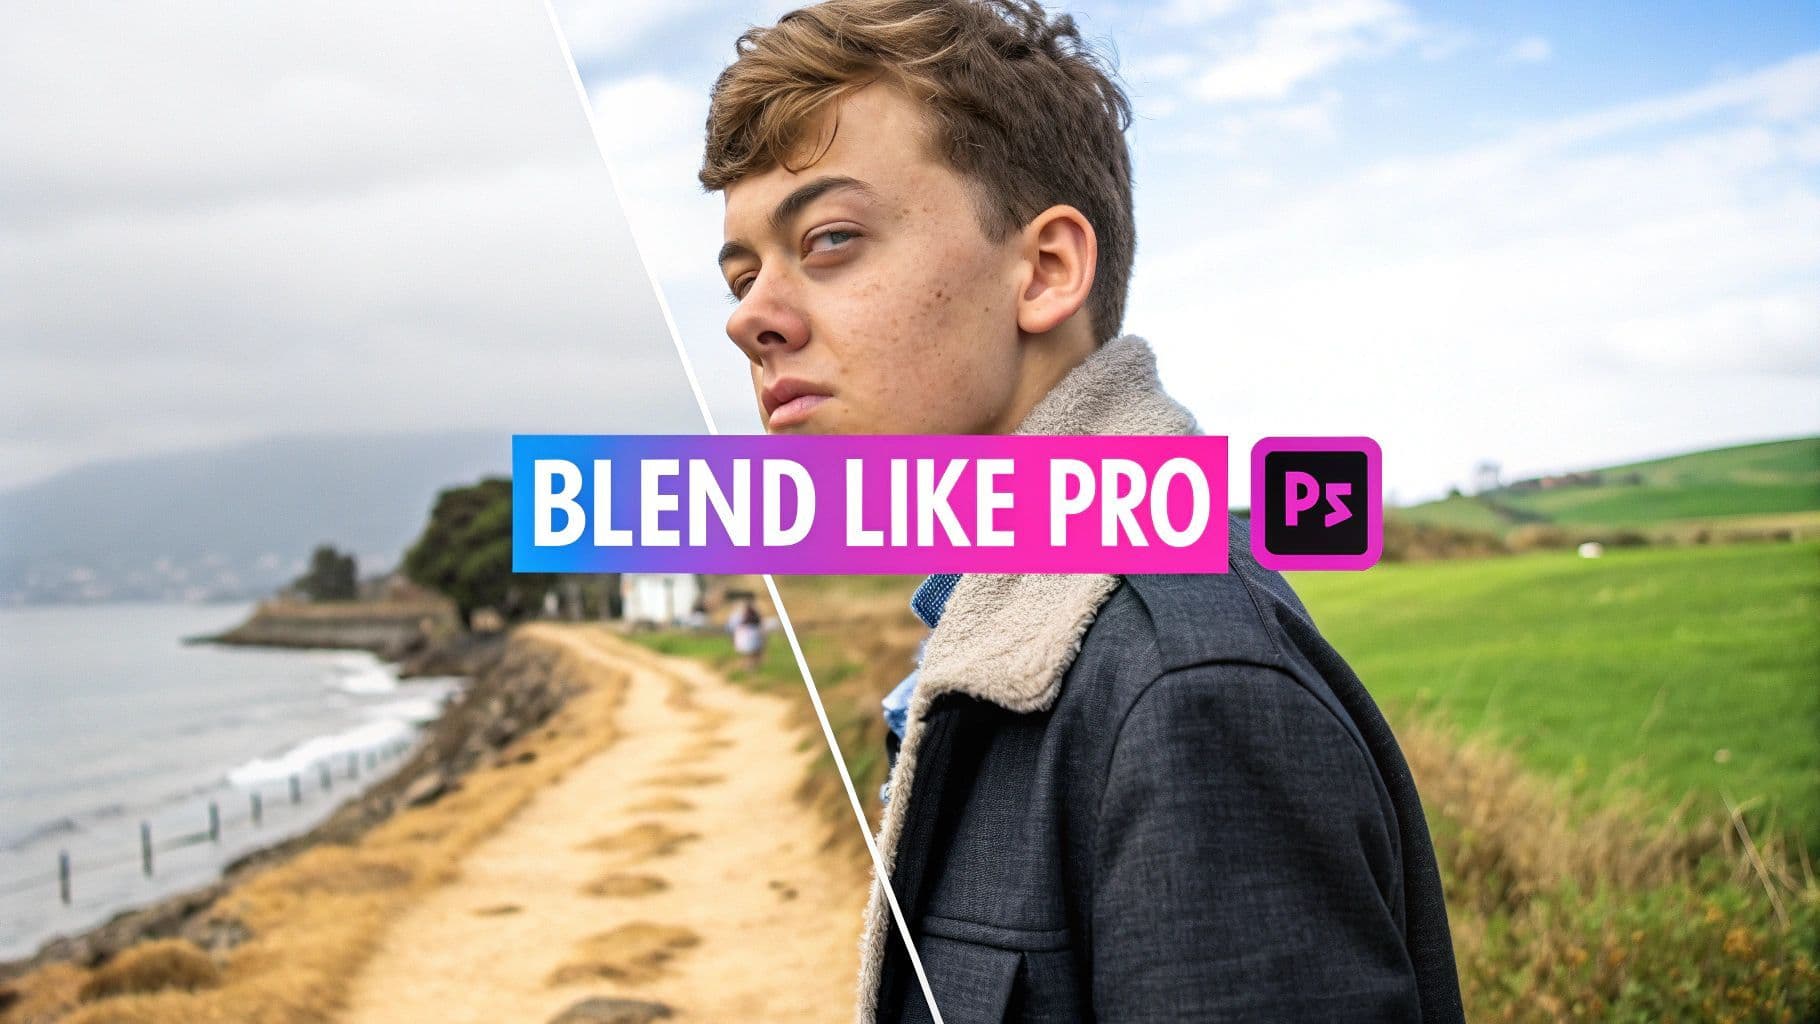
Jumping into an AI workflow for blending pictures is less about tedious technical edits and more about being a creative director. Forget getting lost in manual selections and layer masks; your main job is to communicate your vision. We’ll walk through this by blending a portrait with a dramatic landscape—a classic combo for creating eye-catching social media posts or personal art.
Let's say you have a crisp portrait and a separate photo of a misty, atmospheric forest. The goal isn't just to paste the person on top of the woods, but to make it look like they were actually there.
Choosing Compatible Source Images
The final blend is only as good as the images you start with. Even the smartest AI will stumble if it's trying to merge photos with wildly different lighting or clashing perspectives.
- Lighting Harmony: Make sure your portrait and landscape share similar lighting. If the portrait has harsh, direct sun and the forest is filled with soft, diffused light, the AI will have a tough time making it look believable.
- Consistent Perspective: The camera angles need to line up. A portrait shot from a low angle will look completely out of place in a landscape captured from high above.
- Resolution and Quality: High-resolution images are a must. Starting with sharp, clear photos gives the AI more data to work with, which means a cleaner, more detailed result.
To help visualize the process, here's a quick breakdown of the core stages.
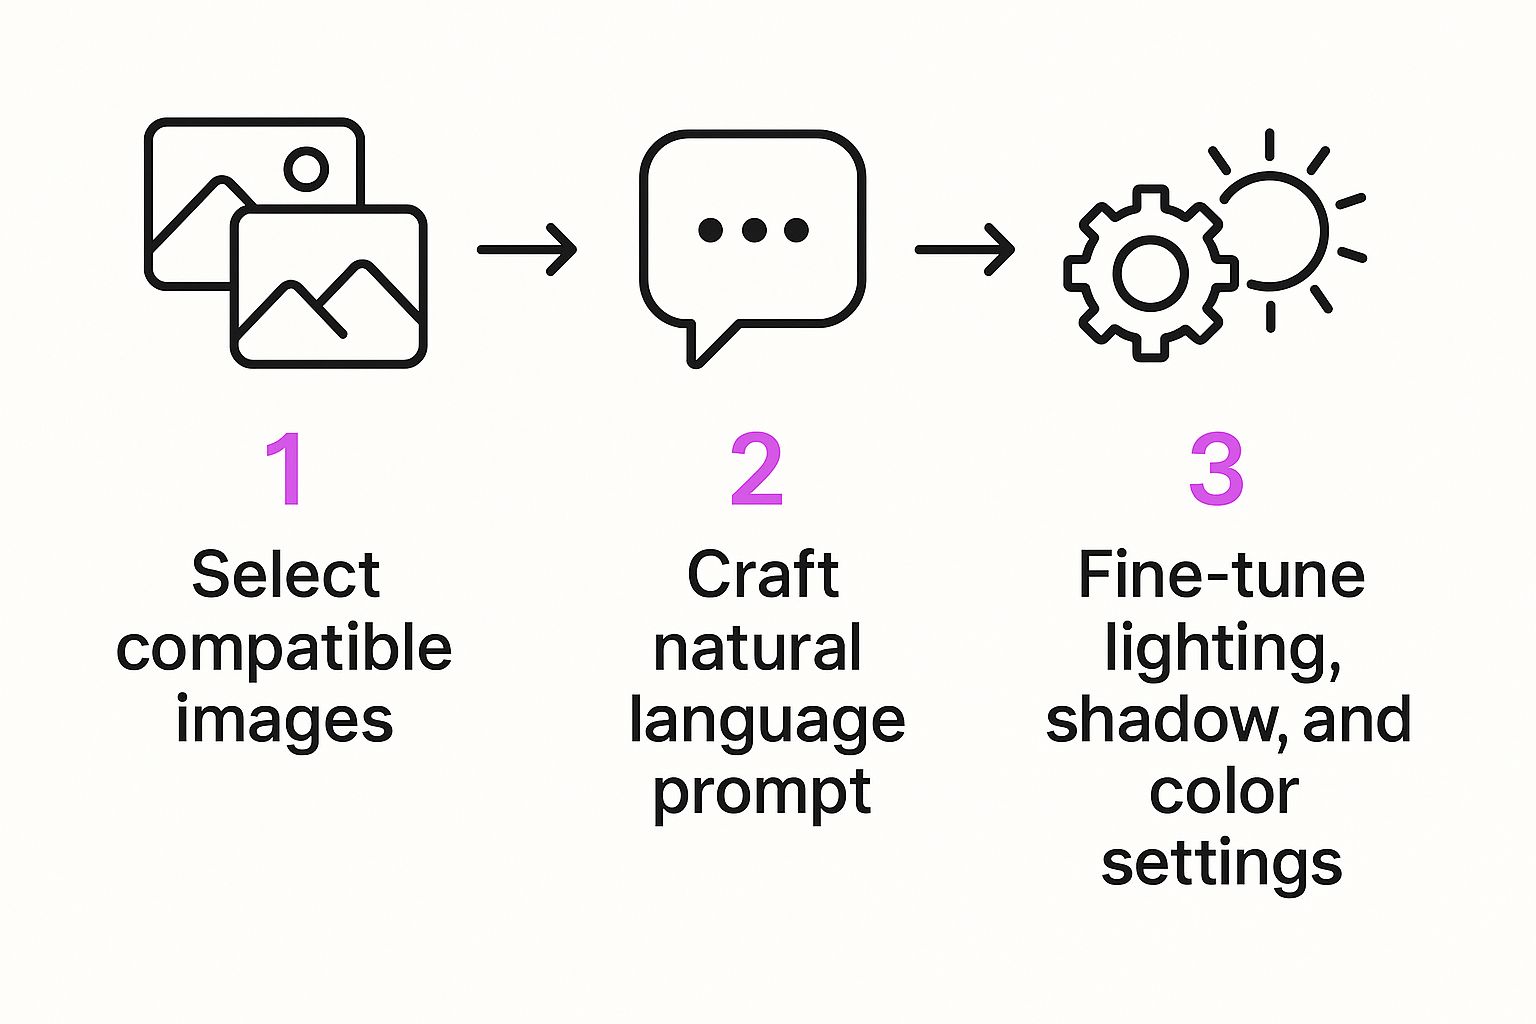
As you can see, it’s a straightforward flow: pick your ingredients, guide the AI with your instructions, and then polish the final result. It’s that simple.
To give you a clearer picture, here’s a quick summary of the workflow.
AI Blending Workflow at a Glance
This table breaks down the key stages in the AI blending process, showing what you need to do and why it's important.
| Stage | Action Required | Key Goal |
|---|---|---|
| 1. Image Selection | Choose high-quality source images. | Ensure lighting, perspective, and resolution are compatible. |
| 2. Prompt Crafting | Write a detailed, descriptive text prompt. | Give the AI specific creative direction for the blend. |
| 3. AI Generation | Upload images and the prompt to the tool. | Let the AI perform the initial merge based on your instructions. |
| 4. Fine-Tuning | Adjust settings like blend strength & style. | Refine the composite until it matches your vision perfectly. |
By following these steps, you can move from two separate images to a seamless, professional-looking composite in just a few minutes.
Crafting the Perfect Prompt
Once you’ve uploaded your portrait and forest pictures into a tool like Bulk Image Generation, the real magic happens in the text prompt. This is where you tell the AI exactly what you want. A lazy prompt gets you a generic result, but a specific one gives you true creative power.
Instead of just typing "blend these two pictures," get descriptive:
"Seamlessly blend the portrait into the misty forest background. The person should appear as if they are standing among the trees. Match the cool, soft lighting of the forest and add a subtle atmospheric haze around their figure for a photorealistic effect."
This prompt gives the AI specific directions on lighting, integration, and atmosphere. If you’re ever stuck, a free AI image prompt generator can be a great place to find inspiration and learn how to structure more effective requests.
Fine-Tuning with AI Settings
Most modern AI tools come with settings that give you more granular control. Think of them as digital dials you can turn to get the blend just right.
- Blend Strength: This setting controls how dominant each image is. A low setting might ghost the portrait into the background, while a high setting makes the person look solid and prominent. For our forest scene, starting around 75% is probably a good bet.
- Style Influence: This slider tells the AI how much of the second image’s artistic style—like its color palette or texture—to apply to the first. It’s perfect for making sure the colors from the forest scene bleed naturally into the portrait.
- Negative Prompts: Use this field to tell the AI what to avoid. Adding terms like "unrealistic edges, harsh lines, mismatched colors" can help steer it away from common blending mistakes.
The fact that these features are so accessible is a huge deal. By 2023, around 3.6 billion smartphone users had access to camera apps with some form of AI-powered editing—that's over 45% of the world's population. These algorithms use deep learning to automatically adjust color, light, and texture to create a coherent final image.
For those who want to go deeper, understanding the reverse image to prompt process for AI art generation can seriously level up your skills by teaching you how to deconstruct any visual into an effective text command. Combine strong source images with a specific prompt and thoughtful settings, and you'll be creating professional-grade blends in minutes.
Choosing Your Tools: AI vs. Manual Blending
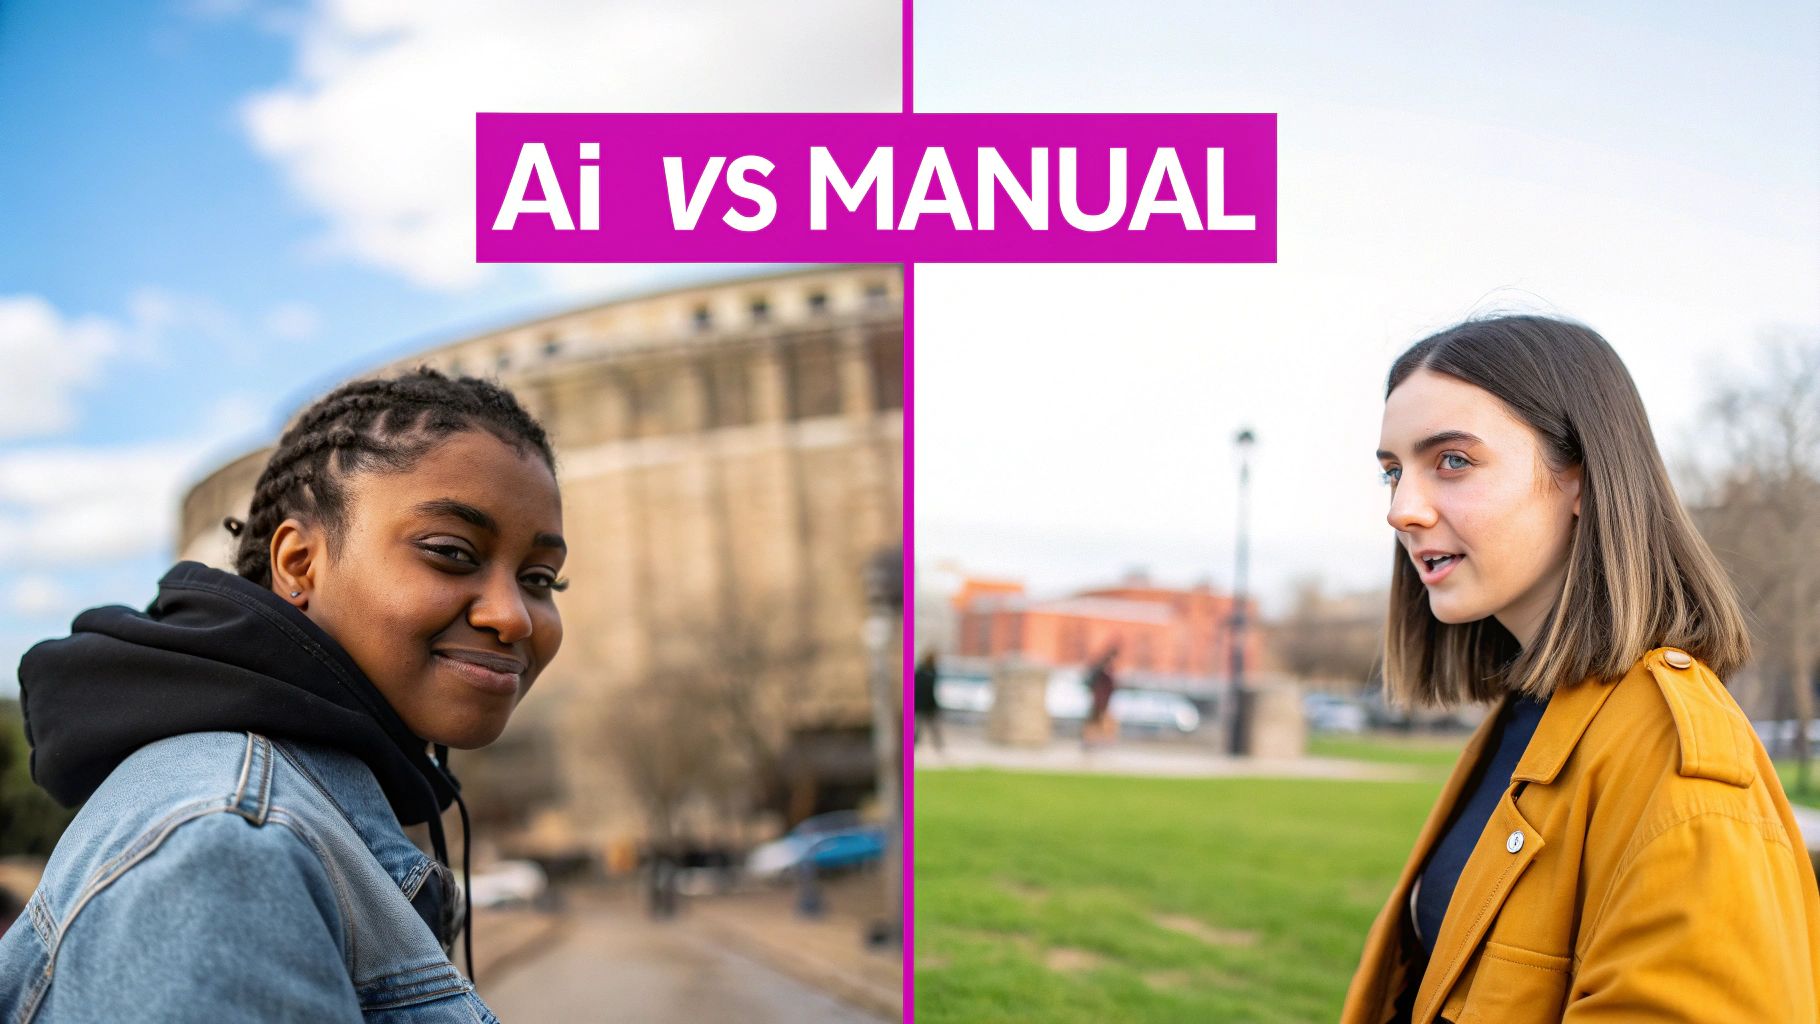
So, you’ve seen what an AI workflow can do. The big question now is, when do you actually use it over a powerhouse editor like Photoshop or GIMP? The honest answer? It really depends on what you’re trying to accomplish, your skill level, and how much time you've got on your hands. Each path has its own distinct perks when it comes to blending two pictures.
AI-powered tools are all about speed and simplicity. They take on the heavy lifting—things like color matching, lighting adjustments, and smoothing out edges—which makes them incredibly approachable, especially if you're just starting out. If you need to churn out a bunch of blended images for a social media campaign or a quick product mockup, the efficiency you get from AI is just unbeatable.
On the flip side, manual editors give you that granular, pixel-perfect control that AI can't always replicate. For high-stakes projects where every single detail is critical, professional artists and photographers will almost always lean into this hands-on approach. It definitely demands a solid understanding of layer masks and blending modes, but the creative ceiling is practically nonexistent.
Head-to-Head Comparison
To help you pick the right tool for the job, let's put these two methods side-by-side and see how they really stack up.
A quick look at the table shows there's no single "best" method. The right choice is always situational.
Comparison: AI vs. Manual Image Blending
| Feature | AI-Powered Blending | Manual Blending (e.g., Photoshop) |
|---|---|---|
| Speed & Efficiency | Extremely fast. Creates blends in seconds with minimal user input. | Time-consuming. Requires meticulous, manual adjustments for every detail. |
| Learning Curve | Very low. Often guided by simple, natural language prompts. | Steep. Demands a deep knowledge of layers, masks, and various tools. |
| Creative Control | Guided control. You direct the AI, but it makes the final edits. | Absolute control. You have the final say on every single pixel. |
| Consistency | High. Easily replicates a specific style across dozens of images. | Variable. Depends entirely on the user's skill, patience, and attention to detail. |
| Best For | Beginners, high-volume tasks, rapid prototyping, and social media content. | Professional retouching, fine art, complex composites, and unique creative projects. |
Ultimately, this isn't about one being better than the other; it's about what works for your specific task.
When to Choose AI
You should lean toward an AI tool when your main goal is getting things done fast without sacrificing quality. For marketers who need to generate dozens of ad variations or small business owners putting together product showcases, AI is a powerful ally. It completely removes the technical roadblocks, letting you focus on the creative idea itself.
An AI tool is like having a skilled assistant. You provide the vision and the raw materials, and it handles the meticulous, time-consuming labor of blending everything together seamlessly.
Modern platforms are making this process easier than ever. For example, our own AI image generator is designed to understand natural language, so you can just describe the outcome you want instead of fumbling around with technical tools.
When to Go Manual
Save the manual approach for projects that demand a unique artistic touch or absolute precision. If you’re building a portfolio piece, a fine art composite, or an image where the emotional punch hinges on subtle details, the control you get from manual editing is irreplaceable.
This path lets you make creative choices an algorithm might not even consider, like imperfectly blending textures for a grittier feel or hand-painting light for a more dramatic effect.
Of course, the best workflow might just involve both. You could use AI to generate a strong initial blend and then pull that image into a manual editor for those final, nuanced adjustments. This hybrid approach gives you the best of both worlds: the raw speed of automation and the fine-tuned precision of hands-on control.
Pro Tips for Creating Flawless Blends
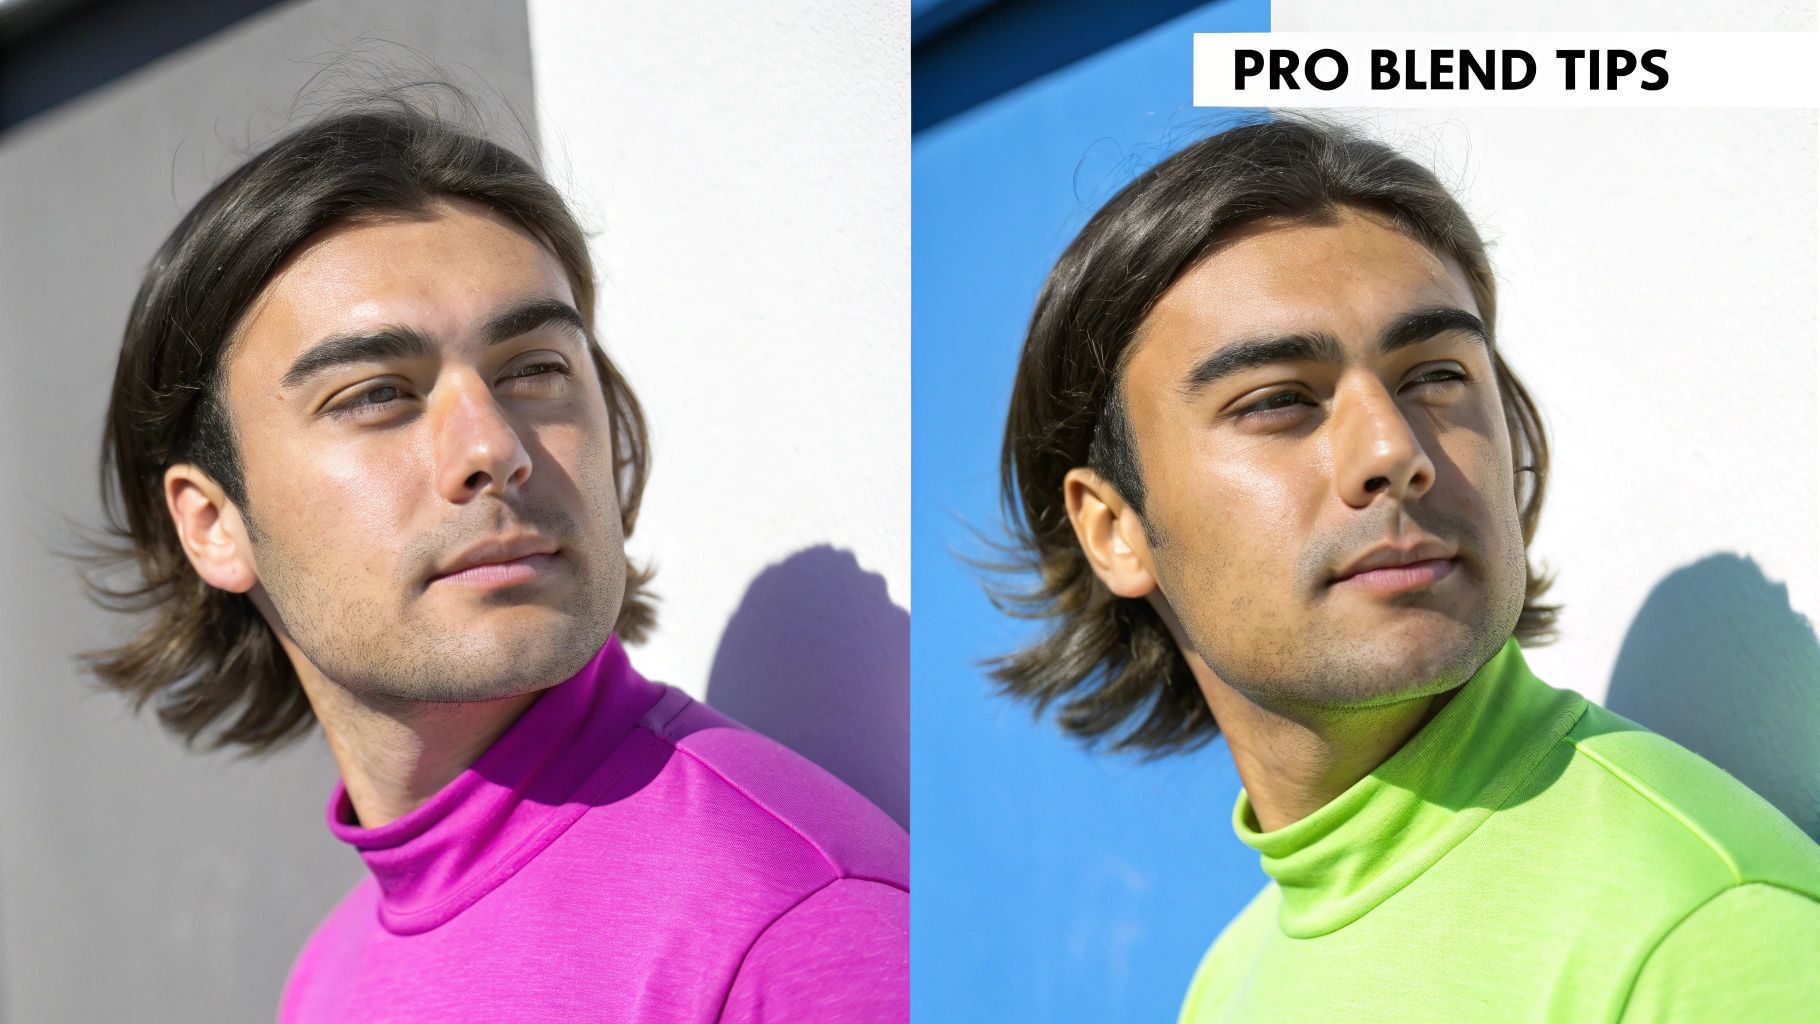
Knowing the basic steps to blend two pictures is just the start. The real magic happens when the final image looks so convincing that no one would ever guess it's a composite. To get there, you have to nail the fundamentals: light, shadow, and perspective.
The most common giveaway is mismatched lighting. If you try to drop a portrait shot in the harsh midday sun into a soft, golden-hour landscape, it’s going to look wrong. The shadows won't make sense, the color temperatures will clash, and the human eye will spot the fake instantly.
Aligning Perspective and Lighting
Before you even touch a tool, just put your two images side-by-side. Where is the light coming from in each one? Is it a sharp, direct light from the top right? Or is it soft and diffused from all around? Getting this right is honestly 80% of the battle for a believable blend.
Perspective is just as critical. A photo of a person taken from a low angle will look completely out of place when composited into a scene shot from high above. It breaks the illusion. Always try to find images captured from a similar viewpoint to create a cohesive final picture.
Harmonizing Colors and Textures
Next up is color. While AI is fantastic at matching color palettes, you’ll get much better results if you start with photos that already share a similar mood or color scheme. A subject bursting with vibrant colors will feel jarring against a muted, desaturated background unless that high-contrast look is exactly what you're going for.
Here’s a trick I use all the time to unify a composite: add a subtle texture or grain over the entire final image. It's a simple step, but it works wonders.
- Subtle Grain: A light dusting of film grain can hide minor imperfections and makes it feel like both elements were shot with the same camera.
- Atmospheric Effects: Adding a bit of haze or fog can soften hard edges and create a sense of depth, helping your subject settle into its new environment naturally.
These little touches are what tie everything together into a single, cohesive piece.
The goal is to make the viewer forget they're looking at a composite. Every element, from the direction of the light to the texture of the grain, should work together to sell the illusion.
Advanced AI Prompting Techniques
When you’re working with an AI image generator, your prompt is your paintbrush. Don't just give it simple commands; start thinking like an art director giving instructions on a film set.
One of the most powerful tools in your arsenal is the negative prompt. If your first attempt comes out with weird seams or artifacts, you can specifically tell the AI what to avoid. Try adding phrases like "—no hard edges, unrealistic seams, mismatched lighting" to your prompt to steer it away from those common mistakes.
You can also give the AI a specific artistic style to follow. Instead of just blending two images, tell it to blend them "in the style of a cinematic film still" or "with a soft, impressionistic feel." This gives the AI a clear creative target, ensuring the final output is not just a technical merge but a thoughtfully crafted piece of art.
Common Questions About Blending Pictures
As you start blending images, you'll quickly run into a few common questions. Seriously, almost everyone hits the same roadblocks. Getting a handle on these early on will save you a ton of frustration and help you create composites that actually look believable.
Let’s get into the most frequent hurdles people face. The quality of your final image really comes down to the raw materials you start with—it's that classic "garbage in, garbage out" situation. Even the smartest AI is going to have a hard time if your source files are a total mismatch from the get-go.
What Are the Best Types of Pictures to Blend Together?
The magic formula for images that blend well comes down to three things: similar lighting, compatible perspectives, and high resolution. For instance, if you try to merge a photo of someone under harsh, direct sunlight with a background bathed in a soft sunset glow, it’s almost guaranteed to look fake. The shadows will be all wrong, and the color temperatures just won't vibe.
Sure, AI is pretty amazing at correcting colors and balancing light, but you give it a massive head start by picking photos that are already in the same ballpark. It's also worth thinking about the subjects themselves. I've found that images with clear focal points or strong compositional lines tend to produce the most visually striking blends.
Can AI Blend Images in Different Styles?
Absolutely—and this is where things get really fun. You can smash a realistic photograph together with a classical painting to create something entirely new and unexpected. The real key here is your prompt.
Imagine you upload a modern portrait and a Van Gogh landscape. Your prompt becomes the creative director. You could tell the AI: "Blend the portrait into the landscape, adopting the thick, swirling brushstrokes and vibrant color palette of an impressionistic oil painting." The AI will then take those instructions and apply the stylistic DNA of one image onto the other.
The ability to fuse disparate artistic styles isn't just a cool party trick; it opens up a world of creative possibilities. You can generate visuals that would take an insane amount of time to create by hand.
How Do I Fix Seams or Weird Edges in My Blended Image?
Seeing a harsh line or a funky edge where your two images meet is a classic problem, but it's usually fixable. How you tackle it depends on whether you're using AI or a manual editor.
- In an AI Tool: Your first move should always be to tweak your prompt. Add phrases like “seamlessly integrated,” “photorealistic transition,” or “no hard edges” to give the AI clearer marching orders. You can also use negative prompts to specifically tell it what not to do.
- In a Manual Editor: If you’re in a program like Photoshop, your best friend is the layer mask. Grab a soft-edged brush, drop the opacity way down (around 10-20%), and gently paint over that hard seam. This technique lets you build up the transition gradually for a much more natural, invisible blend.
Ready to stop wrestling with manual tools and start creating stunning visuals in seconds? Bulk Image Generation uses advanced AI to help you blend images, generate unique content, and streamline your entire creative workflow. Try it now and see how easy it can be.