How to Change Aspect Ratio of an Image Without Cropping

Aarav Mehta • August 18, 2025
Learn how to change aspect ratio of an image easily with our simple guide. Keep your image quality intact while adjusting its proportions effortlessly.
Changing an image's aspect ratio is all about altering its shape. You’re not just resizing it; you’re fundamentally changing its dimensions, either by adding some space around the subject or using AI to cleverly extend the background. The goal is to avoid stretching or distorting the important parts of your photo.
You can tackle this the old-school way in photo editors by playing with the canvas size, or you can let an AI tool handle the heavy lifting for a much cleaner, seamless finish.
Understanding Aspect Ratio And Why It Matters
Before you start messing with your images, let's get clear on what an aspect ratio actually is. In simple terms, it's the relationship between an image's width and its height, always written as two numbers separated by a colon (like 16:9).
Think of it as the image's core shape. It’s what makes a square Instagram post (1:1) feel completely different from a widescreen YouTube video thumbnail (16:9).
The real trick isn't just plugging in new numbers. It's about making your image fit a new shape without it looking weird—no stretched faces or, even worse, chopping off someone's head. This has been a core concept in visual media for over a century. Early 35mm film made the 3:2 ratio a classic (which is why 4" x 6" prints are still so common), while movie theaters use wider formats like 1.85:1 to pull you into the action.
Why Different Ratios Are Necessary
Let’s be real: every platform wants your images in a different shape. That one photo you love probably needs to be reformatted for your website, your Instagram grid, and your latest email newsletter. The challenge is making sure the original shot looks great everywhere.
Here are a few situations I run into all the time:
- Website Banners: I often need to turn a standard vertical photo into a super-wide, panoramic banner for a website header, which is usually a 16:9 ratio or even wider.
- Social Media Posts: A single image has to work as a 1:1 square for the main Instagram feed, but then it needs to be adapted into a vertical 9:16 format for Stories or Reels.
- Print Projects: If you've ever tried to get a professional 8x10 print made from a smartphone picture, you know the struggle. You have to adjust its native 4:3 or 16:9 dimensions to fit without losing key details.
To help you get a handle on the most common formats, here's a quick reference table.
Common Aspect Ratios and Their Uses
This is a handy little guide to the most popular aspect ratios and where you'll typically find them. It makes picking the right one for your project a whole lot easier.
| Aspect Ratio | Example Resolution | Common Use Case |
|---|---|---|
| 1:1 | 1080 x 1080 px | Instagram posts, Facebook profile pictures, product thumbnails |
| 3:2 | 1080 x 720 px | Standard for DSLR photography and 4"x6" photo prints |
| 4:3 | 1024 x 768 px | Older monitors, smartphone photos, digital camera displays |
| 16:9 | 1920 x 1080 px | Widescreen video (YouTube, TV), website banners, presentations |
| 9:16 | 1080 x 1920 px | Instagram Stories, TikTok videos, mobile-first vertical content |
| 21:9 | 2560 x 1080 px | Ultrawide monitors, cinematic video, immersive gaming |
Knowing these standards helps you plan your shots and edits, ensuring your images always look their best, no matter the platform.
The key takeaway is this: mastering aspect ratio gives you control over your image's composition and presentation. It ensures your photos look intentional and professional, no matter where they are displayed.
You can see how important this becomes in practical scenarios, like when you're following a detailed DIY professional headshot guide and need to crop for LinkedIn versus a portfolio site. When you're ready to figure out the exact pixel dimensions for your next project, our handy aspect ratio calculator will do the math for you.
Traditional Methods for Changing Aspect Ratio
Before AI tools made resizing a one-click affair, changing an image’s aspect ratio meant getting your hands dirty in a classic photo editor. This old-school method gives you total control over the final image, making it a solid skill for any creator to have. It's especially useful for images with simple or uniform backgrounds where you can add space without a major editing headache.
The core idea isn't about cropping or stretching your image, which almost always leads to distortion. Instead, you're actually changing the dimensions of the canvas behind the image.
In a program like Adobe Photoshop, this is all handled by the Canvas Size tool. By expanding the canvas either horizontally or vertically, you create new, empty space around your original photo. Just like that, you’ve altered its overall dimensions and given it a brand new aspect ratio.
Filling in the Gaps Manually
Once you've added that new canvas area, you have to fill it in. You’ve got a few choices here, and the best one really depends on the image you're working with.
- Solid Color Fill: The simplest route. Just fill the new space with a solid color that complements your photo. This creates a clean, graphic look that works great for things like social media posts or simple website graphics.
- Gradient Fill: A step up from a flat color. A subtle gradient can add a bit of depth and make the new background feel more intentional and professional. It helps blend the original image into the new canvas more smoothly.
- Content-Aware Fill or Cloning: This is where the real magic happens. For a seamless look, you can use tools like Photoshop's Content-Aware Fill to have the software intelligently generate a matching background for you. Or, you can go fully manual with the Clone Stamp tool, copying parts of the existing background into the new space. This works best with simpler textures like skies, water, or grassy fields.
This graphic breaks down the basic process you'd follow in a photo editor.
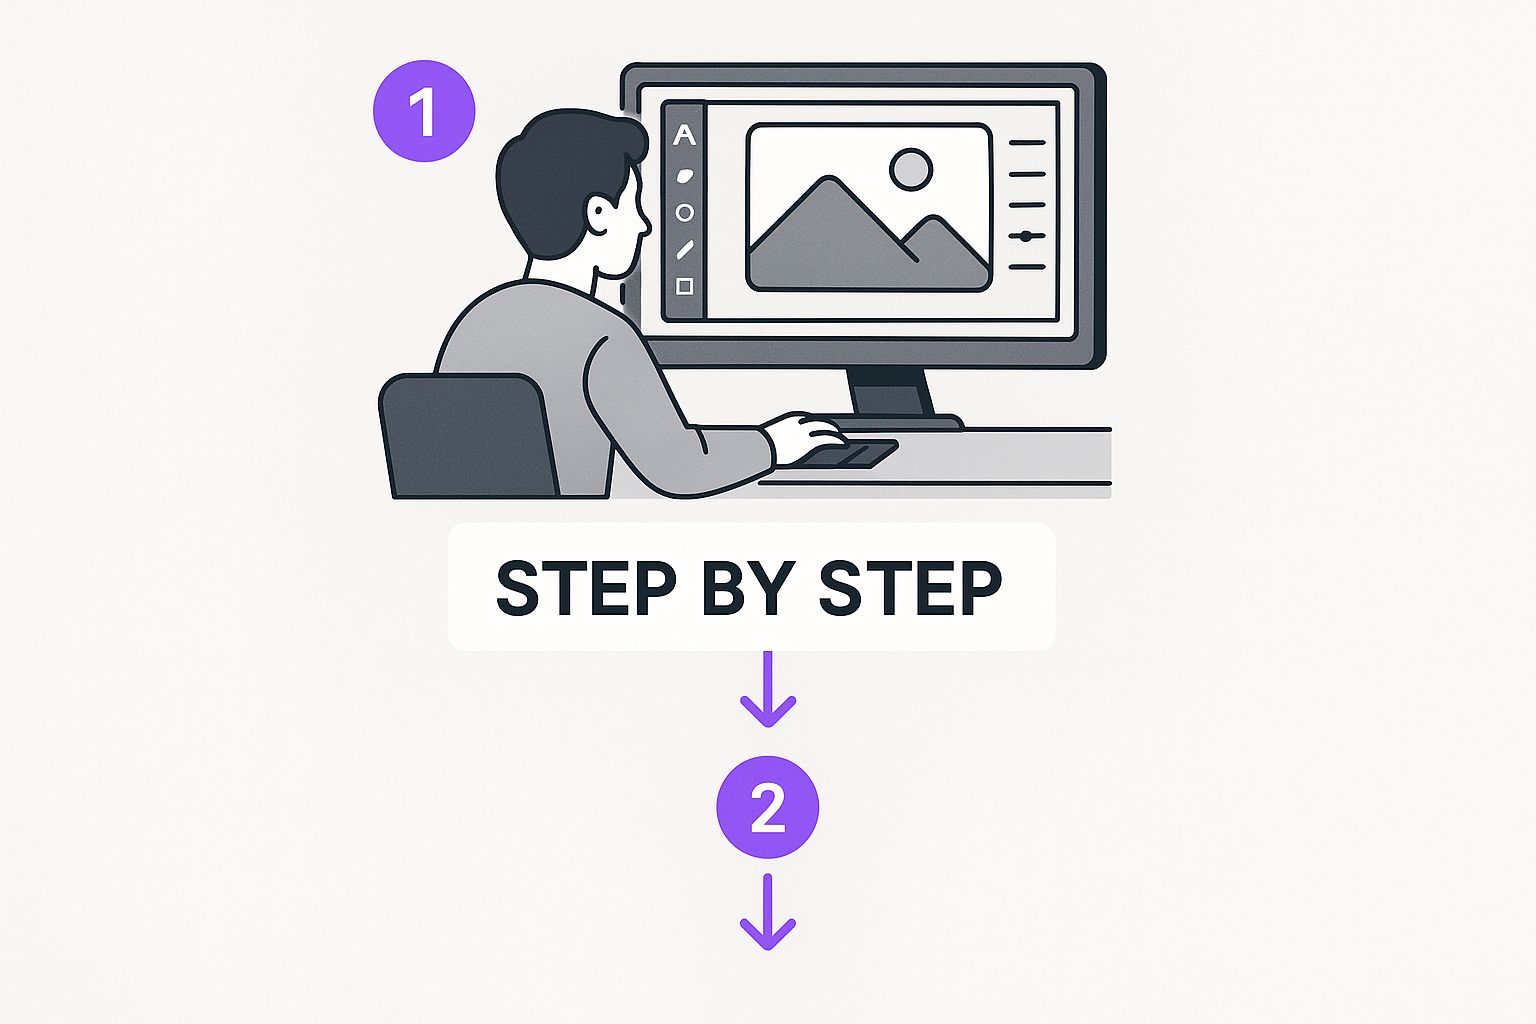
As you can see, it’s all about expanding the canvas first, then filling that new real estate to get the final aspect ratio you need.
Pro Tip: Don't have Photoshop? No problem. Free alternatives like GIMP offer very similar features. You can use its "Canvas Size" function and various fill tools to get the exact same professional-level results without the subscription fee.
While these manual methods are powerful, they can definitely be time-consuming, especially if you’re dealing with a complex background. For anyone who needs to move faster, an AI-powered image generator can be a lifesaver. These tools can intelligently extend backgrounds in seconds, giving you a fantastic alternative when you're short on time.
Using AI Image Extenders to Uncrop Your Photos
Manual editing is a solid skill, but what happens when the background is just too complex to clone convincingly? This is exactly where AI-powered image extenders, often called "outpainting" tools, completely change the game. They offer a fundamentally different way to tackle aspect ratio changes.
Instead of just slapping on blank space or stretching pixels, these AI models intelligently generate brand-new, context-aware scenery that blends perfectly with your original shot. The tech looks at the existing pixels, colors, and textures and then just… creates more of it. The result is a natural-looking extension that feels like it was always there.
How AI Outpainting Works in the Real World
Let's get practical. Imagine you have a fantastic vertical portrait shot in a 4:5 ratio. It looks great on Instagram, but now you need it for a 16:9 website banner. Cropping would butcher the composition, and adding black bars just screams amateur hour.
This is where you bring in the AI. You set the new 16:9 aspect ratio, and the tool gets to work generating the missing background on either side. If your subject was standing in a field, the AI extends the grass, adds more sky, and even fills in a few trees. It creates a believable panoramic scene that simply didn't exist in the original photograph.
This technique is an absolute lifesaver for complex images where manual cloning would be a tedious, pixel-pushing nightmare. You get professional, seamless results in minutes, not hours.
This generative power is transforming how we all think about photo editing. It’s not just about extending backgrounds, either. Plenty of AI tools can help with all sorts of image tasks. For instance, it's surprisingly easy to turn a photo into a cartoon with simple tools that deliver incredible results.
When to Use AI Image Extenders
AI isn't a silver bullet for everything, but it's the perfect solution when traditional methods just can't keep up.
- Complex Backgrounds: Think cityscapes, dense forests, or patterned fabrics. These are nearly impossible to clone by hand, but AI handles them with ease.
- Saving a Tight Crop: Ever framed a shot just a little too tightly? AI lets you "uncrop" the image, adding crucial breathing room around your subject.
- Rapid Turnaround: When you need to repurpose dozens of images for different social platforms or ad sizes, AI can change aspect ratios in seconds.
Getting a Grip on Today's Common Aspect Ratios
Every platform you post on has its own preferred shape for images, and knowing how to make your content fit is an essential skill. Seriously, getting these aspect ratios right is the difference between looking like a pro and looking like you just slapped an image up without a second thought.
The undisputed champion of modern screens is 16:9. It's everywhere—YouTube videos, your TV, desktop monitors, and presentation slides. It became the global standard thanks to high-def broadcasting, and today, over 70% of YouTube videos use these dimensions to fill the screen. For a deeper dive, Coconut.co has a great piece on why it became the visual standard.
The Rise of Vertical and Square
But then mobile phones came along and flipped everything on its side. Now, vertical formats are king. The tall, skinny 9:16 aspect ratio is what you need for Instagram Stories, Reels, and TikTok. When you’re converting a landscape image to this portrait format, the real trick is reframing your subject so it doesn’t get lost in the tighter space.
And let's not forget the timeless 1:1 square. It’s perfect for grid-based feeds like Instagram, offering a clean, balanced frame that’s just easy to look at. Its centered composition makes it a natural fit for profile pictures and clean product shots where you want one thing to be the star.
The goal isn't just to make an image fit. You want it to thrive. A great crop or resize should look like it was originally shot for that specific aspect ratio.
Finally, you have the old-school photography classics: 4:3 and 3:2. The 4:3 ratio is common on smartphone cameras and older monitors, giving you a slightly more compact frame than 16:9. The 3:2 ratio, on the other hand, is native to most DSLR and mirrorless cameras, which is why it has that professional, photographic feel.
To keep your images looking sharp everywhere, it helps to have a cheat sheet. Here’s a great one with all the essential social media post dimensions.
How to Keep Images Sharp When You Resize Them
Ever tried to stretch a small image to fit a bigger space, only to end up with a blurry, pixelated mess? We've all been there. It’s a surefire way to make professional work look amateurish. The golden rule is simple, yet so many people forget it: always, always start with the highest resolution source file you have.
You can always make a big image smaller without losing clarity, but you can’t magically add detail that was never there to begin with. Trying to enlarge a low-res photo is like trying to zoom in on a blurry security camera feed—you just get a bigger blur.
This is especially critical when you're changing an image's aspect ratio. Today, something like 75% of all visual content has to be responsive, meaning it needs to look great on everything from a giant monitor to a tiny smartphone screen. This often means cropping or adjusting dimensions, which puts quality at risk. If you're curious about the data, Statcounter's latest reports show just how diverse global screen resolutions have become.
Don't Underestimate Your File Format
The type of file you're working with also makes a huge difference. Each format handles compression and editing differently, and choosing the wrong one can sabotage your quality from the start.
- JPEG: This is your go-to for photographs. But be warned—it uses "lossy" compression. Every time you save a JPEG, you throw away a little bit of data. Edit and re-save the same JPEG file over and over, and you'll slowly degrade its quality.
- PNG: Use this for graphics, logos, and anything with sharp lines or text. PNGs use "lossless" compression, which means you can edit and save them a million times without losing a single pixel of quality.
- TIFF: This is the professional's choice, especially for print. TIFF files are usually uncompressed, keeping every last bit of original image data intact. The trade-off? The file sizes are massive.
Here's a pro tip I live by: always work non-destructively. If you're in Photoshop, that means converting your image layer to a "Smart Object" before you do any resizing. Think of it as putting your image in a protective container. You can scale, rotate, and warp it as much as you want without permanently damaging the original pixels inside.
Of course, if you just need to make straightforward adjustments—especially if you're dealing with a whole batch of images—you don't need to fire up a heavy-duty editor. A specialized tool like our bulk image resizer can handle the job quickly while making sure your images stay crisp and clear.
Follow these habits, and your final images will look just as sharp as the originals, no matter their new size or shape.
A Few Common Questions About Changing Aspect Ratios
Wrestling with image dimensions always brings up a few tricky questions. Whether you're a pro designer or just trying to make a photo fit your Instagram story, some of the same problems pop up again and again. Here are some quick, straightforward answers to the questions I hear most often.
What’s the Fastest Way to Change an Image Ratio for Social Media?
Hands down, the quickest way is to use an AI-powered image extender or a dedicated online aspect ratio tool. The best ones come with built-in presets for platforms like Instagram (1:1 Post, 9:16 Story) or YouTube (16:9). You just upload your image, click the preset you need, and the tool does the rest. Many now use AI to intelligently generate new background content to fill in the gaps, which is a massive time-saver.
Can I Change the Aspect Ratio Without Stretching the Image?
Absolutely, and you should always avoid stretching. That distorted, fun-house mirror effect happens when you just grab the corners of an image and drag it to fit a new frame, messing up the original proportions. Don't do it.
Instead, you’ve got a couple of much better options:
- Adjust the canvas size. This is the classic manual method. In an editor like Photoshop or GIMP, you can add blank space around your image to create the new aspect ratio.
- Use AI outpainting. This is the modern, almost magical approach. You let an AI tool analyze your image and seamlessly extend the background for you.
Both of these techniques change the frame's dimensions without messing with the quality or proportions of your main subject.
Does Changing the Aspect Ratio Reduce Image Quality?
It can, but it doesn't have to. Quality loss usually sneaks in when you enlarge a small, low-resolution image (hello, pixelation!) or when you repeatedly save a compressed file like a JPEG, which degrades it a little each time.
My best advice? Always, always start with the highest-resolution source file you have. When you add space to a canvas or use an AI extender, the original part of your image stays crisp. You’d be surprised how clean the AI-generated portions look these days, too.
What’s the Difference Between Changing Aspect Ratio and Resizing?
This is a big one that trips a lot of people up, but it’s pretty simple when you break it down.
Think of it like this:
- Resizing an image changes its overall size but keeps the shape the same. If you take a 1200x800 pixel photo and shrink it to 600x400 pixels, you've just resized it. Both versions still have a 3:2 aspect ratio.
- Changing the aspect ratio alters the fundamental shape of the image frame. Turning that rectangular 3:2 photo into a 1:1 square is a change in aspect ratio.
You’ll usually figure out the correct aspect ratio first, and then resize the final image to meet the specific pixel requirements for a website or social media platform.
Ready to stop wrestling with manual edits and let AI do the heavy lifting? With Bulk Image Generation, you can effortlessly change the aspect ratio of hundreds of images in seconds. Try it for free and see how simple professional results can be.