How to Remove a Background from a Picture

Aarav Mehta • November 13, 2025
Discover how to remove a background from a picture using one-click AI tools and advanced software. This guide offers practical tips for pro-level results.
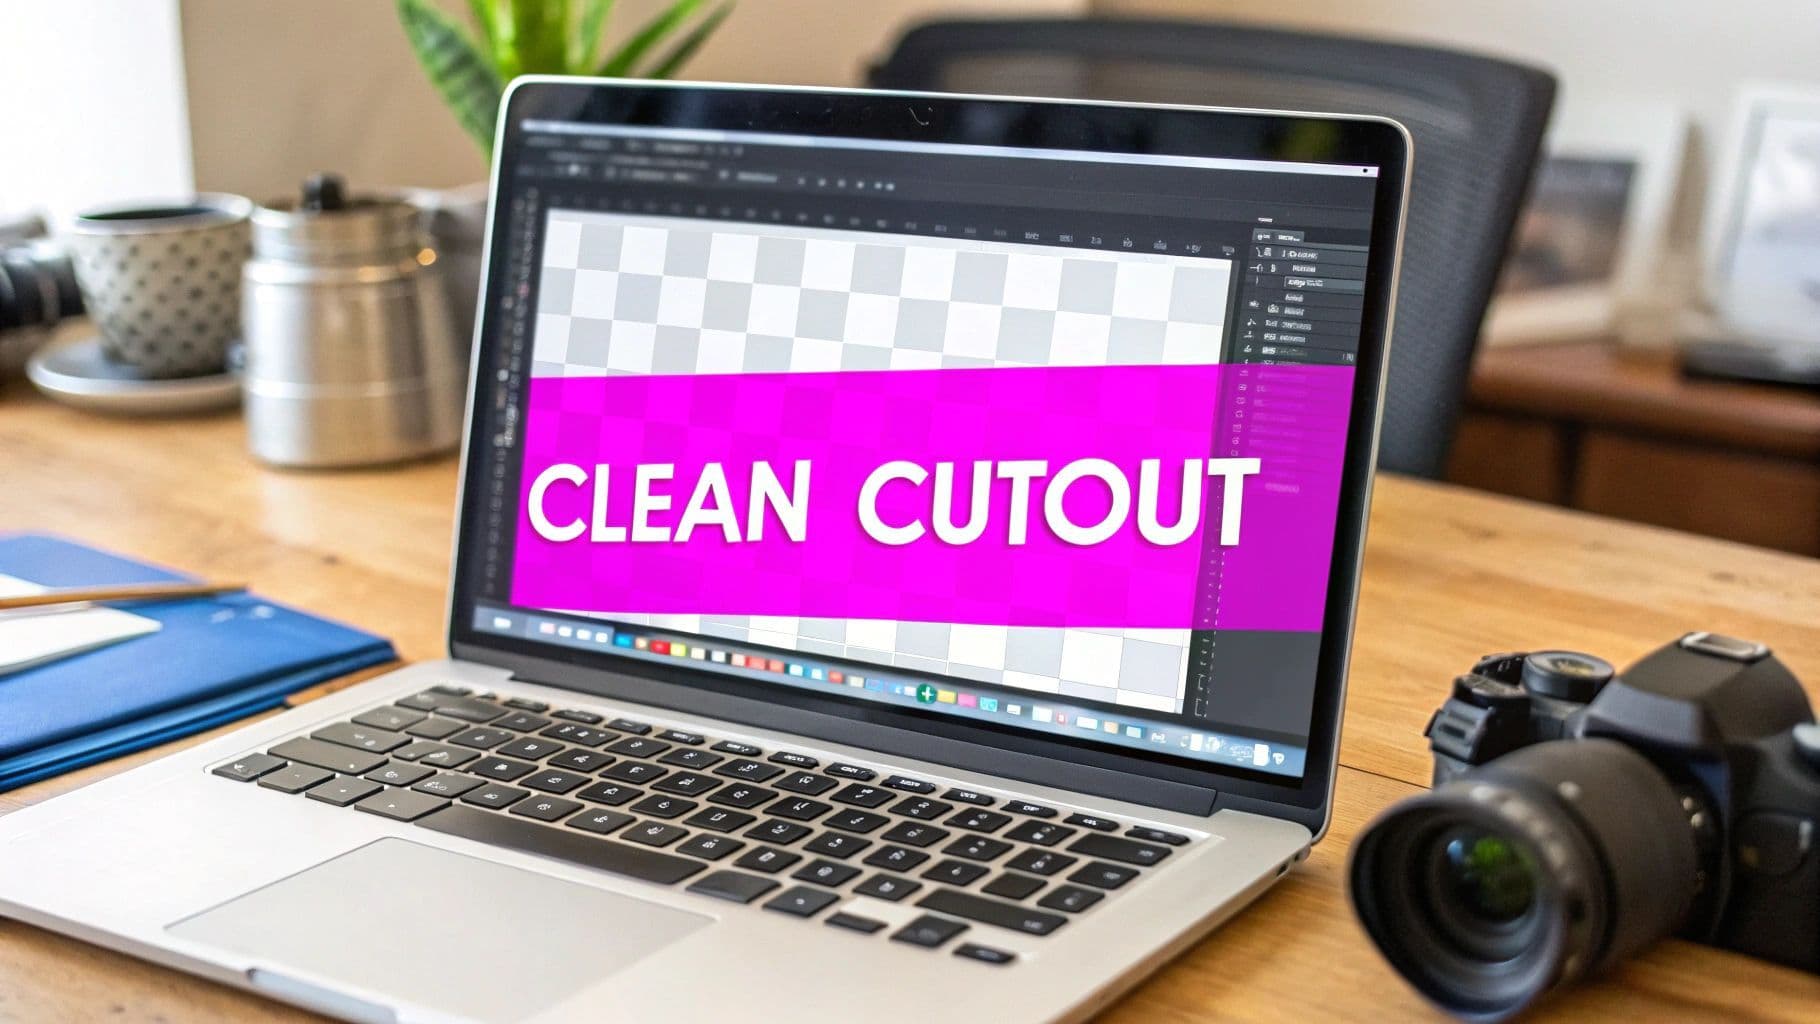
The fastest and simplest way to get a clean background is with a one-click AI tool. These tools automatically find your main subject and slice it out, leaving you with a transparent background in just a few seconds. It’s the perfect fix for quick edits on product photos, social media posts, or profile pics without ever opening up complicated software.
Your Quick Guide to a Clean Image Background
Not long ago, removing a background was a painstakingly manual job, something you’d hire a graphic designer for. Today, anyone can pull off a professional-looking cutout in moments. This isn't just a neat trick; it's a must-have for e-commerce, where 75% of online shoppers say product photos are a key factor in their decision to buy.
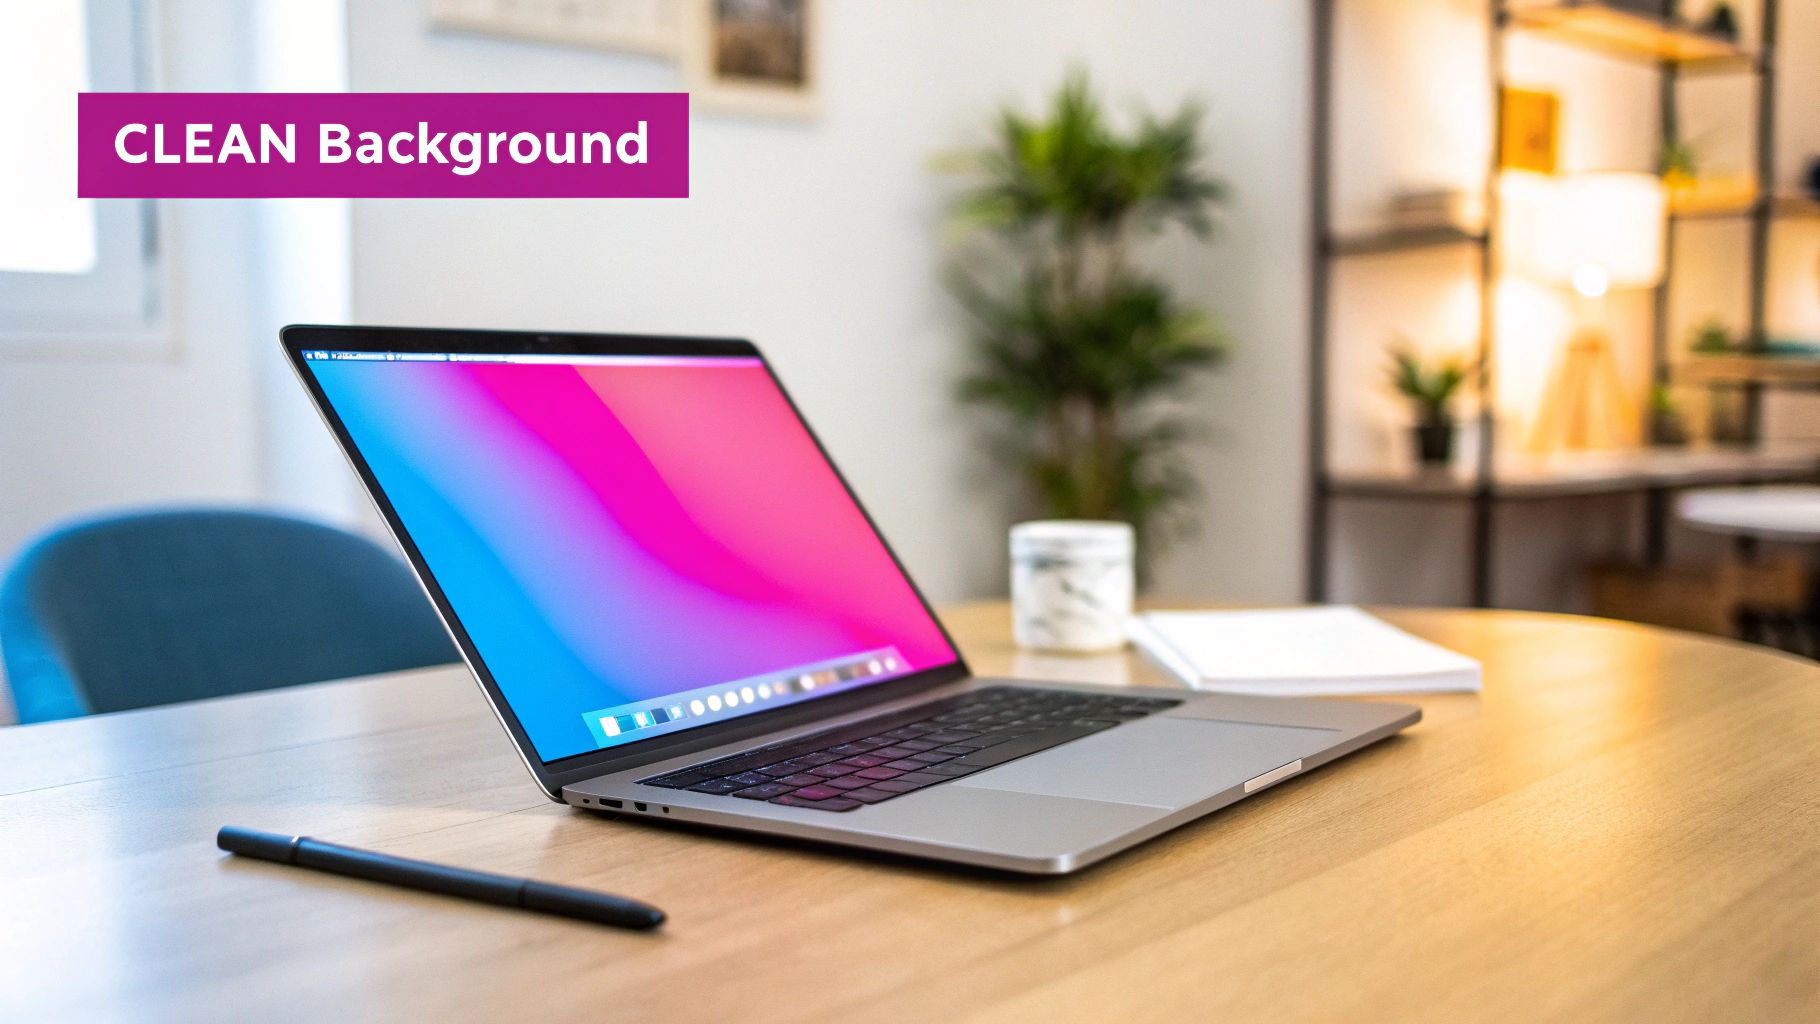
A crisp image with no distracting background lets your product do all the talking.
Whether you're a small business owner prepping product listings, a marketer designing social media graphics, or just someone who wants to make their portrait pop, this is a core skill. It opens up a ton of creative doors, letting you drop your subject into any scene you can dream up.
Why Clean Backgrounds Matter
A transparent background isn't just about looks—it’s a smart, strategic move. It gives your images true versatility and a professional edge, no matter where you use them. Think about it: an image with a transparent background can be slapped onto any color, pattern, or photo without a fight.
This kind of flexibility is a game-changer for:
- E-commerce: Creating clean, uniform product galleries that guide the customer’s eye.
- Marketing: Designing ads and social posts that perfectly match your brand guidelines.
- Personal Projects: Making custom logos, avatars, or even fun photo mashups.
The real power of a transparent background is consistency. It lets one image adapt seamlessly to a website, a promotional flyer, or a social media template, keeping your visual identity strong and uncluttered everywhere it appears.
Before you dive in, it helps to know which path to take. Here's a quick rundown of the main methods.
Choosing Your Background Removal Method
| Method | Best For | Skill Level | Speed |
|---|---|---|---|
| AI One-Click Tools | Quick edits, e-commerce, social media | Beginner | Instant |
| Online Services | Bulk processing, high-volume needs | Beginner | Fast |
| Manual Editing | Complex images, hair, fine details | Intermediate-Advanced | Slow |
Each approach has its place. AI is fantastic for speed, while manual editing gives you the ultimate control for those tricky, high-stakes images.
The Rise of Automated Solutions
The massive demand for quality visuals has pushed editing tech forward at an incredible pace. The global market for background removal software, valued at USD 295.6 million, is expected to hit USD 1.66 billion by 2033. You can dig into more of the data on this growth over at archivemarketresearch.com.
AI-powered tools are the engine behind this boom. Smart algorithms look at an image, figure out the main subject—a person, a car, a dog—and cut it out from its surroundings with surprising precision. A task that used to eat up minutes (or hours) in a program like Photoshop is now done almost instantly.
This guide will walk you through all the options, starting with these dead-simple AI solutions and then moving on to the more hands-on techniques for when you need that pixel-perfect finish. You'll learn exactly which method fits your project, so you can get the right result every single time.
Effortless Edits with AI Background Removers
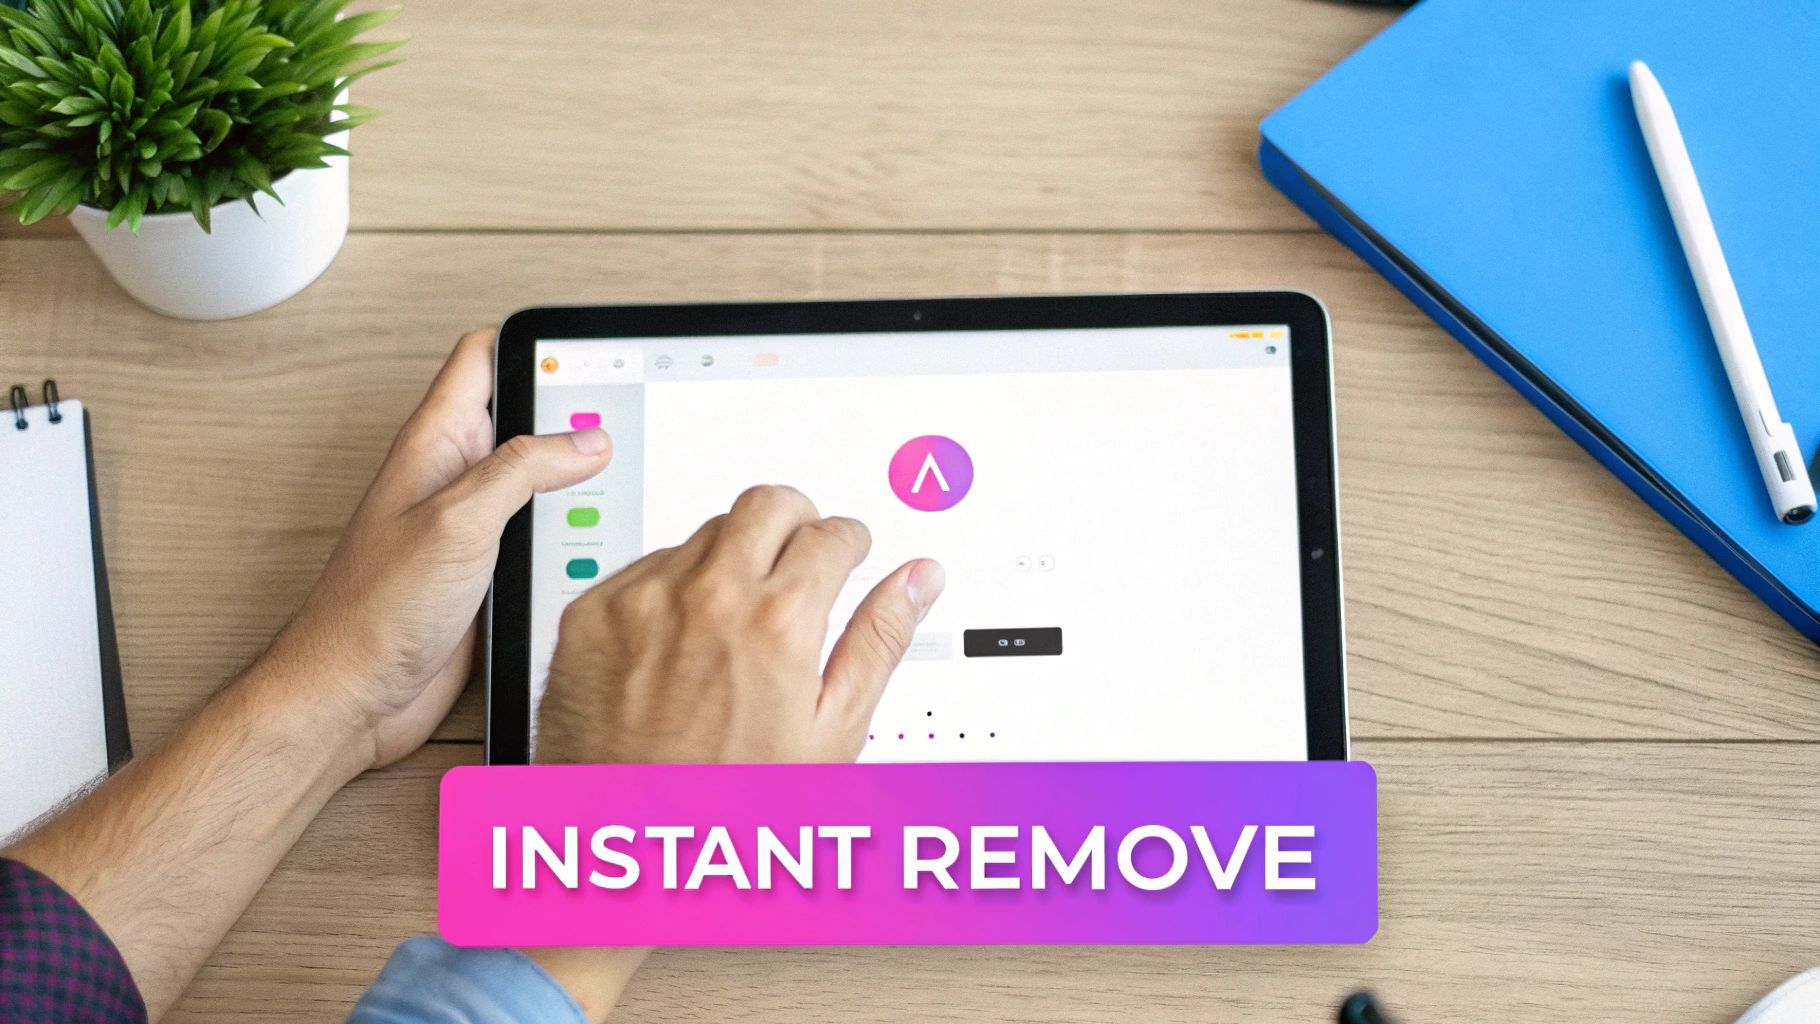 The clean, minimalist interface of a typical AI background remover shows just how simple the process has become.
AI-powered tools have completely changed the game for photo editing, making once-tricky tasks almost ridiculously easy. Forget spending hours meticulously tracing around a subject. These platforms lean on machine learning to do all the heavy lifting for you.
At its core, the AI is trained on millions of images, learning to tell the difference between a foreground subject—a person, a product, a pet—and everything behind it. When you upload your photo, the algorithm gets to work, analyzing it pixel by pixel to create a precise mask around your subject. This whole process, which used to be the domain of a skilled designer, now happens in a matter of seconds. For most day-to-day needs, like prepping product shots or creating a clean headshot, the results are nearly instant and impressively accurate.
Getting the Best Results from AI
While these tools are powerful, the quality of your original image is still king. A few simple considerations can make the difference between a good cutout and a perfect one.
For the best results, start with photos where your main subject stands out clearly. High contrast is your friend here—think a person in a dark shirt against a light wall. This gives the AI a clear edge to follow, reducing the chances of any weird artifacts.
- Mind the Details: Pay close attention to the tricky stuff like hair, fur, or semi-transparent objects. AI has gotten much better at handling these, but they can still be a challenge.
- Check the Edges: Once the magic happens, zoom in and give the edges a quick once-over. Look for any fuzzy areas or little bits of the old background hanging on.
- Use the Touch-Up Tools: Most services come equipped with simple "Erase" and "Restore" brushes. These are perfect for cleaning up any minor imperfections and giving you that final layer of polish.
The rise of these automated solutions is no small trend. The global image background remover market is currently valued at $1.28 billion and is projected to reach $3.5 billion by 2035. This massive growth is a direct result of how effective and accessible these machine learning tools have become for everyday users. Discover more insights about this expanding market over at wiseguyreports.com.
AI Beyond Background Removal
The tech that zaps backgrounds is just the tip of the iceberg. AI is now being used to generate entirely new visual content from scratch, opening up a world of possibilities for businesses and creators who need great-looking images on the fly.
Instead of just removing a background, you can now create a whole new one. Advanced tools for AI product photoshoots let you place your products in any virtual environment you can imagine, from a studio setting to a lifestyle shot, without a physical camera.
Going a step further, you can use an AI-powered image generator to produce completely unique visuals for marketing campaigns or creative projects based on nothing more than a text description. It's clear that AI is no longer just an editing assistant—it's become a powerful creative partner.
Taking Control with Manual Editing Software
While AI tools are fantastic for speed, some projects just demand a level of precision that only a human touch can deliver. When you're wrestling with a really complex image—think a model with wispy hair or a product shot with tons of intricate details—it’s time to roll up your sleeves and jump into software like Adobe Photoshop or its excellent free alternative, GIMP.
This is where you shift from automation to artistry. Instead of letting an algorithm call the shots, you’re in the driver's seat. Manual methods give you absolute, pixel-perfect control over every edge and curve, which is the only way to guarantee your final image is truly flawless.
Mastering Precision Tools for Complex Images
The most powerful weapon in your manual editing arsenal is almost always the Pen Tool. This isn't just a simple brush; it lets you create a clean vector path by placing anchor points and curves to precisely outline your subject. Think of it as a digital scalpel. It definitely takes some practice, but the payoff is an incredibly clean and sharp selection that automated tools often fumble, especially around hard edges.
Another must-know technique is working with layer masks. This is a non-destructive way to hide or reveal parts of your image. Rather than permanently erasing the background, you paint on a mask. Painting with black hides that area of the layer, while painting with white brings it right back. The workflow is super forgiving; if you mess up, just paint over your mistake to fix the selection without ever damaging your original image.
The real magic of manual editing is how it handles nuance. An AI might get totally confused by a semi-transparent veil or the fine fur on an animal. But with layer masks and a soft-edged brush, you can carefully blend these tricky areas for a result that looks completely natural.
A Practical Guide for Tricky Subjects
Let's walk through a real-world example. Say you're editing a professional headshot where the person has fine, flyaway hairs against a busy, distracting background.
Here's a hybrid approach that gets the best of both worlds:
- Get a Head Start with AI: Even in a manual workflow, AI can be a great assistant. Kick things off with a tool like Photoshop’s "Select Subject" to get about 80% of the work done in a single click.
- Clean Up with the Pen Tool: Now, switch over to the Pen Tool. Use it to trace around the solid parts of the person, like their jawline and clothing. This is how you create those sharp, clean edges that scream professionalism.
- Tackle the Hair: For the really tricky parts like hair, dive into a more advanced feature like the "Select and Mask" workspace. Its "Refine Edge Brush Tool" is built specifically to detect and select those fine details, like individual strands of hair against a contrasting background.
This method combines the raw speed of automation with the finesse of manual control, giving you a top-tier result in far less time than a purely manual edit would demand.
You can see how these kinds of techniques are essential in our detailed guide on AI product photography. It digs deeper into bridging that gap between quick automated edits and high-control, professional results.
Ultimately, learning manual background removal is an investment in your skills. It gives you the power to handle any image, no matter how challenging. While AI is perfect for churning out images at volume, manual editing is still the gold standard for quality and precision.
Choosing the Right Tool for Your Project
So, which tool should you use to strip the background from a picture? The honest answer is: it completely depends on your project. There's no single "best" option out there. The right choice always comes down to a balance of speed, precision, cost, and what your specific image actually needs.
For quick and dirty jobs, a simple online AI tool is a lifesaver. Think about prepping product photos for an e-commerce store or just cleaning up a new profile picture. These tools are built for pure efficiency, giving you solid results in seconds with almost zero effort. But—and this is a big but—if you're dealing with fine, tricky details like wisps of hair or delicate lace, their automated approach can sometimes miss the mark.
Online Services vs. Desktop Software
The real battle here is control versus convenience. Web-based services are all about speed and ease of use, which makes them perfect for anyone, regardless of their skill level. If you've got a huge batch of images to process, they're your best friend.
On the other hand, dedicated desktop software like Photoshop offers precision that online tools just can't match. You get a whole arsenal of manual tools—like the classic Pen Tool and layer masks—that let you craft pixel-perfect selections. This level of control isn't just nice to have; it's essential for high-stakes professional work where every last detail has to be flawless.
This decision tree gives you a simple way to think about which path makes the most sense based on how much precision you need.
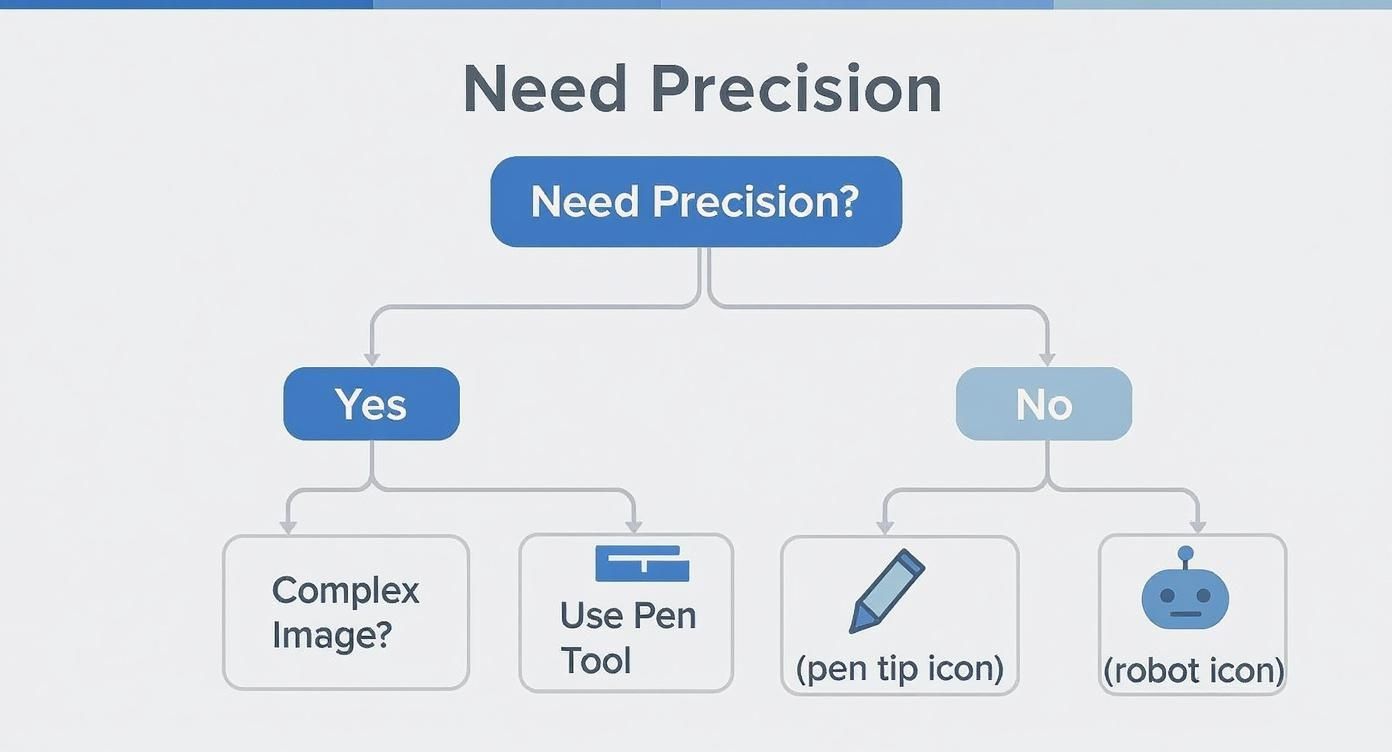
As you can see, for simple images with clean edges, AI is more than enough. But the moment you introduce complex subjects with fine details, you'll want the surgical control you only get with manual tools.
Key Factors to Consider
Before you dive in, ask yourself these questions to point you in the right direction:
- How complex is my image? Does your subject have clean, simple edges, or are you dealing with fuzzy fur, messy hair, or semi-transparent objects?
- How precise does it need to be? Is a "good enough" cutout okay, or does this need to be a flawless, professional-grade job?
- What's my project volume? Are you just editing one photo, or are you trying to process a batch of 500 images at once?
- What's my skill level? Are you a Photoshop wizard, or do you need a tool that does all the heavy lifting for you?
Your project dictates the tool. For a quick social media graphic, an AI remover is a smart, fast choice. But for a hero image on a major website, investing the time in a manual edit with professional software will always give you a superior result.
Understanding which tool to use is a huge time-saver, especially for workflows like generating social media content where visuals are everything.
Feature Comparison of Popular Background Removal Tools
To help you decide, here's a detailed look at the features, pricing, and ideal use cases for some of the leading AI tools and manual editing software out there.
| Tool | Type | Pricing Model | Key Feature |
|---|---|---|---|
| Photoshop | Manual Software | Subscription (Adobe CC) | Unmatched precision with Pen Tool & layer masks |
| remove.bg | AI Online Service | Freemium / Credits | Fast, single-click background removal |
| Canva | AI Online Service | Freemium / Pro Subscription | Integrated into a full design suite |
| Photopea | Manual Online Editor | Free (Ad-supported) | Photoshop-like interface in a browser |
| Pixlr | AI Online Service | Freemium / Subscription | Quick AI tools with basic manual adjustments |
| GIMP | Manual Software | Free (Open-source) | Powerful, free alternative to Photoshop |
Ultimately, AI tools are fantastic for speed and volume, while traditional software like Photoshop and GIMP remains the gold standard for projects that demand absolute perfection.
Pro Tips for Flawless Background Removal
AI tools can get you 90% of the way there in seconds, but that last 10% is where the magic really happens. A clean cutout is one thing, but making it look like it actually belongs in its new setting is a whole other skill. This is where a few extra tweaks can take your image from looking obviously edited to seamlessly professional.
The biggest giveaway of a rushed job? Harsh, jagged edges that scream "I was cut out with digital scissors." The key is to soften the transition between your subject and whatever you're placing it against.
My go-to technique for this is feathering. This isn't about making your subject blurry; it's about creating a tiny, almost invisible soft edge that helps it blend. Honestly, a feather of just 1-2 pixels can be a total game-changer, eliminating that hard "cutout" vibe without sacrificing sharpness.
Starting with the Right Source Image
You can save yourself a massive headache by simply choosing a good photo to begin with. The better your source image, the easier it is for any tool—whether it's AI-powered or fully manual—to tell the foreground from the background.
I always look for a few key things in a source photo:
- Good Lighting: Soft, even lighting is your best friend. Harsh shadows can confuse AI and force you into tedious manual cleanup later.
- High Contrast: A subject that clearly pops from its background is perfect. Think a dark product on a light, plain wall, not a black cat napping on a dark rug.
- Sharp Focus: You can't fake quality. A blurry or low-res image will always produce a messy, unprofessional cutout. Make sure your subject is crisp.
Before you even touch a background removal tool, a couple of quick pre-edits can make a world of difference. Bumping up the contrast helps define those edges. And if you're working with a massive photo, resizing it first can seriously speed up your workflow, especially with online editors. A good bulk image resizer can help streamline your editing process when you're dealing with lots of files.
Refining the Tricky Details
The real test of any background removal is how it handles the tough stuff: hair, fur, or semi-transparent objects like a wine glass. This is exactly where automated tools tend to fall short, leaving you with awkward, blocky patches or chopping off fine details.
When I'm working with hair, I never go for a perfectly solid, hard-edged selection. Real hair has flyaways and wispy strands. The best approach is to use a refine-edge brush or a layer mask with a soft, low-opacity brush to gently paint those fine details back in. It makes the final result so much more believable.
For those little bits of the old background still clinging to your subject, it's time to zoom in. Grab a small eraser or a clone stamp tool and carefully clean up those artifacts. I know it can feel tedious, but this final bit of polish is what separates a decent edit from a truly flawless one.
Got Questions? I've Got Answers
Even with the best tools, you'll eventually hit a tricky spot. It happens to everyone. Let's walk through some of the most common questions that pop up when you're trying to get that perfect background removal.
Which File Format Should I Use?
When you’re removing a background, the goal is almost always transparency. For that, PNG (Portable Network Graphics) is the only way to go. It's the undisputed champion here.
I've seen people try to save their work as a JPEG, only to find their transparent background has been filled with a solid white block. JPEGs just don't support transparency. Always, always save or export your final image as a PNG to keep that clean, see-through effect. It means you can drop your subject onto any new background—a color, a pattern, another photo—and it’ll look seamless.
Can I Remove a Background from a Low-Resolution Image?
Technically, yes, you can. But you really, really shouldn't. The results are almost always disappointing.
Both AI tools and your own manual efforts depend on clear pixel data to tell the subject apart from its surroundings. A low-res image is a blurry mess of pixels with no sharp edges. The AI will get confused, and if you're tracing it by hand, you're just guessing where the line should be.
A higher-resolution source image isn't just a suggestion; it's the foundation for a professional result. Without it, you’ll end up with a messy, pixelated outline that just screams "amateur."
It’s like trying to cut out a detailed shape with safety scissors instead of a precision knife. You lose all the detail. Do yourself a favor and start with the highest-quality image you can get your hands on.
What Is the Best Way to Handle Images with Hair or Fur?
Ah, the classic challenge. Hair, fur, and other fuzzy details are notoriously tough because of all those fine, complex strands. AI tools have gotten surprisingly good at this, but this is one area where a little manual finesse can make a world of difference.
I find a hybrid approach in a program like Photoshop or GIMP works best:
- First, let the AI or an automated selection tool do the heavy lifting to get the basic outline.
- Next, jump into a feature like "Refine Edge" or "Select and Mask." These tools are built specifically to find and select those wispy little strands you’d otherwise miss.
- Finally, finish the job with a layer mask. Using a soft-edged, low-opacity brush, you can manually paint in or erase the finest details, blending the edges for a natural look that a hard selection can never achieve.
Ready to create stunning visuals without the tedious editing? Bulk Image Generation provides powerful AI tools that handle everything from background removal to bulk image creation in seconds. Streamline your workflow and get professional results today. Learn more at Bulk Image Generation.