AI Sketch to Painting Your Ultimate Artist Guide

Aarav Mehta • November 1, 2025
Transform your art from sketch to painting with AI. Our guide details how to use AI image generators to turn drawings into masterpieces, with pro tips.
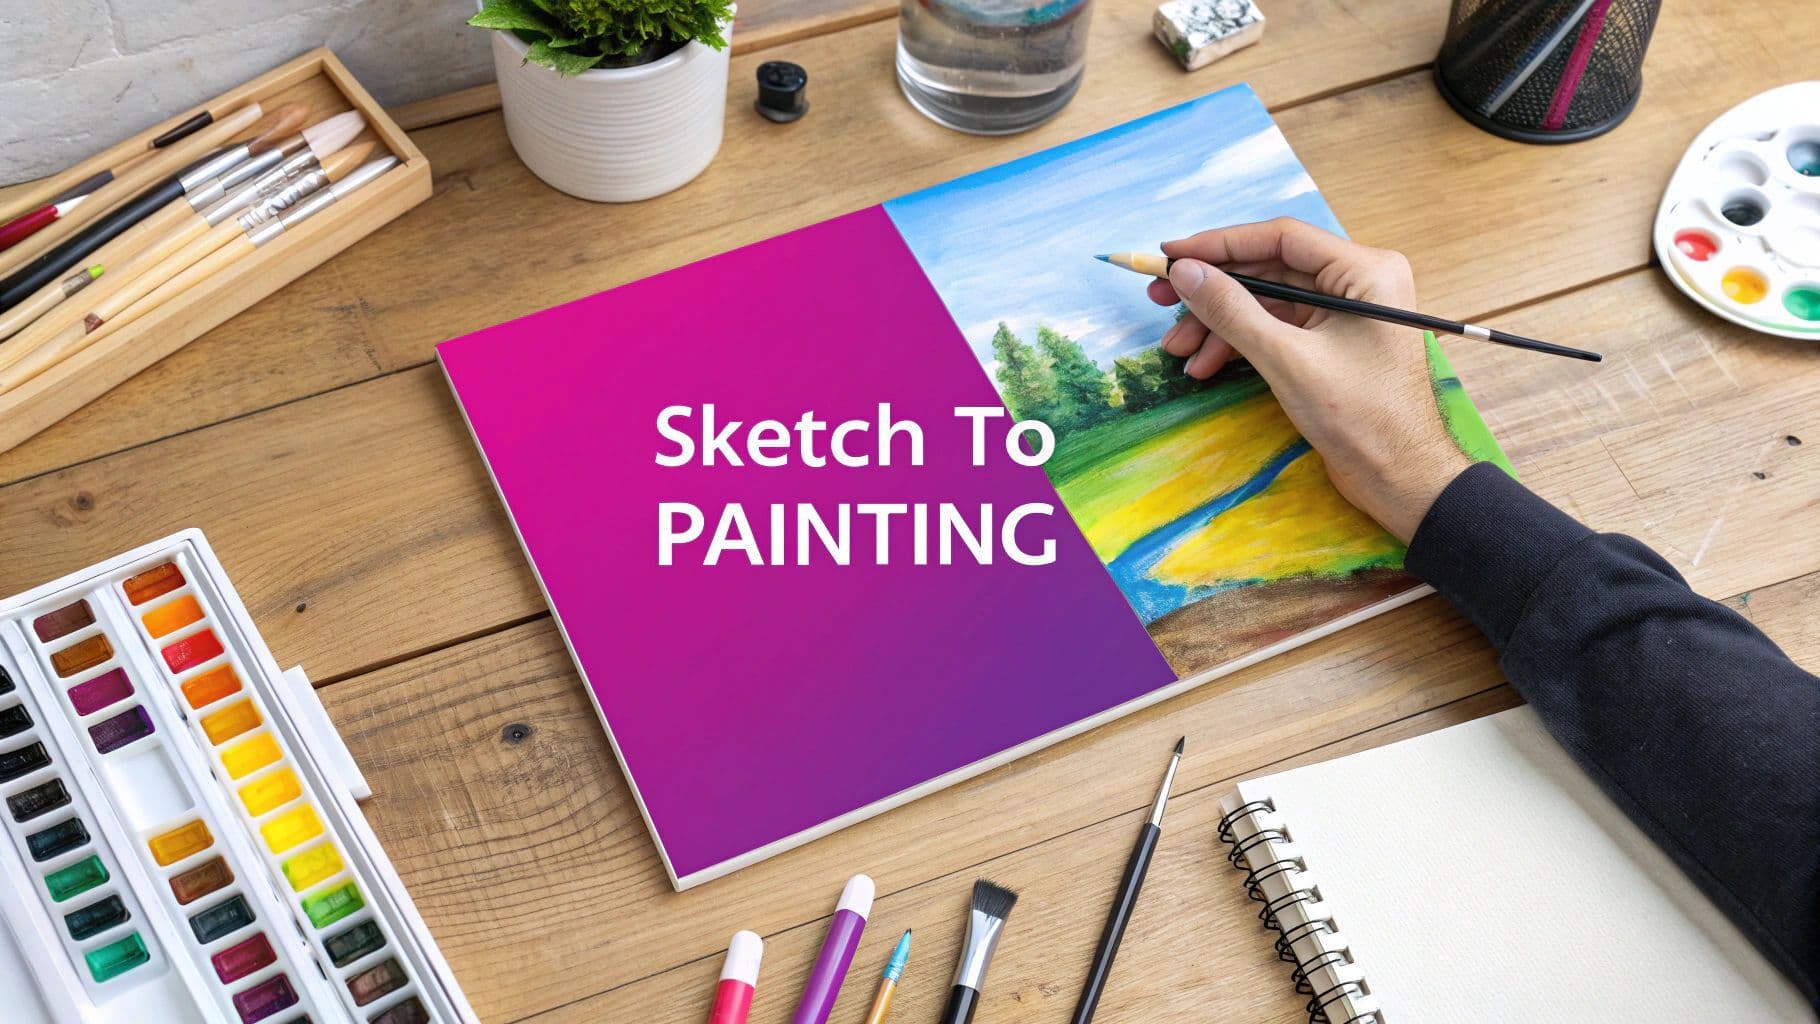
Transforming a humble sketch into a full-blown painting is a time-honored artistic tradition. With AI, that process just got a whole lot faster and more accessible. Using an image-to-image AI tool, you can take a simple drawing, feed it a text prompt describing the style you’re after, and watch it generate a rich, full-color painting in seconds.
This process doesn't replace you; it collaborates with you. It takes your foundational idea—the sketch—and merges it with an almost limitless array of digital styles and mediums.
The New Creative Bridge From Sketch to Painting
For centuries, the journey from a preliminary drawing to a finished painting was a meticulous, hands-on craft. Artists would use sketches as blueprints, carefully translating lines and forms onto canvas with physical paints, brushes, and a whole lot of patience.
Today, AI offers a remarkable new pathway. It turns your foundational ideas into polished artwork with a speed and versatility that was unimaginable just a few years ago.
This isn't about replacing artistic skill, but rather augmenting it. Your sketch provides the essential structure—the composition, the perspective, the subject. The AI handles the rendering based on your creative direction. Think of it as having a digital assistant who has mastered every art style in history, ready to bring your vision to life at a moment's notice.
Why Artists Are Embracing AI Workflows
The perks of folding AI into the sketch-to-painting process are compelling for both hobbyists and seasoned professionals. It’s all about rapid experimentation and iteration, letting you explore visual concepts that would otherwise take hours or even days to produce by hand.
Here are a few reasons why this workflow is catching on:
- Speed and Efficiency: Why create one version when you can generate dozens of stylistic variations in just a few minutes?
- Creative Exploration: Test drive different mediums, color palettes, and artistic movements without the commitment of paint and canvas.
- Skill Enhancement: You get to focus on the big picture—composition and ideation—while the AI manages the more technical aspects of rendering.
- Accessibility: Create high-quality paintings without needing expensive physical materials or mastering complex digital painting software.
Comparing Traditional vs AI Sketch to Painting
To see how these two approaches stack up, let's break them down side-by-side. It really highlights where AI shines and where traditional methods hold their ground.
| Aspect | Traditional Method | AI-Powered Method |
|---|---|---|
| Speed | Hours, days, or even weeks. | Seconds to minutes. |
| Cost | High (canvases, paints, brushes, etc.). | Low (subscription-based or free tools). |
| Iteration | Time-consuming and requires starting over. | Instantaneous; generate endless variations. |
| Skill Required | High technical skill in painting techniques. | Skill in composition, ideation, and prompting. |
| Consistency | Depends entirely on the artist's hand. | High consistency once a style is locked in. |
| Originality | A unique, one-of-a-kind physical object. | Digital file, can be endlessly replicated. |
Ultimately, both paths have their merits. The AI route simply opens up new avenues for creativity, allowing for a level of experimentation that was previously impractical.
Even with these new digital tools, the core art market remains a powerhouse. The global painting industry was valued at approximately USD 198.34 billion in 2023, a testament to the enduring appeal of painted art.
In this guide, we’ll walk through the practical steps of turning your drawings into digital masterpieces. And if you're curious about how these same principles apply to other starting points, it's worth checking out how you can create stunning custom art from photos as well. We’ll cover everything from prepping your sketch to mastering the prompts that unlock truly unique results.
Preparing Your Sketch for AI Transformation
Your journey from a simple sketch to a full-blown AI painting starts with a solid foundation. The quality of that initial drawing has a huge impact on the final masterpiece, because a clean, well-defined sketch gives the AI a clear roadmap to follow. Think of it as a blueprint for a house—the more precise it is, the better the final structure will be.
Start by focusing on bold, consistent lines. I’ve found that faint, scratchy marks or a ton of shading can really confuse the AI, leading to muddy or unpredictable results. A clear outline of your subject works far better than a heavily rendered drawing. This is probably why artists are seeking more precision in their tools; the global market for artists' drawing sets is expected to grow by about 5% each year for the next decade.
Digitizing Your Drawing
Once your physical sketch is looking good, it's time to bring it into the digital world. A flatbed scanner is your best friend here, as it captures all the detail uniformly without weird shadows or distortion. If you don't have one, a high-resolution photo can work in a pinch. Just make sure you have even lighting and hold your camera directly above the paper to avoid a skewed perspective.
For those of you already working digitally in apps like Procreate or Fresco, the process is even simpler. Your main goal is just to export a high-quality file.
A high-resolution PNG file with a transparent or plain white background is the gold standard. This isolates your line work, giving the AI maximum clarity to work with your design without any distracting background noise.
Final Checks and Best Practices
Before you upload, take a minute to perform a few final checks to make sure your file is ready to go. It's a lot like how designers get their files ready for print; prepping your artwork properly makes all the difference between a great result and a frustrating one.
Here’s a quick checklist I run through:
- Clean Up Stray Marks: Erase any smudges, accidental lines, or dust specks left over from the scan.
- Boost the Contrast: I like to bump up the contrast just a bit. This makes the lines really pop against the background.
- Check Resolution and Aspect Ratio: Make sure your image is high-resolution. At least 1024x1024 pixels is a good starting point. You'll also want to think about the final dimensions you have in mind. If you need help with the proportions, our aspect ratio calculator is a super helpful tool to get it just right.
Generating Your First AI Painting
Alright, you've got your digitized sketch prepped and ready to go. Now for the fun part—this is where your simple lines meet AI's horsepower to cook up something brand new. The magic happens inside what’s known as an Image to Image tool, which you'll often see called 'img2img' on different platforms.
Your first move is to upload that sketch. Think of it as the blueprint for the AI; it provides the core structure and composition that the AI will build on. Once your file is uploaded, it's time to play art director by writing a text prompt.
This is your chance to get specific. Don't just say "painting of a forest." Instead, guide the AI with real detail. Try something like, "ethereal watercolor painting, soft pastels, enchanted forest, misty morning light." See the difference? You're giving clear instructions on the medium, color palette, subject, and even the mood. The richer your prompt, the closer the final image will be to what's in your head. If you want to jump right in, a good AI image generator can make this whole process a breeze.
This little infographic breaks down the simple journey from a basic drawing to a file the AI can work with.

As you can see, it all starts with a clean, clear sketch. That gives the AI a solid, unambiguous foundation to start from.
Adjusting Key AI Settings
After you've nailed down your prompt, you’ll see a few settings that can completely change your final image. The most powerful one usually goes by Style Strength or Denoising Strength. I like to think of it as a creative control dial.
Crank the Style Strength down to a low value, like 0.3, and the AI will stick very close to your original sketch. This is perfect if you just want the AI to "color in" your lines without messing with the structure. Your original drawing remains almost perfectly intact.
On the other hand, a high Style Strength value, say 0.8, gives the AI a ton of creative freedom. It treats your sketch more like a loose suggestion, completely reinterpreting lines and shapes to fit the style you described. You can get some incredible, unexpected results this way, but you might also lose some of the specific details from your original drawing.
Pro Tip: I almost always start with a Style Strength somewhere in the middle, around 0.5 to 0.6. It’s usually the sweet spot—it respects my original composition but gives the AI enough room to work its magic and apply the new style effectively.
The key is to play around. Run the same sketch and prompt through the generator at different strength levels. You'll quickly get a feel for how this one single slider can take you from a faithful digital coloring to a wild artistic reinterpretation. Getting comfortable with this process is the real secret to mastering the sketch-to-painting workflow.
Mastering Prompts for Unique Art Styles
Once you get past the basic one-liners, you really start to unlock some serious creative control. This is where you go from just getting an image to getting your image. Crafting detailed, multi-layered prompts is like stepping into the role of an art director—you’re guiding the AI with precision to get professional results that actually match what's in your head.
Think of a prompt less like a command and more like a recipe. A simple "cat painting" prompt is a total gamble. But something like "thick impasto oil painting of a calico cat sleeping on a velvet cushion, in the dramatic chiaroscuro style of Caravaggio, warm, moody lighting" gives the AI specific instructions. You're telling it the medium, subject, artistic style, and even the mood.
The Anatomy of a Powerful Prompt
Over time, I've developed a go-to formula for structuring prompts. It’s a reliable way to combine different artistic elements and turn a simple sketch into something complex and full of nuance.
Here’s the basic structure I follow:
- Medium: Start with the physical materials. Are we talking 'watercolor on cold-press paper', 'gouache on canvas', or maybe a 'digital airbrush illustration'?
- Subject: Describe the core of your sketch, but be specific. 'A stoic robot' is miles better than just 'robot'.
- Artistic Style: This is where you name-drop an art movement or a specific look. Think 'impressionistic', 'cubist', 'art nouveau', or even 'psychedelic 90s'.
- Atmosphere & Lighting: Set the scene. Is the mood 'serene melancholy' or 'vibrant chaotic energy'? Is the lighting a 'soft morning glow' or something more like 'eerie cinematic lighting'?
- Artist Influence: Mentioning an artist by name—like 'in the style of Van Gogh'—is a powerful shortcut to a very specific aesthetic.
When you put it all together, a simple sketch of a cat can become something truly unique: "An acrylic painting of a cat in the style of Lisa Frank, cosmic background, saturated neon colors." See the difference? That level of detail puts you in complete control. If you're ever stuck for ideas, our free AI image prompt generator is a great place to discover new combinations.
The journey from an initial concept to a finished piece has always been central to art. Historically, this evolution from sketch to final painting has also shaped an artwork's value and story.
The art market proves this point. Even as total sales dipped to around $57.5 billion recently due to economic shifts, the actual number of artworks sold went up. This shows a strong appetite from collectors for pieces at every stage of the creative process, from initial sketches to polished works. You can discover more insights about art market trends on prominentpainting.com.
When you master prompts, you’re not just using a tool. You're participating in that timeless tradition of artistic refinement—just with a modern toolkit.
Refining Your AI-Generated Artwork

Let’s be real—the first image your AI spits out is almost never the final masterpiece. I like to think of it as a seriously talented first draft. It’s a brilliant starting point, but it needs your artistic eye to guide it over the finish line. This is the stage where the magic happens, turning a simple sketch to painting conversion into something that's truly yours.
The initial output will often have little quirks. You might spot weird artifacts in the background, slightly off lighting, or the classic AI blunder: a hand with one too many fingers. Catching and fixing these little imperfections is what separates amateur-hour results from professional-looking artwork.
Choosing Your Refinement Path
You’ve got two main ways to go about polishing your AI-generated painting. The best route really depends on what needs fixing and how you like to work. Neither is "better"—they just solve different problems.
- Iterating Within the AI: If the overall idea is solid but the style isn't quite hitting the mark, your best bet is to stay right inside the AI tool. Try tweaking your prompt—add a few new descriptors, remove others, or play around with the Style Strength setting. This gives the AI more (or less) creative freedom and is perfect for making those broad, stylistic changes.
- Exporting for Manual Touch-ups: When you’re happy with the big picture but need to fix small, specific details, it’s time to export. This is how you get pixel-level control and add that final human touch that makes all the difference.
My personal workflow is usually a bit of both. I’ll generate three or four strong variations in the AI, then pull my favorites into an external editor to mix and match the best parts from each into one cohesive piece.
For instance, I might love the texture from one generation but the color palette from another is just perfect. By layering them in a tool like Photoshop or Procreate, I can use masking to literally paint in the specific elements I want. This final step is where you truly collaborate with the AI, ensuring the artwork is polished, professional, and exactly what you envisioned.
A Few Common Questions About AI Art
How Much Detail Should I Put in My Sketch?
When it comes to the initial sketch, less is definitely more. I've found that the best results come from simple, clean lines that really define the main subject. If you get bogged down in excessive shading or tiny, intricate details, the AI can get a little lost.
Think of it as giving the AI a strong, clear blueprint. A bold outline is the perfect foundation to build a masterpiece on.
My Composition Keeps Changing—How Do I Stop That?
This is a classic issue, but luckily, there's a simple fix. Look for a setting called “Style Strength” or “Denoising Strength” in whatever tool you're using.
Dialing that value down tells the AI to stick very closely to your original drawing, which is exactly what you want for preserving your composition. Cranking it up gives the AI more freedom to get creative and riff on your idea, which can also be fun, but not when you want control.
I’m a Beginner. What’s a Good Art Style to Start With?
My advice? Start with styles that are distinct and well-known. You'll give the AI a much clearer target to aim for.
Prompts like “impressionistic oil painting” or “vibrant pop art” work wonders. These styles are pretty forgiving and tend to produce really dramatic, encouraging results right out of the gate, which is a great confidence booster when you're just starting out.
Can I Actually Use the Art I Create? What Are the Rules?
The usage rights for AI art really depend on the platform. It's not a one-size-fits-all answer.
Many services give you full commercial rights to whatever you generate, meaning you can sell it, use it in your business, whatever you want. However, you should always double-check the terms of service for the specific tool you're using. It’s better to be safe and know for sure.