
How to Batch Edit Photos and Save Hours of Work

Aarav Mehta • July 27, 2025
Learn how to batch edit photos with this practical guide. Discover professional workflows, software choices, and tips to edit hundreds of images consistently.
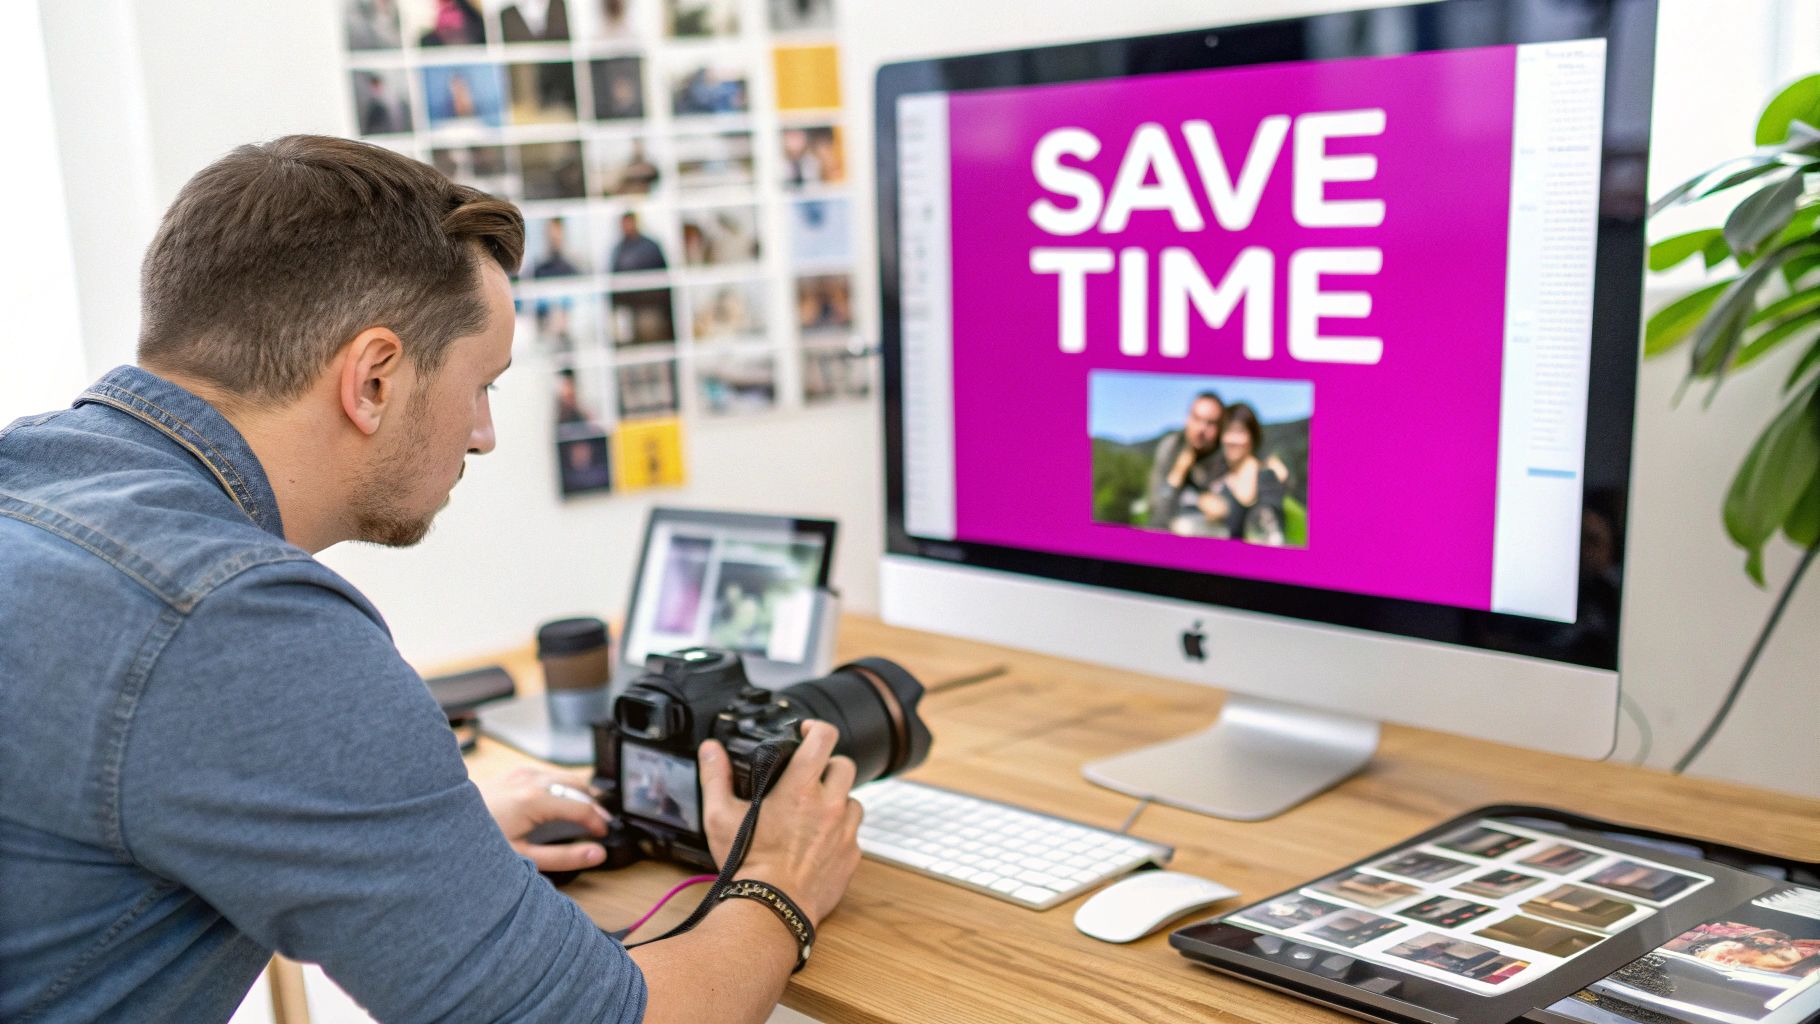
When you’re staring down a folder packed with hundreds of photos that all need the same tweaks, the feeling can be overwhelming. It’s a common bottleneck for creators and businesses alike. The answer isn't to power through with more caffeine; it's to work smarter with batch editing.
This is the single most important technique professionals use to apply consistent edits, watermarks, or resizing across an entire set of images at once. It’s how you turn a soul-crushing, multi-hour chore into a quick, strategic move.
Why Batch Editing Is a Workflow Game-Changer
Beyond the obvious time savings, batch editing is the secret to building a cohesive, professional brand identity. Imagine you’re a wedding photographer who just shot a beautiful ceremony and now has 600 images to deliver. Editing each one individually would take days, and worse, you’d almost certainly end up with subtle inconsistencies in color and tone from one photo to the next.
Learning how to batch edit photos ensures every single image shares the same visual DNA, creating a polished and unified final gallery.
This isn't just for photographers. If you run an e-commerce store, it means all your product photos get the same clean background and perfect lighting. If you’re a social media manager, it’s how you guarantee a consistent aesthetic across an entire campaign. You’re not just editing pictures; you're turning a random collection of shots into a professional portfolio.
The Real-World Impact on Efficiency
The efficiency gains here aren't just marginal—they completely change how you approach your post-production workflow. Instead of performing the same repetitive clicks over and over, you make your creative decisions once and deploy them everywhere.
This frees up hours of your time to focus on what actually matters, like giving those few "hero shots" extra attention or, even better, moving on to your next project.
The industry is definitely paying attention. The demand for smarter, faster tools has fueled rapid growth in the photo editing software market, which is on track to hit $1.58 billion by 2032. This boom is driven by AI-powered features that make batch processing more intuitive and accessible than ever before. You can discover more insights about this trend and the tools leading the charge.
Batch editing isn't about cutting corners; it's about being strategic. It’s the foundational skill separating amateurs from efficient, high-volume professionals who deliver consistent quality, every time.
Manual Editing vs Batch Editing A Time Comparison
To really see the difference, let’s put some numbers on it. Here’s a look at how much time you could save on common editing tasks for a set of 100 images.
The results are pretty staggering.
| Task (for 100 images) | Manual Editing Time (Estimated) | Batch Editing Time (Estimated) | Time Saved |
|---|---|---|---|
| Basic Exposure & Color Correction | 3-4 hours | 10-15 minutes | ~95% |
| Applying a Watermark | 25-30 minutes | < 1 minute | ~98% |
| Resizing for Web | 30-40 minutes | < 2 minutes | ~95% |
| Cropping to a 4:5 Ratio | 20-25 minutes | < 2 minutes | ~92% |
As you can see, the time saved is dramatic. Mastering a batch editing workflow isn't just a nice-to-have skill—it's completely non-negotiable for anyone who handles photos in bulk.
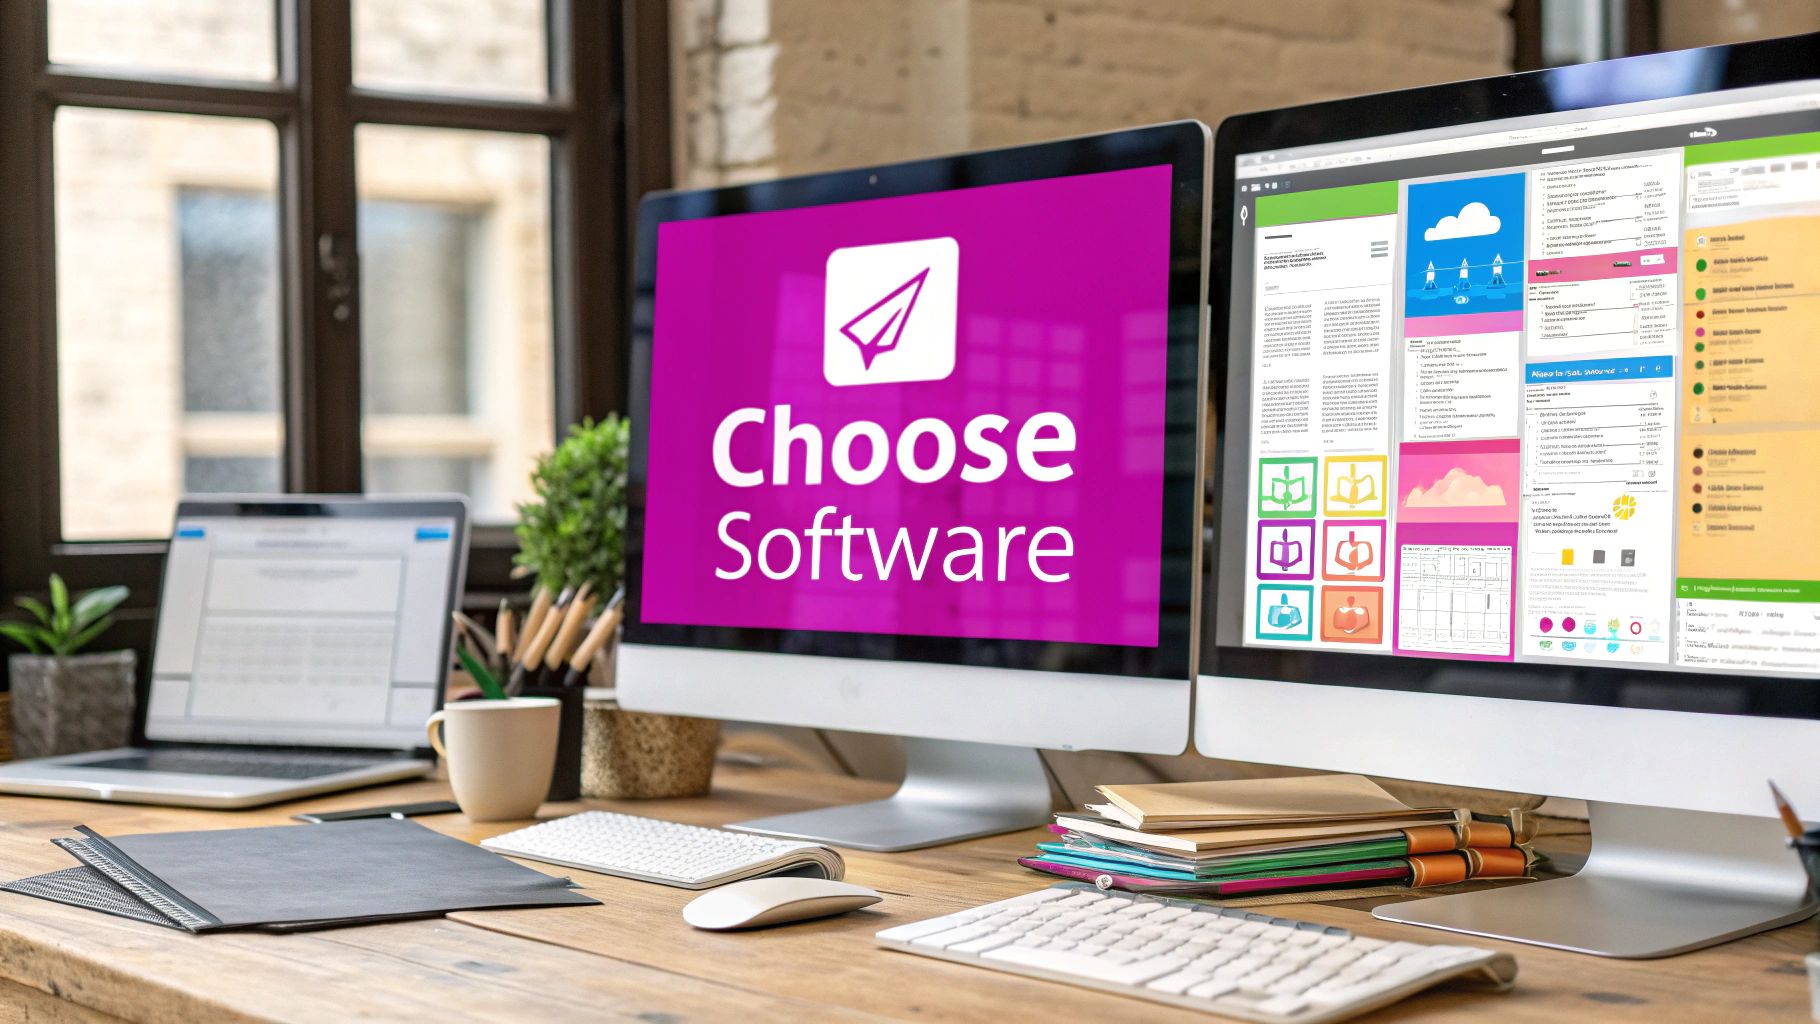
Choosing Your Ideal Batch Editing Software
Picking the right tool can literally make or break your entire photo editing workflow. The market is crowded, and frankly, a lot of options look the same on the surface. But choosing software that actually fits your day-to-day needs is the first real step toward getting your time back. It’s not about finding the longest feature list—it's about matching a tool to your real-world projects, your budget, and how much time you have to learn something new.
For years, the professional workhorses like Adobe Lightroom have been the gold standard, and for good reason. They offer incredible RAW processing and deep organizational tools that are perfect for serious photographers. But the game has changed. We now have a ton of user-friendly online platforms and AI-powered editors that offer powerful alternatives, especially if you're a social media manager or e-commerce owner who values speed and simplicity above all else.
Define Your Core Needs
Before you even glance at a pricing page, you need to map out what you actually need to do. Be honest with yourself. Are you a real estate agent who needs to brighten and standardize hundreds of property photos every week? Or maybe you're a marketer prepping a social media campaign where every image needs uniform branding and resizing.
Your main tasks should guide your priorities. If you shoot events, you'll care most about syncing exposure and white balance across a massive gallery. If you're a product seller, your world revolves around flawless background removal and precise cropping.
The best software for you is the one that solves your most common, time-consuming problem with the least amount of friction. Don't pay for a suite of a hundred features if you only ever use three of them.
Comparing Key Factors
Once you have a shortlist, it's time to weigh the practical stuff. I always tell people to focus on these critical decision points:
- Cost Structure: Do you prefer a predictable monthly subscription like Adobe's Creative Cloud, or does a one-time purchase make more sense for your budget? A lot of online tools also offer tiered plans, and some even have free versions that are perfect for basic tasks.
- Learning Curve: How much time can you realistically invest in learning a new program? Lightroom is immensely powerful, but it comes with a steeper learning curve. AI-driven online tools, on the other hand, are often built to be intuitive so you can get results almost immediately.
- Specialized Features: Look for tools that are exceptional at the one thing you do most. If you're constantly resizing images for different social platforms, find a dedicated bulk image resizer tool that perfects that single task. For niche industries, it's also worth checking out things like specialized real estate photography editing software that cater to specific pain points.
The demand for high-quality visuals is exploding, and it’s driving massive growth in this space. The global photo editing software market is projected to grow by over USD 606.1 million by 2029. This boom is making powerful batch editing tools more accessible than ever, whether you're a pro or just a hobbyist. By making a smart choice now, you're setting yourself up to ride that wave of innovation.
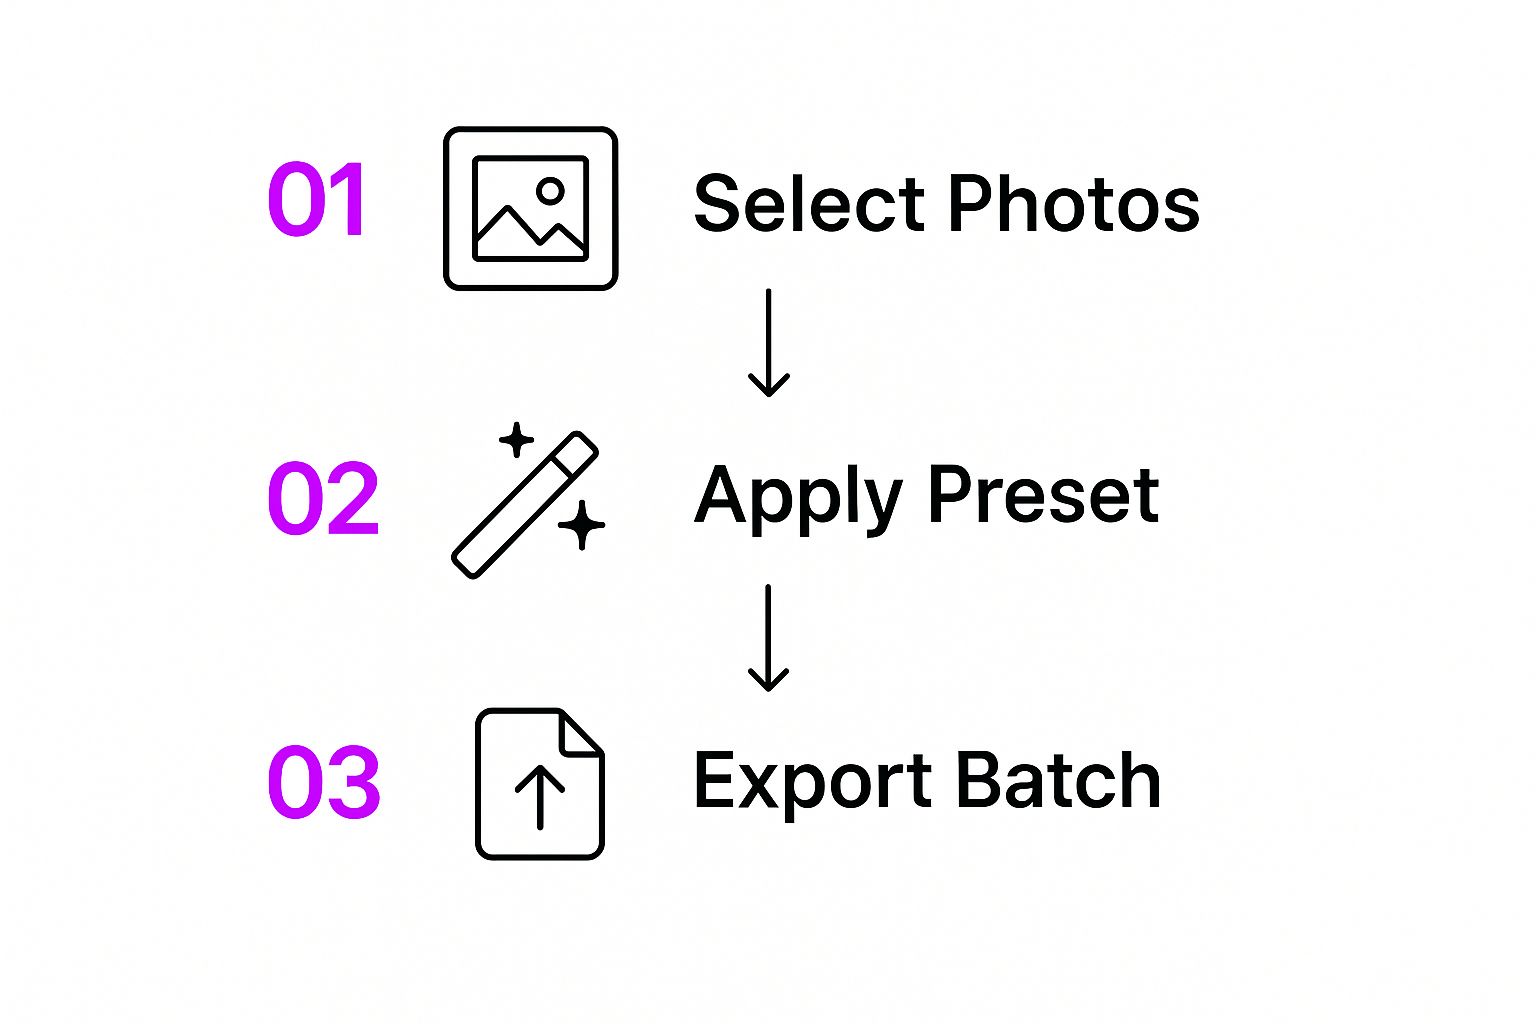
Your First Batch Editing Workflow From Start to Finish
Alright, let's move from theory to practice. It’s one thing to understand why you should batch edit, but it's another thing entirely to pull off your first successful batch. I'm going to walk you through a classic, real-world scenario: editing a full set of event photos from start to finish.
This isn’t about just slapping a filter on everything and calling it a day. It’s a structured workflow to get you a polished, consistent look across an entire gallery, even when the lighting was all over the place.
Cull and Organize Your Photos
Before you even think about touching a single slider, you need to get organized. Seriously, don't just dump every single photo you took into your software. The first thing I always do is a quick "cull" to pick out only the best shots—the ones that are sharp, well-composed, and capture the key moments.
This simple first pass saves a massive amount of time down the line. It stops you from wasting energy editing photos you were never going to use anyway.
Once you have your keepers, bring them into your editor of choice. For this walkthrough, we'll assume we're using a program like Adobe Lightroom, which is pretty much the industry standard for managing big photo sets.
Pro tip: Organize your photos into collections or folders right at the import stage. It feels like an extra step, but it will make the whole process so much smoother.
Create Your Master Edit
Now for the fun part. Scroll through your selected images and find what I call a "master image." This should be a photo that’s a solid representation of the lighting and color for a specific part of the event (like the brightly lit ceremony versus the dimly lit reception).
Take this one photo and edit it until it's perfect. Nail down the core adjustments that will benefit the whole set:
- White Balance: This is fundamental for consistent skin tones. Get the colors right so that whites look white, not yellow or blue.
- Exposure: Adjust the overall brightness until it feels just right.
- Contrast and Tone: Play with the highlights, shadows, whites, and blacks to give the image some pop and dimension.
This single edit is your blueprint—your "recipe"—that you're about to apply to all the other similar photos.
Apply Edits Across the Collection
With your master image looking great, it's time for the magic. First, select your edited photo. Then, hold down Shift or Ctrl/Cmd and select all the other images that were shot in similar lighting. Now, look for the software’s sync or copy-and-paste settings feature.
A dialog box will pop up, letting you pick and choose which specific adjustments to apply. This is a crucial detail. For example, you’ll almost always want to sync white balance and exposure, but you probably don't want to sync the crop setting, since every photo might need its own unique framing.
After applying the settings, quickly scroll through the batch. The heavy lifting is done. You’ll probably spot a few photos that need a minor tweak here and there, but the bulk of the work—easily over 90% of it—is already finished.
Finally, select all your polished photos and get ready to export. For many workflows, especially for e-commerce or web use, this is where you'd standardize the dimensions using batch image resizing tools. It’s also a great opportunity for online sellers to explore how to use AI for professional product photography to create a uniform look at scale.
And that's it! You've just completed your first batch edit, turning what could have been hours of tedious clicking into a focused, efficient, and much more enjoyable task.
Digging into Advanced Batch Editing
 Okay, so you've got the hang of the basic sync workflow. Now it's time for the fun part—exploring the seriously powerful features that modern editors pack in. This is where we go beyond simple tweaks and start using intelligent tools to handle complex changes across dozens of photos automatically.
It's one thing to copy and paste settings, but it's another thing entirely to teach the software how to think for you.
Just a few years ago, some of these features felt like pure science fiction. Take sky replacement, for example. You can have an entire set of landscape photos shot under a boring, flat-gray sky and, in just a few clicks, swap it out for a dramatic sunset across every single image. The AI is smart enough to handle the unique masking and blending for each photo in the batch.
Building Your Own Custom Presets
While a one-time batch edit is great, the real efficiency comes from creating and organizing your own library of custom presets. A preset isn't just a filter; it's your signature style, saved and ready to deploy in an instant.
Instead of reinventing the wheel for every shoot, you can perfect a look for a specific scenario—like "Rainy Day Portraits" or "Sunny Beach Photos"—and save all those adjustments.
- Nail Down Your Look: Start by editing a single, representative photo until you love the result. Really focus on the color grading, tone curve, and any specific effects that define the mood.
- Save It: Look for the "Create Preset" option in your software. Give it a descriptive name you'll actually remember and tuck it into a logical folder (e.g., "Client Work," "Social Media Styles").
- Tweak and Refine: Your style will evolve, and so should your presets. Don't be afraid to revisit and update them after a few shoots to make them even better.
I can't stress this enough: creating a solid library of presets is one of the biggest leaps you can make to speed up your process. This isn't just about how to batch edit photos; it's about building a consistent, repeatable system for your brand.
Putting AI to Work on Complex Jobs
Beyond basic adjustments, you can use sophisticated AI to apply creative styles or handle tedious tasks across a batch of photos. For instance, if you're aiming for a consistent artistic feel, exploring advanced AI style transfer techniques can open up a world of new creative possibilities.
Another massive time-saver, especially for e-commerce sellers, is batch background removal. Imagine you have 50 new product shots, all on different, messy backgrounds. Instead of spending hours masking each one by hand, you can tell the software to find and remove the background from all of them at once, replacing it with clean white or a branded color. It’s a total game-changer.
You can also find tools with intelligent watermarking. Some can automatically analyze the composition of each photo and place your logo in an optimal, non-intrusive spot—whether the image is horizontal or vertical. This is a huge step up from just slapping a logo in the bottom-right corner of every photo, no matter what. These advanced methods show that batch editing is about way more than simple synchronization; it's about producing high-quality, professional work at scale.
Common Batch Editing Mistakes and How to Avoid Them
Learning how to batch edit photos feels like unlocking a superpower. Suddenly, hours of repetitive work can shrink down to minutes. But with that power comes the risk of making mistakes on a massive scale. One wrong move doesn't just mess up a single photo; it can compromise an entire photoshoot and send you right back to square one.
The good news? The most common pitfalls are surprisingly easy to sidestep once you know what to look for. It usually boils down to avoiding the assumption that one single edit will work perfectly across dozens of different images. An adjustment that looks fantastic on one shot can look downright awful on another taken in slightly different conditions.
Overlooking Inconsistent Originals
The number one saboteur of any batch editing workflow is inconsistency in the source images, especially when it comes to lighting. I’ve seen it happen countless times. You nail the perfect edit for a product shot taken near a bright window, apply it to the whole batch, and realize half the photos—shot under dimmer, artificial light—are now a grainy, over-processed mess.
Before you even think about applying a batch action, take a minute to pre-sort your photos. Group them by their lighting conditions first.
- Group 1: Bright, Natural Light. This is your baseline. The edits here will likely be subtle.
- Group 2: Indoor, Artificial Light. This batch will probably need a different white balance and a bit more exposure.
- Group 3: Low-Light or Flash. These images are in their own category and will require unique tweaks for noise reduction and highlight recovery.
This simple sorting step takes maybe a minute upfront but can save you an hour of headaches and re-editing later.
The goal of batch editing isn't just speed; it's consistency. Your final output is only as good as your starting point, so always account for variations in the source images before applying a global change.
Forgetting the Final Spot-Check
The second major mistake is hitting "Export All" without doing a final once-over. It’s so tempting to trust the process, walk away, and call it a day. But you should always, always do a quick scroll-through of the entire gallery after applying your edits.
This is your last line of defense. Look for the outliers. Are there a few images where the skin tones look slightly off? Is there a weird color cast in the background of one photo? A quick spot-check lets you catch these minor issues and give them a quick manual tweak, ensuring the entire set comes out looking flawless.
The demand for tools that make this whole process easier is booming. The photo editing software market in North America has ballooned from $266.48 million in 2021 to an estimated $377.44 million—a clear sign that everyone is looking for smarter, more efficient workflows. You can read more about these market trends to see just how widespread this need has become.
Taking these precautions ensures your batch editing is both fast and effective. And if you're tackling complex projects like e-commerce images, you might want to check out our guide on how to create stunning digital product images with AI for more ways to achieve professional consistency at scale.
Of course, even when you feel like you've got a handle on batch editing, a few questions always seem to pop up. It's totally normal. As you get comfortable with the process, you start thinking about all the new things you can do, which naturally leads to more "what ifs."
Here are some of the most common questions I get asked, with straightforward answers to clear things up.
Can I Actually Batch Edit on My Phone?
You absolutely can, and it's surprisingly powerful. Lots of mobile apps, like Adobe Lightroom Mobile or even Google's Snapseed, have fantastic batch editing features built right in.
The workflow feels pretty intuitive. You dial in the perfect edits on one photo, and then you can just copy and paste those exact settings across a whole selection of other images. It's a lifesaver for keeping a consistent, professional vibe on your social media feed, letting you edit and post all from your phone. Sure, you might not get the same microscopic precision or raw processing horsepower of a desktop, but for most on-the-go work, it's more than enough.
What's the Real Difference Between Batch Editing and Using Presets?
This is a great question because the two ideas are so closely linked and often work together. The simplest way to think about it is that one is a thing and the other is an action.
- A Preset: This is a saved recipe of specific editing settings. It’s a pre-packaged combination of exposure, contrast, color adjustments, and more that creates a certain style.
- Batch Editing: This is the action of applying those edits—whether they come from a preset or you just made them up on the spot—to a big group of photos all at once.
You can definitely batch edit without ever using a preset. Just edit one photo manually, then sync those changes to the rest of your selection. But using presets makes the whole process much, much faster and more consistent every single time.
Think of it this way: a preset is your perfected recipe for chocolate chip cookies. Batch editing is when you bake a dozen trays of them at once. The preset is what makes sure they all taste the same.
Will Batch Editing Ruin My Image Quality?
Nope. The act of batch editing itself doesn't degrade your images at all. The final quality of your photos really comes down to just two factors: the editing software you’re using and your export settings.
Most professional-grade editors today use non-destructive editing. This is a huge deal. It means your original, high-quality image files are never actually changed or overwritten. Every edit you make is just a layer of instructions that the software applies on top of the original file. Your source image remains untouched and safe.
Where people usually see quality loss is during the export process. If you save a JPEG file with a really low-quality setting or shrink it down to a tiny resolution, you're going to lose detail. To keep your images looking crisp, always start with high-resolution originals and choose export settings (like a high-quality JPEG or a TIFF file) that match what you need the image for.
Ready to stop editing one photo at a time and get hours of your life back? Bulk Image Generation mixes powerful AI creation with a smart batch editor to transform your creative workflow. You can remove backgrounds, swap faces, resize images, and apply enhancements across hundreds of photos in just a few clicks. Try Bulk Image Generation today and see how fast you can scale your design process.