Create Facebook Cover Photo Collage: How to create facebook cover photo collage

Aarav Mehta • January 6, 2026
Discover how to create facebook cover photo collage with practical tips, dimensions, and design ideas to boost engagement.
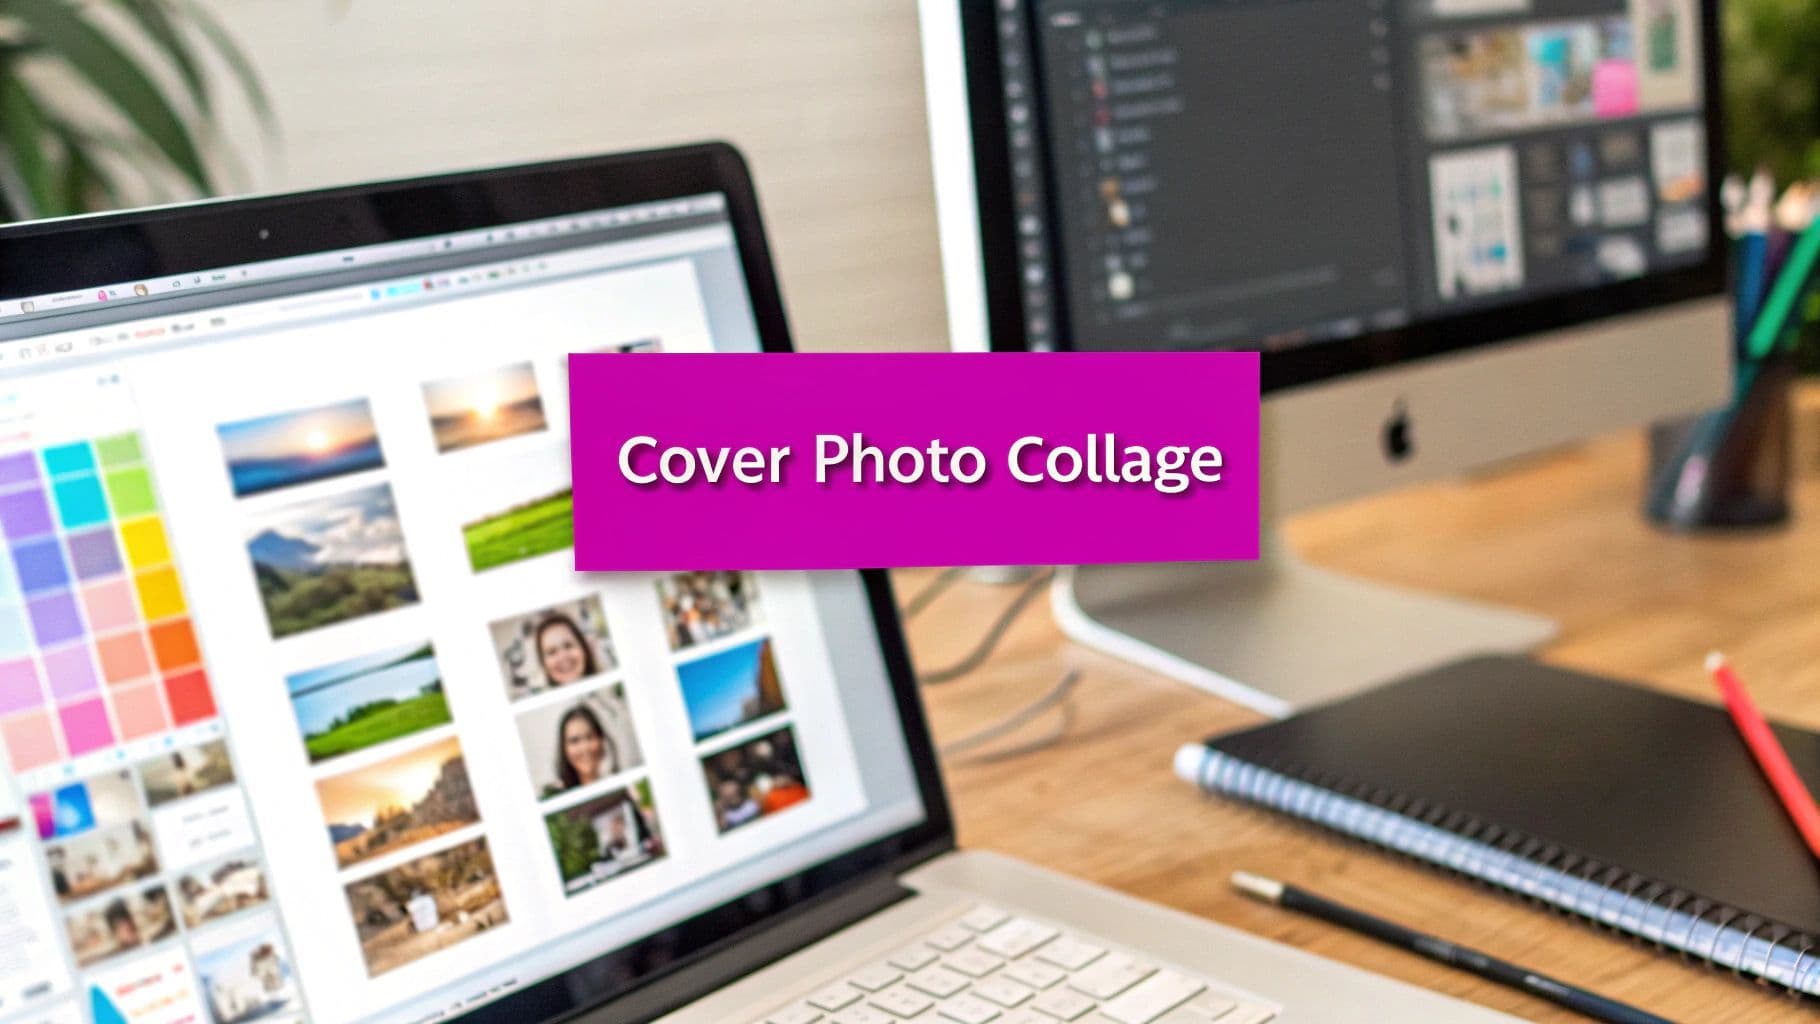
To really make a killer Facebook cover photo collage, you need to bring a few high-quality images together into one, seamless banner. It's about transforming that prime real estate on your profile from just a static picture into a dynamic storytelling tool that instantly shows off your brand's personality or celebrates personal milestones.
Why Your Facebook Cover Deserves a Collage
Let’s be real: your Facebook cover photo is the very first thing people see. That makes it one of the most valuable pieces of digital real estate you own. Just slapping a single, static image up there is a massive missed opportunity.
A well-designed collage, on the other hand, turns that space into a powerful narrative. It can tell a rich story in a single glance. Think of it as the difference between a billboard with one word and a billboard that paints an entire scene.
For businesses, the strategic upside is huge. A thoughtful collage acts as a visual elevator pitch. Imagine a bakery showcasing its top-selling cakes, a digital agency highlighting its core services, or a retailer showing off a new product line—all right there in the banner. This instantly tells new visitors what you're all about and reminds your followers why they're there.
Tell a More Compelling Story
A single photo can only say so much. A collage lets you weave together multiple parts of your brand or personality.
- Showcase Variety: Display different products, feature team members, or highlight key moments from an event. A real estate agent, for example, could feature several stunning properties instead of just one.
- Illustrate a Process: You can visually walk people through a before-and-after transformation or a step-by-step guide related to what you do.
- Create an Emotional Connection: Combine photos that trigger a specific feeling—joy, professionalism, creativity. For a personal profile, this could be a collection of your favorite travel memories.
A great cover photo collage isn't just a random collection of images; it’s a curated experience. It guides the viewer's eye and sends a multi-layered message that a standalone picture never could.
Boost Engagement and Professionalism
Beyond just telling a story, a custom collage screams professionalism and attention to detail. It shows you’ve put real thought into your online presence, which builds instant trust with your audience. A cluttered or poorly designed cover can do the exact opposite, making a brand look amateurish.
Plus, a fresh, visually interesting cover can stop scrollers dead in their tracks, making them want to explore your page. When you create a facebook cover photo collage that's both beautiful and strategic, you're not just decorating your page—you're making a powerful marketing move that pays off in engagement and how people see your brand.
Nailing the Dimensions and Mobile Safe Zones
Before you even start dreaming up a collage layout, you have to get the technical stuff right. It’s like being a painter—you need to understand your canvas before you can create a masterpiece. Jumping into the design without knowing the proper dimensions for a Facebook cover photo is a recipe for disaster. You’ll spend hours creating something beautiful, only to see it awkwardly cropped and butchered on different devices.
Let's get this out of the way first, because it's non-negotiable.
Facebook has been tweaking things since the Timeline feature first dropped way back in 2012, but one thing remains constant: dimensions matter. The sweet spot for your collage design is 820 x 360 pixels. This is the master file size you'll want to work with.
But here’s the catch: it won't look the same everywhere. On a desktop computer, Facebook displays it at 820 x 312 pixels. On mobile phones, it crops in, showing it at 640 x 360 pixels. And to make things even trickier, your profile picture will overlap a pretty big chunk on both.
A great cover isn't just a placeholder image; it's a strategic tool. When done right, it tells a story, boosts engagement, and makes you look like a pro.
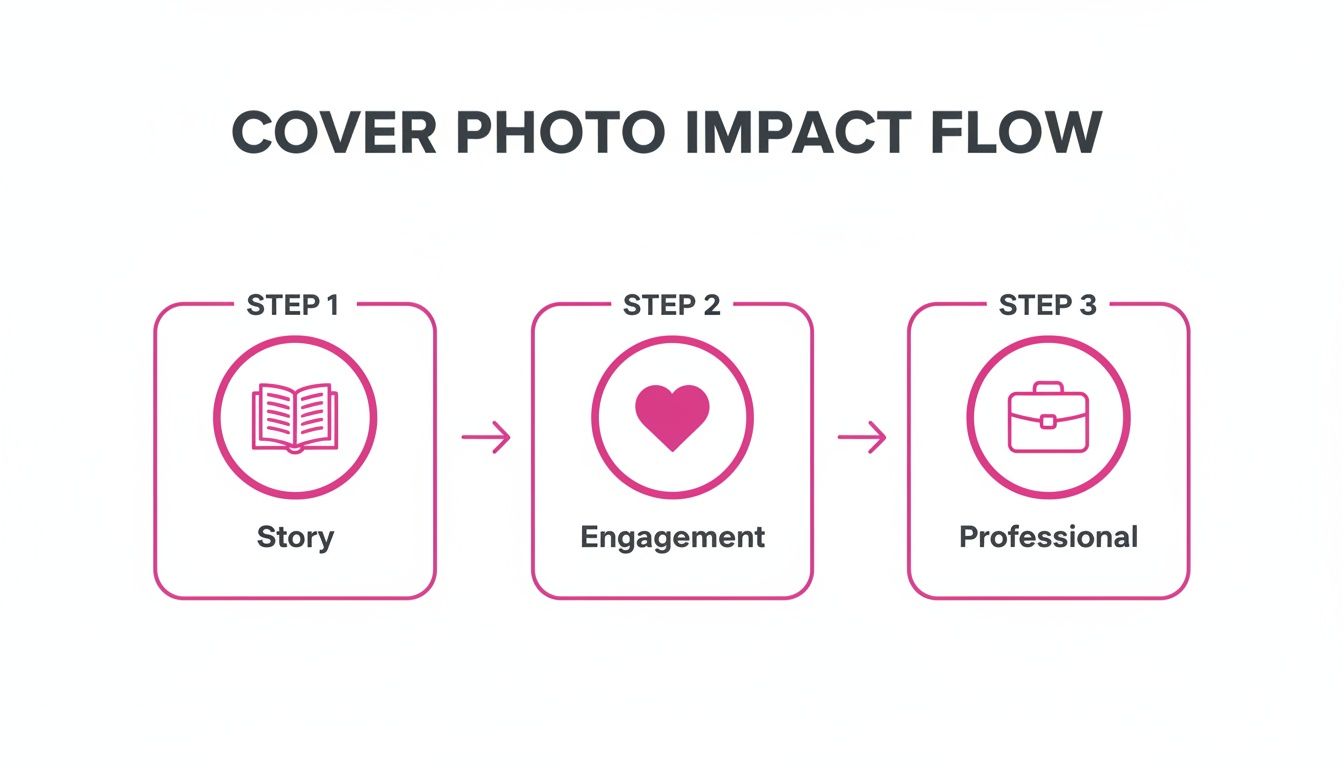
This simple flow shows just how much a well-designed cover can do. It’s the first step in building a visual narrative that connects with your audience.
To help you visualize exactly how these crops work, here’s a quick reference table.
Facebook Cover Photo Display Dimensions
This is a quick guide to how your cover photo collage will appear on different devices, highlighting the critical safe zone for your main content.
| Device Type | Display Size (Pixels) | Key Considerations |
|---|---|---|
| Desktop | 820 x 312 | The top and bottom of your 360px tall image will be slightly cropped. |
| Mobile | 640 x 360 | The sides of your 820px wide image are significantly cropped. This is the big one to watch. |
| Safe Zone | ~560 x 312 | This is the central sweet spot where all critical content should live to be seen everywhere. |
Think of this table not as a limitation, but as your guide to making a design that works flawlessly for every single visitor, no matter what they're using to browse.
Understanding the Mobile Safe Zone
This is where so many people mess up. Because of the different ways Facebook crops your image, there’s a crucial area right in the middle that I call the "safe zone."
Anything you place outside this central stage is at risk of being chopped off or hidden behind the profile picture.
Key Takeaway: The mobile-safe zone is a central area roughly 560 pixels wide. Your logo, any critical text, your main call to action, or the most important faces in your collage must live within this central column. No exceptions.
On mobile, the sides get trimmed. On desktop, a sliver from the top and bottom disappears. That middle section? It's the only part that's 100% visible on both.
A Practical Example of Safe Zone Planning
Let's say you're making a cover collage for a local coffee shop. You want to feature your logo, a killer shot of a fresh latte, and your tagline: "Your Daily Grind, Perfected."
- Bad Placement: You stick the logo in the far-left corner and the tagline on the far right. On mobile, that logo is now completely covered by the profile picture, and your tagline is gone. A total fail.
- Good Placement: You position the logo and tagline squarely in that middle 560-pixel zone. The beautiful latte art photo can sit off to the side. You know it might get partially cropped on mobile, but that's okay—your core brand message is perfectly intact for everyone.
To make life easier, you can use a tool like this free aspect ratio calculator to get a feel for how different dimensions will look before you commit. A quick check like this can save you a world of frustration down the line. Keep your key info locked in that safe zone, and your collage will make a killer first impression every time.
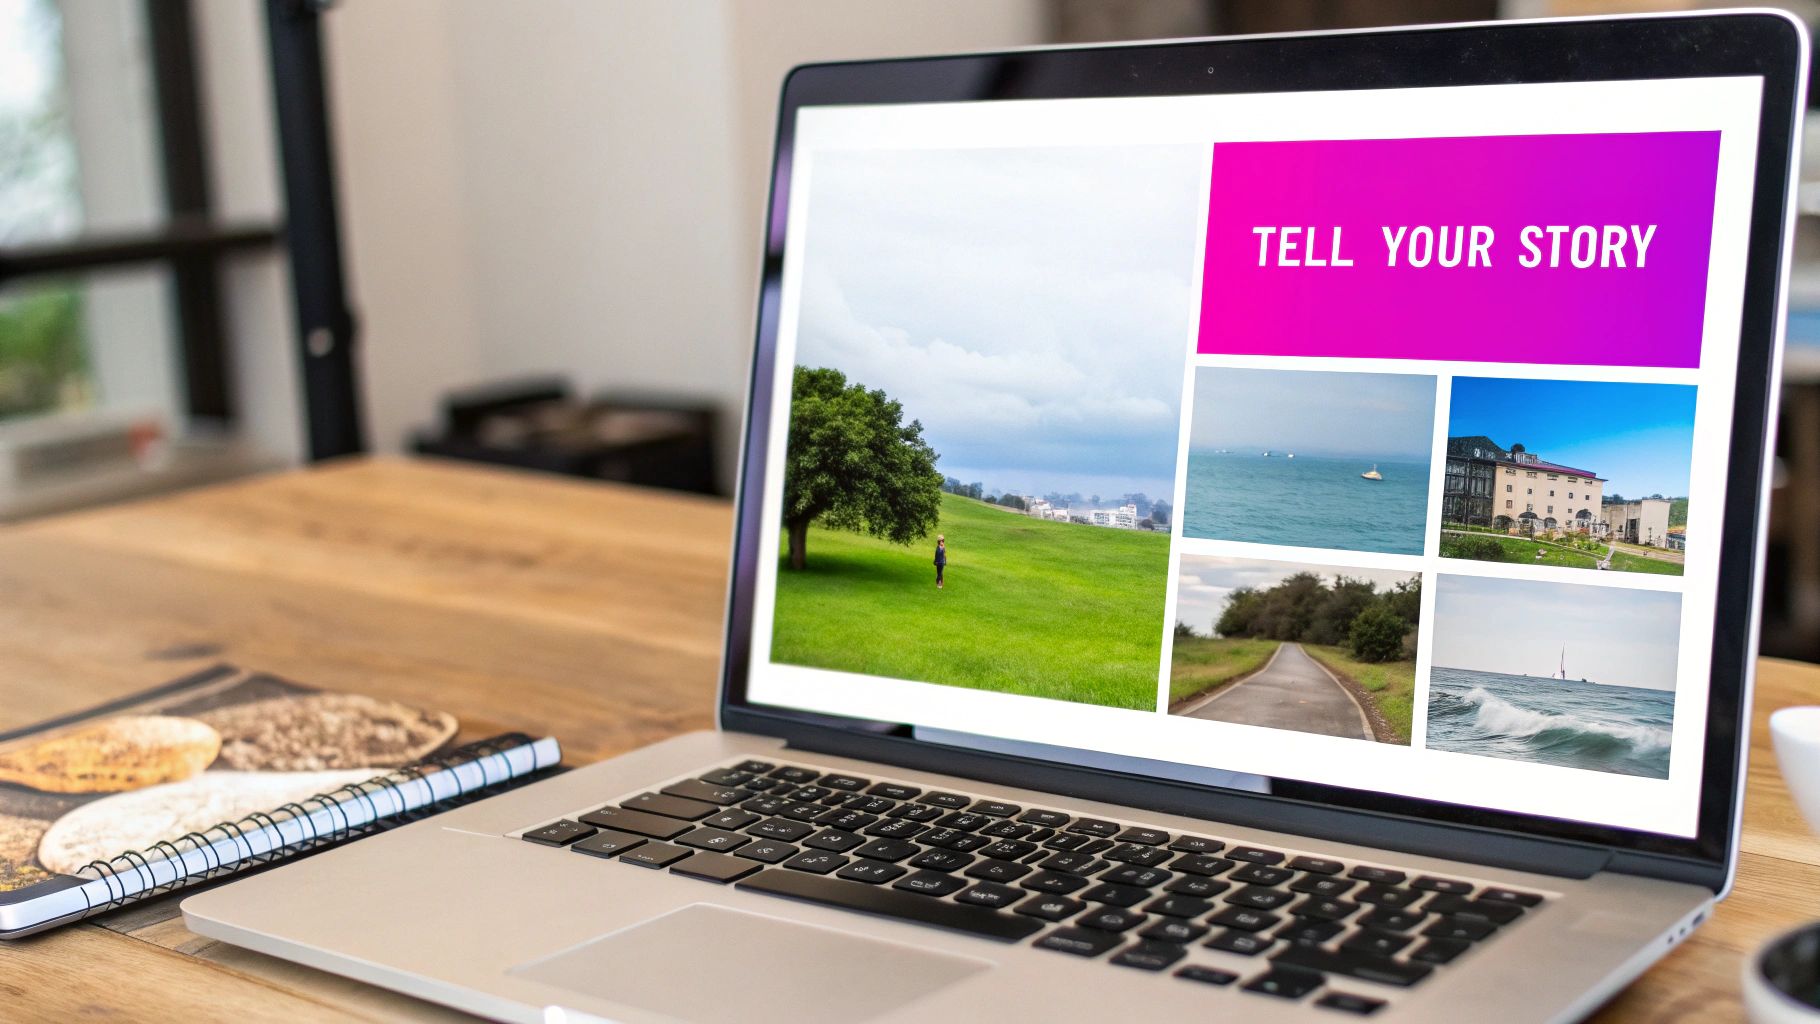
Designing a Collage with a Clear Story
Anyone can throw a few photos onto a canvas. But a truly great collage? That’s more than a random jumble of pictures—it’s a visual story that grabs someone in seconds. We’re moving beyond just filling the 820-pixel space. Strategic composition is all about guiding the viewer's eye and getting a clear message across. This is where a simple collection of photos becomes an impactful statement.
Think of it this way: a mess of images is just noise. A well-composed collage is music. The goal is to arrange your visuals so they feel intentional and instantly communicate your brand's personality or personal vibe.
If you want a head start, powerful design tools like Canva are fantastic for this, offering tons of templates and an easy-to-use interface to get your photos arranged just right.
Choosing Your Layout Strategy
The layout you pick sets the entire tone. There's no single "best" option here; it all boils down to the story you're trying to tell.
- Grid Layouts: These are your go-to for a clean, organized, and professional look. A symmetrical grid is perfect for an e-commerce brand showing off product variations or a consultant highlighting different services. It just screams order and balance.
- Asymmetrical Layouts: Feeling a bit more creative? Asymmetrical layouts are dynamic and modern, using different image sizes and unique arrangements to create energy. They’re a great fit for artists, bloggers, or anyone wanting to project a more free-flowing vibe.
- Focal Point Layout: This is all about making one image the star. You use one large, dominant photo surrounded by smaller, complementary ones. It’s perfect for drawing immediate attention to a hero product, a team leader, or a key message while the other images provide context.
The Power of a Focal Point and Negative Space
Every collage needs a hero—one main image or element that acts as the focal point. This is the visual anchor that grabs attention first, before the viewer's eyes start to wander. Without it, the whole thing can feel chaotic and unfocused, leaving people confused about where to even look.
Just as important is negative space—the empty areas around your images.
Don't be afraid of blank space. It's not wasted real estate; it's a crucial design element that prevents visual clutter, improves readability, and makes your key images stand out even more.
A crowded collage is overwhelming, but one with breathing room feels polished and confident. The way your images are arranged and the space between them work together to tell a story that connects. Before you create a facebook cover photo collage, it’s a good idea to map out a visual hierarchy to make sure your most important message hits home first.
And if you’re creating lots of visuals for different campaigns, keeping a consistent look is key. Using a brand kit can be a massive time-saver, ensuring every image aligns with your established brand identity. This kind of consistency is what builds a strong, recognizable visual narrative. You can learn more about how to do that with a brand kit-based approach.
Using AI to Generate Perfect Collage Images
Let's be honest: finding the perfect set of images for a collage is usually the most painful part of the process. You can lose hours scrolling through stock photo sites or trying to coordinate a photoshoot, only to end up with visuals that don't quite match.
This is where a smarter workflow saves the day. Instead of hunting for photos, what if you could just create them? Modern AI tools let you generate dozens of unique, on-brand visuals in minutes, completely sidestepping the tedious search.

From Simple Prompts to Stunning Visuals
The real magic is turning simple text ideas into high-quality images. You don't need to be a tech wizard; a clear, descriptive prompt is all it takes to get a whole batch of options that fit your theme.
Here are a few real-world examples to get you started:
- For a coffee shop: "A cohesive flat lay of artisanal coffee beans, a ceramic mug with latte art, and a worn leather notebook on a dark wood background."
- For a tech startup: "A minimalist office desk with a sleek laptop, a smartphone displaying charts, and a small green succulent, clean and modern aesthetic."
- For a travel blogger: "A vibrant collage of travel essentials: a passport, a vintage camera, and a folded map, with a soft, adventurous color palette."
This approach gives you a curated set of visuals that are already halfway to becoming a perfect collage. For anyone looking to dive deeper, AI image generation tools like LunaBloom AI are great for generating exactly what you need.
Pro Tip: Consistency is everything. When writing your prompts, use similar keywords for lighting ("soft morning light"), style ("cinematic," "flat lay"), and color ("warm earth tones"). This ensures all the final images feel like they belong together.
Since Facebook tweaked its algorithm in 2018 to favor engaging content, visually rich posts like collages have become a quiet powerhouse. Some pages have reported a 56% jump in profile visits and a 31% growth in community size in the first month alone. But the real game-changer is speed. What used to take hours in Photoshop can now be done in seconds—modern tools can deliver 100 visuals in under 20 seconds.
Selecting the Best AI-Generated Images
Once you have a batch of AI-generated photos, the final step is picking the winners for your collage. This is way easier than starting from a random collection because every option is already tailored to your original idea. Our free AI image generator is a great tool for quickly creating and refining visuals until they're just right.
As you review your options, keep these three things in mind:
- Consistent Lighting: Do all the photos look like they were shot in the same environment? You don't want to mix a harsh daylight shot with a moody, low-light image.
- Harmonious Color Palette: Stick to images that share a similar color scheme. It creates that polished, professional look that’s easy on the eyes.
- Shared Style: Whether your vibe is rustic, modern, or playful, make sure every photo contributes to that unified theme.
By generating images with a clear vision and then curating the most cohesive results, you can build a stunning Facebook cover photo collage in a fraction of the time.
Putting It All Together: Assembly and Editing Shortcuts
Alright, you’ve got your pile of images. Now for the fun part: turning that collection into a cohesive, eye-catching collage. This is where the magic really happens. The goal here isn't to slave away for hours on manual edits but to work smart.
Think about it. If you have five, ten, or even more photos, tweaking each one for brightness, contrast, or size is a one-way ticket to frustration. You'll end up with a collage that looks disjointed. A good batch editor is your best friend here, letting you apply the same filters or corrections across the entire set with just a few clicks. This is the secret to getting that unified, professional look.
Use Batch Processing to Streamline Your Edits
Batch editing will save you an incredible amount of time. Instead of opening each photo one by one to remove a background or punch up the colors, you can process them all at once. This is a game-changer, especially when you're working with AI-generated images that might already share a similar vibe but need that final touch of consistency.
Here are a few edits that are perfect for batch processing:
- Consistent Resizing: Make sure every image is cropped or scaled to fit its spot in the layout without looking stretched or squashed.
- Uniform Color Correction: Applying the same adjustments for brightness, contrast, and saturation creates a much more harmonious color story.
- Bulk Background Removal: If your design calls for clean cutouts of people or products, removing the background from every photo simultaneously is a massive time-saver. Check out tools like Bulk Image Generation for this.
This approach ties everything together, making it look like all your photos were part of a single, well-planned photoshoot.
Arranging Your Polished Images
Once your images are edited and looking consistent, it’s time for the final assembly. Now you’ll bring those polished visuals into your design tool of choice. Whether you're using a dedicated collage maker or a powerhouse like Canva, it's mostly a drag-and-drop affair from here.
Quick reminder: Don't forget about those safe zones we talked about earlier. As you place each photo, keep checking that the important stuff—faces, logos, or key product features—lands squarely in that central area that looks good on mobile.
Arrange your images to guide the viewer’s eye naturally across the banner. I usually start by placing my strongest, most compelling photo in the main focal point I decided on earlier. Then, I fill in the surrounding spots with the complementary images, paying close attention to clean spacing and alignment. The goal is to create a facebook cover photo collage that feels balanced and intentional, no matter what device it's viewed on. This is where all that careful planning and efficient editing really pays off.
Getting Your Collage Exported and Uploaded Flawlessly
You’ve done the hard work and designed a fantastic collage. Don’t let a wonky export setting ruin it at the last minute. This final step is absolutely critical for making sure your images look sharp and professional once they’re live on Facebook, which can be notoriously aggressive with image compression. A little prep here goes a very long way.
The whole game is about balancing image quality with file size. If your collage is mostly made up of photos, exporting as a high-quality JPG is almost always your best bet. But if you’ve incorporated sharp text, logos, or any crisp vector graphics, a PNG file will be your friend. It’ll preserve those sharp details and prevent that fuzzy, pixelated mess that can happen with JPGs.
Picking the Right File Type
- JPG is for Photos: It gives you incredible quality for complex images without creating a massive file.
- PNG is for Graphics & Text: This format keeps sharp lines and text perfectly crisp, which is exactly what you need for any branding elements.
A perfectly crafted collage at the ideal 820 x 360 pixels can seriously move the needle on your page's performance. In fact, some analyses show it can boost page likes by as much as 42% just by pulling together campaigns and testimonials into a single, scroll-stopping frame. This is even more true in global markets where rich visual content often drives virality. You can dive deeper into the data by exploring insights on social media image sizes from Sprout Social.
The one rule you absolutely need to remember is to keep your final file size under 100KB. This simple step is your best defense against Facebook's heavy-handed compression, ensuring your collage loads fast and looks crystal-clear, no matter the device.
Before you hit that upload button, do a quick final check. Are the dimensions spot-on? Are all your crucial elements sitting safely within the mobile-safe zone? Once you’ve ticked those boxes, you can confidently upload your work, knowing you did everything possible to create a facebook cover photo collage that makes a brilliant first impression.
A Few Common Questions About Cover Photo Collages
Even with a perfect plan, you’re bound to hit a snag or two when putting together your first Facebook cover photo collage. I’ve been there. Getting quick answers to these common sticking points can save you a ton of frustration and help you get that design finished with confidence.
How Many Photos Should I Actually Use in My Collage?
There’s no magic number, but from what I’ve seen work best, the sweet spot is usually between three and six high-quality photos.
This range gives you enough variety to tell a compelling story without making the whole thing feel cluttered or overwhelming. The goal is to make sure every image is distinct and pulls its weight, contributing to a single, clear theme. Push it past six, and the cover starts to look chaotic. Even worse, each photo becomes too tiny to appreciate, especially on a phone screen. Stick to a curated selection for the biggest impact.
Why Does My Cover Photo Look So Blurry on Facebook?
Ah, the classic blurriness issue. This is almost always caused by one of two things: you started with low-resolution images, or Facebook's own compression algorithm is squashing the quality.
A quick fix for this is to always, always start with sharp, high-resolution photos. When you’re ready to export, make sure your final collage is sized to 820 x 360 pixels. If your design includes any text or logos, save it as a PNG file. A PNG will keep those sharp vector elements much crisper than a JPG ever could.
Can I Just Use a Video Instead of a Photo Collage?
You can! Facebook allows cover videos on Business Pages, but they come with a different set of rules.
A cover video has to be between 20-90 seconds long, with a minimum size of 820 x 312 pixels. While a video can be super engaging, a well-designed collage often communicates key information much faster. Let's be honest, most visitors aren't going to stick around to watch the entire clip, so a static image can often do the job more efficiently.
Ready to create stunning, unique images for your next collage in seconds? With Bulk Image Generation, you can generate hundreds of on-brand visuals from a simple text prompt, eliminating the need for tedious stock photo searches. Start creating your perfect collage images today at https://bulkimagegeneration.com.