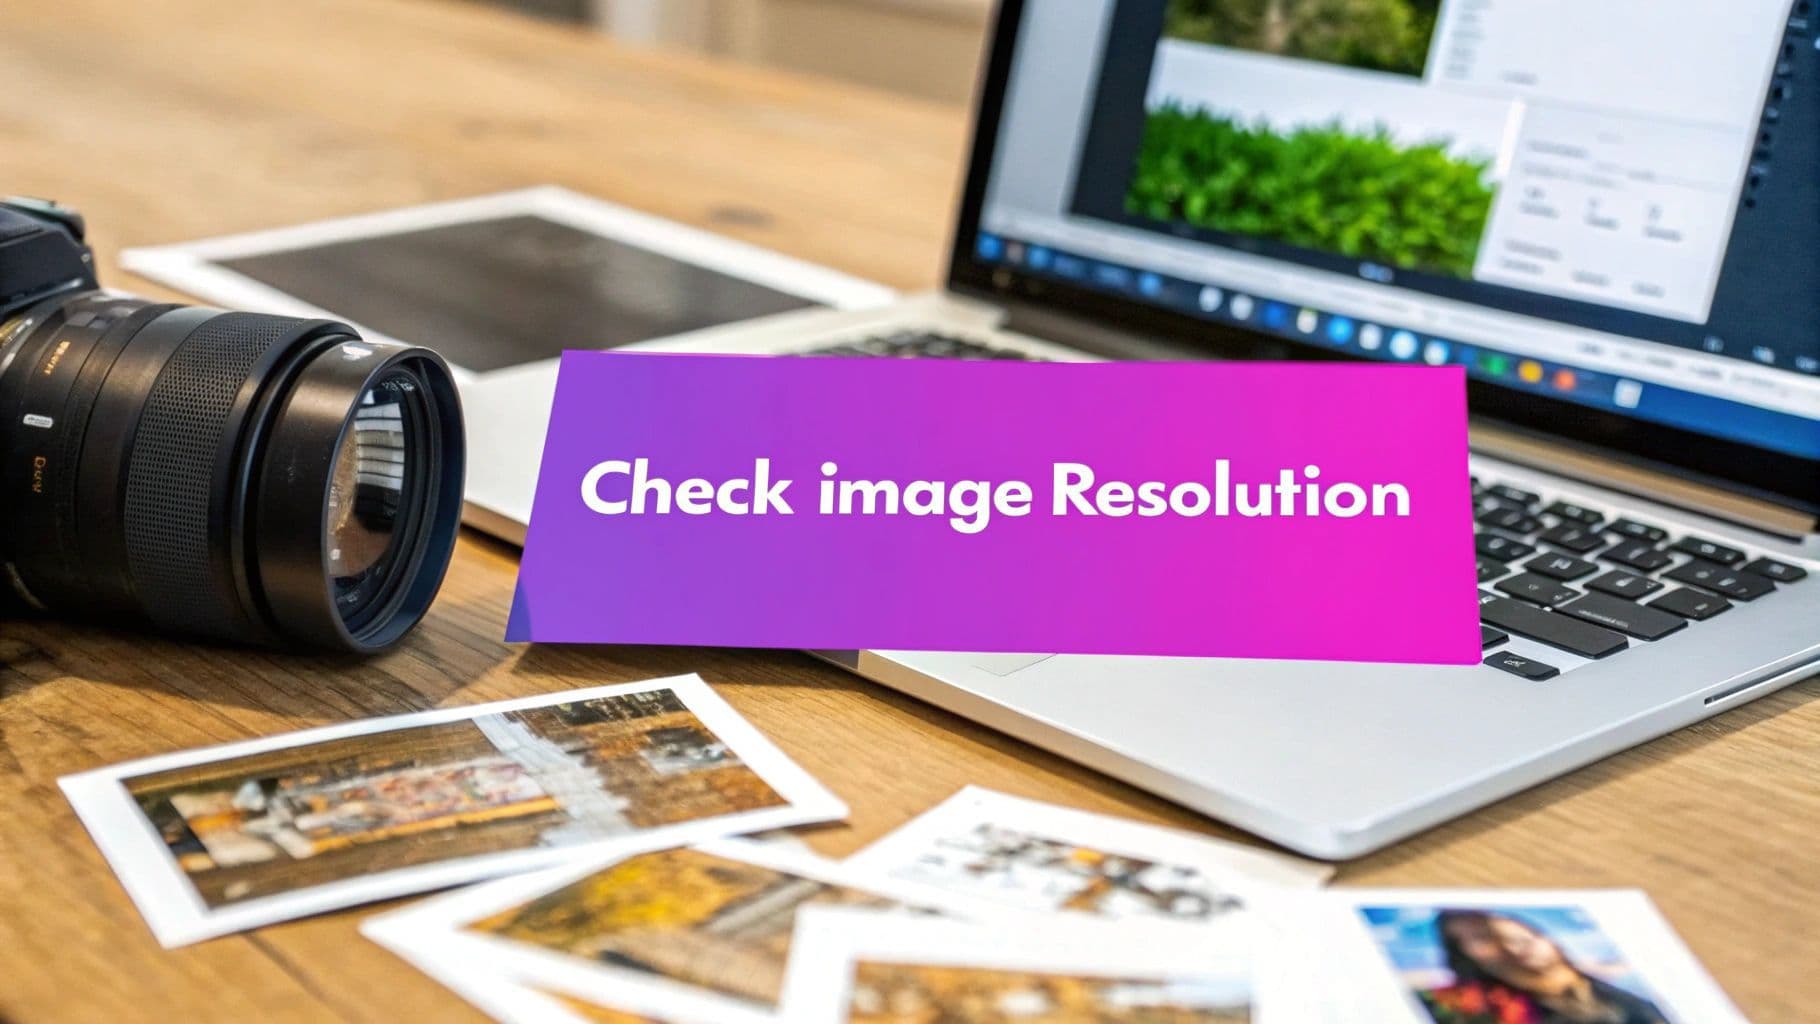
How to Check Resolution of Image The Right Way

Aarav Mehta • October 24, 2025
Learn how to check resolution of image on any device. Our guide covers Windows, Mac, Photoshop, and free online tools with practical, real-world examples.
Want to quickly check an image's resolution? Your computer already has the tools you need.
On a Windows PC, just right-click the file, hit Properties, and then jump over to the Details tab. If you're on a Mac, a quick right-click and Get Info will show you the dimensions. It's that simple.
Why Checking Image Resolution Matters
Before you ever hit "upload" on a new product photo or send a design off to the printer, you absolutely have to be sure its resolution is correct. Trust me on this one.
A low-resolution image might look perfectly fine as a tiny thumbnail. But blow it up for a website banner or a full-page magazine ad? It'll turn into a blurry, pixelated mess. This one simple check can save you from the headache of costly reprints and protect your brand's professional image.
Key Scenarios for Resolution Checks
Verifying image resolution isn't just a task for graphic designers; it’s a critical step in a ton of everyday situations. I once had a project where I needed to verify over a hundred product photos for an e-commerce client right before a massive site launch. Using the built-in file explorer method literally saved me hours of mind-numbing work.
This handy infographic breaks down which method to use based on your operating system or the software you have handy.
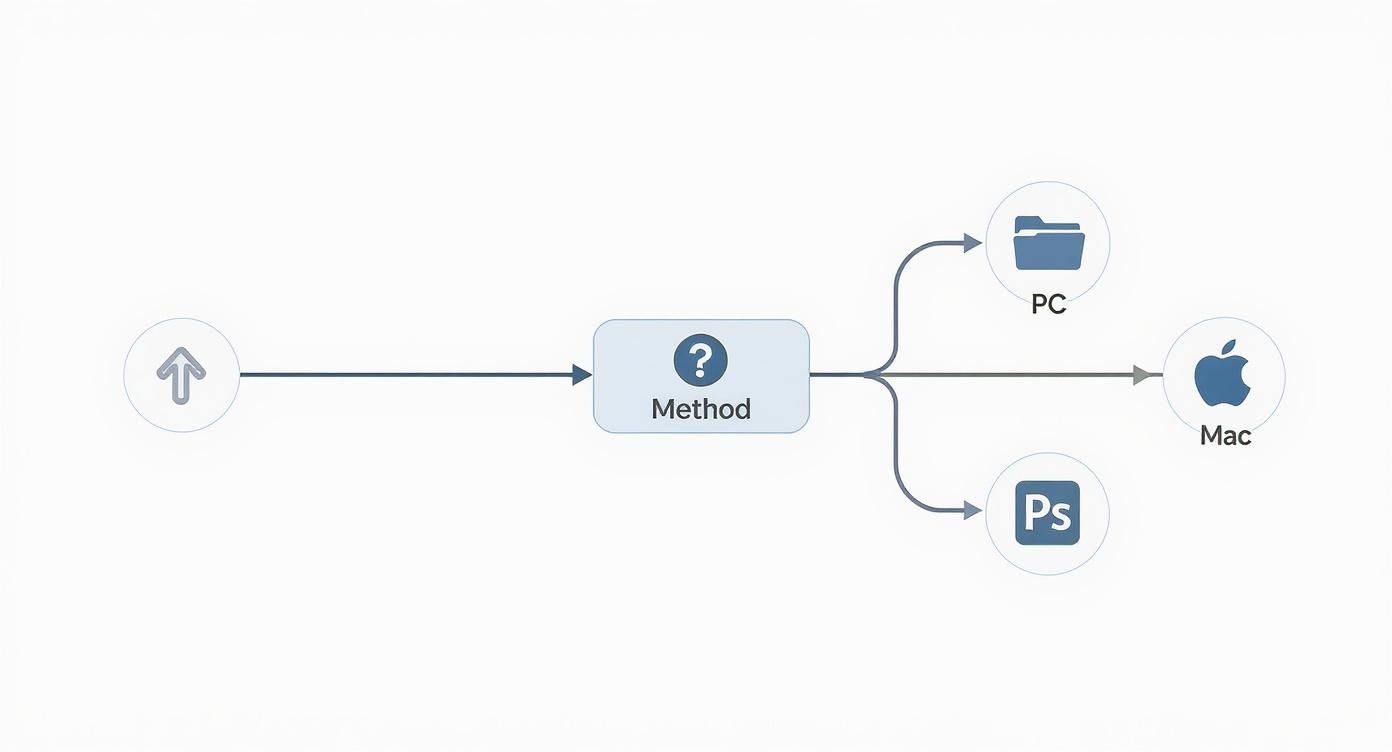
It’s designed to point you to the fastest path, whether you're working on a PC, a Mac, or diving deep into a professional tool like Adobe Photoshop.
Here's the most important thing to remember: The resolution you need depends entirely on where the image will be used. An image destined for a high-quality print needs a much higher resolution (typically 300 DPI) than one that's just going on a website (usually 72 PPI).
Getting a handle on the relationship between an image's pixel dimensions and its final physical size is fundamental. This table breaks down which method is your best bet for different situations, from a quick spot-check to detailed print preparations.
Comparing Image Resolution Check Methods
Find the fastest and easiest tool for checking your image resolution based on your needs.
| Tool | How It Works | Best For |
|---|---|---|
| Windows Explorer | Right-click > Properties > Details | Quickly checking multiple files in a folder without opening any software. |
| Mac Finder | Right-click > Get Info | Fast, single-file checks with a clean and simple interface. |
| Adobe Photoshop | Image > Image Size | Detailed analysis, including DPI/PPI, resampling, and preparing for print. |
Ultimately, choosing the right tool comes down to what you need to accomplish. For a fast check, your operating system's built-in features are perfect. For anything more complex, especially involving print, a dedicated program like Photoshop is the way to go.
What Does Image Resolution Actually Mean?
Before you start checking the resolution of your images, it's helpful to know what those numbers actually mean. At its core, image resolution is all about detail.
Think of a digital photo as a giant mosaic made of tiny, colored squares. Each one of those squares is a pixel. The total number of pixels crammed into your image dictates its potential for detail and sharpness.
So, an image with dimensions of 1920 x 1080 pixels is made up of over two million of these tiny squares. The more pixels you have, the crisper your image will look, especially when you blow it up on a large screen or print it out. We've come a long way from the first digital camera, which had a resolution of just 0.01 megapixels. A far cry from today's standards.

Pixels Per Inch vs. Dots Per Inch
When you dive into resolution, you'll constantly run into two acronyms: PPI and DPI. People often use them interchangeably, but they refer to two completely different things.
- PPI (Pixels Per Inch): This is all about the density of pixels on a digital screen. A higher PPI gives you a sharper, more detailed display. For anything on the web, 72 PPI has been the standard for decades.
- DPI (Dots Per Inch): This one's for the physical world. It refers to the number of printed dots of ink within one inch of an image on paper. For high-quality prints that don't look blurry, you need to aim for 300 DPI.
I learned this the hard way on an early design project. I sent a 72 PPI image to a print shop for a brochure, thinking it would be fine. The result was a pixelated, blurry disaster that had to be completely redone. It was a costly mistake, but it taught me the crucial difference between designing for a screen versus for print.
A quick heads-up: Trying to "upscale" a low-resolution image by just bumping up its pixel dimensions in software doesn't actually add new detail. The program is just guessing what to fill in the gaps with, which usually leads to a soft, artificial-looking mess. Always, always start with the highest resolution original file you can get your hands on.
Getting these concepts right is a game-changer when you're prepping images for different platforms. For a complete rundown of how resolution translates to different platform requirements, this social media post dimensions guide is a great resource.
And don't forget about proportions! The relationship between dimensions and aspect ratio is key. You can use our aspect ratio calculator to make sure your images fit perfectly wherever you post them.
Finding Resolution on Your PC or Mac
Forget about firing up specialized software just to check an image's resolution. Your computer’s operating system already has powerful, built-in tools that get the job done in seconds. This is my go-to method when I'm sorting through a folder of images from a photographer and need to quickly separate the high-res print files from the web-only stuff.
The process is incredibly straightforward on both platforms and gives you immediate access to the essential metadata without opening a single app.
Quick Checks in Windows File Explorer
If you’re on a PC, File Explorer is your best friend. Just right-click on any image file and hit Properties from the menu that pops up.
A new window will appear. From there, click over to the Details tab. You'll find a goldmine of information, including the image’s dimensions in pixels (like 4032 x 3024) and its resolution in DPI. It's perfect for a quick spot-check on a single image or a small batch.
Using Finder on macOS
Mac users have it just as easy. Find your image file in Finder, then right-click (or Control-click) it and select Get Info. This brings up a neat little window summarizing the file's properties.
Look under the "More Info" section, and you’ll see the pixel dimensions listed plain as day. It’s a super quick, at-a-glance way to get the critical resolution data you need.
My personal tip: When sorting a big batch of files, switch your folder view to "Details" on Windows or "List" on a Mac. You can often add a "Dimensions" column, which lets you see the resolution of every single file without having to click anything. It’s a huge timesaver.
This built-in functionality is more useful than ever. Think about it: back in June 2009, the most common desktop resolution was a mere 1024x768 pixels. Fast forward to today, and displays like 1920x1080 are the bare minimum, making it crucial to ensure your images are sharp enough for modern screens. You can see just how much things have changed in this cool data viz on the evolution of screen resolution.
If you’re a designer, photographer, or marketer, your best bet for getting the real story on image resolution is professional editing software. Tools like Adobe Photoshop, GIMP, or Affinity Photo give you the full picture, showing you way more than just pixel dimensions. They reveal the critical link between image size, resolution (DPI/PPI), and how your final project will actually look.
This is the kind of detail that saves you from expensive mistakes. I learned this the hard way years ago while prepping a huge banner for a trade show. A last-minute check in Photoshop's 'Image Size' dialog was a total lifesaver.
I saw the DPI was a measly 72—fine for a screen, but a recipe for a blurry, pixelated disaster in large-format print. A quick tweak to 300 DPI ensured the final banner was sharp and professional, saving us the cost and embarrassment of a last-minute reprint.
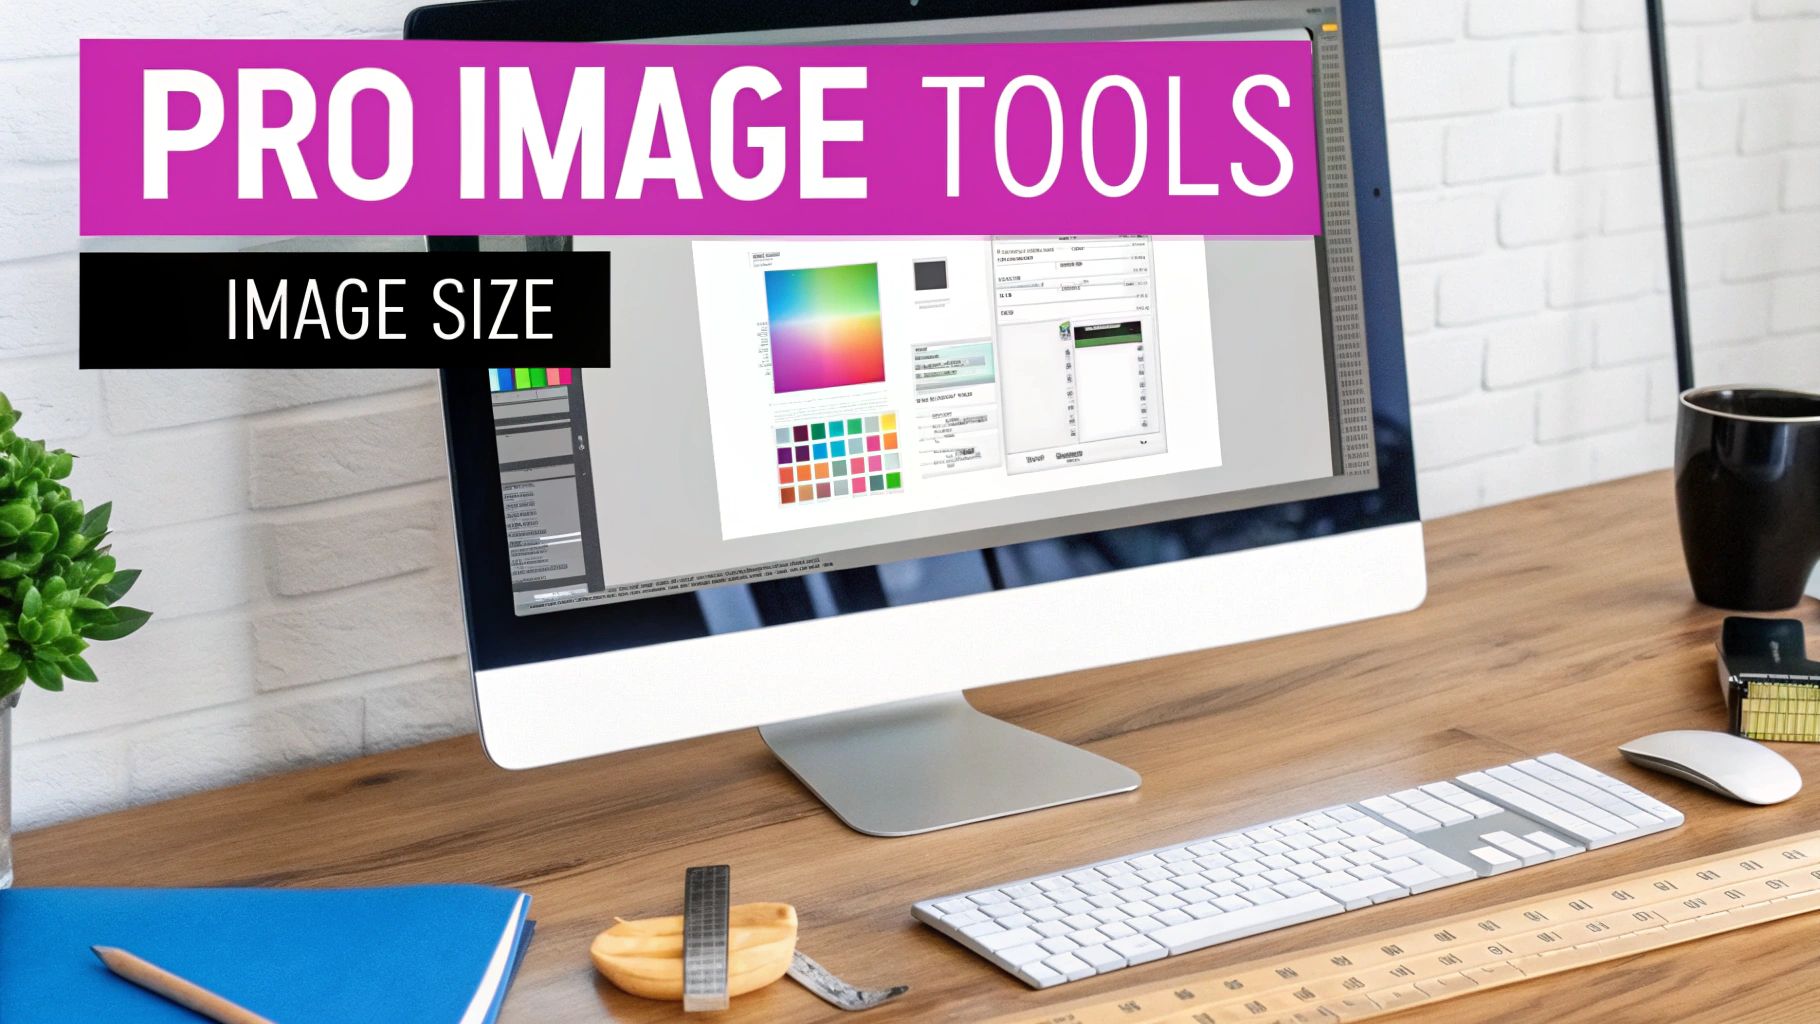
Getting the Resolution Details in Photoshop
Checking an image’s resolution in Photoshop is simple. Just head up to the menu and click Image > Image Size. This little dialog box tells you everything that matters.
- Dimensions: This shows you the image's width and height in pure pixels.
- Resolution: Here’s the magic number—the pixels per inch (PPI), which is your key indicator for print quality.
Here’s a pro tip: uncheck the "Resample" box. Doing this lets you see how changing the resolution (say, from 72 to 300 PPI) directly affects the physical print dimensions without adding or removing any pixels. It’s the most honest way to know if your image is truly big enough for the job you have in mind.
This whole process is much easier than it used to be. Early image formats like GIF were pretty limited, but the arrival of JPEG and PNG really changed the game, allowing us to store high-resolution images much more effectively.
Putting This Knowledge to Work on Real Projects
Understanding this data is what separates amateurs from pros. For instance, if you're creating images for AI product photography, you absolutely have to nail the exact resolution and dimension specs for platforms like Amazon or Shopify. Our guide on that topic dives deep into managing those specific requirements.
At the end of the day, using professional software to check your image resolution gives you total command over your final output. It transforms a simple number check into a strategic move that guarantees quality, whether that image is ending up on a website or a billboard.
Checking Resolution with Online Tools
Ever found yourself away from your main computer, needing to check an image's resolution in a pinch? This is where online tools come in clutch. They run straight from your browser, which means zero software to install and instant answers.
I’ve been in this exact spot more times than I can count. A social media manager I work with once messaged me in a panic—they needed to confirm an ad creative met a platform's rigid specs before a major campaign launch. I was out with just my phone, but I was able to pull up a browser-based tool, upload the image, and get them the dimensions in seconds. It completely saved the day and dodged a costly delay.
Top Browser-Based Checkers
You'll find a bunch of solid options out there, each with a slightly different feel. When you're picking one, think about its interface, how fast it is, and—this is a big one—its privacy policy. You are, after all, uploading your files to their servers.
- Ease of Use: Most of these tools are dead simple, with a drag-and-drop box or an upload button. The best ones spit out the resolution data—pixel dimensions and sometimes file size—clearly and immediately.
- Privacy: Always, always check their terms. Reputable tools will tell you they delete your files after a few hours. If a service doesn't make its data handling practices clear, I'd steer clear.
- Extra Features: Some online checkers do more than just the basics. You might find built-in tools for cropping, converting file types, or making quick edits right then and there.
The real magic of online tools is accessibility. It doesn't matter if you're on a friend's laptop, a library computer, or just your smartphone. You can get the info you need without your usual software suite.
A lot of these platforms also bundle in related features. For instance, what if you check an image and find out it's the wrong size? Instead of starting a new search, you might need a way to fix it on the spot. Using a bulk image resizer can be a massive time-saver when you’ve got a whole folder of files to correct. This is a game-changer when prepping a batch of product photos for an e-commerce site, making sure every single image is uniform and optimized to load quickly.
Common Questions About Image Resolution
Even with the best tools, a few questions about image resolution always seem to pop up. Let's walk through some of the most common points of confusion I see, so you can handle your image files with a bit more confidence.
One of the biggest mix-ups is between PPI and DPI. They sound alike, but they live in two different worlds.
- PPI (Pixels Per Inch) is all about digital screens. It measures the density of pixels on a monitor. 72 PPI is the old-school standard for most things you see on the web.
- DPI (Dots Per Inch) is for the physical world of printing. It measures how many dots of ink a printer puts on a piece of paper. For a sharp, professional-looking print, you need to aim for 300 DPI.
Can You Increase Image Resolution?
This is a tricky one, and the short answer is "not really." While you can use software to make an image’s dimensions larger—a process called upscaling—it can't magically create new detail that wasn't there to begin with. The software is just making an educated guess about what pixels should fill the new space, which often leads to a soft, blurry, or pixelated mess.
Always, always start with the highest-resolution file you can get your hands on. Think of upscaling as a last resort, not a go-to strategy. You simply can't add detail that the original camera or creator never captured.
This is especially critical when you're prepping images for platforms where visuals are everything, like Pinterest. Getting the resolution right is non-negotiable for engagement. If you're struggling, a free Pinterest image resizer tool can help you optimize your pins and sidestep these common pitfalls.
Another question I get a lot is about file size versus resolution. It's easy to assume a high-resolution image means a massive file, but that's not always the case. Modern image formats like WebP do a fantastic job of compressing images, shrinking the file size without trashing the quality.
This balance is crucial for websites. Keeping your images under 500 KB is a good rule of thumb to ensure your pages load quickly, keeping both users and Google happy. Knowing these little details helps you pick the right tool for the job every time.
At Bulk Image Generation, we built the tools to help you create and manage high-quality images without the headache. Stop wrestling with resolution and start producing stunning visuals in seconds with our advanced AI. Explore how you can accelerate your creative workflow at https://bulkimagegeneration.com.