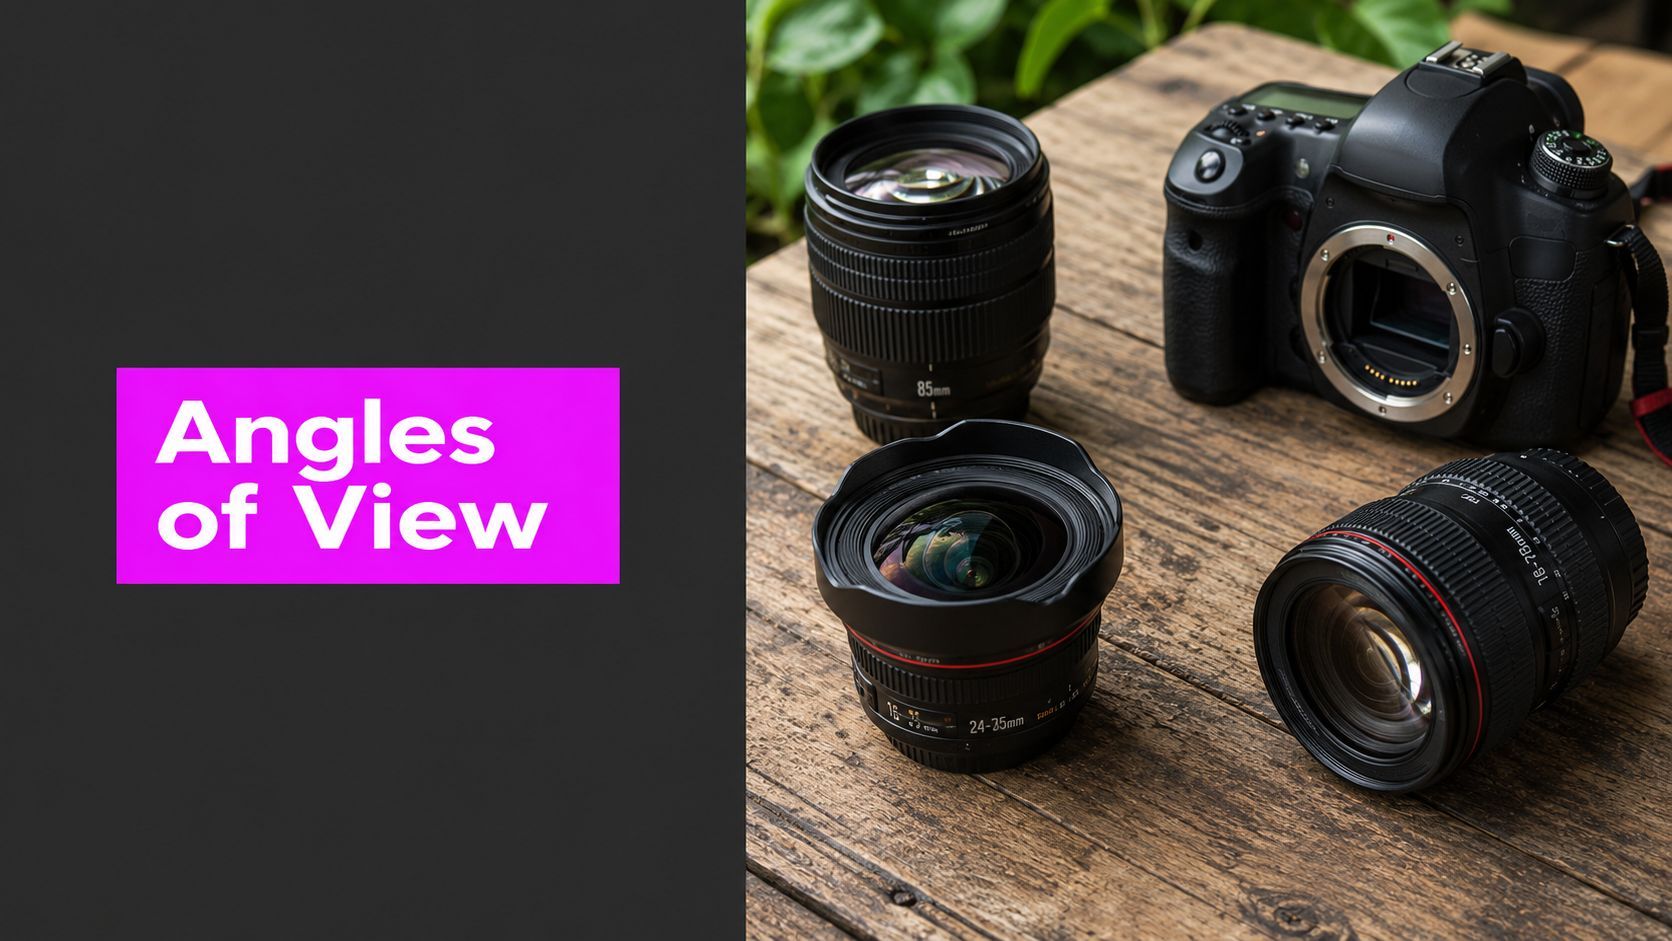
Angles of View in AI Image Generation: A Practical Guide

Ryan Bennett • August 26, 2026
Learn how angles of view shape composition and perception in AI-generated images, with practical tips and prompts for bulk image generation workflows.
A marketer can run one product brief through an AI image generator and receive a batch that feels assembled by different photographers. Some frames show the entire room, others crop tightly around the product, and a few make the subject look unexpectedly imposing or fragile. The wording stayed the same, but the camera logic changed.
Angles of view provide a practical way to control that variation. They connect lens choice, subject distance, camera height, composition, and emotional tone. Once those decisions become explicit prompt instructions, a batch workflow can produce related assets instead of a pile of visually unrelated interpretations.
Why the Same Prompt Can Yield Different Framings
A prompt such as “a ceramic coffee mug on a wooden table” describes the subject, but it doesn't define the camera. An image model still has to decide how much of the table to show, how close the mug should feel, where the horizon sits, and whether the scene resembles a catalogue photograph, a lifestyle editorial, or a cinematic still.
Those hidden decisions create framing drift. Different seeds, model assumptions, and visual references can produce wide, standard, or tight compositions from identical wording. The issue becomes more obvious in a batch because variation appears side by side. One asset may leave room for headline copy, while another places the object against the frame edge.
Make the camera an explicit variable
Treat the angle of view as a production parameter, not a decorative phrase. Before writing the full prompt, decide:
- Scene coverage: Should the viewer understand the environment, the subject, or a small surface detail?
- Lens impression: Should the image feel expansive, natural, or compressed?
- Camera height: Should the subject appear authoritative, approachable, or diminished?
- Output shape: Will the same framing survive a square, vertical, or wide crop?
This approach gives the model a hierarchy of instructions. “Wide-angle environmental view” tells it to preserve context. “Standard eye-level view” establishes a neutral reference. “Tight telephoto close-up” prioritizes the subject and reduces competing background information.
Production rule: If a visual difference matters to the campaign, name it in the prompt instead of expecting the model to infer it.
Keep a batch visually coherent
A useful workflow starts with one locked camera recipe and then changes only the variable you want to test. For example, keep “eye-level standard view, centered composition” constant while rotating mug colors, table materials, or background styling. If every prompt changes its angle, lighting, and layout at once, you won't know which choice caused a strong or weak result.
You can also create controlled variants from a single base prompt. Use wide framing for website banners, standard framing for product listings, and tight framing for detail-led social cards. The subject can change, but the camera language remains intentional.
What Angles of View Mean
Suppose one AI batch must produce a hero banner, a product card, and a detail crop from the same concept. The prompt needs to describe more than subject size. Angle of view defines how much of the scene the optical system captures, shaping spatial relationships, background behavior, and the viewer's emotional read.
Because camera sensors are rectangular, manufacturers commonly report angle of view horizontally, vertically, and diagonally. A Canon RF 16mm F2.8 STM measures 98° horizontally, 74°10' vertically, and 108°10' diagonally, while the RF 1200mm F8L IS USM narrows to 1°45' horizontally, 1°10' vertically, and 2°05' diagonally, according to Canon's explanation of focal length.
A shorter focal length includes a broader portion of the scene. A longer focal length selects a narrower portion. In a bulk-generation prompt, “wide” and “tight” therefore guide composition, depth, and context, not just the apparent size of the subject.

Use the normal lens as your reference point
A normal lens provides a neutral baseline for comparing variants. Sony describes standard lenses as having an angle of view around 47° and typically being about 50 mm on full-frame cameras in its guide to standard and telephoto lenses. Other technical conventions place a normal-lens diagonal view around 53°, with roughly one radian corresponding to 57.296° in an optical image circle.
You do not need to memorize these values. Use the normal view as the control version in a batch. Shorter focal lengths expand coverage and make spatial differences more pronounced. Longer focal lengths reduce visible context and create a more selective, compressed reading.
Separate angle of view from field of view
The terms are related, but they describe different stages of the image. Angle of view is the angular extent captured by the lens and sensor. Field of view is the visible scene that remains in the final image after sensor dimensions and cropping shape affect the composition.
A wider sensor can include more of a scene than a narrower sensor at the same focal length. A tall portrait crop can remove horizontal information without changing the lens. Tamron's explanation of angle of view and field of view connects these terms to sensor size and composition rather than treating them as interchangeable labels.
For AI production, write both decisions into the prompt: “wide environmental view, subject protected near center, adaptable for vertical and square crops.” That instruction gives a batch workflow a defined visual target and a better chance of producing usable variants across formats.
Wide, Standard, and Tight Angles Compared
Three practical buckets make camera decisions faster during batch planning. They aren't rigid technical categories, but they give a marketer a repeatable vocabulary for briefs, prompts, and review notes.
Wide angles show more of the environment and make spatial relationships feel pronounced. Canon notes that standard lenses commonly sit around 45° to 60°, while wide-angle lenses are generally wider than 60° in angle-of-view classifications. The same reference shows how a short lens can move from a scene-rich composition toward a more dramatic sense of depth.
Wide framing works well when the setting carries meaning. An interior, a desk setup, a travel scene, or a product in its retail environment can benefit from visible context. The trade-off is increased perspective exaggeration. Objects near the camera may appear larger, while background elements seem farther away. That can add energy, but it can also make packaging, furniture, or faces look less natural.
Standard angles sit near the normal-lens reference. They keep subjects at a comfortable scale and usually provide the safest starting point for catalogue images, instructional visuals, and editorial portraits. The frame feels informative because it doesn't strongly announce a camera effect.
Tight angles isolate the subject and reduce the amount of visible environment. Sony's full-frame examples show the scale of the change, from a 20 mm lens at about 94° diagonal to a 1000 mm lens at about 2° diagonal. Longer focal lengths create a selective view that suits details, distant subjects, and images where background separation matters.
| Bucket | Focal Length, 35mm equivalent | Angle Range | Distortion Feel | Best Use |
|---|---|---|---|---|
| Wide | Short focal lengths | Wider than 60° | Stronger spatial exaggeration | Interiors, lifestyle scenes, environmental products |
| Standard | Around 50 mm | Around 47° | Neutral and familiar | Catalogue imagery, portraits, instructional scenes |
| Tight | Long focal lengths | Narrow, selective view | Compressed depth and isolated subject | Detail shots, product close-ups, distant subjects |
Match the bucket to the message
Use wide framing when the surrounding world sells the idea. Use standard framing when accuracy, clarity, and trust matter more than drama. Choose a tight view when the viewer should inspect one feature or feel close to a specific subject.
The emotional read also changes with camera height. A low angle can make a subject feel powerful, while a high angle can make it feel smaller or more vulnerable, as described in Videomaker's guide to camera angles. Keep lens width and camera height separate in your prompt. A wide, low view and a tight, low view can both feel assertive, but they communicate that feeling through different visual mechanisms.
Turning Angles into Bulk Image Generation Prompts
A reliable prompt puts the camera decision near the beginning. Recent AI image guidance increasingly uses an ordered structure of angle, lens, composition, lighting, and style, because the sequence gives the model a clear visual priority.

Use this template:
[angle], [lens focal length], [composition], [lighting], [style], [subject and details]
Each slot has a job:
- Angle: Defines the viewer's position, such as eye level, low angle, high angle, overhead, or over the shoulder.
- Lens: Adds a wide, normal, or tight optical impression, such as 24 mm, 50 mm, or 85 mm.
- Composition: Controls placement, scale, negative space, and visual balance.
- Lighting: Establishes readability and mood without changing the basic camera position.
- Style: Guides the finish, such as editorial, cinematic, product photography, or illustrated.
Compare an open prompt with a controlled prompt
A weak prompt might read:
A coffee mug on a table
A more controlled version could read:
Eye-level standard view, 50 mm lens, centered coffee mug with generous space above and to the right for copy, soft diffused studio lighting, clean commercial product photography, neutral ceramic mug on a warm wooden table
The first prompt identifies a subject. The second identifies the camera recipe and the intended layout. In a bulk run, the angle and lens fragments should remain unchanged if consistency matters. Rotate the mug color, surface material, or styling direction later in the prompt instead of rewriting the camera language each time.
For broader production guidance on making prompts precise and repeatable, use this guide to prompt engineering. It can help your team turn subjective visual preferences into instructions that models can interpret more consistently.
Add exclusions for unwanted drift
Negative instructions can reinforce the desired framing:
Avoid fisheye distortion, extreme perspective, tilted horizon, cropped product edges, duplicate objects, and inconsistent camera height
They won't guarantee identical results, but they clarify what the batch should avoid. You can also specify a stable anchor, such as “the mug remains fully visible and occupies the central third of the frame.” For prompt drafting and reusable variations, the free AI image prompt generator can help convert a visual brief into a structured starting point.
Matching Angles to Aspect Ratios and Platforms
Aspect ratio changes what the viewer can see, so a camera choice that works in one format may fail after cropping. A wide angle can leave excessive side space in a narrow vertical frame. A tight angle can make a wide banner feel cramped because the composition has nowhere to breathe.
The safest workflow is to choose the platform format first, then select an angle that gives the subject enough room within that shape.
| Platform | Aspect Ratio | Recommended Angle | Reasoning |
|---|---|---|---|
| Instagram Stories and vertical social placements | 9:16 | Slightly tight or standard | Keeps the subject dominant in a tall frame and reduces unused side space |
| LinkedIn feed graphics | 1:1 or feed-specific square framing | Standard | Provides a clear, credible presentation that leaves room for text |
| YouTube thumbnails and banners | 16:9 | Wide or standard | Uses horizontal space for environment, action, or supporting context |
| Square social formats | 1:1 | Standard, with selective tight options | Balances subject visibility and flexible cropping |
Build platform variants from one camera plan
For a vertical story, begin with a standard or moderately tight view and place the subject along the central vertical axis. A prompt adjustment might read: 9:16 vertical composition, standard eye-level view, subject fills the central area, clean space above for headline text.
For a YouTube banner, give the scene more horizontal context: 16:9 wide environmental view, visible background depth, subject positioned off-center, open space for title treatment. That instruction makes the empty space intentional rather than accidental.
Square formats reward balance. Try 1:1 standard view, centered subject, controlled background, readable silhouette, even margins. If the image will carry detailed product information, a selective tight view can work, but ask for complete edges and avoid letting the object touch the crop.
Use an aspect ratio calculator before generating a large set. The calculator won't choose the emotional angle for you, but it helps confirm that the intended canvas matches the destination platform.
Keep copy space separate from camera width
Copy space isn't the same as a wide angle. You can create room for text through subject placement, background simplicity, or a controlled crop without making the lens dramatically wider. This distinction keeps a campaign from looking distorted merely because every asset needs a headline area.
Use Case Prompts for Products, Social Posts, and Game Assets
A good batch prompt keeps the angle and lens stable while allowing controlled changes in subject details, color, setting, and finish. The examples below use the same order, angle, lens, composition, lighting, and style, so each can serve as a reusable production pattern.

Product photography
Product images need legibility before drama. A package label, cap, edge, or material finish can lose credibility if a wide lens stretches the nearest surface or pushes the product into an awkward perspective.
Try:
Eye-level product view, 35 mm lens, full skincare bottle centered with label facing camera and balanced negative space, soft diffused lighting with gentle shadow under the product, clean premium commercial photography, pale stone surface, realistic packaging details, no warped text, no cropped edges
The 35 mm lens instruction gives the model a moderately broad but controlled perspective. The eye-level position keeps the product approachable, while soft light supports surface readability. For variants, keep the camera recipe unchanged and swap one production token at a time:
- Color: Change the bottle or backdrop palette.
- Material: Rotate glass, matte plastic, ceramic, or brushed metal.
- Setting: Move from a studio surface to a restrained bathroom or vanity scene.
- Style: Test clean commercial, editorial beauty, or minimalist luxury.
For a larger product workflow, the AI product photography tutorial can complement this camera-first approach. Review every output for label integrity and edge preservation before publishing.
Social posts
Social images often need a stronger initial read. A wide view can create movement through foreground scale, leading lines, and visible surroundings, but the subject still needs a clear silhouette after the platform crop.
Try:
Low-angle wide view, 24 mm lens, woman drinking coffee placed on the right third with leading lines from the table toward her face, high-contrast morning light, energetic lifestyle editorial photography, warm café interior, clear subject separation, vertical social composition
The wide lens makes the café part of the story. The low position adds presence, while the leading lines guide attention toward the person. For variants, keep the angle and lens stable, then rotate the setting, wardrobe color, beverage styling, or lighting direction. Don't change all of them at once if you're comparing performance creatively.
Game assets
Game imagery benefits from a camera decision that supports gameplay and character identity. An over-the-shoulder view can suggest what the character sees while preserving enough body language for a cinematic asset.
Try:
Over-the-shoulder view, 50 mm lens, fantasy warrior holding a sword in the foreground with a readable path through the environment, dramatic rim lighting, cinematic game concept art, atmospheric forest ruins, strong silhouette, clear separation between character and background
The standard lens keeps the scene intelligible without the exaggerated depth of a very wide view. Rim lighting separates the character from the environment, while the path gives the composition a directional purpose. For variants, retain the camera position and replace the setting, armor design, weapon, color palette, or weather.
When a batch needs multiple moods, change the style or lighting token first. When it needs multiple platform crops, change the aspect-ratio and copy-space instructions while keeping the angle stable.
A Quick Angle Decision Checklist and What Comes Next
Use this checklist before you send a prompt into a batch workflow:
- Subject type: Is the asset built around a product, person, environment, educational object, or game character?
- Narrative intent: Should the subject feel heroic, intimate, informative, playful, or neutral?
- Platform shape: Will the image appear in a vertical, square, or wide canvas?
- Focal-length equivalent: Do you need broad context, a natural standard view, or selective detail?
- Camera height: Would low, eye-level, high, overhead, or over-the-shoulder placement support the message?
- Distortion tolerance: Can the subject benefit from dramatic perspective, or must its proportions remain controlled?
- Batch consistency: Which camera tokens must stay identical across every variant?

Turn creative judgment into a repeatable system
The checklist separates choices that teams often blend together. Angle of view controls scene coverage. Camera height influences perceived power and vulnerability. Aspect ratio determines how much of that decision survives in the final placement. Lighting and style can change the mood without replacing the underlying composition.
This separation is especially useful for visual categories that require many coordinated outputs, including AI fashion photography. A team can keep the view and pose logic stable while testing garments, color treatments, locations, and editorial finishes.
As a projection for 2026, AI image workflows are likely to treat camera instructions as a standard production layer rather than an optional flourish. The direction is toward more explicit controls for rotation, tilt, focal length, and camera height, giving creative teams a clearer way to compare variants. Independent evidence connecting specific angle choices to measurable campaign outcomes remains limited, so evaluate framing through your own review criteria, such as product clarity, crop safety, brand fit, and emotional read.
Start with one subject and three camera recipes, wide, standard, and tight. Generate the variants, review them in their actual platform crops, and record which instructions preserve clarity and consistency.
Bulk Image Generation lets you create professional visuals in batches, so you can test wide, standard, and tight angles without rebuilding every asset manually. Visit Bulk Image Generation, turn your camera choices into structured prompts, and build a repeatable image set for your next campaign.
