
How to Use AI to Improve Image Quality (2026 Guide)

Ryan Bennett • October 1, 2026
Learn how AI to improve image quality works: upscaling, denoising, super-resolution, trade-offs, and how to enhance images at scale with bulk AI workflows.
You've got a product photo that looked perfectly usable on your phone. Then you place it on a website banner and the edges soften, the label becomes unreadable, and every shadow exposes the noise. Or you find an old campaign image that's too small for a new format, while a low-light event photo looks muddy instead of atmospheric.
AI can help, but the useful question isn't “Which one-click upscaler should I use?” It's what kind of damage does this image have? Once you identify the problem, you can choose between upscaling, denoising, deblurring, color correction, or broader enhancement, then judge the result by how it looks rather than by a marketing score. That distinction matters in fields such as AI fashion photography, where fabric, skin, color, and fine edges all need to remain credible.
Why AI Image Quality Matters More Than Ever
A blurry image rarely fails in isolation. It fails when a customer enlarges a product detail, when a social post crops the subject, or when a printed asset reveals artifacts that were invisible in a thumbnail. A marketer may have the right composition and message, yet lose credibility because the image looks soft, noisy, or artificially sharpened.
AI-based enhancement has become a practical response because it can process more than a basic resize filter. Depending on the model, it can infer likely edges, suppress noise, balance tones, and reconstruct fine-looking detail. That makes it useful for e-commerce photography, social campaigns, scanned educational materials, archival images, and brand production.
The commercial shift is substantial. A 2026 industry report estimated the global AI image upscaler market at USD 6,321.5 million in 2025, with a projection of USD 44,708.0 million by 2033 and a projected 27.8% compound annual growth rate from 2026 to 2033. The report also estimated that software represented more than 67.1% of the market in 2025, reflecting demand for enhancement algorithms, cloud platforms, and image-processing APIs. These figures come from Grand View Research's AI image upscaler market report.
That growth doesn't mean every image can be rescued. It means enhancement has moved from a specialist experiment into ordinary production work. You still need to diagnose the degradation, understand what AI is reconstructing, and review the output with human eyes.
How AI Learns to Rebuild Image Detail
Think of an AI enhancement model as an art restorer working on a damaged fresco. The restorer studies many intact paintings and learns how faces, fabric, stone, foliage, and lettering usually appear. When part of the fresco is missing, the restorer doesn't recover the original pigment from nowhere. They create a convincing continuation based on learned patterns.
AI image enhancement works in a similar way. During training, a model sees relationships between degraded images and cleaner references. It learns which structures commonly belong together, such as the boundary between a shoe and a floor, the weave of a textile, or the shape of a letter at a particular scale. When you upload a low-quality image, the model estimates what a clearer version could look like.
That output can be useful, but it's important to separate plausible reconstruction from faithful recovery. The model hasn't found hidden pixels inside your file. It has generated likely detail that fits the visible evidence.
From early theory to practical enhancement
The conceptual roots of super-resolution are commonly traced to the 1980s. Example-based super-resolution then emerged in 2003, using training image pairs to connect low-resolution inputs with higher-resolution examples. In 2014, Dong and colleagues introduced SRCNN, widely described as the first deep-learning model for single-image super-resolution. GAN-based improvements followed in 2018. This evolution is outlined in IBM's overview of super-resolution.
The progression explains why modern tools feel different from traditional interpolation. A conventional resize filter calculates new pixels from nearby pixels. A learned model uses broader visual patterns to estimate structure that may not be directly present.
The model's training also shapes its weaknesses. A system trained mainly on clean studio photographs may struggle with compressed screenshots, dark phone images, or old scans. Another model may handle noise well but produce overly smooth skin. The right choice depends on the degradation the model was designed to address.
Practical rule: Treat enhanced detail as an informed estimate. Keep the original file, compare versions, and avoid presenting invented features as documented facts.
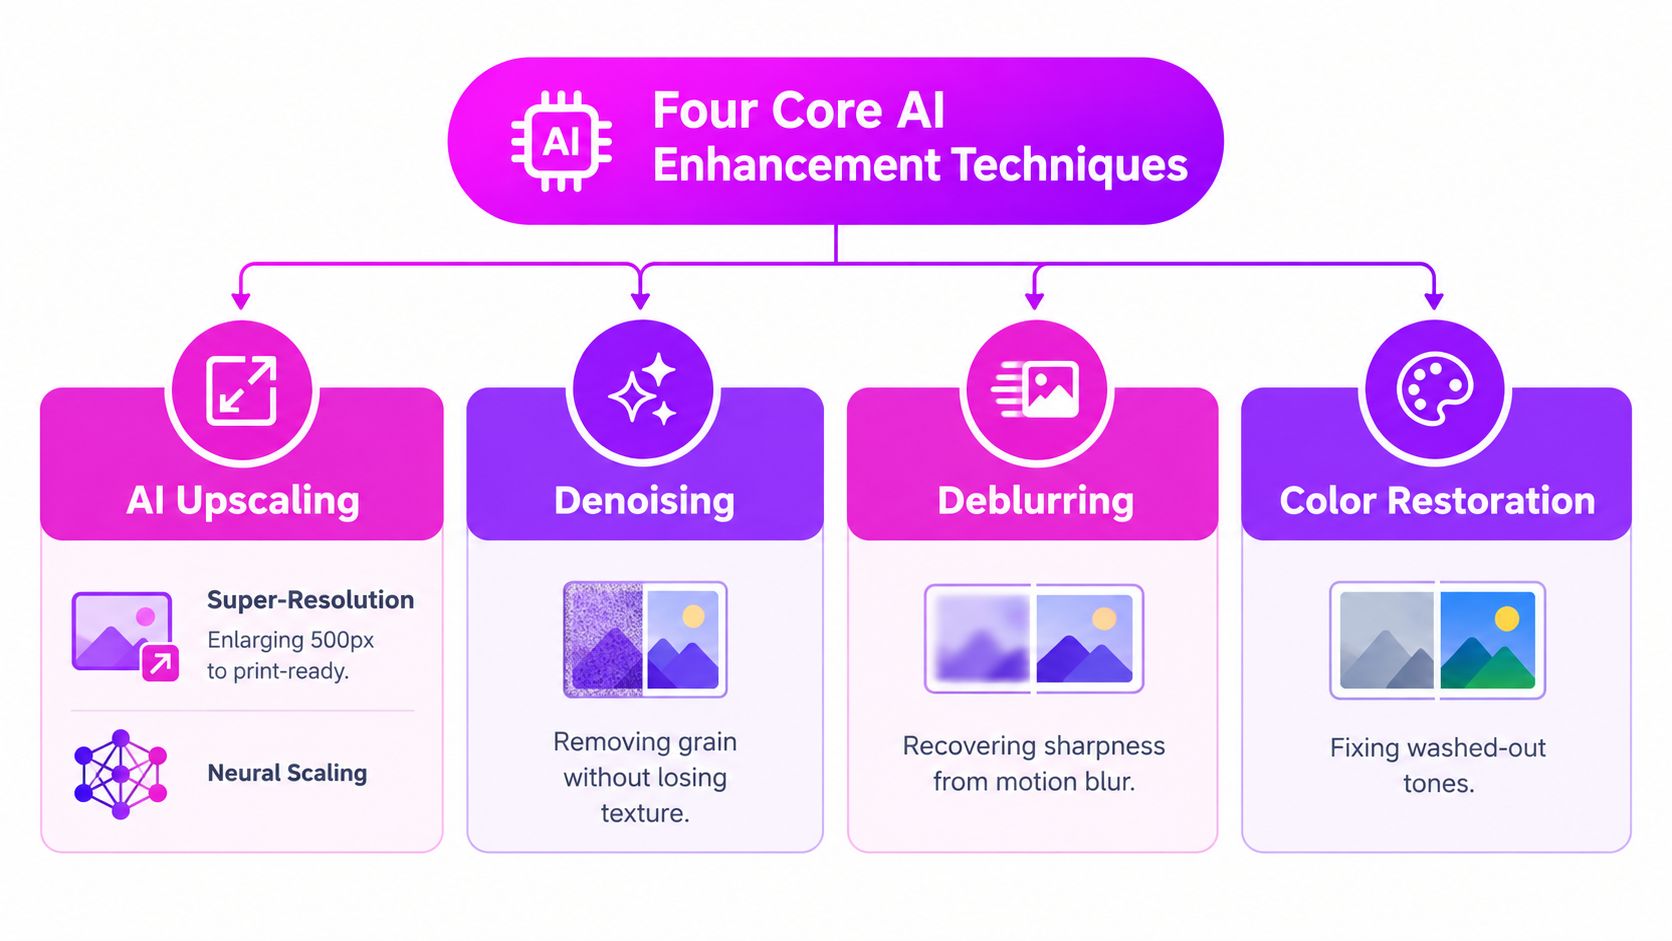
The Four Core AI Enhancement Techniques
AI tools often combine several operations, but the underlying tasks are easier to understand when separated. Each technique solves a different problem, and applying the wrong one can make an image less natural.
Upscaling
Upscaling enlarges an image by creating additional pixels. Suppose a social asset was designed at a small size and now needs to fill a wide website banner. A basic resize may make it larger but leave edges soft. An AI upscaler can estimate cleaner contours and preserve the subject's overall form while changing the output dimensions.
Use it when the image is structurally sound but too small for its destination. Don't use it to repair severe motion blur, missing facial features, or clipped highlights. Larger dimensions won't restore information that the camera never recorded.
Denoising
Denoising targets grain, speckle, and sensor noise, especially in underexposed or high-ISO photographs. An indoor product shot may contain a useful shape and composition, but its background can look mottled and its color patches uneven. A suitable denoising model reduces that interference while trying to retain texture in materials such as wood, clothing, or paper.
Denoising is the wrong first move when the main issue is softness caused by focus or motion. Removing grain from a blurry image can produce a clean-looking blur rather than a sharp photograph.
Deblurring
Deblurring addresses loss of sharpness caused by camera movement, subject movement, or imperfect focus. It can improve the perceived definition of a moving person or a handheld product photo, particularly when some edge information remains visible.
It isn't a reliable cure for an extreme smear. If an entire object has been dragged across the frame, the model may create a plausible edge without knowing the true original shape.
General enhancement
General enhancement usually combines brightness, contrast, color, and controlled sharpening. It's useful when an image isn't technically ruined but feels flat, washed out, or poorly balanced. For example, an educator may want a scanned coloring page with cleaner white space and darker outlines, while a small business may need a product photo with more neutral color.
General enhancement is a poor substitute for diagnosis. If a label is unreadable because the source is tiny, increasing contrast won't recreate its letters.
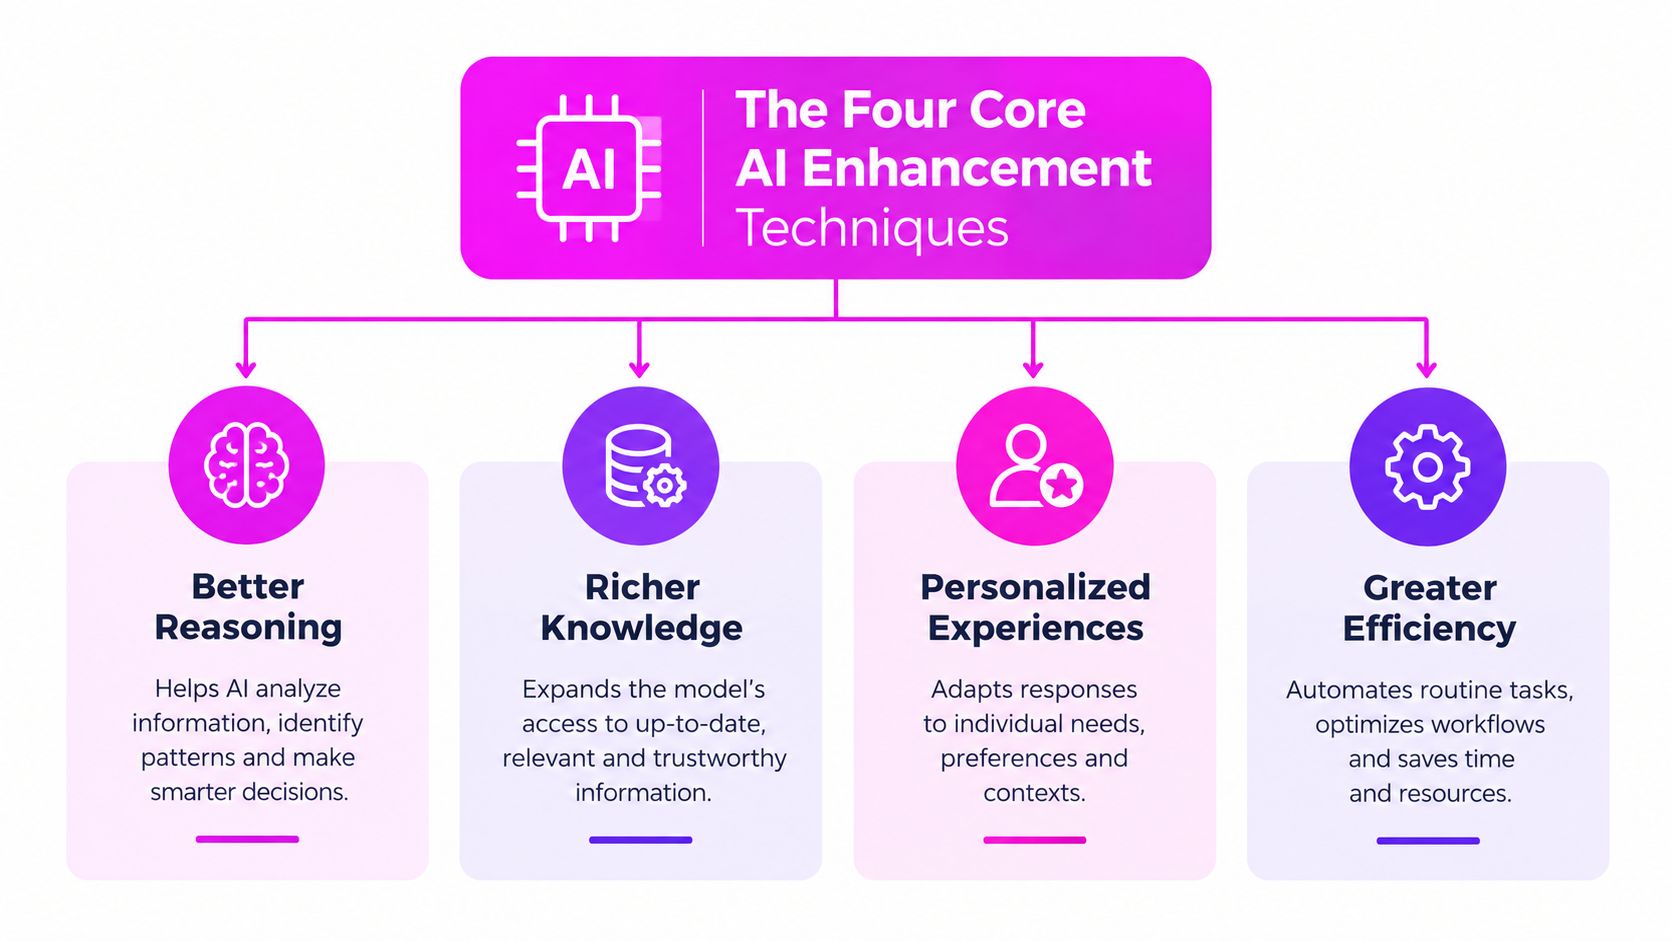
The memorable distinction is simple: upscaling gives an image more pixels, while enhancement aims to give those pixels better visual information.
Matching the Right AI Technique to Your Image Problem
Start with the visible symptom, not the feature list inside an app. Low resolution, noise, poor lighting, compression, and dull color can appear together, but they don't respond equally to the same treatment.
| Image Symptom | Recommended Technique | Expected Outcome | Watch Out For |
|---|---|---|---|
| The image is too small for its layout | AI upscaling | Larger dimensions with cleaner edges | Softness may remain, and tiny text can change |
| Grain covers a dark photograph | Denoising | Smoother shadows and cleaner surfaces | Excessive smoothing can erase texture |
| A moving subject has soft edges | Deblurring | Improved perceived sharpness | Severe smear can lead to invented contours |
| The image looks flat or washed out | Color and tonal enhancement | Better contrast, brightness, and color balance | Overcorrection can create unnatural colors |
| A screenshot has blocky compression | Artifact reduction with cautious upscaling | Cleaner edges and less visible blocking | Text and fine patterns may still be unreliable |
| A scan has uneven paper tone | Denoising plus tonal correction | Cleaner background and stronger line work | Thin original marks can disappear |
An e-commerce owner with noisy indoor product shots should begin with exposure and denoising, then apply moderate sharpening. Upscaling first may enlarge the noise and make the final image look harsher. A social media manager adapting an old campaign image for a new banner format should prioritize upscaling, then check the subject at the intended crop.
An educator cleaning scanned coloring pages has a different priority. The goal is usually clean outlines and usable white space, not photorealistic texture. A restrained denoise and contrast adjustment may be safer than a creative super-resolution model that redraws thin lines.
Teams selecting a broader stack of AI marketing tools for 2026 should apply the same diagnostic habit to image features. For a more focused comparison of enhancement workflows, review AI upscaling software approaches.
Diagnose the defect, choose the narrowest useful treatment, then inspect the result before adding another effect.
The Trade-Offs Nobody Mentions
The central limitation is easy to overlook: AI can't recover detail that was never captured. Independent guidance notes that extreme blur and blown highlights remain unrecoverable, even when software promises one-click upscaling. You can read that limitation discussed in Fast.io's guide to AI photo enhancers.
A model may fill a missing eye, label edge, or fabric pattern with something that looks convincing. That can help a decorative image, concept board, or background asset. It can create a serious problem when the image is being used as evidence, a product reference, or a record of the photographed subject.
Where attractive output becomes misleading
Skin often reveals over-processing first. Denoising can remove pores and produce a plastic surface. Sharpening can create bright or dark halos along a product edge. A model may also turn compression blocks into false texture, or make small text appear crisp while changing the letterforms.
Batch work adds another risk. One image may need noise reduction, another may need color correction, and a third may need only a larger canvas. Applying one aggressive preset to all three can produce inconsistent backgrounds, skin tones, and edge treatment. A batch that looks uniform in dimensions may still feel visibly uneven as a campaign.
The trade-off is not “AI is good” versus “AI is bad.” It's a question of whether the output serves the image's purpose.
A practical pros and cons view
Advantages include:
- Plausible reconstruction: AI can improve the apparent definition of edges and surfaces when the source contains useful clues.
- Flexible repair: A workflow can combine enlargement, denoising, tonal correction, and sharpening.
- Production speed: Teams can process many assets without manually retouching every pixel.
Risks remain:
- Lost data stays lost: Extreme blur and clipped highlights can't be faithfully reconstructed.
- Details may be invented: Faces, text, and patterns deserve careful review.
- Consistency requires control: Mixed source quality needs different settings or separate processing groups.
Enhancement reconstructs plausibly. It doesn't recover faithfully.
Use AI with confidence for ordinary production problems, but preserve the original and label reconstructed imagery appropriately when accuracy matters.
How to Judge Whether an Enhanced Image Is Actually Better
A larger file isn't automatically a better image. A sharper edge isn't automatically a more accurate edge. Quality control should combine automated measurement with a visual review that reflects how people will see the asset.
PSNR and SSIM can help compare outputs, but they shouldn't be treated as final judges. Technical discussions of enhancement benchmarks note that these metrics reward pixel alignment more than perceived visual quality. Small shifts introduced by super-resolution can depress scores unfairly, and a model can look better while receiving a worse PSNR result. The limitations are explained in this discussion of objective video and image metrics.
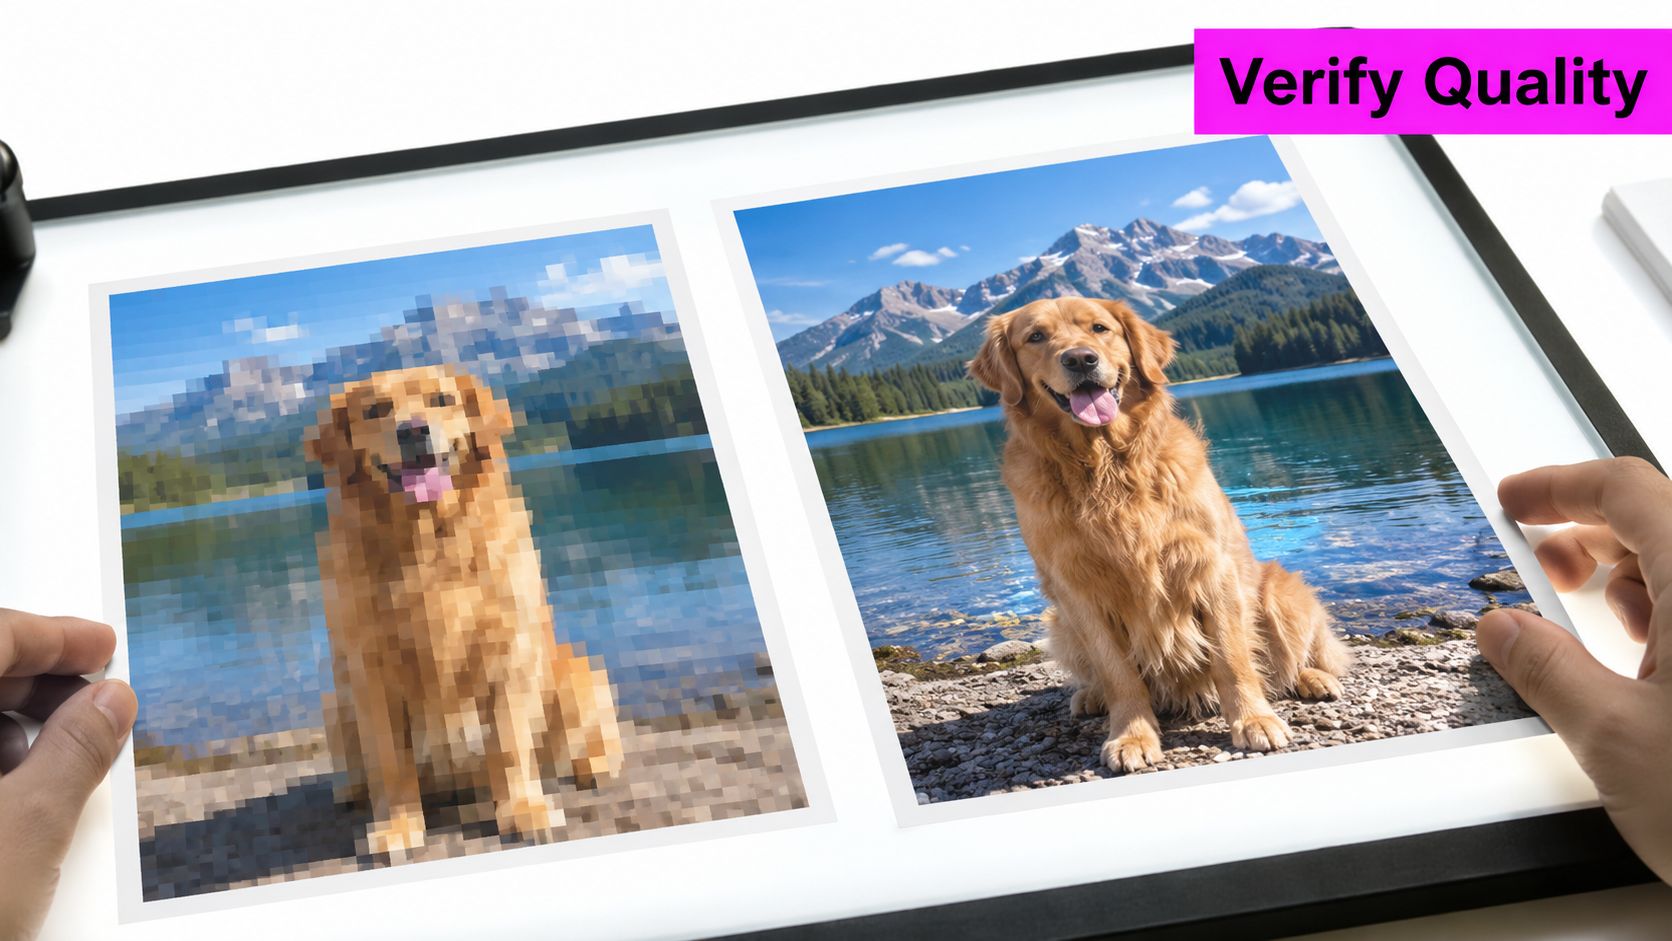
Four checks for human reviewers
-
Run the zoom test. Inspect the image at a large viewing scale. Do important details remain coherent, or do they dissolve into repeated patterns and painted-looking surfaces?
-
Run the edge test. Examine hair, product outlines, page borders, and high-contrast shapes. Clean edges should look defined without bright halos, dark rims, or jagged stair steps.
-
Run the texture test. Look at skin, fabric, wood, paper, and foliage. Natural variation should remain visible. If every surface has the same smoothness, denoising or reconstruction has gone too far.
-
Run the text test. Check labels, signs, packaging, and small captions letter by letter. An apparently sharp word that contains incorrect characters is a failure, not an improvement.
A marketer should also view the image at its real destination. A file may look impressive when enlarged on a monitor yet feel too sharp inside a mobile feed. Conversely, subtle noise that appears at high zoom may be invisible in the final layout and not worth removing.
For teams formalizing review, quality assurance best practices for image workflows can help turn subjective checking into a repeatable approval process.
Improving Image Quality at Scale with Bulk Workflows
One image is a retouching task. A campaign folder is a systems problem. Once a team handles many assets, it must control consistency, cost, processing time, and failure detection alongside visual quality.
The first decision is grouping. Separate images by degradation type before processing. Indoor product shots may need denoising and tonal correction, old low-resolution assets may need upscaling, and scanned pages may need line preservation. This prevents a single aggressive treatment from flattening every source into the same artificial look.
Efficiency matters because enhancement models vary in computational demand. Recent benchmark work evaluates not only visual quality but also measures such as parameter count and FLOPs, reflecting the need to compare quality with processing cost. In a production workflow, a slightly less demanding model may be more practical if it delivers consistent results across the required image set.
Generation and enhancement in one pipeline
Bulk Image Generation combines bulk visual creation with a batch editor for post-production tasks such as background removal, resizing, and enhancement. Its stated workflow uses Flux 1.1 and GPT-Image-1 integration, lets users describe goals in natural language, and supports generating up to 100 unique visuals in under 20 seconds, according to the publisher's provided product description. The same description says its batch editor can reduce editing time by half, so treat those figures as product claims to validate against your own workflow.
The useful idea is not that every image should receive the same treatment. It's that generation, resizing, enhancement, and review can sit in a single queue rather than forcing a marketer to move assets between unrelated single-image tools. A more detailed look at bulk image upscaling online can help teams evaluate that workflow.
The market direction supports this shift. Grand View Research estimated USD 6,321.5 million for the global AI image upscaler market in 2025 and projected USD 44,708.0 million by 2033, with software representing more than 67.1% in 2025. Those figures indicate commercial infrastructure, not just hobbyist experimentation. The operational question is whether your process can preserve visual standards as volume rises.
Key Takeaways for Better AI-Enhanced Images
Start with diagnosis. Decide whether the source is too small, noisy, blurry, poorly lit, compressed, or flat. Upscaling, denoising, deblurring, and tonal enhancement solve different problems, so choosing the tool before identifying the defect often creates extra work.
Set realistic expectations. AI enhancement can construct plausible detail from visual clues, but it can't faithfully recover information that was never captured. Extreme blur, clipped highlights, altered text, and invented facial or material details require caution, especially when the image represents a real product, person, or event.
Judge the result where it matters. Use metrics as supporting evidence, not as a substitute for inspection. A perceptual review should include:
- Zoom: Does the important detail hold together?
- Edges: Are outlines clean without halos?
- Texture: Do skin, fabric, paper, and surfaces remain natural?
- Text: Are letters still correct, not merely sharp-looking?
Consistency also matters more than a spectacular single result. For a campaign, compare several processed images together and look for changes in skin tone, background texture, sharpness, and color balance. If one asset looks dramatically different, the workflow needs better grouping or gentler settings.
Choose the worst image in your current project and make it your test case. Name the degradation, apply the narrowest matching technique, compare the original with the enhanced version at its real output size, then run the zoom, edge, texture, and text checks. That small routine will produce better decisions than choosing an upscaler from a list and trusting its score.
Bulk Image Generation offers natural-language image creation plus batch editing for resizing, background removal, and enhancement, making it suitable for teams that need to process groups of marketing, product, social, or educational visuals. Visit Bulk Image Generation to test a production workflow that treats image quality as a repeatable process, not a one-click gamble.