Stable diffusion inpainting: A Practical Guide to AI Edits

Aarav Mehta • June 9, 2026
Discover stable diffusion inpainting: a practical guide to masks, prompts, and fixes for flawless AI edits.
Stable Diffusion inpainting is an incredibly powerful way to add, remove, or change specific parts of an image using just a text prompt. The AI intelligently fills in areas you select, perfectly matching the original photo's style, lighting, and texture to create seamless edits.
The Power of AI-Driven Image Editing
Forget the days of painstakingly using clone stamps or getting mixed results with content-aware fills. Stable Diffusion inpainting is a completely different beast. Instead of just copying nearby pixels, it actually understands the image's context and generates brand-new, believable content to fill the masked area.
This shift turns what used to be complex editing chores into simple, prompt-driven actions, opening up a ton of creative and practical possibilities.
From Minor Fixes to Major Transformations
The real magic of inpainting lies in its flexibility. On one hand, you can use it for small but crucial corrections, like removing a stray object from a product shot or erasing a distracting power line from a landscape photo. A marketer could, for instance, instantly remove a weird reflection from a glossy product, saving themselves a costly and time-consuming reshoot.
But it’s capable of so much more than just quick fixes. You can pull off major creative changes. Imagine adding a steaming cup of coffee to an empty desk in a stock photo or swapping a model's summer dress for a winter coat—all with a few typed words. This is where the tech goes from a simple tool to a genuine creative partner. You can explore a huge range of these AI-powered editing possibilities with a modern image generator.
Key Takeaway: Stable Diffusion inpainting isn't just about erasing things. It’s about regeneration and creative addition. It lets you direct the AI to build on your existing visuals in a way that feels completely natural and cohesive.
Why This Matters for Professionals
The efficiency boost here is massive. The core inpainting feature, first introduced in 2022, was trained on a colossal dataset, which is why it can produce such photorealistic results so quickly. This has allowed marketers to fix imperfections in product photos up to 70% faster than with traditional software. Branding agencies have seen their post-production times practically cut in half.
To really get a feel for its core functions, it's worth checking out a dedicated AI inpainting feature to see it in action. This tech isn't just saving time; it's unlocking creative ideas that were once too expensive, too difficult, or just too time-consuming to even attempt.
Inpainting can be a game-changer across various fields. Here’s a quick look at some of the most common ways professionals are putting it to work.
Key Inpainting Use Cases for Professionals
| Industry/Role | Primary Use Case | Key Benefit |
|---|---|---|
| E-commerce & Marketing | Removing unwanted objects, props, or reflections from product photos. | Creates clean, professional product listings without expensive reshoots. |
| Real Estate | Digitally staging empty rooms by adding furniture and decor. | Helps potential buyers visualize the space, leading to faster sales. |
| Education & Training | Modifying diagrams or historical photos to add context or remove distractions. | Creates clearer, more effective learning materials. |
| Social Media Management | Customizing stock photos to fit a brand's specific campaign or aesthetic. | Saves money on custom photoshoots while maintaining brand consistency. |
| Graphic Design | Restoring old or damaged photographs by repairing tears and scratches. | Offers a powerful and fast alternative to manual restoration techniques. |
As you can see, the applications are broad and incredibly practical. It's a tool that moves beyond novelty and delivers real-world value by saving time and expanding creative options.
Preparing Your Image and Creating a Perfect Mask
The final quality of your inpainting work is almost entirely decided before you even write a prompt. I’ve seen countless hours wasted on frustrating results, and it usually boils down to two things: a bad starting image or a sloppy mask.
First, let's talk about the image itself. While AI is impressive, it's not a miracle worker. Feeding it a tiny, pixelated file is like asking a master painter to work on a postage stamp—you just won't get good detail. As a rule of thumb, start with an image that’s at least 1024x1024 pixels. This gives the model enough information to generate new elements that look sharp and believable.
Composition matters, too. Images with a clear distinction between the subject and the background are far easier to work with than a scene that's incredibly busy or cluttered.
Once you have your image, the actual inpainting process is pretty straightforward. You select the area you want to change, tell the AI what to put there, and hit generate.
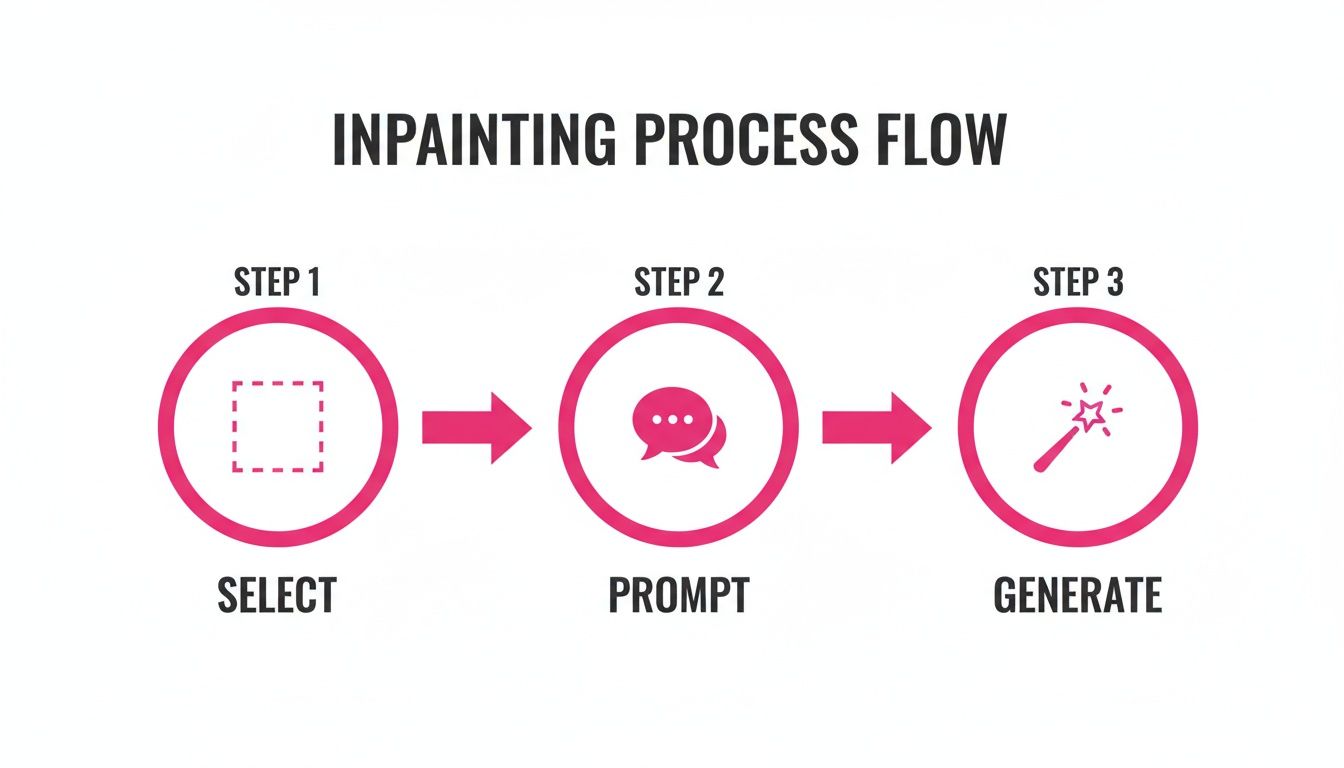
This simple three-step flow shows just how much weight that first step carries. Get the mask right, and the other two steps become infinitely easier.
Mastering the Masking Process
The mask is just the area you paint over to tell Stable Diffusion where to work its magic. Most tools give you a simple brush for this, and how you use it is critical.
Let's say you're doing a quick touch-up, like removing a small blemish from a product photo. A small, soft-edged brush is all you need. But if you’re replacing an entire object—swapping a laptop on a desk for a potted plant—you need to be much more careful. You'll want to paint over the entire laptop, getting as close to its edges as you can without bleeding over into the desk or background.
Pro Tip: Don’t be afraid to zoom in! Seriously. Taking an extra minute to get a clean, precise mask around an object's edges is the single best thing you can do to avoid those weird, blurry artifacts or visible seams in your final render.
Hard Masks vs. Soft Masks
The kind of mask you create should always match your goal. You can generally control this with your brush settings, thinking in terms of "hard" versus "soft" edges.
- Hard-edged masks are your go-to for completely replacing distinct objects. When you want to remove one thing and put another in its place (like that coffee cup for a plant), a crisp mask that perfectly outlines the original object tells the AI exactly where the boundaries are.
- Soft-edged masks are perfect for blending, fixing textures, or making subtle changes. If you just want to add a light shadow or blend a new pattern onto a surface, a feathered or slightly blurred mask edge helps create a much more gradual, natural-looking transition.
For really complex shapes that are a nightmare to trace with a mouse, I highly recommend using an external editor like GIMP or Photoshop. You can use their advanced selection tools to create a perfect outline, fill it with a solid color on a new layer, and then export just that layer as your mask file. Many advanced Stable Diffusion interfaces let you upload a custom mask, giving you pixel-perfect control that’s nearly impossible with a standard brush. It's an extra step, but for professional-quality work, it's absolutely worth it.
Writing Prompts and Tuning Settings for Better Edits
Okay, you’ve got your mask ready. Now for the fun part: telling the AI what to create. Getting great results with stable diffusion inpainting comes down to a tag team of clear instructions (your prompt) and the right settings.
Unlike building an image from scratch with a long, flowery prompt, inpainting is all about being direct. Precision trumps complexity here. You're giving a specific order, not writing a story.
Your main goal is to describe only what you want inside the masked area, but do it in a way that perfectly matches the rest of the image. If you’re adding a coffee mug to a desk, simply prompting “red ceramic coffee mug” is often enough. But if you want it to really blend in, adding context like "with steam, warm morning light" can make all the difference.
If you’re ever staring at a blank prompt box, a good AI prompt generator can be a lifesaver. It can give you some solid starting points and help you find new keywords. Honestly, getting good at this is what separates basic edits from amazing ones. To really get a handle on it, it's worth digging into the core ideas of prompt engineering.
The Art of Crafting Effective Prompts
An inpainting prompt needs to be short and sweet. Your job is to tell the AI exactly what to put inside the lines you drew, making sure it looks like it was there all along.
Here are a few pointers I've picked up:
- Be Specific and Descriptive: Don't just say "add a plant." Instead, try "add a small snake plant in a white ceramic pot." The more detail you give, the less the AI has to guess.
- Match the Existing Style: Take a look at your base image. If it’s "photorealistic, 8k, detailed," you should pop those same keywords into your prompt. This helps keep the style consistent.
- Leverage Negative Prompts: This is your "don't do this" list for the AI. If you're fixing a blurry face, adding "blurry, distorted, ugly, cartoon" to the negative prompt can work wonders for getting a crisp, clean result.
This is an area where Stable Diffusion has really grown. By version 1.5, it was hitting 95% prompt adherence on inpainting tasks, which was a huge leap in getting the AI to actually listen. The introduction of negative prompts made it even better, allowing us to exclude junk elements 40% more effectively. That’s a game-changer for clean edits.
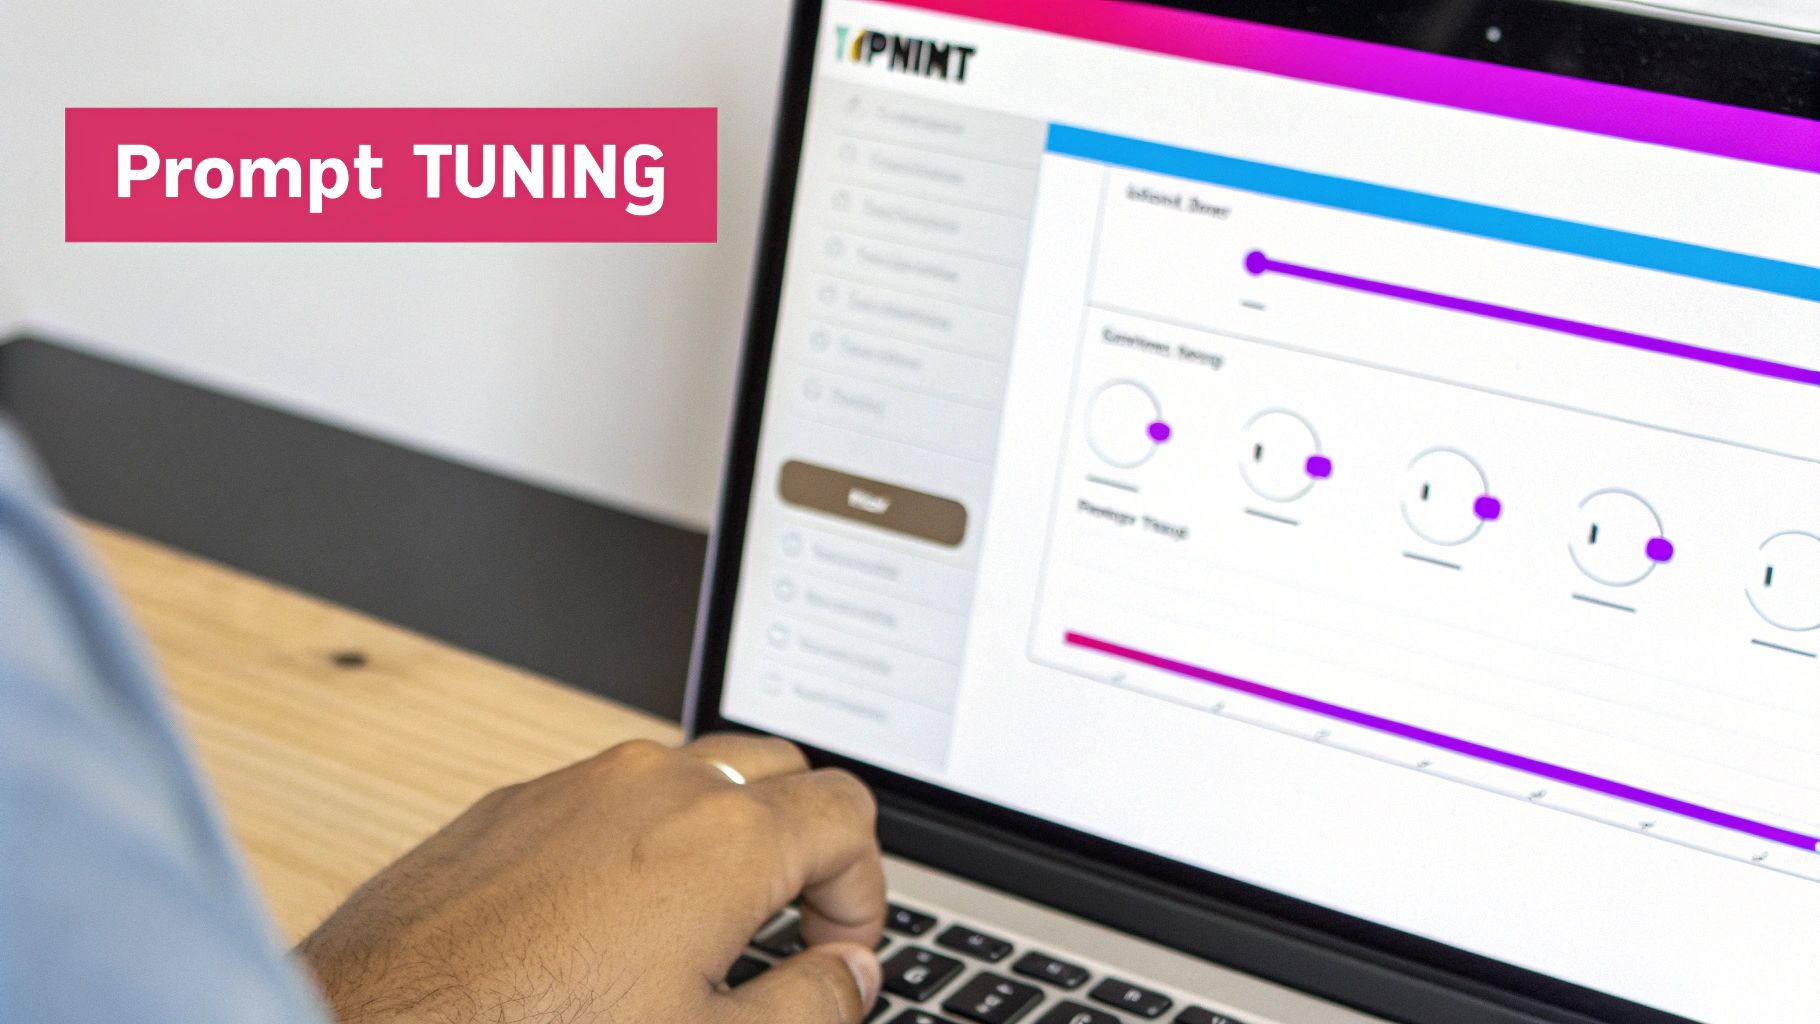
Fine-Tuning Your Inpainting Settings
Think of the settings as the control panel for how the AI follows your prompt. For inpainting, the two dials you'll be messing with the most are Denoising Strength and the Sampler.
Key Insight: The easiest way to think about Denoising Strength is as a "creativity dial." It tells the AI how much it's allowed to change the pixels under your mask. A low value sticks close to the original image, while a high value gives the AI a blank slate to work with.
Honestly, finding the perfect value is usually a bit of trial and error, but knowing what it does is half the battle.
Impact of Core Inpainting Settings
To make it clearer, here’s a quick table breaking down how these settings change your final image.
| Setting | Low Value Effect | High Value Effect | Best For |
|---|---|---|---|
| Denoising Strength | Makes subtle changes, preserving original textures and shapes. | Generates something entirely new, ignoring the original pixels under the mask. | Low: Fixing minor flaws, changing colors. High: Replacing objects completely. |
| Sampler | Different samplers generate the image in different ways. Some are faster but might be less detailed. | Others, like DPM++ 2M Karras, take a bit longer but often produce much higher-quality, detailed results. | Faster: Quick tests and iterations. Slower/Detailed: Final, high-quality renders. |
Getting a feel for these settings is the best way to master inpainting. A good starting point is a denoising strength around 0.75 if you're swapping an object out completely, and maybe 0.4 for smaller touch-ups. Run a few tests, see what you get, and tweak from there.
How to Fix Common Inpainting Problems
Even with the best workflow, you're going to run into some frustrating moments. We’ve all been there: you get a blurry result, or a weird, visible seam screams "this was edited!" It's just part of the learning curve with stable diffusion inpainting.
The good news? Most of these headaches have surprisingly simple fixes once you know what's causing them. Instead of just hitting "generate" over and over, let's play detective. Understanding why an edit failed is the real secret to getting it right the next time.
From my experience, nearly every bad result boils down to one of three things: your mask, your prompt, or your settings.
Problem: Blurry or Low-Quality Edits
Ever tried to add a sharp new object, only for it to appear soft, undefined, and generally disappointing? This is almost always a settings problem. The AI isn't being given enough creative freedom, so it over-blends the new pixels with the old ones under your mask.
The culprit is usually the Denoising Strength. If your edit is blurry, that value is likely set way too low. A low number tells the AI to cling to the original image's shapes and colors, which just creates a muddy mess.
Actionable Fix: Try increasing the Denoising Strength to somewhere between 0.7 and 0.9. This gives the AI permission to ignore the original pixels and generate a crisp, new element based purely on your prompt.
Problem: Visible Seams or Halos
Nothing kills an otherwise perfect edit faster than that obvious outline around the inpainted area. This "halo" effect is a dead giveaway that the image has been manipulated, and it almost always comes down to your mask.
This happens when you use a hard-edged mask on a soft surface, like skin, clouds, or fabric. The AI has no idea how to blend that sharp, digital boundary with the natural textures in the photo, creating a jarring transition.
- For hard objects (like a table or a phone), a tight, clean mask is what you want.
- For organic surfaces (skin, hair, clothes), your mask needs to be softer.
The solution is to feather the edges. Look for a Mask Blur setting in your tool. By increasing this value just a little—start with 4-8—you'll soften the mask's edges. This creates a much more gradual blend between the original image and the new content, making that ugly seam vanish.
Problem: The AI Ignores Your Prompt
Sometimes, the AI just seems to do whatever it wants. You ask for a "blue vase," and it gives you another brown one. You try to remove an object, and it just replaces it with something similar. Frustrating, right?
This happens when the Denoising Strength is too low for what you're trying to do. The AI is looking too closely at the original pixels under your mask for inspiration. If you're trying to turn a red shirt blue, a low denoising value makes the AI see the red texture, influencing it to generate something that's still reddish.
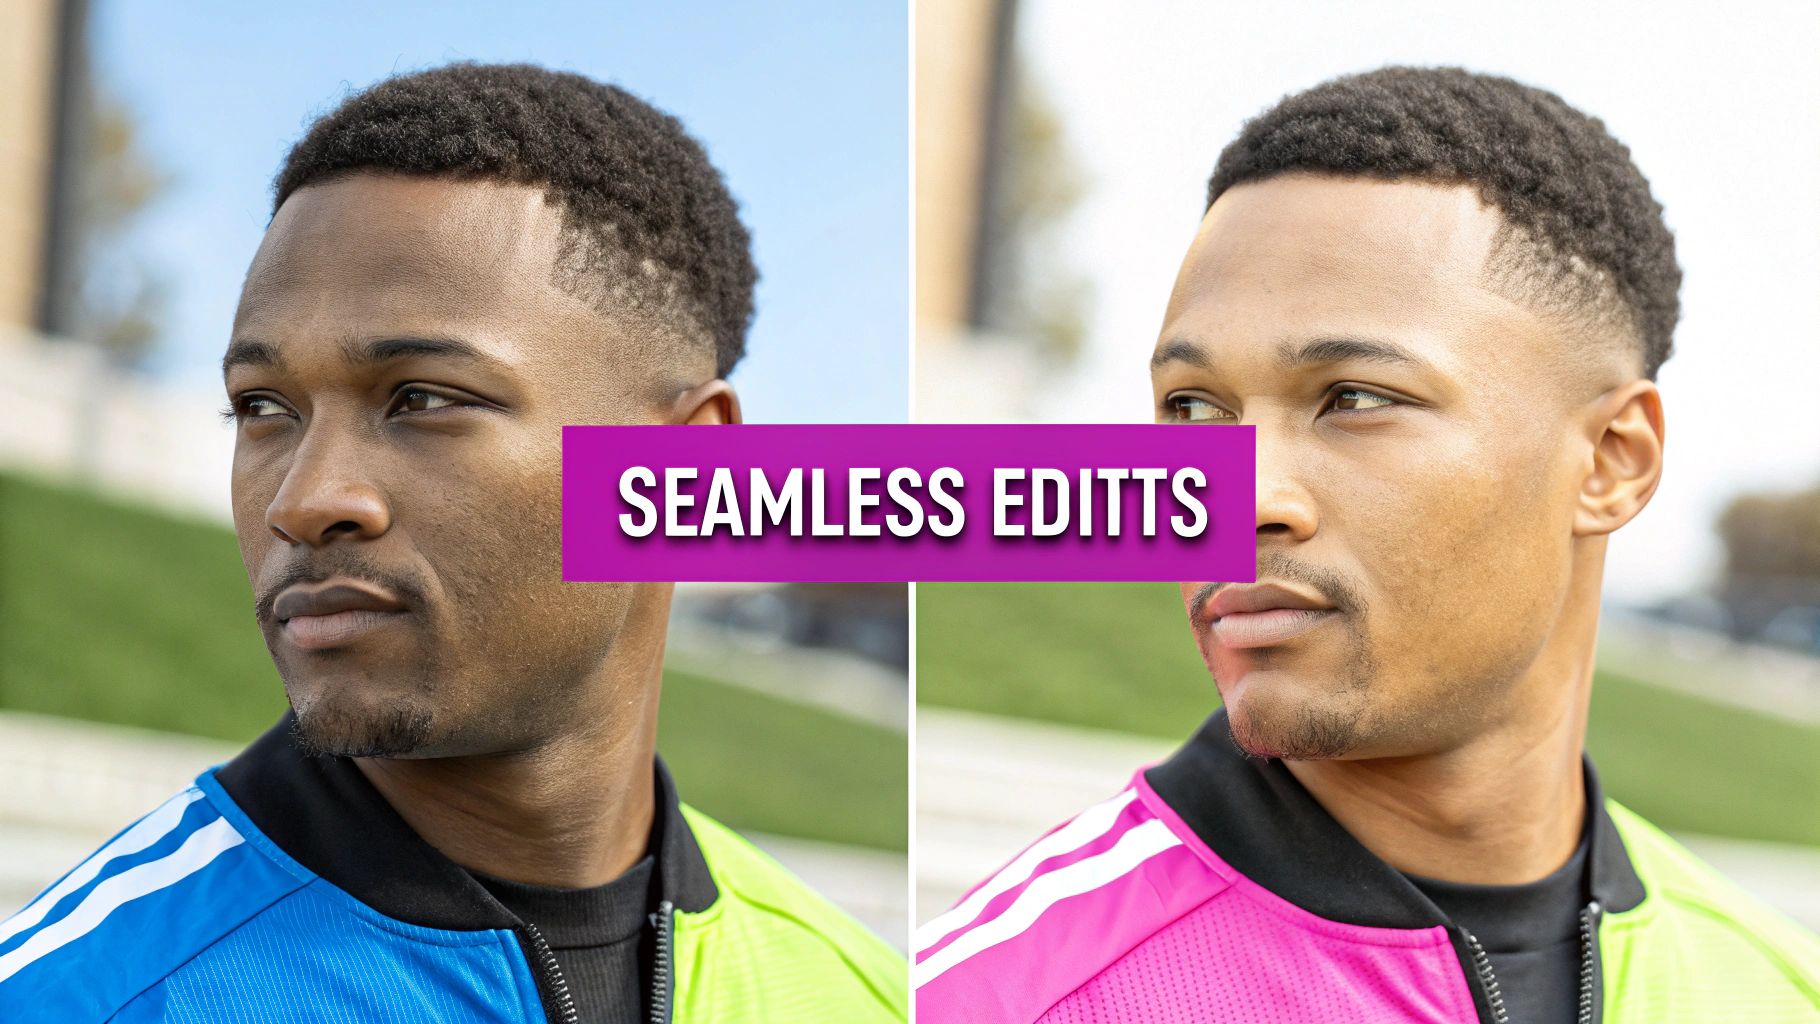
To fix this, you have to force the AI to listen to you, not the original pixels. Crank that Denoising Strength all the way up. For a total object replacement or a dramatic color swap, setting it to 1.0 tells the AI to completely disregard what was there before and follow your prompt to the letter.
Scaling Your Workflow with Batch Inpainting
Okay, so you've nailed fixing a single image. That's the first step. But the real magic—the thing that turns this from a cool trick into a serious business tool—is scaling up. We're talking about applying stable diffusion inpainting to whole batches of photos at once.
Imagine you're an e-commerce store owner who just went through a rebrand. You've got 500 product photos, and every single one has your old logo stamped on the packaging. Editing those by hand? That's a weekend killer. With batch inpainting, you can set up one workflow to mask out the old logo and pop in the new one across every single image. The time savings are astronomical.
This isn't just about logos, either. You could standardize the backgrounds across an entire product line, add consistent watermarks, or apply the same unique filter to all the visuals for a new marketing campaign.
Setting Up a Batch Inpainting Process
The secret to making batch inpainting work is consistency. You’re essentially creating a recipe—a repeatable set of settings, prompts, and masks that you can apply over and over without babysitting each image. This usually means using specialized tools or a bit of scripting to run the same inpainting job on an entire folder of images.
A solid workflow usually follows these lines:
- Standardize Your Images: First things first, get all your images to a consistent size. A batch process chugs along smoothest when it isn't guessing dimensions. A quick run through a bulk resizer is a great starting point. Our guide on using a bulk image resizer shows you how to knock this out fast.
- Generate a Consistent Mask: For tasks like swapping a logo, you can often get away with a single mask, especially if the logo is in the same spot on every photo.
- Lock in Your Prompt and Settings: To keep your brand looking cohesive, you'll want to use the exact same prompt, negative prompt, denoising strength, and sampler for every image in the batch.
Here’s a real-world example: A small online bakery used batch inpainting to get ready for a holiday sale. They had dozens of product shots on plain white backgrounds. In less than an hour, they created a process to add festive touches—like holly and subtle snowflakes—to the background of every single photo. They ended up with a professional, cohesive holiday campaign that would have been way too expensive to shoot from scratch.
The Impact of Scalable AI Editing
This ability to work at scale is what makes inpainting so incredibly valuable for businesses. The growth in this space since 2022 has been wild, driving a 500% increase in contributions to open-source AI image editing tools.
Practically speaking, some branding agencies have reported cutting their costs by up to 60% by using batch inpainting for bulk photo touch-ups instead of paying for manual edits. And it’s not just for the pros. Hobbyists have used it to spin a single sketch into 100 unique coloring pages in just 15 minutes. You can get more context on this explosive growth over at the AI Art Kingdom website.
Ultimately, batch processing transforms Stable Diffusion inpainting from a tool that just fixes images into a powerful system that produces them at scale.
Got Inpainting Questions? We've Got Answers
Once you start using Stable Diffusion inpainting, a few common questions always seem to pop up. Here are some quick, straightforward answers to the things people ask the most, so you can get past the roadblocks and back to creating.
Can Inpainting Change the Style of an Image?
It absolutely can, but you have to be intentional about it. Let’s say you want to drop a "watercolor painting" of a cat into a super-realistic photo. You can’t just hope for the best; you have to tell the AI what you want.
Your prompt for that painted-in area needs to be loaded with style clues like "watercolor, artistic, soft brush strokes." That tells the AI what the new element should look like.
But the real magic ingredient here is the Denoising Strength. If you crank this value up (think 0.8-1.0), you’re telling the model to pretty much ignore the original photo’s texture and go all-in on the new style you prompted. If you set it too low, it'll try to awkwardly merge the watercolor style with the photo, and you’ll likely end up with a muddy mess.
What Is the Best Model for Inpainting?
There's no single "best" model for every situation—it really comes down to your source image. For the most seamless edits, your best bet is to find a dedicated inpainting version of the model that either created the original image or at least matches its style.
For instance, models fine-tuned for realism (like Realistic Vision) almost always have a specific inpainting variant. These models are trained specifically to blend edges and match textures, which is exactly what you need. If you're just editing a regular photograph that wasn't made with AI, a solid, general-purpose inpainting model like v1-5-inpainting.ckpt is a great place to start.
The golden rule is consistency. Trying to inpaint a real photograph with a cartoon-style model is a recipe for a weird, disjointed image. Match the model to the original aesthetic for the best results.
Does Inpainting Work on Low-Resolution Images?
Technically, yes, but you probably won’t like the results. Inpainting models need enough pixel data to really understand the context, lighting, and textures they're working with. When you feed them a low-res or heavily compressed image, the AI just doesn't have enough information to create something that looks sharp and believable.
The new content will often come out looking blurry, pixelated, or just won't blend in right. If you want professional-looking edits, always start with the highest-resolution source image you can get your hands on—ideally 1024x1024 pixels or larger. This gives the model plenty of detail to work with, leading to a clean, high-fidelity edit that looks like it was always there.
Ready to stop editing images one by one and start producing at scale? With Bulk Image Generation, you can apply powerful AI edits across hundreds of images in minutes. Explore our tools and accelerate your workflow today.