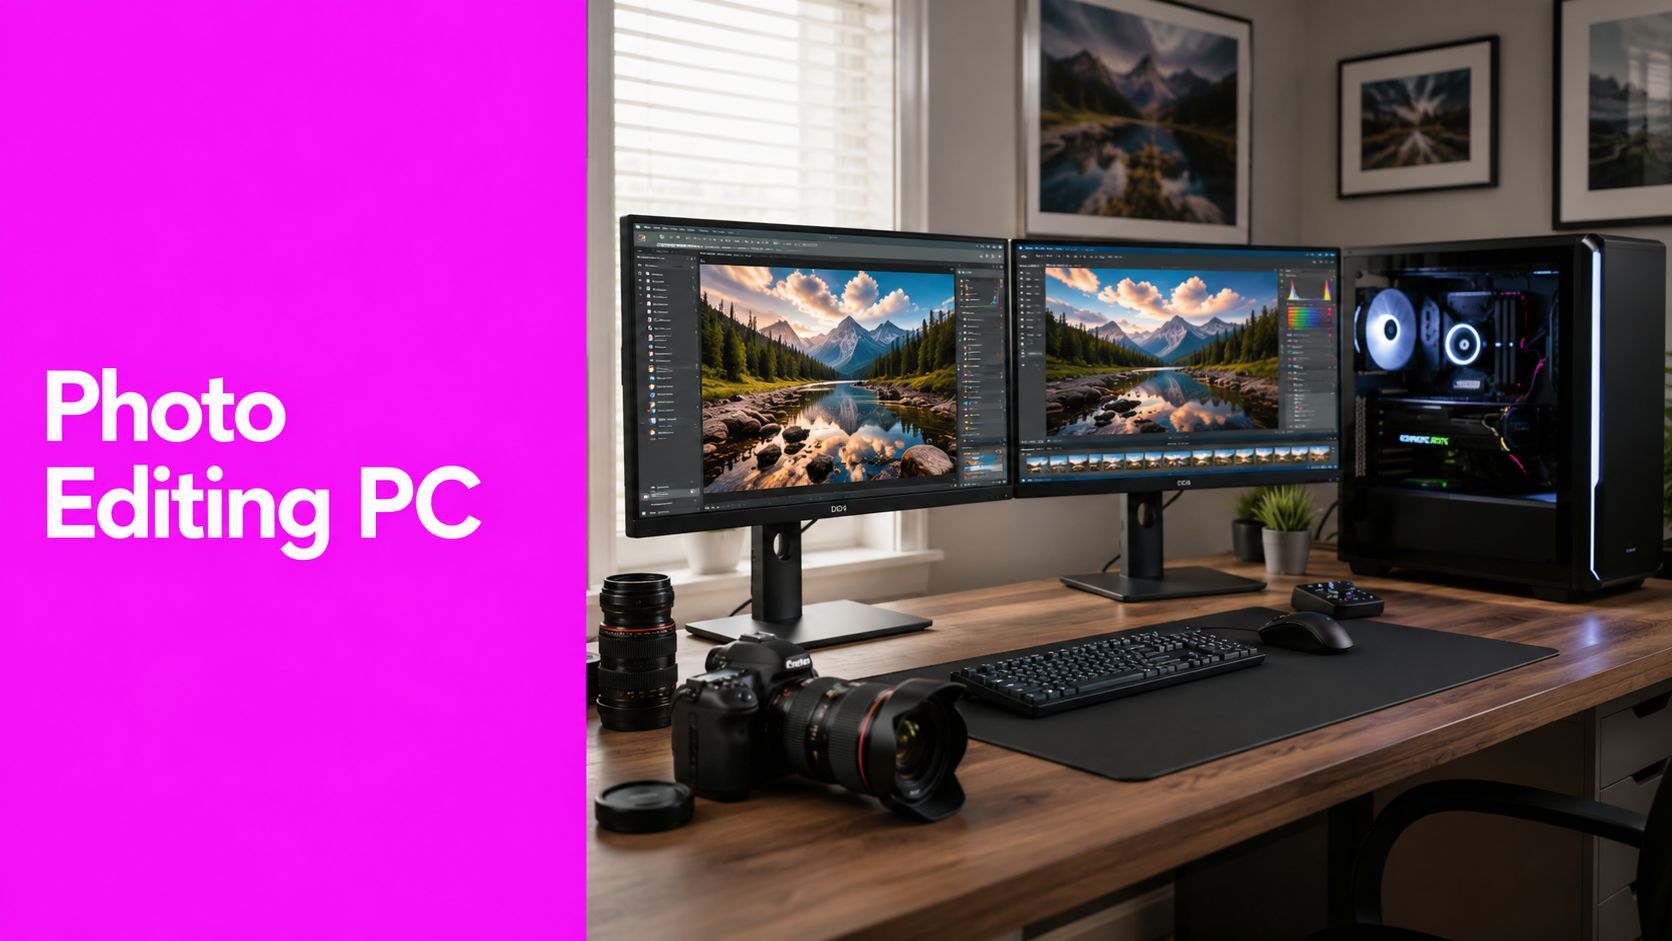
PC for Photo Editing: The 2026 Ultimate Buyer's Guide

Ryan Bennett • June 26, 2026
Build the perfect PC for photo editing in 2026. Our guide covers key specs, example builds, monitor advice, and how to optimize your workflow for any budget.
You nailed the shoot. The files are sharp, the light is right, and the select you care about is sitting in Lightroom or Photoshop waiting for polish. Then the machine starts fighting you. Previews lag. Masking stutters. Exports feel longer than the drive home from the job.
That's usually the point where photographers start shopping badly.
They chase the biggest CPU name, the flashiest GPU, or whatever laptop got marketed as “creator ready.” A good PC for photo editing doesn't work that way. The best system is balanced. It matches the way you edit, not the way spec sheets try to impress you.
I've always looked at editing machines the same way I look at camera kits. Buy for the work. Don't pay for features you'll never use, and don't cheap out on the parts that shape your day every single hour. That applies to the tower itself, but it also applies to your monitor, storage plan, and software workflow.
Stop Waiting and Start Creating
A sluggish editing machine does more than waste time. It breaks rhythm. You stop making visual decisions and start waiting for the computer to catch up.
That's why the right PC for photo editing isn't about buying the most expensive hardware you can finance. It's about removing the bottlenecks that interrupt real work: brushing, zooming, generating previews, switching between apps, exporting finished files, and handling AI-assisted tools without the whole system feeling sticky.
Build around the jobs you do most
Most photographers don't need a monster workstation for every possible task. They need a machine that feels responsive during normal editing, stays stable under load, and has enough headroom for modern Adobe features.
Start by asking yourself three blunt questions:
- What do you edit most often. Single-image retouching, weddings, commercial batches, product work, or mixed photo and video.
- Where do delays happen. Imports, culling, masking, export, AI cleanup, or just general lag.
- Which jobs don't need to happen locally. Repetitive asset creation, simple batch variations, and marketing visuals can often be handled outside your main editing machine.
That last point matters more now than most hardware guides admit. If you regularly create supporting visuals for campaigns, promos, ecommerce, or client mockups, offloading bulk generation work to cloud tools like the AI image generator from Bulk Image Generation can save your local PC for the files that need your eye and your hand.
Practical rule: Spend local hardware money on responsive editing. Offload repetitive production tasks when they don't benefit from brute-force desktop power.
A smart build beats an expensive mistake
Photographers get into trouble when they buy a machine with one strong part and three weak ones. A fast GPU won't rescue a system starved for RAM. A premium CPU won't feel premium if you're working off cramped or poorly organized storage. And none of it matters if your screen lies to you.
The goal is simple. Build a machine that disappears when you work.
Decoding the Core Components for Photo Editing
A good photo-editing PC does not need exotic parts. It needs the right bottlenecks removed.

I build these systems around four decisions: CPU, RAM, GPU, and storage. Get those right and Lightroom and Photoshop stay responsive. Get one badly wrong and the whole machine feels more expensive than useful.
CPU is the pace-setter
For stills work, the CPU still decides how quick the machine feels. Slider response, brush lag, preview generation, imports, exports, and general snappiness often depend more on strong per-core performance than on stuffing the system with as many cores as possible.
That is why a modern mid-to-upper-tier chip with high boost clocks usually makes more sense than chasing workstation-class core counts. Extra cores help with heavier batch jobs, mixed photo and video work, and some export workloads. For pure photo editing, though, there is a point where more cores stop being noticeable and better single-core behavior matters more.
If part of your workload is repetitive asset production rather than careful retouching, save your local CPU budget for editing and offload the bulk work. For example, a workflow that uses AI product photography tools for scalable product image creation can reduce how often you need your desktop grinding through high-volume image generation tasks.
RAM sets your working room
RAM is where open files, previews, caches, and active edits live while you work. Once you run short, the system starts leaning on storage as overflow, and that slowdown is easy to feel.
For most photographers, the buying advice is straightforward:
- 16GB is the entry point for light editing and budget builds.
- 32GB is the sensible target for serious Lightroom and Photoshop use.
- 64GB or more is for very large panoramas, heavy compositing, frequent multitasking, or photo and video work on the same machine.
If you keep Lightroom, Photoshop, a browser full of client references, and a few utilities open at once, 32GB is usually money well spent.
GPU helps more than it used to
Years ago, photo editors could treat the GPU as an afterthought. That is no longer safe advice. Adobe has shifted more masking, denoise, selection, and AI-assisted features onto the graphics card, so an underpowered GPU can slow down tools you use every day.
The key trade-off is simple. Buy a practical mid-range GPU with enough VRAM, not a flagship gaming card unless your work warrants it. For most photographers, that means aiming for reliable Adobe acceleration and some headroom for newer features, rather than paying for 4K gaming performance you will never use.
I would rather see a balanced build with 32GB of RAM, a fast CPU, and a sensible GPU than a system that blows half the budget on the graphics card and cuts corners everywhere else. If you want a second opinion from a builder focused on balanced component choices, Steel City IT's Sheffield build guide makes the same point from the video side, where hardware imbalance shows up fast.
Storage decides how the machine feels day to day
Photographers notice storage every hour. Opening catalogs, loading previews, switching between folders, writing cache files, saving layered PSDs, and exporting finished work all hit your drives.
A clean setup usually looks like this:
| Component | Best role | What it affects |
|---|---|---|
| Primary SSD | Operating system, apps, catalog, cache, current projects | Boot speed, app launches, active editing response |
| Secondary drive | Photo library and completed work | Capacity, file organization, archive access |
| External or network backup | Recovery after failure, deletion, or corruption | Protection, not editing speed |
NVMe SSDs are usually worth it for your main drive. Spinning hard drives still make sense for long-term archive storage, but they are a poor place for catalogs, caches, or current client jobs.
Benchmarks matter when they resemble real work
Synthetic numbers are easy to market and hard to translate into daily editing. A useful benchmark runs tasks that look like the work photographers already do in Lightroom Classic and Photoshop, such as imports, adjustments, and layered edits, then measures completion time across the full workflow.
That kind of testing is more useful than gamer-focused spec bragging because it reflects the delays photographers feel in practice. Use benchmarks to sanity-check a parts list, then focus your spending where it affects your editing experience most. On many builds, that means a stronger CPU, enough RAM, fast SSD storage, and selective use of cloud AI tools instead of overspending on local hardware you will rarely push.
Example PC Builds for Every Photographer
A parts list gets easier once you tie it to the kind of work you do all week.

A wedding photographer culling thousands of RAW files needs a different machine than a product shooter building layered composites all day. A commercial retoucher who bills by the hour has different priorities again. The goal is not to buy the biggest tower you can afford. The goal is to remove the slowdowns you feel in your own workflow and skip the hardware you will rarely push.
Budget build
This build suits photographers who want Lightroom Classic and Photoshop to feel quick, exports to finish in reasonable time, and the total cost to stay under control.
Put the money here first:
- A current mid-range CPU with strong single-core performance
- 16GB RAM at minimum, with a clear path to 32GB later
- A modest GPU that supports Adobe acceleration without eating the budget
- One fast SSD for the OS, apps, catalog, cache, and active jobs
The mistake I see most often is overspending on the graphics card and underspending on the processor, memory, or storage. For stills work, that usually makes the spec sheet look better than the editing experience feels. A sensible budget system should feel responsive during culling, local adjustments, healing, and standard exports. If you can stretch the budget at all, buy the motherboard and power supply you would still trust two upgrades from now.
Enthusiast build
This is the practical sweet spot for serious hobbyists and working photographers.
You are no longer buying for today's catalog alone. You are buying for larger RAW files, heavier Photoshop documents, more masking, more AI-assisted tools, and the occasional burst of video work. That usually means stepping up to 32GB RAM, a better mid-range CPU, more SSD space, and a cooler, quieter case that can hold performance under load.
The extra headroom matters because photography workloads are rarely one thing at a time. It is Lightroom in the background, Photoshop in front, a browser full of reference tabs, cloud sync running, and exports starting while you answer client email. A machine in this tier handles that kind of multitasking far better than an entry build.
If you do not want to spec every part from scratch, Steel City IT's Sheffield build guide is worth reading for its practical thinking on balanced component selection, cooling, and avoiding mismatched parts. It is aimed at creative systems more broadly, but the buying logic carries over well.
Professional build
A pro workstation should buy back time and reduce interruptions.
That usually means a high-end CPU that stays fast during long sessions, more than 32GB of RAM if you work with large layered files, a stronger GPU if Adobe AI features are part of your daily process, and storage arranged around active work versus archive storage.
| Tier | CPU focus | RAM target | GPU approach | Storage mindset |
|---|---|---|---|---|
| Budget | Fast mainstream chip | 16GB | Capable entry or mid-range | Single fast SSD to start |
| Enthusiast | Faster upper-mid CPU | 32GB | Mid-range RTX class | Fast SSD plus larger project drive |
| Professional | High-end responsive CPU | More headroom for large jobs | Strong GPU for AI and mixed workloads | Separate fast working storage and larger archive strategy |
Desktop systems pull ahead once you start stacking heavier jobs. Better cooling keeps performance steady during long exports and batch work. You also get easier upgrades, quieter operation, and more performance per dollar than most high-end laptops can deliver over sustained sessions.
There is also a smarter way to spend. If part of your business includes mockups, ad variations, or supporting visuals, some of that work does not need to happen on your local PC. Teams creating campaign assets can offload bulk generation to cloud workflows, such as this AI product photography tutorial for creating ecommerce visuals, and keep the local machine focused on culling, color work, retouching, and final delivery.
That changes the buying equation. Instead of forcing your desktop to handle every AI-heavy task, you can build a faster editing machine for the money by prioritizing CPU, RAM, storage, and display quality, then using cloud tools where they make financial sense.
Your Monitor Is More Important Than You Think
You can spend heavily on a fast PC and still deliver inconsistent edits if the display is weak. The monitor is where you judge exposure, skin tone, white balance, shadow separation, and whether your file looks finished.

I see this mistake all the time. A photographer buys a strong tower or a premium laptop, then edits on a screen with uneven brightness, narrow viewing angles, or poor calibration support. The computer is fast, but the decisions made on top of it are less reliable.
What matters on a photo editing monitor
For photo work, a few display traits affect real output more than flashy spec-sheet extras:
- IPS panel for stable viewing angles and more consistent color across the screen
- Color space coverage that matches your work, usually sRGB for web delivery or wider-gamut options for print-heavy jobs
- Hardware or software calibration support so the display can be corrected and checked over time
- A size and resolution you can work on comfortably, with enough room for both the image and your panels
Panel quality matters more than bragging rights. A good 27-inch 1440p or 4K IPS monitor with dependable color is often a better editing investment than putting the whole budget into CPU and GPU tiers you rarely max out. That trade-off matters even more if you offload bulk AI image generation or campaign variations to cloud tools and keep your local machine focused on culling, retouching, and color-critical work.
Laptop users should watch for panel shift
A lot of photographers edit on laptops. That setup is convenient, but laptop screens are easier to misread because a small change in lid angle can change perceived contrast and color, especially on lower-grade panels.
If the image looks richer when you tilt the screen back and flatter when you tilt it forward, you are judging the panel, not the file. That is a bad place to make exposure or color calls.
An external monitor fixes a lot of that. Dock the laptop, set the display at a consistent height, calibrate it, and your edits become more repeatable from one session to the next.
Connection details affect day-to-day usability
Monitor problems are often setup problems. The wrong cable, the wrong port, or the wrong expectation for resolution and refresh can leave a perfectly good display looking soft or acting flaky.
If you're comparing display connections for a desktop or a docked laptop, this guide to choosing a computer monitor with HDMI port is a practical reference. It covers the kind of compatibility details that are easy to ignore until the monitor is already on your desk.
A photo editing PC is only as trustworthy as the screen attached to it. Build the tower smart, but do not cut corners on the display.
Airtight Storage and Backup Strategies
Photographers lose work in boring ways. A drive dies. A folder gets overwritten. A sync app removes the wrong files. None of that is dramatic until you realize the only copy of a client gallery or personal archive is gone.
That's why storage and backup need different roles. A lot of people blur them together, and that's where trouble starts.
Working drive, archive drive, backup drive
Think in layers.
Your working drive is the fast SSD that holds your operating system, apps, catalogs, cache, and active jobs, and its speed is critical. You want current projects to open fast and stay out of the way while you edit.
Your archive drive stores completed work you don't need to touch every day. It can be larger and slower. That's fine. Archives are about capacity and organization, not snappy brush response.
Your backup drive exists to save you when something goes wrong. It is not the same thing as your archive. If the archive is the only place the files live, it isn't a backup. It's just another single point of failure.
Use the 3-2-1 rule
The best simple framework is still the 3-2-1 rule:
- Three copies of your data
- Two different media types
- One copy off-site
That structure forces discipline. It stops you from treating one external drive sitting next to your computer as “safe.” If theft, fire, water damage, or a power event hits that room, a nearby backup can disappear with the main machine.
Working habit: Backups should happen whether you remember or not. If the system depends on willpower, it will eventually fail.
A practical setup that stays fast
You don't need a complicated enterprise storage map. You need a repeatable one.
A clean approach looks like this:
- Keep active jobs on the fastest drive so catalogs, previews, and open projects stay responsive.
- Move completed work into a structured archive by year, client, or project type.
- Run automatic backups to separate hardware.
- Maintain one off-site copy through a cloud backup service or another location you control.
- Test recovery occasionally so you know the backup is usable, not just present.
The hidden benefit is performance. When your primary SSD isn't stuffed with old jobs, the whole machine tends to stay cleaner and easier to manage. You also spend less time hunting for files and less time wondering whether a given folder exists in one place or five.
Professionalism isn't just how you light or retouch. It's whether you can still deliver the files after a hardware failure.
Optimize Your Workflow with Smarter Software
A lot of photographers try to solve workflow problems with hardware alone. That works up to a point. Then you hit diminishing returns and start paying a lot for tasks that don't belong on your local machine in the first place.

Keep your desktop for the work that needs judgment
Your local PC should handle the jobs where your eye matters most:
- final color decisions
- selective retouching
- compositing
- detailed masking
- print preparation
- hero image finishing
That's where responsiveness, monitor quality, and stable storage pay off.
But not every image task belongs in that category. Marketing teams, ecommerce operators, and photographers who support campaigns often spend time on repetitive production work: alternate crops, multiple variants, resized deliverables, simple background treatments, and batches of supporting visuals. Those jobs are real, but they don't always justify building a massively overspecified tower.
Offload repetitive production
This is the smarter-build angle most PC guides miss. If part of your image workload is repetitive, cloud tools can absorb that pressure.
Instead of building a machine around the heaviest possible edge case, you can keep your desktop balanced and move bulk production steps elsewhere. That might include generating concept variations, spinning out large sets of marketing visuals, or handling utility tasks in a cloud-based batch workflow.
For file prep alone, using a dedicated tool such as a bulk image resizer makes more sense than tying up your editing station with repetitive export chores.
Spend money where it improves the creative day
This changes how I'd advise most photographers to budget.
If your core business is still photography and retouching, spend first on:
| Spend here first | Why it matters |
|---|---|
| CPU responsiveness | You feel it during actual editing |
| Enough RAM | It keeps multitasking from turning sticky |
| Reliable GPU headroom | Helps modern AI-assisted Adobe tools |
| A trustworthy monitor | Prevents bad decisions at the source |
| Organized storage and backup | Protects the work and keeps the machine clean |
Spend cautiously on brute-force local power for jobs that can be handled elsewhere. That doesn't mean buying weak hardware. It means buying a right-sized PC for photo editing instead of a machine built around occasional production spikes.
The best workstation isn't the one with the most expensive parts. It's the one that keeps your best work moving and doesn't waste budget on the wrong jobs.
A balanced local system plus selective cloud offloading is often a better business decision than maxing out every component and still wasting hours on repetitive tasks.
Frequently Asked Questions About Photo Editing PCs
Is a gaming PC good for photo editing
Usually, yes.
A gaming PC already has most of what photo editing needs. A modern CPU, enough RAM, fast SSD storage, and a discrete GPU all help in Lightroom, Photoshop, Capture One, and similar apps. The problem is balance. Gaming builds often pour money into the graphics card, then cut corners on the monitor, storage layout, noise, or upgrade path.
For stills work, I would take a balanced system over a flashy one every time. If the choice is between a bigger GPU and a better display, better scratch storage, or more RAM, photography usually benefits more from the second group.
Do I need a PC or should I get a Mac
Choose based on workflow, not brand.
A Mac makes sense if you want a tidy, integrated machine and you are fine with limited internal upgrades later. A Windows desktop makes more sense if you want to choose each part, add storage over time, swap the GPU, or stretch your budget further at the same performance level.
For Adobe work, the practical baseline is straightforward, as noted earlier in the article. Start with enough memory for your file sizes, a recent mid-range CPU, fast SSD storage, and a GPU that can keep up with current AI-assisted tools without dominating the budget. That last part matters. If you offload bulk image generation, marketing variants, and other repetitive production jobs to cloud tools, you do not need to build your local machine around occasional peak loads.
How often should I upgrade
Upgrade when the machine gets in the way of paid work.
That usually shows up in predictable places:
- Add RAM if switching between Lightroom, Photoshop, browser tabs, and delivery tools starts to feel sticky.
- Add or replace storage if your working drive is nearly full or your catalog, previews, and active jobs are fighting for space.
- Upgrade the GPU if newer masking, denoise, or generative features are slowing down enough to break your rhythm.
- Replace the platform if the CPU is the clear limit and a worthwhile upgrade would also require a new motherboard and memory.
Desktop PCs age well if you upgrade with a reason instead of chasing specs.
Is a laptop enough for serious editing
Yes, if portability is part of the job.
A good laptop can handle serious retouching and culling, especially for wedding, event, travel, and editorial photographers who work on location. The trade-off is sustained comfort and flexibility. Desktops run cooler, stay quieter under load, support better monitors, and give you easier storage expansion.
A lot of photographers do best with both. Use the laptop for shoots and client travel, then return to a desk setup for long editing sessions.
What's the most common mistake people make
They solve the wrong problem.
I see photographers buy a machine with an expensive GPU, then edit on a mediocre display and store everything on one crowded drive. I also see people overspend on local horsepower for tasks that do not need to happen locally at all. If a cloud service can handle bulk visual variations or repetitive image prep, keep your workstation focused on color, selection, retouching, and final delivery.
That is usually the smarter build. More balanced. Less wasted budget.
If part of your workflow includes creating large sets of supporting visuals, marketing assets, or resized image variants, Bulk Image Generation can take that repetitive load off your local machine. That lets you keep your desktop focused on the editing work that requires your judgment, while cloud tools handle the production-heavy tasks that don't.
