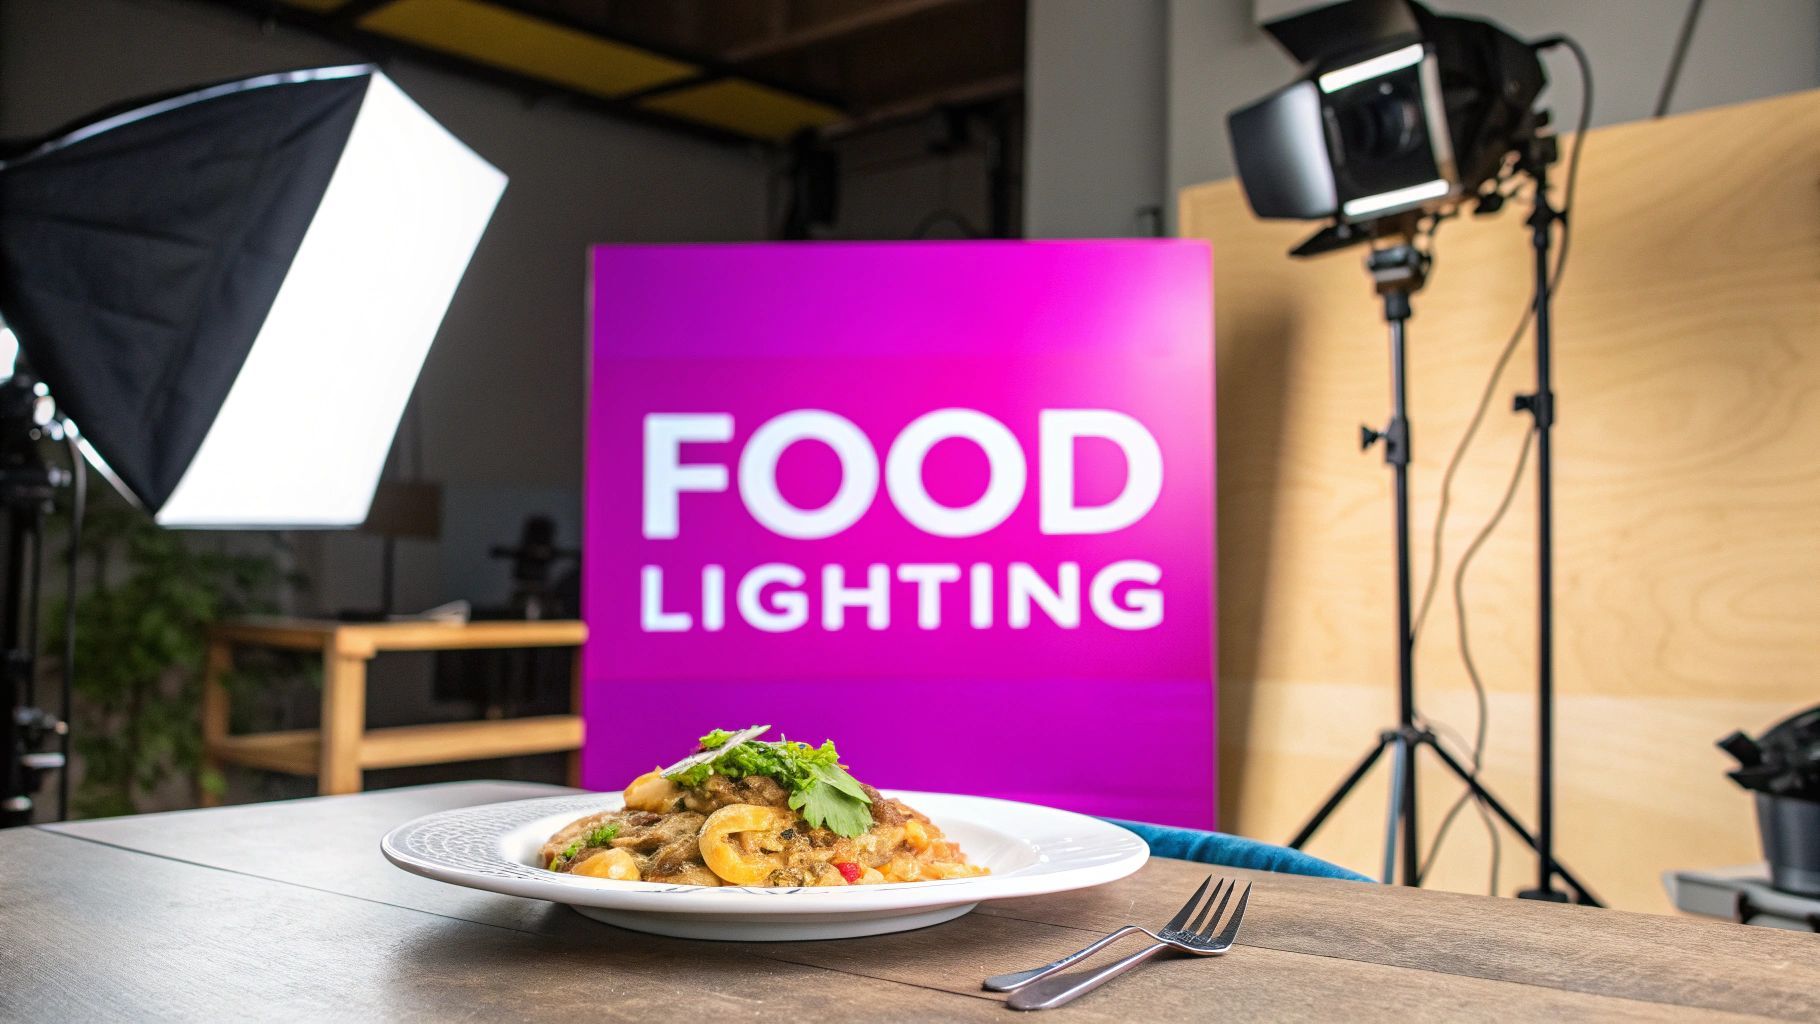
Lighting food photography: Master Techniques for Mouthwatering Results

Ryan Bennett • December 31, 2025
Discover lighting food photography secrets to elevate your dishes, from light placement to color balance, turning plates into crave-worthy visuals.
If you think a pricey camera is the secret to incredible food photography, I've got news for you. The real magic ingredient, the one that can make or break every single shot, is light.
Light is what you use to carve out texture, set a mood, and turn an ordinary dish into something that stops the scroll. Honestly, it's the biggest difference between a quick phone snap and a professional, mouth-watering photograph.
Why Light Is Your Most Important Ingredient
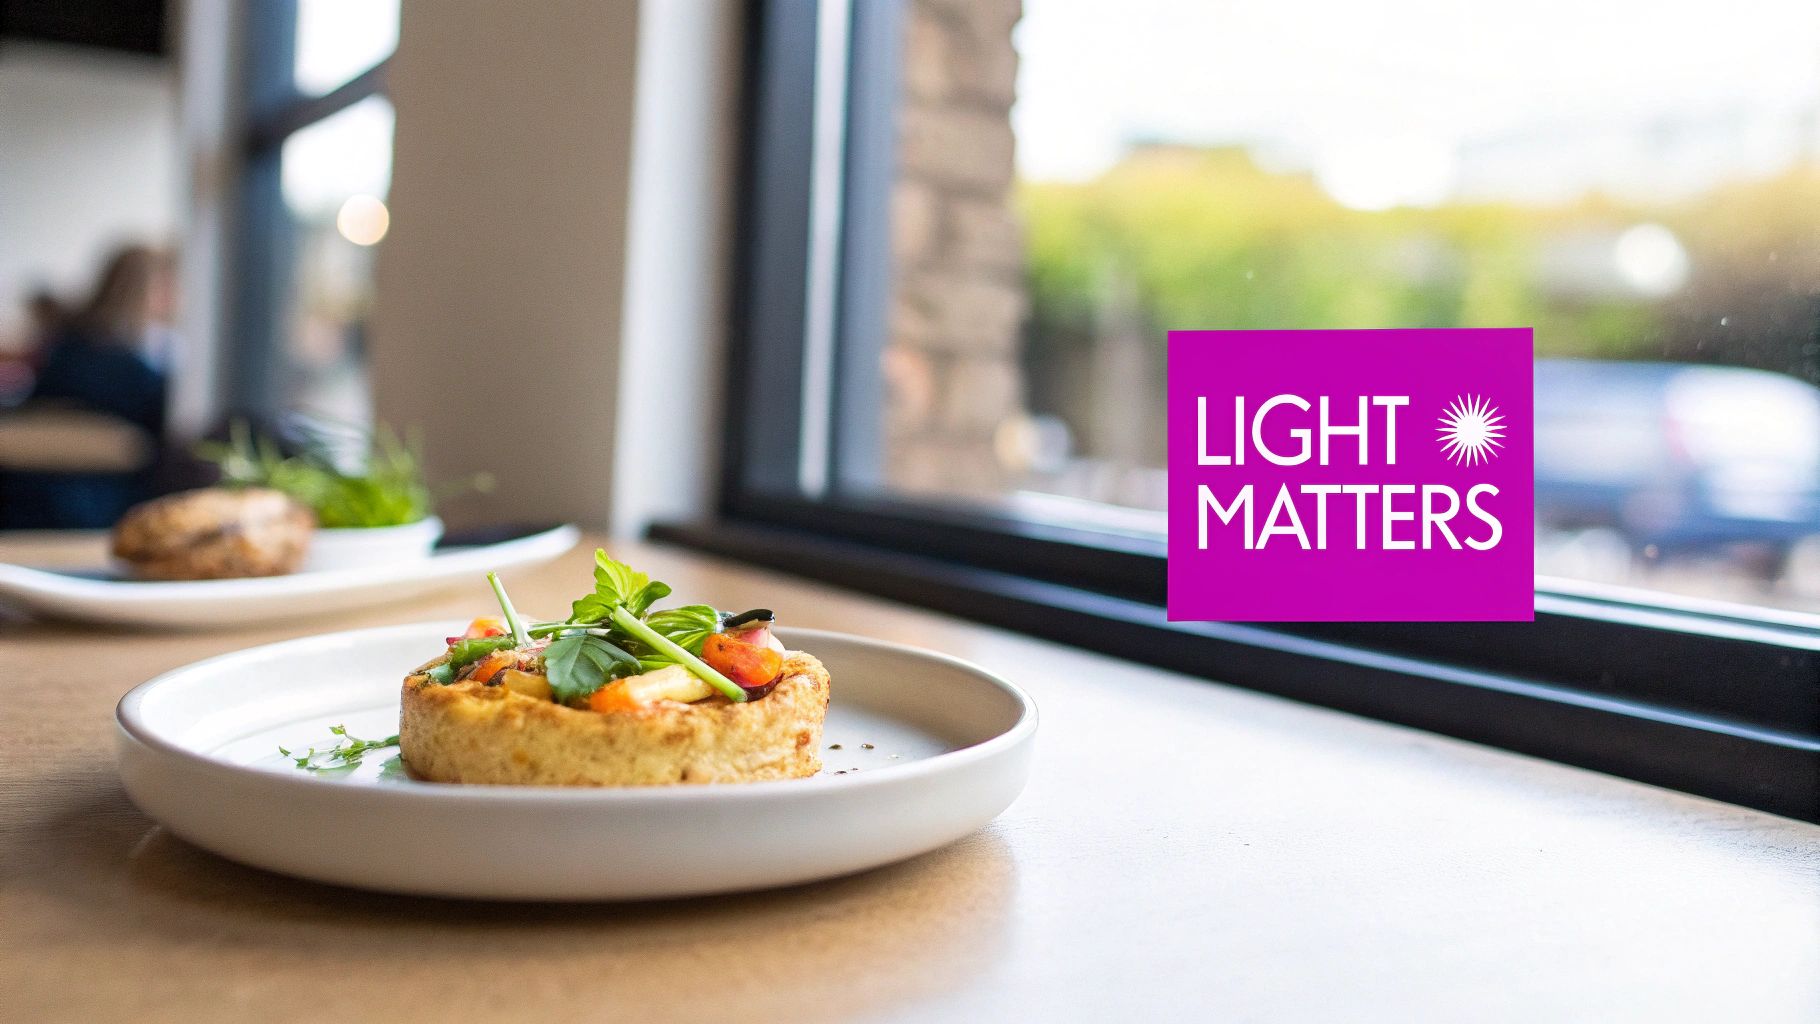
Think of light as your primary storytelling tool. A bright, airy scene can suggest a fresh, healthy breakfast. Dark, moody lighting? That might scream rich, decadent dessert for a late-night treat. Your camera just captures what's there; the light you shape is what brings the story to life.
This guide isn't about generic tips you've heard a thousand times. We're getting practical here. We'll get into the differences between the soft, forgiving glow of natural light and the complete, repeatable control you get from artificial sources like strobes and LEDs. Knowing how to work with both is what will make you a truly versatile photographer.
The Foundation of Great Food Photos
Before we jump into fancy multi-light setups, let's nail down the fundamentals. Mastering these core ideas will improve every photo you take from here on out, no matter what gear you're using.
- Light Quality: This is all about whether your light is "hard" or "soft." Hard light gives you sharp, defined shadows, while soft light creates gentle, diffused ones. For food, soft light is almost always the winner. It flatters textures beautifully without creating harsh, distracting shadows.
- Light Direction: Where your light comes from completely changes how your subject looks. Side lighting is a fantastic starting point and a favorite among food photographers for a reason—it’s brilliant at revealing texture and creating dimension.
- Light Modifiers: These are just tools that shape, soften, or bounce light. You don't need to spend a lot of money here. Simple things like a white piece of foam board or a sheer curtain can have a massive impact on your final shot.
The goal isn't just to light the food. It's to use light to reveal its best qualities. You are literally "painting with light" to guide the viewer's eye and get an emotional response.
Once you start focusing on these elements, you’ll stop just taking pictures of food and start crafting visual stories that actually make people hungry.
Working with Natural Light for Authentic Results
Natural light is the not-so-secret weapon for food photos that feel honest, fresh, and just plain delicious. It’s what gives images that bright, airy quality everyone seems to crave. But there’s more to it than just plunking your plate down by the nearest window. Mastering daylight means knowing how to read it, shape it, and make it work for you.
The quality of sunlight changes like crazy throughout the day, and that shift completely dictates the mood of your shot. Think about the golden hour—that slice of time right after sunrise or just before sunset. It casts these long, soft shadows and a warm, dreamy glow that’s perfect for cozy, comforting food stories. Midday sun, on the other hand, is a whole different beast. It’s high, direct, and creates harsh, dark shadows that can kill an appetite. You can use it for high-drama shots, but it's a lot trickier to manage.
Finding and Shaping the Best Light
Your starting point is almost always going to be a window, but trust me, not all windows are created equal. A big, north-facing window is basically the holy grail for food photographers. Why? It delivers consistent, soft, indirect light for most of the day, which means you’re not fighting with harsh, moving sunbeams.
Once you’ve found your spot, the real work begins. You’re not just using the light; you're going to manipulate it.
- Diffusion is Everything: If you're stuck with direct sun, you have to soften it. A simple sheer white curtain is a fantastic diffuser. It takes that intense, sharp beam and spreads it out, creating a broad, gentle light source that wraps around your food beautifully. This simple trick softens shadows and kills those distracting shiny spots (specular highlights) on glossy sauces or drinks.
- No Curtain? No Problem: You can get the same effect by taping a sheet of parchment paper over the window or using a pro photography diffuser. The goal is always the same: put something translucent between the sun and your subject.
The most incredible food photography often looks like how we see food in a real, inviting place. That’s why natural light is so dominant—it feels authentic and makes the food seem real and attainable. Pros are leaning heavily into daylight to craft these fresh, relatable images. For more on this, it's worth checking out the latest food photography trends.
Using Reflectors to Fill Shadows
Okay, so you have gorgeous light coming from one side of your setup. Inevitably, you'll see shadows forming on the opposite side. Sometimes those shadows are great—they add depth and mood. But other times, they just hide all the good stuff. This is where a reflector becomes your best friend.
A simple piece of white foam board from a craft store is one of the most powerful and cheapest tools you'll ever own. Just place it opposite your window, and it will bounce light right back into the shadows, brightening them up instantly.
Picture this: you're shooting a stack of pancakes piled high with berries. The window light is hitting the left side, perfectly highlighting the fluffy texture. But the right side is lost in shadow, and you can't even see the vibrant color of the fruit. By propping up a white foam board on the right, you gently kick some light back into those dark spots. The whole dish suddenly looks balanced and delicious, without looking flat or artificial.
Your First Artificial Light Setup
When the sun dips below the horizon or a string of cloudy days throws a wrench in your shooting schedule, artificial light becomes your best friend. It gives you the power to create beautiful, consistent light anytime, anywhere—a level of control natural light just can't match.
Diving into artificial lighting can feel like a huge leap, but you don't need a truckload of expensive gear to get started. In fact, I always tell people to begin with a single light source. This is the absolute best way to learn. It simplifies everything, letting you see exactly how one light and one modifier can completely transform your scene.
Choosing Your First Light Source
You've got two main choices here: a strobe (often called a flash) or a continuous LED light.
A strobe fires a quick, powerful burst of light the moment you press the shutter. They're fantastic for freezing motion (like a splash or a sprinkle of flour) but have a learning curve since you can't see the light's effect until after you take the photo. Continuous LEDs, on the other hand, stay on the entire time. This "what you see is what you get" approach is brilliant for beginners, as you can adjust the light's position and power in real-time.
For most food photography, a good quality LED panel or a single strobe will do the trick. But the real magic isn't the bulb itself—it's what you put in front of it.
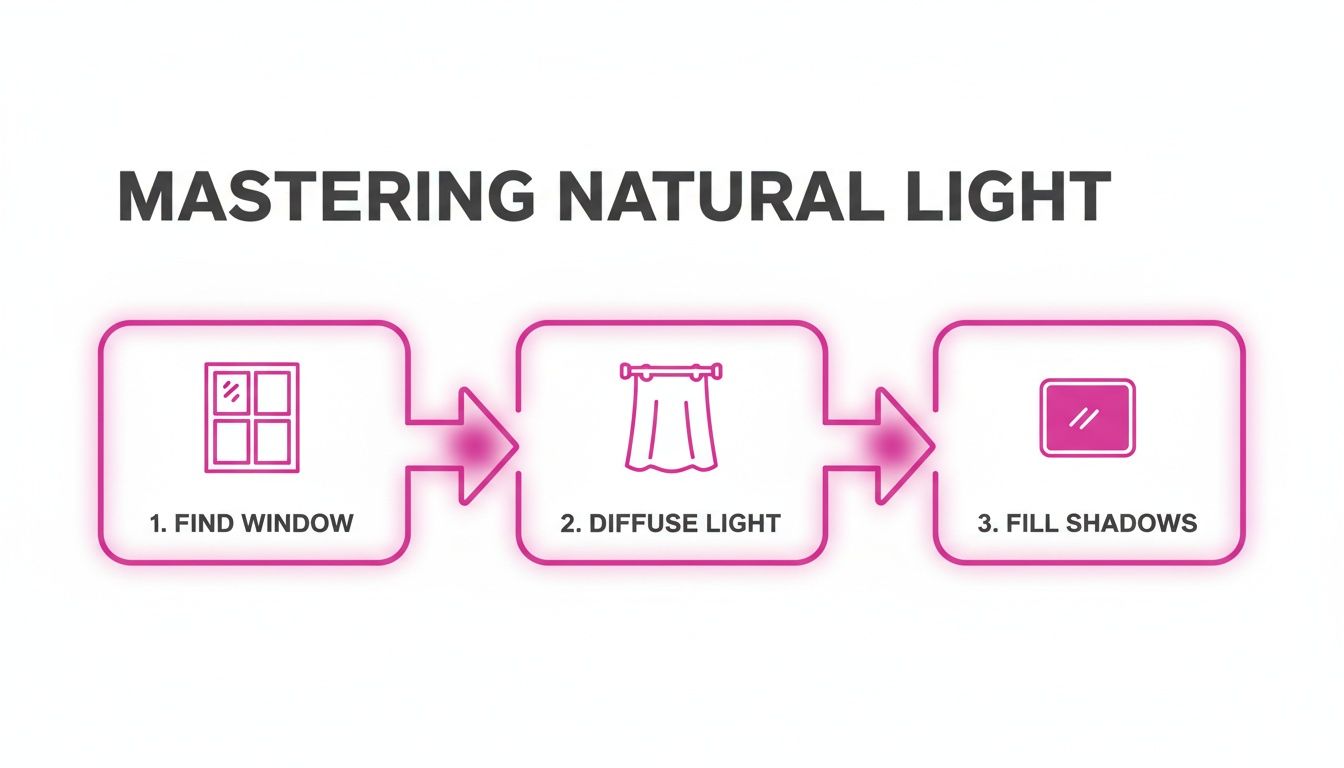
This simple diagram for natural light shows the core principles we’re about to replicate. It's all about finding, diffusing, and filling your light, whether the source is the sun or a bulb.
The Magic of Light Modifiers
A bare bulb on its own is harsh and unflattering. It creates hard, distracting shadows that kill the appetite. A light modifier is any tool you place between your light and your subject to soften, shape, and control that light—essentially turning your small bulb into a big, beautiful window.
Here are the two most common starters:
- Softboxes: These are a photographer’s workhorse for a reason. They create a gorgeous, directional light that’s perfect for bringing out the texture in food. A medium-sized octagonal or square softbox is an incredibly versatile first choice.
- Umbrellas: Shoot-through umbrellas are great for creating a very broad, soft light that can illuminate an entire scene. They're affordable, pop open in seconds, and are fantastic for achieving that bright, airy look.
Here’s a fundamental rule of light: the larger your light source is relative to your subject, the softer the light will be. This is why a huge softbox creates gentle, flattering shadows, while a tiny, bare flash creates sharp, ugly ones. Your goal is to make your artificial light source feel big.
A Classic One-Light Setup
Ready to try it out? Let's mimic that classic side-lit window look.
Position your light and softbox to the side of your food, at roughly a 9 o'clock or 3 o'clock angle. This is the go-to setup in lighting food photography because it carves out details and creates incredible depth and dimension.
Just like we did with natural light, you’ll want to place a white foam board or reflector on the opposite side of your food. This will bounce some of that light back into the scene, gently filling in any dark shadows. It's that simple. This single-light setup is the foundation for countless professional food photos and the perfect place to start your journey.
For those focused on e-commerce, it's also worth noting how tools in AI product photography can digitally create studio-quality lighting effects, offering another route for clean, consistent product shots.
Creative Lighting Techniques for Dramatic Photos
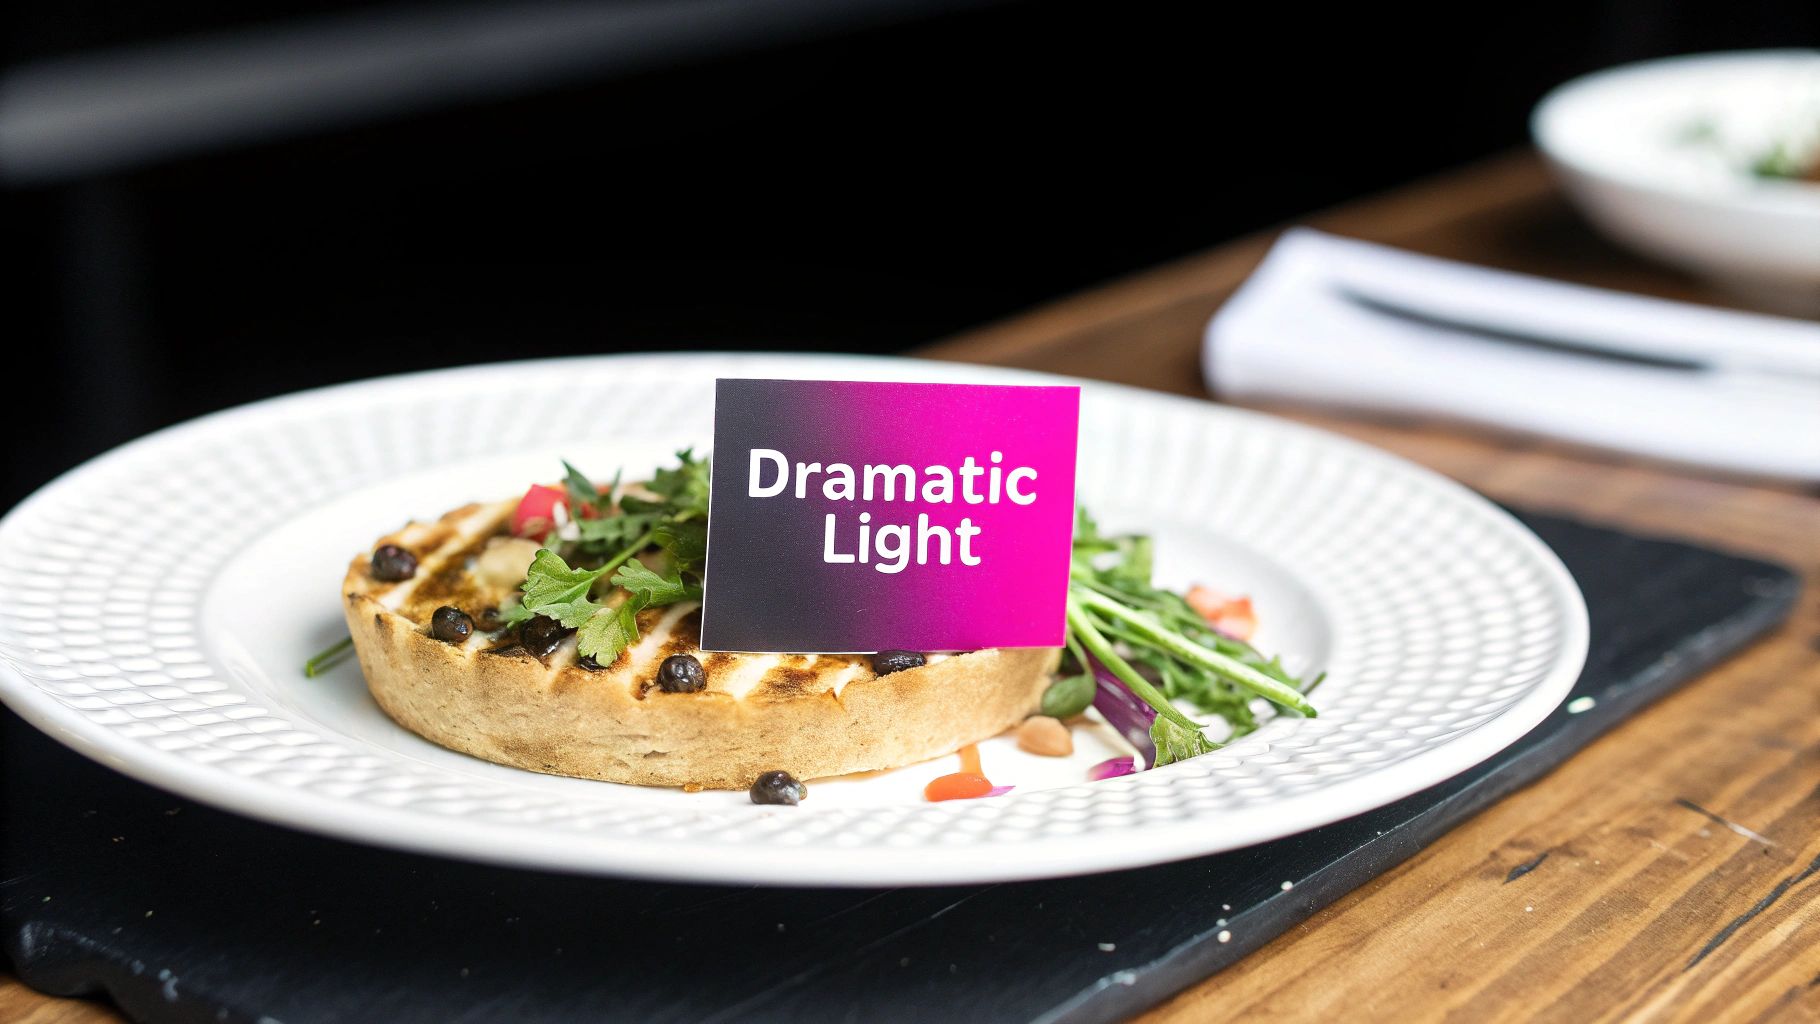
Okay, so you've nailed the single-light setup. Your photos are clean, well-lit, and look great. But now you want to create images with that wow factor—the kind with real mood, drama, and a professional edge. This is where we move beyond the basics and start crafting light.
Adding a second light is where the magic really begins. This isn't about flooding your scene with more brightness. In fact, it's often the opposite. The second light is usually a whisper, a subtle accent that adds dimension and tells a more compelling story.
Introducing a Second Light
One of the most powerful ways to use a second light is to create a rim light. You’ll want to position this light behind and to the side of your subject, pretty much opposite your main key light. Its job is to trace the edges of your food with a crisp, thin line of light, making it pop right off the background.
Imagine you're shooting a dark chocolate cake against an equally dark, moody backdrop. With just one light from the side, the cake might get lost and blend in. But add a soft rim light, and suddenly the cake's silhouette is perfectly defined. It feels tangible, three-dimensional, and far more appetizing.
Shaping Light with Grids and Gobos
Sometimes, making a photo more dramatic isn't about adding light, but taking it away or controlling it with precision. This is where specialized modifiers become your best friends.
- Grids for a Spotlight Effect: A grid is a simple honeycomb-patterned insert that you pop onto your softbox or reflector. It does one thing, and it does it brilliantly: it tightens the light beam, creating a focused spotlight. This is perfect for guiding the viewer’s eye right where you want it, like the glossy caramelized top of a crème brûlée, while letting the rest of the scene fall into a soft, mysterious shadow.
- Gobos for Realistic Shadows: "Gobo" is just a funny industry term for "goes between optics." It's literally anything you place between your light and your subject to cast a shadow. You can easily make your own by cutting patterns out of black cardboard. Ever wanted to fake the look of morning sun streaming through window blinds or dappled light filtering through tree leaves? A gobo is how you get it done. It adds a layer of realism and context that makes the scene feel alive.
A pro secret for creating deep, moody contrast is using negative fill. Instead of bouncing light into the shadows with a white reflector, you use a black card to absorb it. This simple trick makes the shadows richer and deeper, which in turn makes the highlights feel brighter. The result is a high-contrast, sophisticated look that screams editorial.
Mastering Negative Fill for Mood
As you get more advanced, you realize that shadows are just as important as highlights. Professionals who create those beautifully dramatic and moody food shots are masters of a technique called negative fill.
This skill is absolutely essential when working with high-end clients who have a specific brand aesthetic. The food photography world is huge, serving everyone from media publications to Fortune 500 companies. About 22% of food photographers work in media, another 22% in hospitality, and 11% in retail. You can dive deeper into these food photography demographics on zippia.com. For these top-tier clients, controlling shadows with negative fill isn't just a creative choice—it's a requirement to achieve that polished, editorial look.
By combining these tools—a subtle rim light, a focused grid, and the deep shadows from negative fill—you gain total control over the atmosphere of your image. This is how you elevate your work from simply looking good to making your viewers feel something.
Connecting Camera Settings to Your Lighting
Getting your light perfectly sculpted is a huge win, but it's only half the battle in lighting food photography. The other half? Your camera settings.
Think of your camera as the final interpreter of the scene. You've done all the hard work setting up the light, and now you need to give your camera the right instructions to capture it beautifully. This is where the magic really happens—turning your well-lit scene into a stunning final image.
It all boils down to the exposure triangle: aperture, shutter speed, and ISO. But for us food photographers, these settings aren't just for getting the brightness right. They're creative tools we use to add style and flair.
Aperture: The Key to a Dreamy Background
Aperture, measured in f-stops (like f/2.8 or f/8), is your control for how much of the photo is in focus.
Want that beautifully blurred, creamy background that makes your main dish the undeniable hero? Use a wide aperture, which means a low f-stop number like f/1.8 or f/2.8. This creates a super shallow depth of field, perfect for isolating one specific element, like the glossy drip on a donut or the perfect crumb on a piece of cake.
On the flip side, if you're shooting a flat lay with a whole tablescape, you'll want everything from the front to the back to be sharp. For that, you’ll need a narrow aperture—a higher f-stop number like f/11. This keeps every detail, from the main plate to the scattered herbs, in crisp focus.
When you're setting up these top-down shots, getting the aspect ratio right for your platform is crucial. I often use an aspect ratio calculator to make sure my composition is spot-on before I even start shooting.
Shutter Speed and the Power of a Tripod
Shutter speed tells you how long your camera's sensor is soaking up light. While fast shutter speeds are great for freezing action, our food subjects are usually perfectly still. This is great news for us.
When you're working with soft, diffused natural light or even lower-powered strobes, you’ll often need a slower shutter speed to let in enough light for a bright, clean shot.
And this is exactly why a tripod is your best friend. Seriously, it's non-negotiable. The slightest camera shake during a slow shutter speed will turn your photo into a blurry mess. A sturdy tripod lets you lock your camera in place and use a slow shutter speed—like 1/15s or even slower—to capture all that gorgeous light while keeping your image tack-sharp.
Your camera settings aren't just technical inputs; they are creative decisions. Using a wide aperture to blur the background guides the viewer's eye. Using a slow shutter speed on a tripod allows you to capture a scene in low light with incredible clarity and detail.
Troubleshooting Common Lighting Problems
Even with a great lighting setup, your camera settings can sometimes reveal a few problems. Here’s how I fix them on the fly:
- Harsh Reflections: Seeing those distracting, super-bright hotspots on a glossy sauce or a piece of silverware? Those are specular highlights. The fix isn't usually in-camera; it's in your setup. You need to make your light source bigger and softer, so grab a larger diffuser or move your existing one closer to the light.
- Unwanted Color Casts: If your whites look a little yellow or have a blue tint, your White Balance is off. Most cameras have presets like "Daylight" or "Tungsten," which can work in a pinch. For total accuracy, though, I always recommend setting a custom white balance with a simple grey card. It takes ten seconds and saves you a headache in editing.
- Muddy Shadows: Are your shadows looking too dark and losing all their detail? This usually means your lighting ratio is too high (your main light is overpowering your fill light). The quick fix is to either move your reflector closer to your subject to bounce more light back into those shadows, or just dial down the power on your main light.
Getting your camera to properly capture the light you've so carefully crafted is key. For a deeper dive into fixing issues after the shot, check out this expert guide on fixing lighting in photos. It’s packed with pro-level tips.
Your Next Steps to Better Food Photos
Alright, it’s time to take these ideas off the screen and into your studio. The real journey to amazing lighting food photography isn't about memorizing a bunch of rules; it’s about getting your hands dirty and building confidence with every shot.
At the end of the day, the goal is simple: create an image that looks as delicious as the food tastes.
Start with just one core principle: the incredible power of soft, diffused light. Whether you’re working with a sunlit window or a fancy studio strobe, this is your foundation. Think about how a simple sheer curtain or a big softbox can take a harsh, unappetizing glare and turn it into a gentle, flattering glow that makes every single texture pop.
Putting Theory into Practice
Don't feel like you need to rush out and buy a mountain of gear. Just choose one light source you’re comfortable with and truly get to know it.
If you love the organic feel of daylight, spend a week shooting at different times and in different rooms. Get a feel for how the light shifts and changes. If you prefer the control of artificial light, commit to a one-light setup and just experiment like crazy.
Move that single light all around your subject. See for yourself what happens:
- Side lighting is a master at carving out texture and creating those beautiful, defining shadows.
- Backlighting can create a dreamy, ethereal glow that’s absolutely perfect for drinks or soups.
- 45-degree lighting is your safe bet—a flattering middle ground that works for almost any dish.
The biggest breakthroughs happen when you stop reading and start shooting. Pick one single technique from this guide and try it this week. The goal isn’t perfection; it's practice.
Continuing Your Creative Journey
As you build your skills, you’ll naturally want to dig deeper. And it's a great time to do so. The photography market is exploding, valued at $105.2 billion in 2023 and projected to hit $161.8 billion by 2030. Mastering a niche like food photography lighting puts you in a perfect spot to tap into this massive demand for high-quality visuals.
To keep the momentum going, check out a broader guide on how to photograph food like a pro. These often cover essential styling and camera setting tips that go hand-in-hand with great lighting. Every new skill you add makes your work that much more compelling.
Think of the techniques in this guide as your starting blocks. Take them, play with them, and twist them to fit your own unique style. Before you know it, you’ll be creating the kind of stunning, mouth-watering food photos you’ve always admired. And for those looking to speed up their content creation, our guide on how to create stunning digital product images using AI generators offers another powerful way to produce professional-grade visuals.
