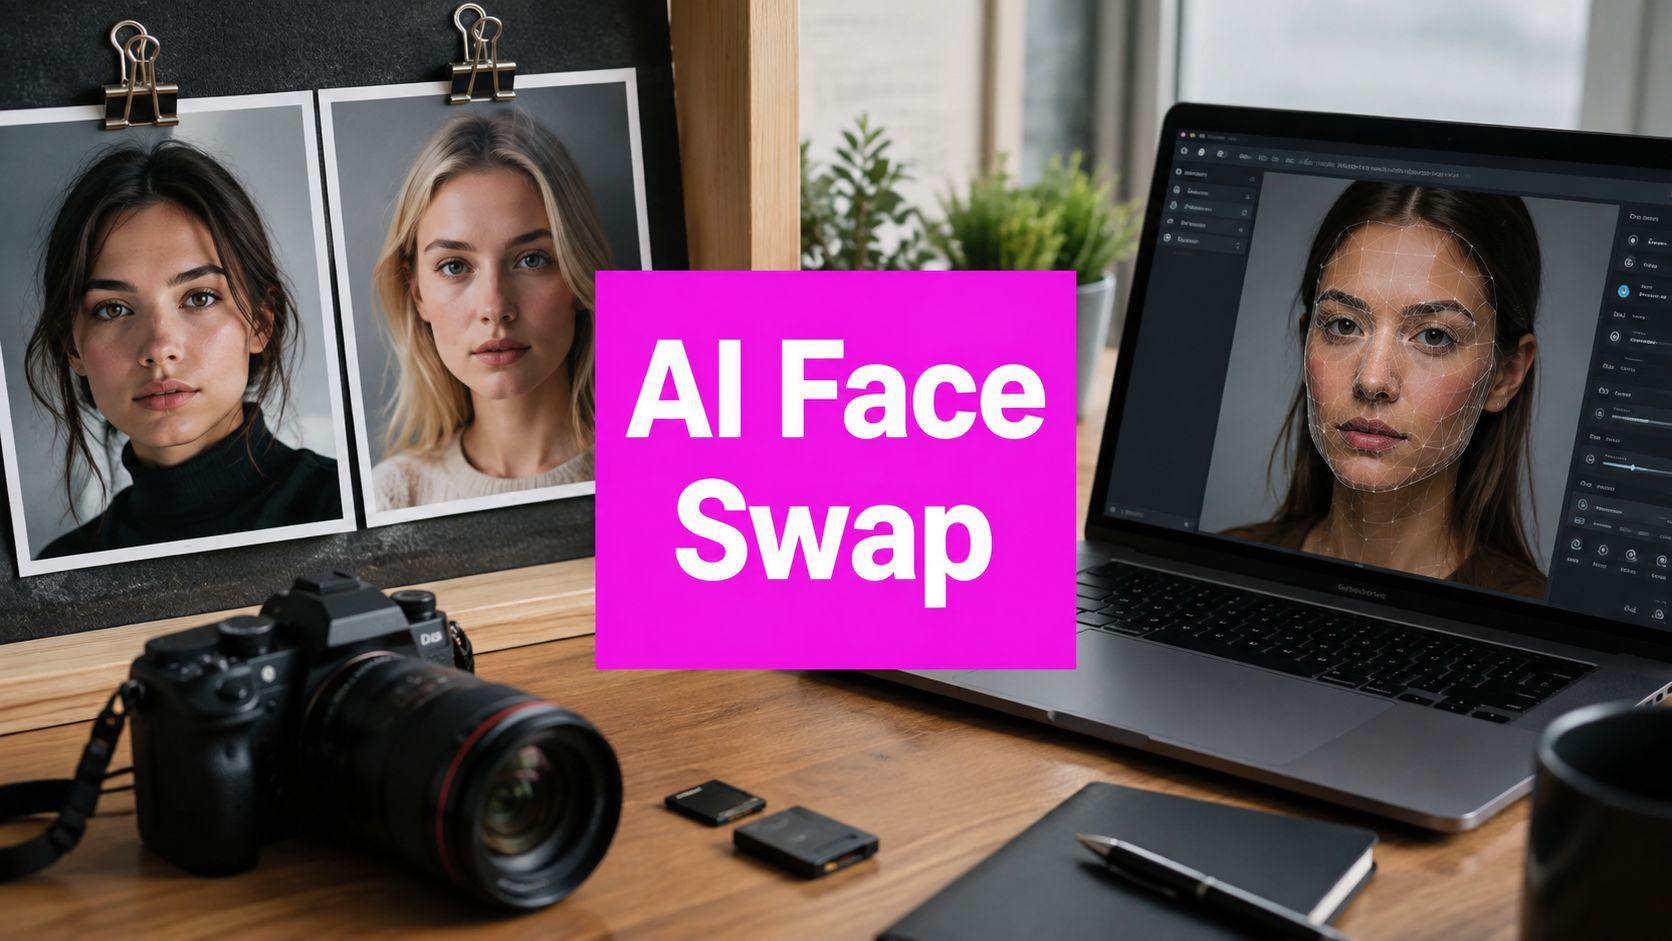
How to Swap Faces Using AI Tools and Batch Editors

Ryan Bennett • August 27, 2026
Learn how to swap faces with AI tools and batch editors. This guide covers image prep, blending, color matching, ethics, and troubleshooting
A campaign manager sends you a folder of approved portraits on Monday morning. By lunch, the brief has changed. The client wants different faces for regional variants, the social team needs alternate crops, and every deliverable must survive platform compression without exposing a hard jawline seam. Learning how to swap faces is easy. Building a repeatable workflow that remains believable, consented, and organized across a large asset set is the production skill.
Modern face swapping became publicly recognizable in late 2017, when open-source deepfake workflows brought consumer-facing face replacement into public awareness. The technique has since become both a creative editing method and a serious identity-fraud concern, so a production pipeline needs more than a convincing preview. It needs controlled inputs, tested blending, batch safeguards, and documented permission.
Why AI Face Swapping Changed the Production Game
A regional marketing team might begin with one carefully lit campaign shoot and need portraits adapted for several audiences. The old approach would involve coordinating more talent, locations, styling, retouching, and approvals. A batch AI workflow can create controlled face variants from an approved base image, provided the source faces are licensed and the intended use is clear.
The advantage isn't just speed. Batch editing removes repetitive work such as isolating facial contours, aligning eyes and mouths, matching tonal values, and exporting repeated variations. It also makes revisions less painful. If the client changes the crop or asks for a new target expression, a structured project can rerun the affected mappings instead of sending every asset back through manual compositing.

Why batch workflows outperform one-off edits
A single face swap can hide its weaknesses because an editor has time to polish it. A campaign with dozens of outputs exposes every inconsistency. One portrait may have a cool forehead while the next has a warm jawline. One subject may inherit the target's expression correctly, while another looks detached from the body.
A production-grade batch editor helps by keeping key settings consistent:
- Pair mapping: Each source face stays connected to the correct target image through a naming convention or import file.
- Reusable masks: Approved mask behavior can be applied across comparable portraits, then adjusted for exceptions.
- Centralized output settings: Resolution, file format, color handling, and crop rules remain stable.
- Checkpointing: A failed render doesn't erase completed work or force the entire queue to restart.
The history explains why this became practical. Earlier face replacement relied heavily on manual editing or specialized compositing. Around 2017 and 2018, public deep-learning workflows made recognizable-person swapping easier to reproduce at scale, as described in this history of face-swapping technology.
For marketers, the strongest use case is controlled variation, not unlimited impersonation. A legitimate campaign still needs a release for every depicted person, a review process for cultural and visual accuracy, and a clear record of which source face was used in each final asset. More context on the broader shift toward scalable creative production is available in this overview of AI image-generation trends.
Preparing Source Images for Realistic Results
Face swapping magnifies weaknesses in the original files. A sharp source face placed on a soft, backlit target usually looks pasted on, even if the model aligns the features correctly. Start by rejecting incompatible pairs rather than trying to rescue them later.
Select compatible lighting and pose
Compare the direction, softness, and color of the light before importing anything. A source photographed under hard side light has a strong shadow structure that won't naturally fit a target lit by a large, diffused source. Look at the cheek, nose, brow, and neck shadows, not just the overall brightness.
A histogram can help expose broad tonal differences, but it can't replace visual judgment. Two images may share a similar brightness distribution while having opposite light direction. If the source face is warmer than the target, decide whether the mismatch can be corrected with color transfer or whether it signals a bad pairing.
Head pose matters just as much. Frontal or mildly turned faces are easier to align than faces with strong rotation, tilted chins, or partially hidden features. Use landmark overlays to compare the eye line, nose bridge, mouth corners, chin contour, and face width before running a batch.
Standardize the files
Prepare the images consistently:
- Resolution: The source face needs enough detail to support the target canvas. Upscaling a small face before swapping often creates soft pores, ringing, and unnatural edges.
- Padding: Crop with room around the jawline, forehead, and hairline. Tight crops deprive the model of contextual information and make mask refinement harder.
- Obstructions: Glasses, hands, hair strands, and hats can confuse segmentation. Keep them only when the target image contains compatible occlusion.
- Expression: Neutral or closely matched expressions give the system less corrective work. A broad smile placed on a relaxed face often creates a mouth and cheek mismatch.
- Color space: Standardize working files before processing. Keep the project in a consistent color workflow, then export for the target channel rather than mixing profiles between source and target.

A useful preparation pass includes a contact sheet with landmarks visible. It lets you identify incompatible pairs before consuming queue time. For projects that also need appearance changes beyond face replacement, this guide on how to add facial hair to a photo offers a separate example of why facial attributes should be handled deliberately rather than buried inside an uncontrolled prompt.
Resize targets before the swap, not after, when possible. A bulk image resizer can help establish consistent canvas dimensions and reduce unpredictable interpolation during later processing.
Running Face Swaps in a Batch Editor
Don't begin with the full queue. Run one source-target pair that represents the hardest normal case, then inspect it at its final delivery size. A large preview can conceal issues that become obvious after resizing, sharpening, or platform re-encoding.
Validate the first pair
Check landmark placement around the eyes, nose bridge, mouth corners, cheeks, jaw, and chin. If the nose sits correctly but the chin floats, the problem may be weighting rather than the source image itself. Adjust anchor priorities so the geometry follows the target head shape instead of forcing the source contour into an incompatible position.
The practical sequence is:
- Detect and align the face. Confirm that the system has identified the complete facial region and isn't using a partial profile or an occluded area.
- Encode identity. Preserve the approved source identity while allowing the target pose and expression to guide placement.
- Warp to the target geometry. Watch the eye line and mouth shape first. Small errors there make the result feel wrong immediately.
- Refine the segmentation mask. Inspect the hairline, jaw, ears, glasses, and overlapping hands.
- Blend and export a test. Review both the full image and a close crop at delivery resolution.
Tune masks and expressions before queuing
A soft mask usually works across skin transitions because it avoids a sticker-like boundary. Use a firmer boundary where a sharp object, such as a glasses frame, must remain intact. Paint manually around stray hair instead of allowing a broad mask to replace it with smeared texture.
Expression controls deserve equal attention. Reduce expression transfer when a smiling source is being placed on a neutral target. Conversely, preserving too little target expression can produce a static mouth that doesn't match the body's posture. The correct setting is the one that keeps the identity recognizable while retaining the target's head movement and emotional context.
Create a mapping sheet before import. Include the target filename, source filename, output name, crop variant, approval status, and any special mask instruction. Set conservative concurrency if the editor becomes unstable under load, and save checkpoints so an interrupted job resumes from the last completed group.
For playful, clearly fictional experiments, an AI meme generator for students can illustrate the difference between casual face replacement and a controlled commercial pipeline. The latter needs traceability, review, and permission at every stage.
Refining Blending and Color Matching
A technically aligned face can still fail because the pixels disagree. Production review should focus on transitions, not just identity. The most revealing areas are the jawline, forehead hairline, cheek edges, and the shadow where the face meets the neck.
Fix color before softening edges
Start with broad tonal correction. Compare skin brightness, hue, and contrast between the source face and the target. Histogram matching can establish a useful baseline, while LAB adjustments let you work on lightness separately from color channels. Apply correction gradually. Excessive equalization produces the waxy, over-smoothed appearance that makes generated imagery feel artificial.
The workflow should preserve texture. If the face has pores and fine tonal variation but the target body is smoother, aggressive blur will make the replacement look airbrushed. Frequency separation or texture transfer can help maintain continuity, but the correction should remain subordinate to the original image's texture rather than adding a visibly synthetic layer.
Build a mask that survives delivery
A mask that looks acceptable in a lossless preview may reveal a contour after resizing or compression. Use a gradual transition across skin, then protect high-contrast boundaries such as hair strands, eyewear, and clothing. Inspect the result against both light and dark backgrounds when the campaign includes varied placements.
The verified production research emphasizes the same failure pattern from another angle. If a mask is too tight, edge seams remain visible. If it's too loose, background pixels contaminate the replacement. Modern face-swap pipelines therefore combine alignment, segmentation refinement, and illumination blending rather than relying on geometry alone, as detailed in the FaceForensics++ face-swap benchmark discussion.
The table below is a qualitative review framework, not a set of universal numeric presets. Actual values depend on resolution, lighting, crop, and editor behavior.
| Face Region | Mask Expansion | Blur Sigma | Color Correction Strength | Common Failure Mode |
|---|---|---|---|---|
| Forehead hairline | Minimal, preserve hair strands | Low | Low to moderate | Halo or cutout edge |
| Cheeks | Moderate, keep skin transition soft | Moderate | Moderate | Visible tonal boundary |
| Jawline | Moderate, follow contour | Moderate | Moderate | Pasted-on lower face |
| Nose and eyes | Tight, protect landmarks | Low | Low | Feature drift or softness |
| Neck transition | Broad enough to connect shadow | Moderate | Moderate | Floating-head effect |
Test the final channel
Don't approve only the master file. Render representative outputs at the sizes and formats used by the campaign, then inspect them after resizing and re-encoding. Independent research found detection accuracy falling from 94.7% on clean inputs to 67.8% on distorted inputs, a 26.9 percentage-point difference, in one evaluation of face-swap detection (Frontiers in Artificial Intelligence). That result reinforces a practical rule: platform transformations can change how artifacts appear, so compression testing belongs inside the workflow, not after delivery.
Navigating Consent and Legal Boundaries
A face swap can create legal exposure even when the scene is fictional or intended as entertainment. The output still uses a recognizable identity, and the risk grows when it implies endorsement, changes the original context, or could mislead viewers.
Set the compliance baseline before assets enter a batch. Identify the person, record permission, define the alteration, and limit distribution to the approved scope. A commercial release should address AI-assisted editing directly, including where the asset may appear, whether paid advertising is allowed, how long permission remains valid, and whether the team may generate additional variants.
Treat consent as production metadata
Attach the approval record to the asset mapping, not to a separate folder that production may overlook. A useful batch record includes:
- Identity reference: The approved person and exact source file.
- Consent status: Signed permission, date, intended purpose, and territory.
- Manipulation scope: Face replacement, retouching, expression changes, or other edits.
- Distribution limits: Organic social, paid media, internal use, education, or other approved channels.
- Review owner: The person responsible for final legal and brand approval.
Consent concerns extend beyond advertising. Hong Kong privacy guidance states that using personal data to create or share deepfake material without express and voluntary consent may breach data-protection rules. Sharing that material may also constitute doxxing under the PDPO. The guidance includes practical material for schools and parents, showing why the same review applies to entertainment and educational work (the Hong Kong deepfake guidance summary).
Separate creative use from identity deception
A clearly labeled fictional character is different from a realistic business endorsement featuring someone who never agreed to appear. Campaign review should record that distinction, then require provenance or disclosure where the platform or jurisdiction calls for it.
Do not use a face swap to bypass identity verification, impersonate a real person, or create sexualized material without explicit consent. In production, route ambiguous concepts to legal and brand review before generating variants. This prevents an approved source image from being repurposed into an unapproved scenario later in the queue.
Keep the team's rules accessible through a central privacy and usage policy, and block unapproved source files from entering the batch. The policy should be easy for editors to check while they are mapping identities, permissions, and delivery channels.

Troubleshooting Common Swap Failures
Production failures usually trace to one stage of the workflow. Identify the artifact first, then change the relevant input or setting instead of rerunning every asset.
Ghosting around the perimeter
A doubled cheek, fuzzy ear, or repeated jaw usually means the landmarks are wrong or the mask includes misaligned background pixels. Recheck the eye line and chin anchor, then tighten the mask only where the edge breaks. If the poses do not match, replace the source. Forcing the geometry usually creates more cleanup work.
The face looks emotionally detached
A neutral target paired with a broadly smiling source may preserve identity while breaking the performance. Filter source images by expression before batching, then reduce expression transfer when the mouth, cheeks, and eyes disagree. Review the face with the shoulders and body language visible, not as an isolated crop.
Shadows contradict the scene
An impossible nose shadow or a bright cheek on the wrong side points to a lighting mismatch. Match light direction first and apply restrained illumination correction afterward. Blending cannot resolve contradictory shadows, especially when a side-lit face sits on a backlit body. Social platform compression will make those mismatches more visible, so test representative exports before approval.
Banding or a floating head
Posterized shadows often come from limited intermediate processing or repeated exports. Keep intermediate renders in a higher-bit workflow when supported, and avoid saving successive corrections over the same compressed file. A floating head needs a broader neck transition, integrated contact shadows, and enough jaw and neck context in the original crop.
Human review remains necessary because convincing synthetic media can fool viewers. One cited study found that participants correctly identified very little of the fake and real media shown, while another reported that accuracy for high-quality video deepfakes could fall substantially (World Economic Forum report). Approval should combine visual inspection, provenance records, consent checks, and final-channel testing.
Bulk Image Generation provides a batch editor for face swaps, background removal, resizing, and enhancement. Use it to organize approved source-target pairs, then inspect compressed outputs before delivery through Bulk Image Generation.
