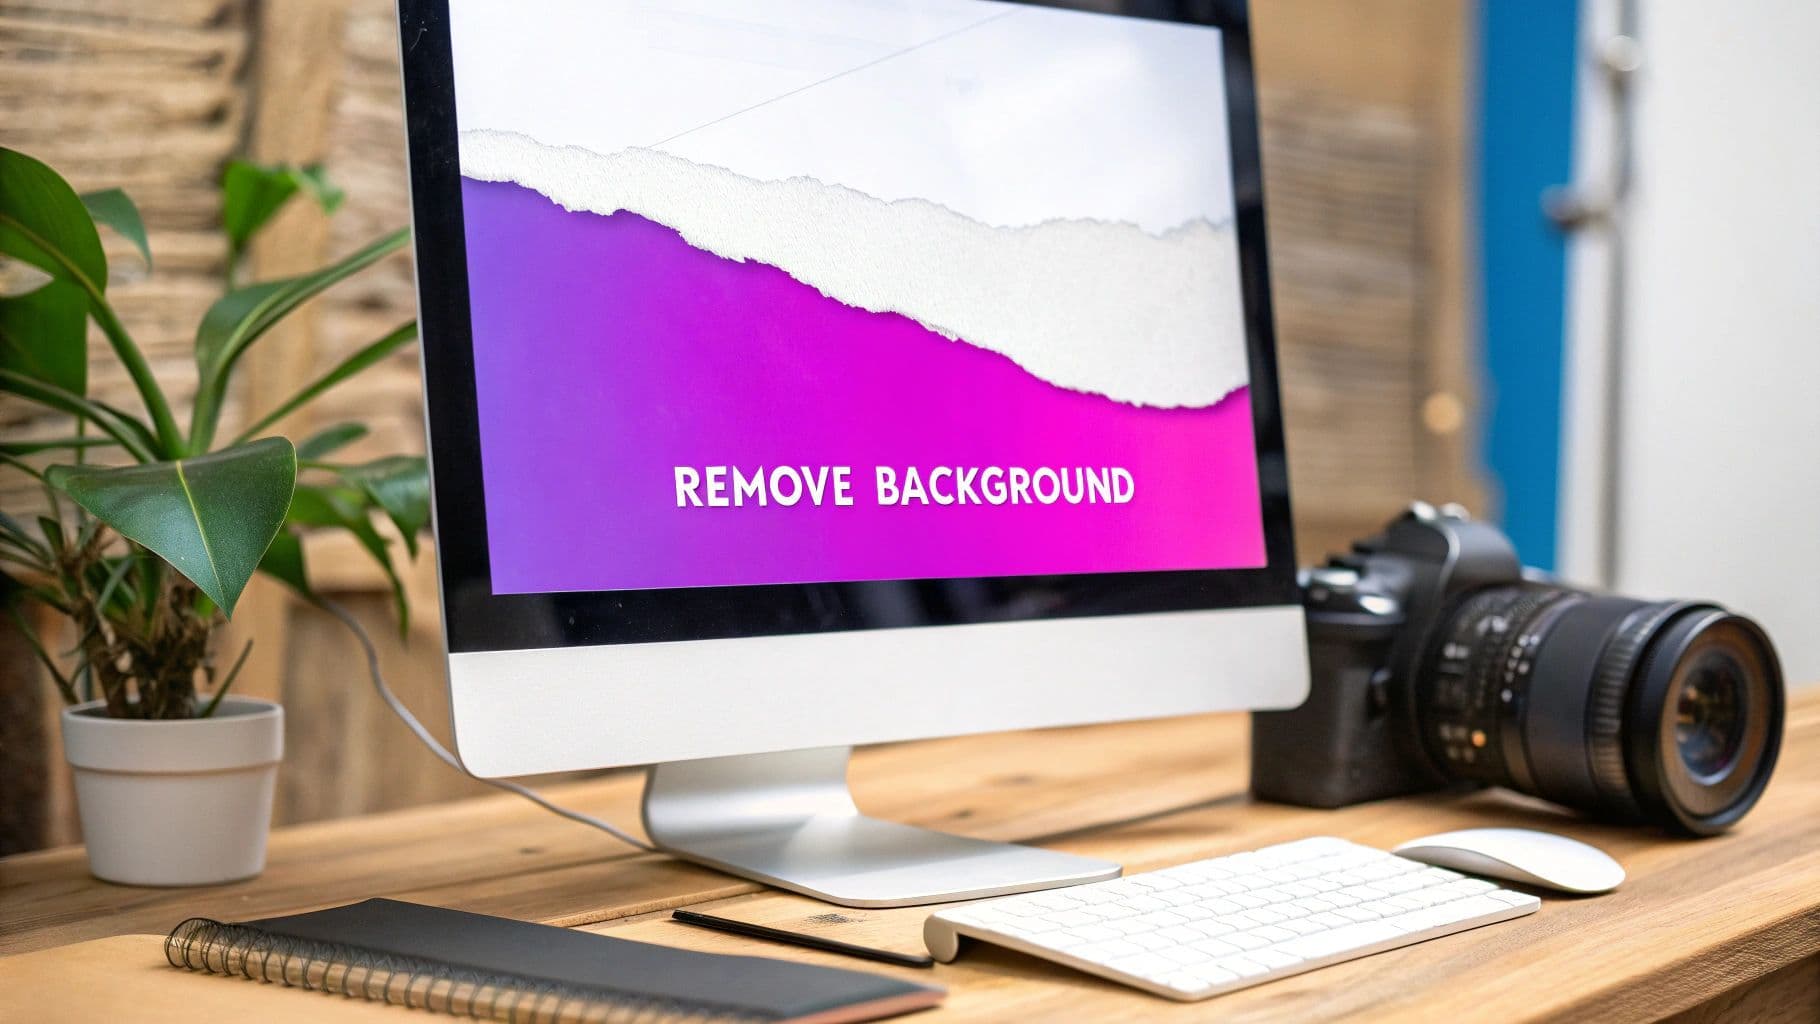
How to Remove White Background from Image: how to remove white background from image

Aarav Mehta • December 27, 2025
Learn how to remove white background from image with AI tools, Photoshop, and GIMP, from one-click edits to bulk background removal.
Removing a white background from an image does more than just clean it up—it turns a static picture into a flexible, professional asset. You've got a couple of ways to tackle this, from AI-powered editors that give you instant results to photo editing software like Photoshop for when you need that fine-tuned, manual control. Either way, the goal is to make your subject pop, no matter the design.
Why Removing White Backgrounds Is a Game Changer
Let's be real—a clunky white background can kill an otherwise great photo. It makes product shots look amateurish, puts a hard limit on your creative projects, and just screams "unprofessional" in a world where visuals are everything.
Being able to strip away that plain backdrop isn't just a neat technical trick; it's a fundamental skill for creating powerful and versatile visual content.
Once your subject is freed from its background, it becomes a modular element you can drop anywhere. Imagine a marketer trying to build a cohesive look for an Instagram campaign. With transparent images, they can layer product shots over branded graphics, videos, and even user-generated content without those awkward white boxes breaking the flow of the design.
Elevating Your Brand and Sales
For anyone in e-commerce, a clean presentation isn't optional, it's essential. High-quality visuals are a top factor in purchasing decisions for a whopping 93% of buyers. A crisp, isolated product image builds trust and helps customers zoom in on the details that matter.
While knowing how to achieve pure white backgrounds is certainly useful, knowing how to remove them gives you ultimate creative freedom. This one skill is directly tied to your bottom line, as clean, professional imagery can give your conversion rates a serious boost.
Learning how to remove a white background from an image opens up a whole world of creative possibilities. It affects everything from the consistency of your brand to your sales performance. A transparent image gives you:
- Greater Design Flexibility: Place your subject on any color, texture, or photo without it looking out of place.
- Professional E-commerce Listings: Create clean, uniform product grids that look polished and build customer trust.
- Stronger Branding: Keep a consistent look and feel across all your marketing channels, from your website to social media.
By mastering this one technique, you give your images the power to adapt and shine in any context, turning a simple photo into a dynamic asset for your brand. To take your visuals even further, check out our detailed guide on using AI for stunning product photography.
Using One-Click AI Tools for Instant Results
Forget spending hours tracing pixels in Photoshop. When you need a white background gone right now, manual editing just isn't an option. This is exactly where one-click AI tools come in, offering a shockingly fast and accurate solution without needing any complicated software.
Platforms like remove.bg and Photoroom have turned a tedious task into a simple drag-and-drop. You just upload your image, and the AI handles the rest in seconds.
These tools are powered by some seriously smart machine learning models that have been trained on millions of images. They’ve learned to instantly recognize the main subject—whether it's a person, a product, or your dog—and slice it away from the background with impressive precision. For anyone who needs that immediate, clean cutout, specialized AI image creation and editing tools are an absolute game-changer. The whole process is usually over in less than five seconds.
The explosion of these platforms is no surprise when you look at the numbers. The market for image background removers was valued at a cool $299 million in 2023 and is expected to rocket to over $1.8 billion by 2033. This growth is almost entirely fueled by e-commerce businesses and marketers who need clean, consistent product shots at scale, and they need them yesterday.
Choosing Your Background Removal Method
Not sure which tool is right for you? This quick comparison should help you pick the best option based on your needs for speed, control, and quality.
| Method | Best For | Speed | Required Skill | Cost |
|---|---|---|---|---|
| Manual (Photoshop) | Complex images with fine details | Slow | High | Subscription |
| Online Tools (Canva) | Simple images, quick edits | Fast | Low | Freemium |
| One-Click AI Tools | Speed and high-volume tasks | Instant | None | Freemium/Usage-based |
| Bulk Editors | E-commerce, batch processing | Very Fast | Low | Subscription |
Ultimately, the best method depends on your specific project. For a single, complex image, Photoshop might be worth the effort. But for dozens of product photos, a one-click AI or bulk editor is the clear winner.
The Typical AI Workflow
The best part about these tools is how simple they are. Once you’ve used one, you know how to use them all. The workflow is almost always the same.
You start by uploading your image, either by dragging it onto the page or selecting a file from your computer. JPGs and PNGs are universally accepted.
The AI then gets to work, analyzing the image and separating the foreground from that plain white background. You’ll see a preview of your object on a transparent, checkered backdrop almost instantly.
Happy with the result? Just hit download. You’ll typically get a PNG file, which is exactly what you need to preserve that new transparent background.
It really boils down to a simple decision: if your image isn't already polished and professional, an AI tool is the fastest way to fix it.
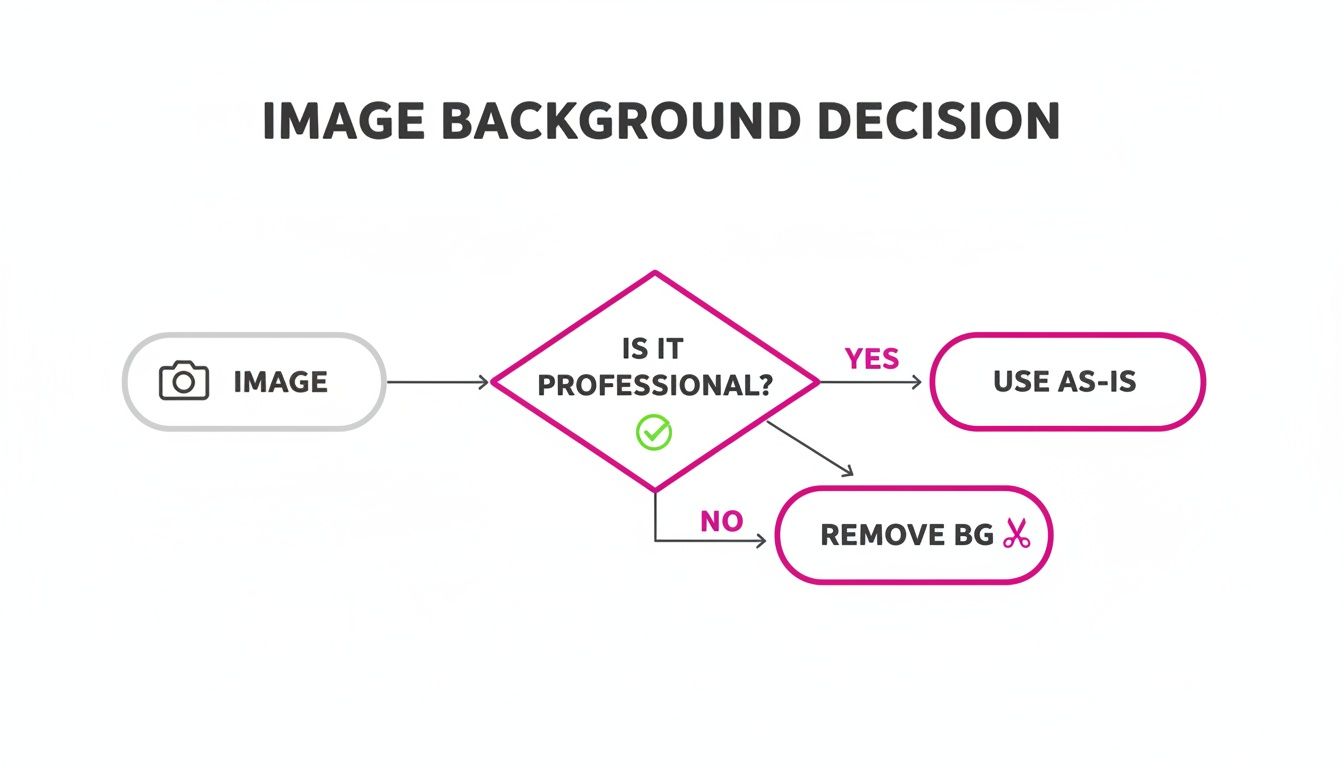
This flowchart nails it. Removing the background is the first step to making an image more versatile and professional-looking for any marketing material.
Who Should Use AI Removers?
These tools are a lifesaver for anyone who needs clean, high-quality cutouts without getting bogged down in manual editing.
- Social Media Managers: Need to create a new campaign graphic fast? You can prep your assets in seconds without having to wait for a designer.
- Small Business Owners: You can update product photos for your online store on the fly, keeping everything looking clean, crisp, and consistent.
- Content Creators: Isolate people or objects to use in YouTube thumbnails, presentation slides, or any other creative project you can dream up.
Managing a brand online means you're constantly in need of great visuals. AI doesn't just stop at removing backgrounds; it can create entirely new product images from scratch. For a deeper dive, check out our guide on how to create stunning digital product images using AI generators.
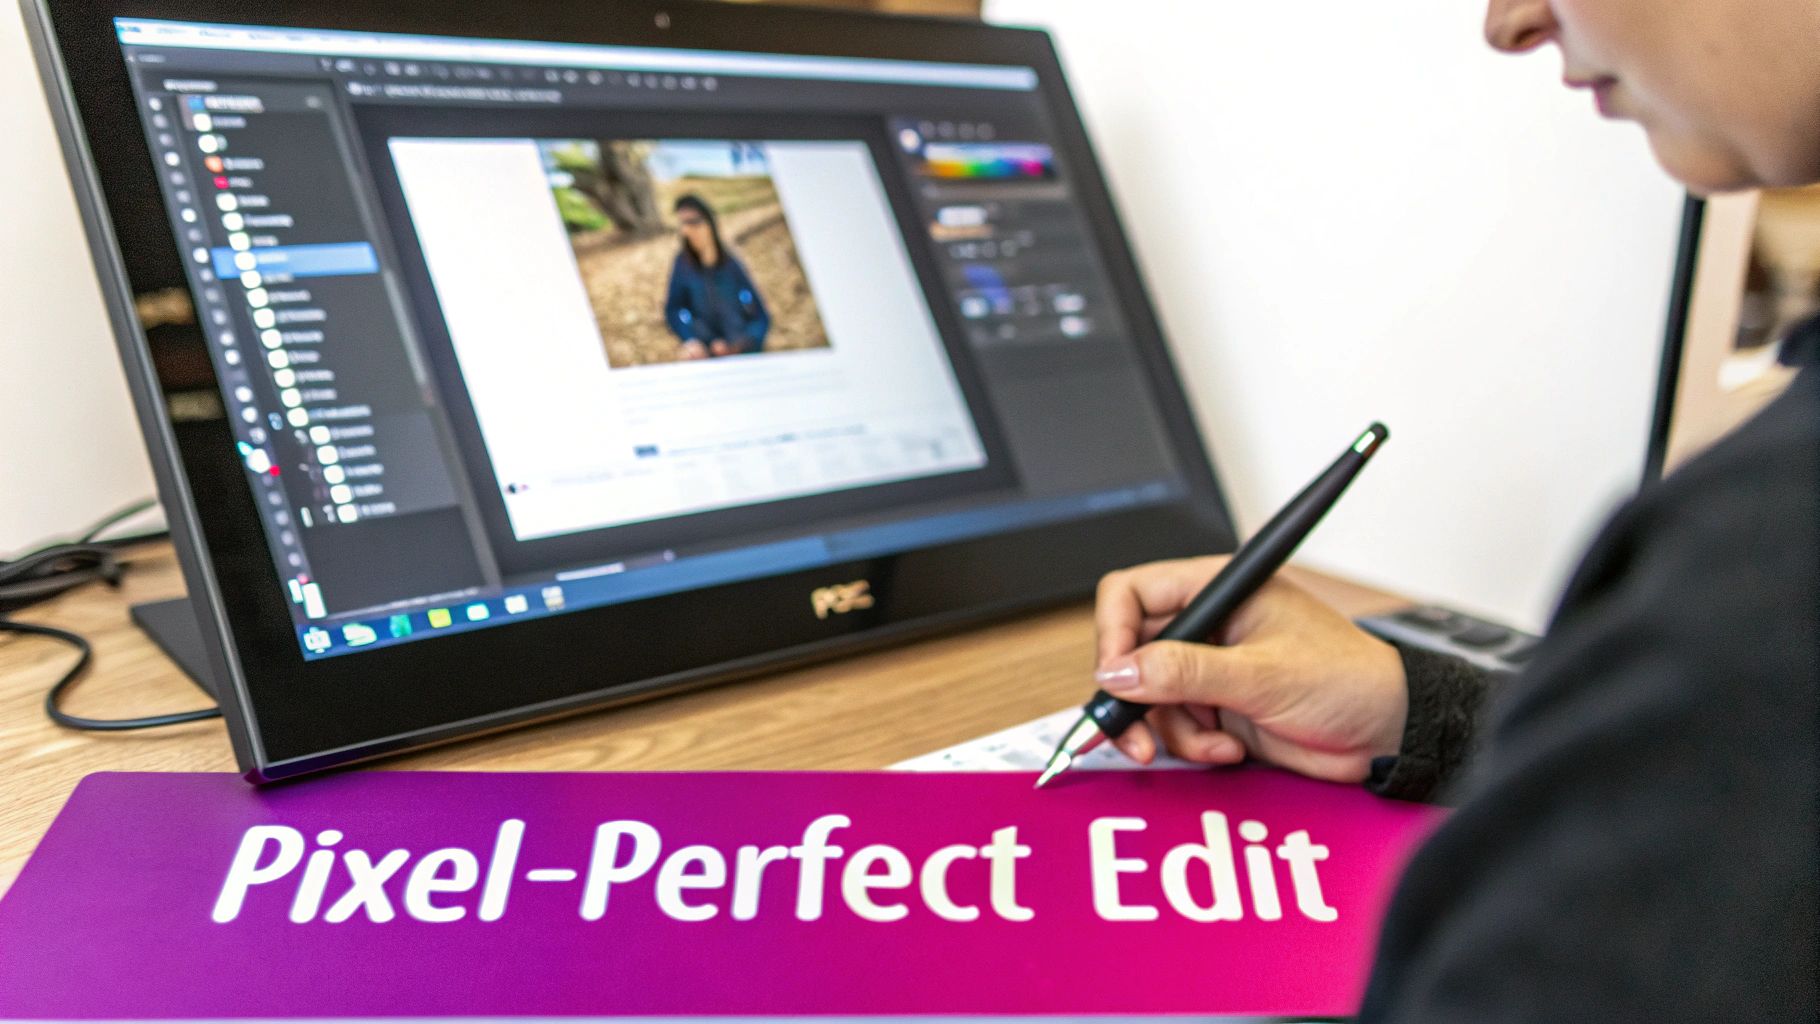
For Pixel-Perfect Control, Go Manual with Photoshop & GIMP
AI tools are incredible for their speed, no doubt about it. But when you need absolute, pixel-perfect control over every single edge, nothing beats getting your hands dirty in professional-grade software. This is where programs like Adobe Photoshop and its powerful free alternative, GIMP, really come into their own.
For designers, photographers, or anyone who just can't accept "good enough," mastering manual removal is an essential skill.
Manual editing might sound intimidating, but it's really about picking the right tool for the job. You don't need to learn every feature under the sun—just a few key ones will give you the cleanest results for your specific image.
Essential Tools for Precise Selections
First things first: forget the Magic Wand tool. For most professional work, it's just too clumsy and imprecise. Instead, you'll want to focus on a few tools that offer far more control, especially when you're trying to remove a white background from an image with tricky edges.
Here are the heavy hitters:
- The Pen Tool: This is the absolute gold standard for creating clean, crisp outlines. If you're working with products, logos, or anything with hard edges, the Pen Tool gives you complete control by creating a vector path around every curve and corner.
- The Quick Selection Tool: A huge time-saver for objects with softer or less-defined edges. You just "paint" over the object, and the software intelligently snaps to the edges it detects.
- The Roto Brush Tool (in After Effects): While it's not in Photoshop, video editors will find this tool priceless. You paint over your subject in one frame, and After Effects tracks that selection across the rest of the video clip.
Once you have your initial selection, the real magic begins. This is where you refine those edges to make your cutout look natural and seamless—not like a cheap sticker slapped onto a new background.
The Power of Non-Destructive Editing with Layer Masks
Here’s a tip that separates the amateurs from the pros: never, ever use the Eraser tool to delete a background. That’s a destructive edit, meaning once you save that file, those pixels are gone for good. Make a mistake? You're out of luck.
The professional workflow revolves around Layer Masks. Think of a layer mask as a reversible stencil. You simply "paint" with black on the mask to hide parts of your image (like the background) and with white to reveal them again (your subject).
The beauty of a layer mask is its flexibility. If you accidentally hide part of your subject, you can simply switch your brush to white and paint it right back in. This non-destructive workflow is the cornerstone of professional photo editing.
Using layer masks means you can fine-tune your selection over and over without ever permanently damaging your original image. It's the safest, most professional way to handle background removal.
Refining Edges for Hair and Other Complex Details
This is where manual editing truly proves its worth. Handling fine details like hair, fur, or the edges of semi-transparent objects is where AI tools often fall short, leaving behind those tell-tale halos or choppy edges.
In Photoshop, the Select and Mask workspace is your best friend for these tricky jobs. It’s a dedicated area with tools built specifically for refining complex selections.
- Refine Edge Brush: This tool is incredible. You simply paint along the edges of hair or fur, and Photoshop analyzes the area to intelligently separate the fine strands from the background.
- Feathering and Contrast: You can slightly soften the selection's edge with feathering to help it blend more naturally. Bumping up the contrast can help sharpen the mask for a cleaner separation.
Learning these refinement techniques is what will elevate your cutouts from looking decent to absolutely flawless. It's this next-level attention to detail that makes your final composite look believable, ensuring your subject truly belongs in its new environment.
Automating Removal for Hundreds of Images at Once
Manually editing images one by one is a workflow killer. No modern business can afford that kind of bottleneck. When you're managing hundreds of product photos for a big e-commerce launch or prepping a massive asset library for a new campaign, the one-at-a-time approach just doesn't scale.
This is where automation through batch processing becomes an absolute necessity.
Imagine uploading an entire product catalog, hitting one button, and downloading a full set of perfectly edited images just a few minutes later. That’s the reality of batch background removal.

This method is built for high-volume jobs where consistency and speed are everything. Instead of the tedious open-edit-save cycle for each file, you apply the same background removal action across an entire folder simultaneously. The time savings are incredible, turning a multi-day task into something you can do on a coffee break.
The Power of Batch Editors
Tools built specifically for this purpose, like Bulk Image Generation's batch editor, are engineered to solve this exact problem. The process is refreshingly simple and cuts out the repetitive manual labor that drives so many creative professionals crazy.
For digital marketers and small business owners, this is a total game-changer. It means you can create bulk product shots for social media campaigns in minutes, not hours. Industry analyses have shown that platforms like Bulk Image Generation can slash editing time by half, processing up to 100 images in under 20 seconds. If you want to dig deeper into this shift, you can explore insights on how AI is revolutionizing photo editing.
This evolution proves that AI isn’t replacing creativity—it’s just making it faster for everyone, from hobbyists to seasoned pros.
Who Benefits Most from Automation?
While anyone can appreciate getting time back, certain roles see an exponential return on adopting a batch processing workflow. If you're in one of these categories, learning how to remove a white background from an image at scale is critical for your productivity.
- E-commerce Store Owners: Get that clean, consistent, and professional look across every single product on your site.
- Marketing Agencies: Prep assets for multiple clients and campaigns without getting bogged down in tedious editing.
- Social Media Managers: Create a cohesive feed by applying the same edits to all your visuals before you even think about scheduling.
- Photographers: Deliver final, edited client galleries faster by automating the initial background cleanup.
By automating the removal of white backgrounds, you not only reclaim countless hours but also enforce a level of brand consistency that's nearly impossible to achieve manually. This frees you up to focus on strategy and creative direction instead of just pushing pixels.
The core advantage is simple: you get a polished, professional look across your entire image library without needing a dedicated design team or expensive software. It democratizes high-quality visuals, making them accessible to any business, no matter the size or budget. That kind of efficiency is the key to staying agile in a fast-paced visual marketplace.
Saving Your Image to Keep the Background Transparent
You’ve done the hard work, carefully isolating your subject and getting that perfect cutout. But all that effort can vanish in a single click if you save it in the wrong file format. This last step is arguably the most critical—it's what keeps your background transparent instead of bringing it back from the dead.
The most common mistake? Saving the image as a JPEG. I’ve seen it happen countless times. Because the JPEG format doesn't support transparency, the software automatically fills in any transparent areas with a solid color, which is almost always white. It’s a frustrating way to find your hard work undone.
Choosing the Right File Format
To keep that clean, transparent look, you need a format that supports an alpha channel. That’s just the technical term for the part of the file that stores transparency information. Your two main options are PNG and GIF, but they're built for different jobs.
- PNG (Portable Network Graphics): This is the industry standard for saving images with transparency. It supports millions of colors and uses lossless compression, which means it keeps your image quality crisp without any weird artifacts.
- GIF (Graphics Interchange Format): While GIFs also handle transparency, they're limited to a palette of just 256 colors. This makes them a poor choice for photos but perfectly fine for simple logos, icons, or graphics with flat colors.
For just about any photo or detailed graphic you're working with, PNG is always the way to go.
Choosing the right file format isn't just a technical detail—it's what makes your image a truly versatile asset. A properly saved PNG can be dropped onto any website background, presentation slide, or marketing graphic without those ugly white boxes, guaranteeing a professional look every single time.
Export Settings for Web and Print
How you save your PNG also matters, especially when you're trying to balance image quality with file size. For anything on the web, a massive file can drag your site's loading speed to a crawl, which is bad for both user experience and SEO.
When you go to export, look for an option like "Save for Web" or other optimization settings.
A PNG-24 will give you the absolute best quality with full, glorious transparency, making it ideal for high-end product shots where every detail counts. On the other hand, a PNG-8 uses a much smaller color palette and creates a smaller file size, which is a great compromise for simpler graphics.
After saving, you might find the image dimensions are still too big for where you need to use it. If that's the case, our guide on using a bulk image resizer can help you adjust your images in batches without wrecking their quality.
Cleaning Up Those Not-So-Perfect Edges
Even the best background removal tools can sometimes leave a few rough spots behind. That’s perfectly normal. Getting a clean cutout isn’t just about the first pass—the real pro touch comes from knowing how to polish the final image.
Two issues pop up all the time: a faint white "halo" clinging to your subject, and edges that look just a bit too sharp or pixelated. Let's fix them.
Polishing Your Final Image
If your cutout has jagged, unnatural-looking edges, a little feathering is your best friend. In programs like Photoshop or GIMP, just add a 1-2 pixel feather to your selection right before you finalize the mask. This tiny change softens the transition and helps the subject blend in beautifully with any new background.
Now, for those annoying white halos. They’re usually just a few leftover pixels from the old background. The quickest fix is to tighten up your selection.
- Shrink it down: Pretty much any decent editor has an option to modify or contract a selection. Pulling it in by just one pixel is often all it takes to make that fringe disappear.
- Use the refine brush: Many modern tools, both manual and AI-driven, come with a "refine edge" brush. This thing is a lifesaver for tricky areas like hair or fur. Just paint over the problem spots, and the software will intelligently re-analyze the edge to bring back those fine details.
A little secret from my own experience: don't obsess over getting the perfect selection right away. The real magic happens during the clean-up. Once you get the hang of these small adjustments, you'll feel more confident and get flawless, professional results every single time.
Got Questions? We've Got Answers
When you're first figuring out how to get rid of a white background, a few questions pop up time and time again. Let's tackle the big ones so you can skip the frustration and get right to creating.
What’s the Best Free Tool for Removing a White Background?
Honestly, the "best" tool really depends on what you're trying to do.
If you want absolute, pixel-perfect control and don't mind a bit of a learning curve, GIMP is your answer. It’s a powerhouse—basically a free version of Photoshop with robust selection tools that let you get super precise.
But what if you just need it done now? For quick, one-off edits, online tools like remove.bg are fantastic. Their free options are surprisingly good. If you're looking for something that fits into a larger creative workflow, a platform like Bulk Image Generation integrates free background removal with other handy AI editing features.
How Do I Handle Tricky Stuff Like Hair or Fur?
Ah, the classic challenge. Hair, fur, or any fuzzy edge can feel impossible, but this is where the right tools really prove their worth.
In a manual editor like Photoshop, the "Select and Mask" workspace is built for this. Its "Refine Edge" brush is almost magical; you just paint over the fuzzy areas, and it intelligently figures out what's hair and what's background.
AI tools are also getting shockingly good at this. The secret to getting a clean result from an AI is to start with a high-resolution image. The more detail and contrast the algorithm has to work with, the better it can distinguish those fine strands from their surroundings.
Help! I Removed the Background, but It’s Still White When I Save It.
We’ve all been there. You do all that work, hit "Save," and... the white background is back. This isn't a glitch; it's almost always a file format issue.
The culprit is usually the JPEG format. JPEGs are great for photos, but they do not support transparency. When you save an image with a transparent background as a JPEG, the software has to fill in those empty areas, and it defaults to white.
To keep that background transparent, you have to save your work in a format that can handle it. Your best bets are PNG, GIF, or TIFF. Always double-check your "Export" or "Save As" settings to make sure you’re choosing the right one.
Ready to stop editing one image at a time and reclaim your workflow? With Bulk Image Generation, you can remove backgrounds from hundreds of photos at once, swap faces, resize, and more—all in a few clicks. Streamline your creative process today by visiting https://bulkimagegeneration.com.