
How to Increase Picture Pixels and Fix Blurry Photos

Aarav Mehta • November 11, 2025
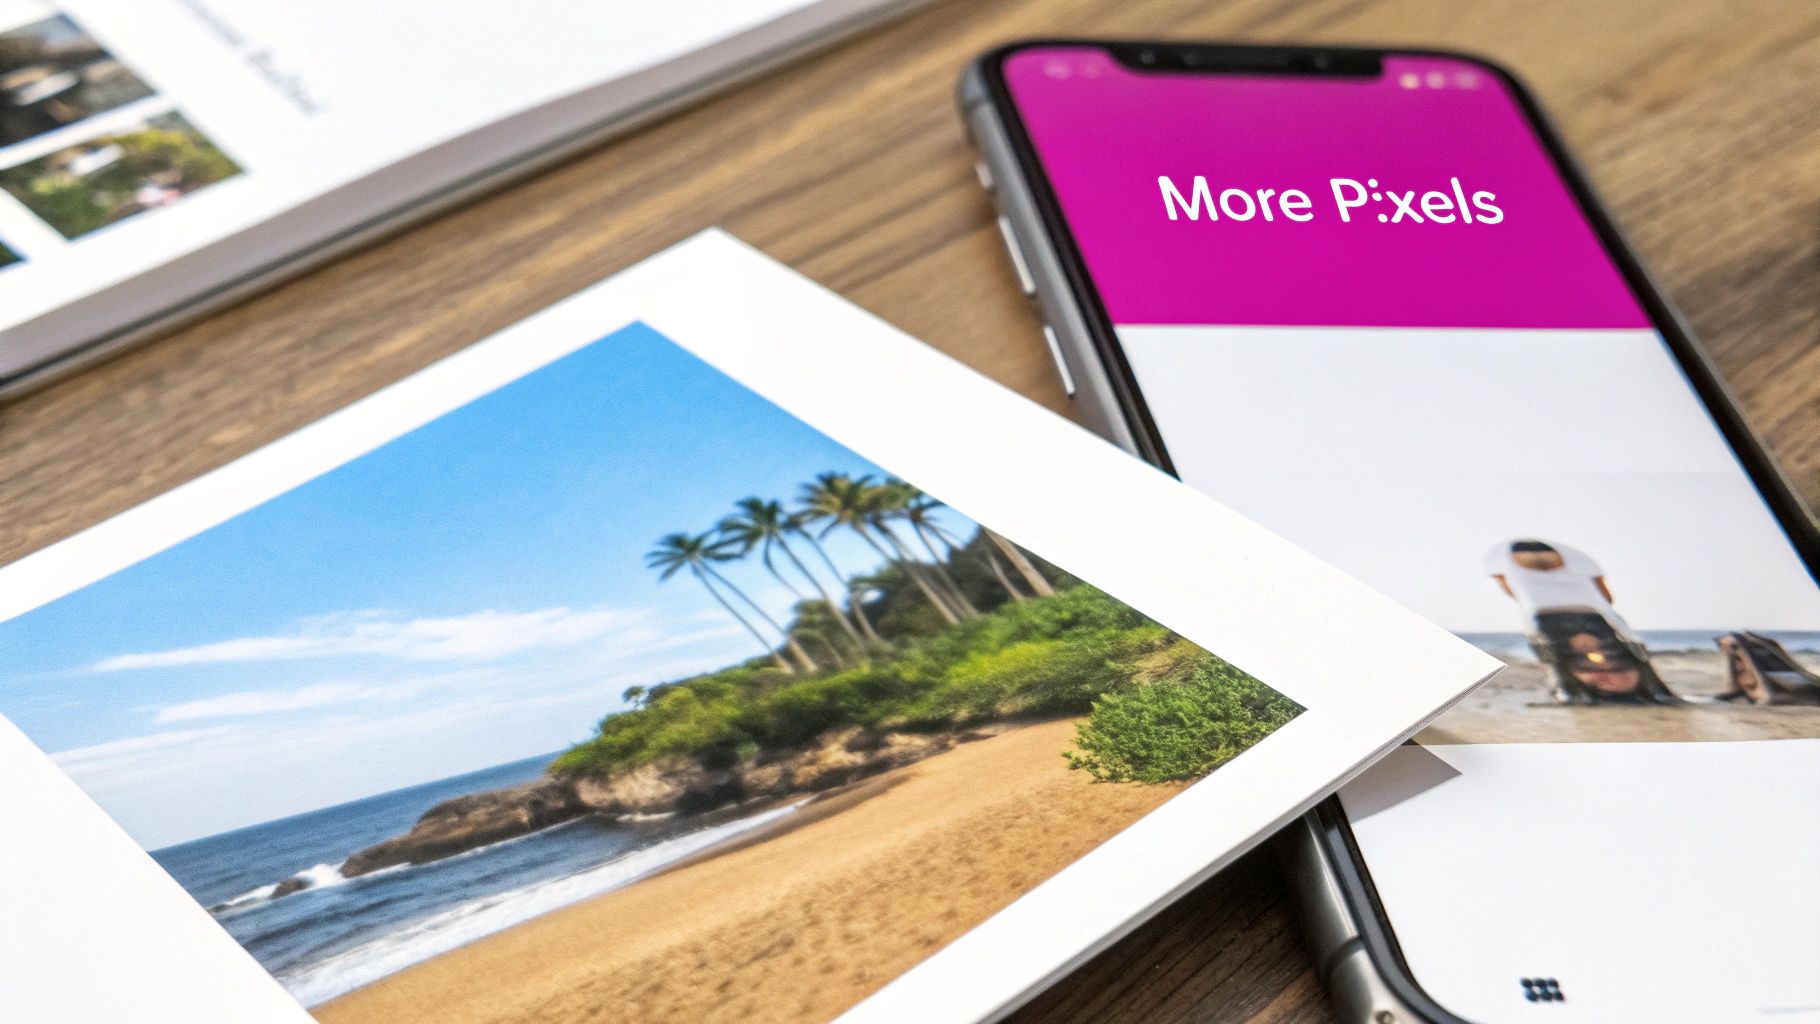
Learn how to increase picture pixels with our guide. Discover AI tools and pro software methods to fix blurry photos and enhance image resolution.
To add more pixels to a picture, you’ll need to turn to image upscaling software. Whether you use a classic editor like Photoshop or a modern AI tool, the goal is to enlarge the image's dimensions by adding new pixel data.
This process, known as resampling, isn't just about stretching what's already there. It intelligently creates new information to turn a small, blurry photo into something sharp enough for a big screen or a high-quality print.
Why Pixel Count Is Key to Image Clarity
Before we jump into the "how," let's talk about the "why." Think of pixels as the tiny, individual tiles in a mosaic. The more tiles you have, the more detailed and crisp the final picture looks.
A photo with too few pixels might look fine on your phone, but blow it up for a presentation or a framed print, and you’re left with a blurry, "pixelated" mess. This happens because the software is forced to stretch the existing pixels, making each one visibly larger and creating that blocky, low-quality appearance we all hate.
The whole point of increasing pixels is to intelligently add new ones that fill in the gaps and enhance the detail.
Understanding Image Resolution
The total number of pixels in an image defines its spatial resolution, which has a direct impact on clarity. We've come a long way. Digital cameras from over a decade ago could produce images with up to 80 megapixels—that's a massive 10320 × 7752 pixels.
It's a huge leap from the early days of digital photos, which often had just a few thousand pixels in total. You can actually trace this evolution on Wikipedia's page for image resolution.
A good way to visualize this is by matching the pixel count to what you actually need to do with the image.
Matching Pixel Count to Your Project Needs
Here's a quick reference table I use to figure out which resolutions work best for common projects. It’s a simple way to avoid blurry prints or slow-loading web images.
| Resolution (Pixels) | Megapixels (Approx.) | Ideal Use Case | What Happens if Printed Large |
|---|---|---|---|
| 1280 x 720 | 0.9 MP | Website banners, social media posts | Becomes extremely blurry and pixelated. |
| 1920 x 1080 | 2.1 MP | Full-screen digital displays, small prints (4x6") | Loses sharpness, looks soft and unprofessional. |
| 3840 x 2160 | 8.3 MP | High-quality web graphics, medium prints (8x10") | Visible pixelation and loss of fine detail. |
| 5120 x 2880 | 14.7 MP | Large prints (16x20"), professional portfolios | Holds up reasonably well but may soften slightly. |
This table makes it pretty clear: the bigger your final output, the more pixels you need from the start.
Key Takeaway: You have to increase an image's pixel count if you want to use it for larger formats. If you don't have enough pixel data, any attempt to enlarge the image will tank its quality, making your work look unprofessional and unclear.
With this in mind, you can better diagnose why an image looks bad and pick the right upscaling technique to fix it.
Bringing Old Photos Back to Life with AI
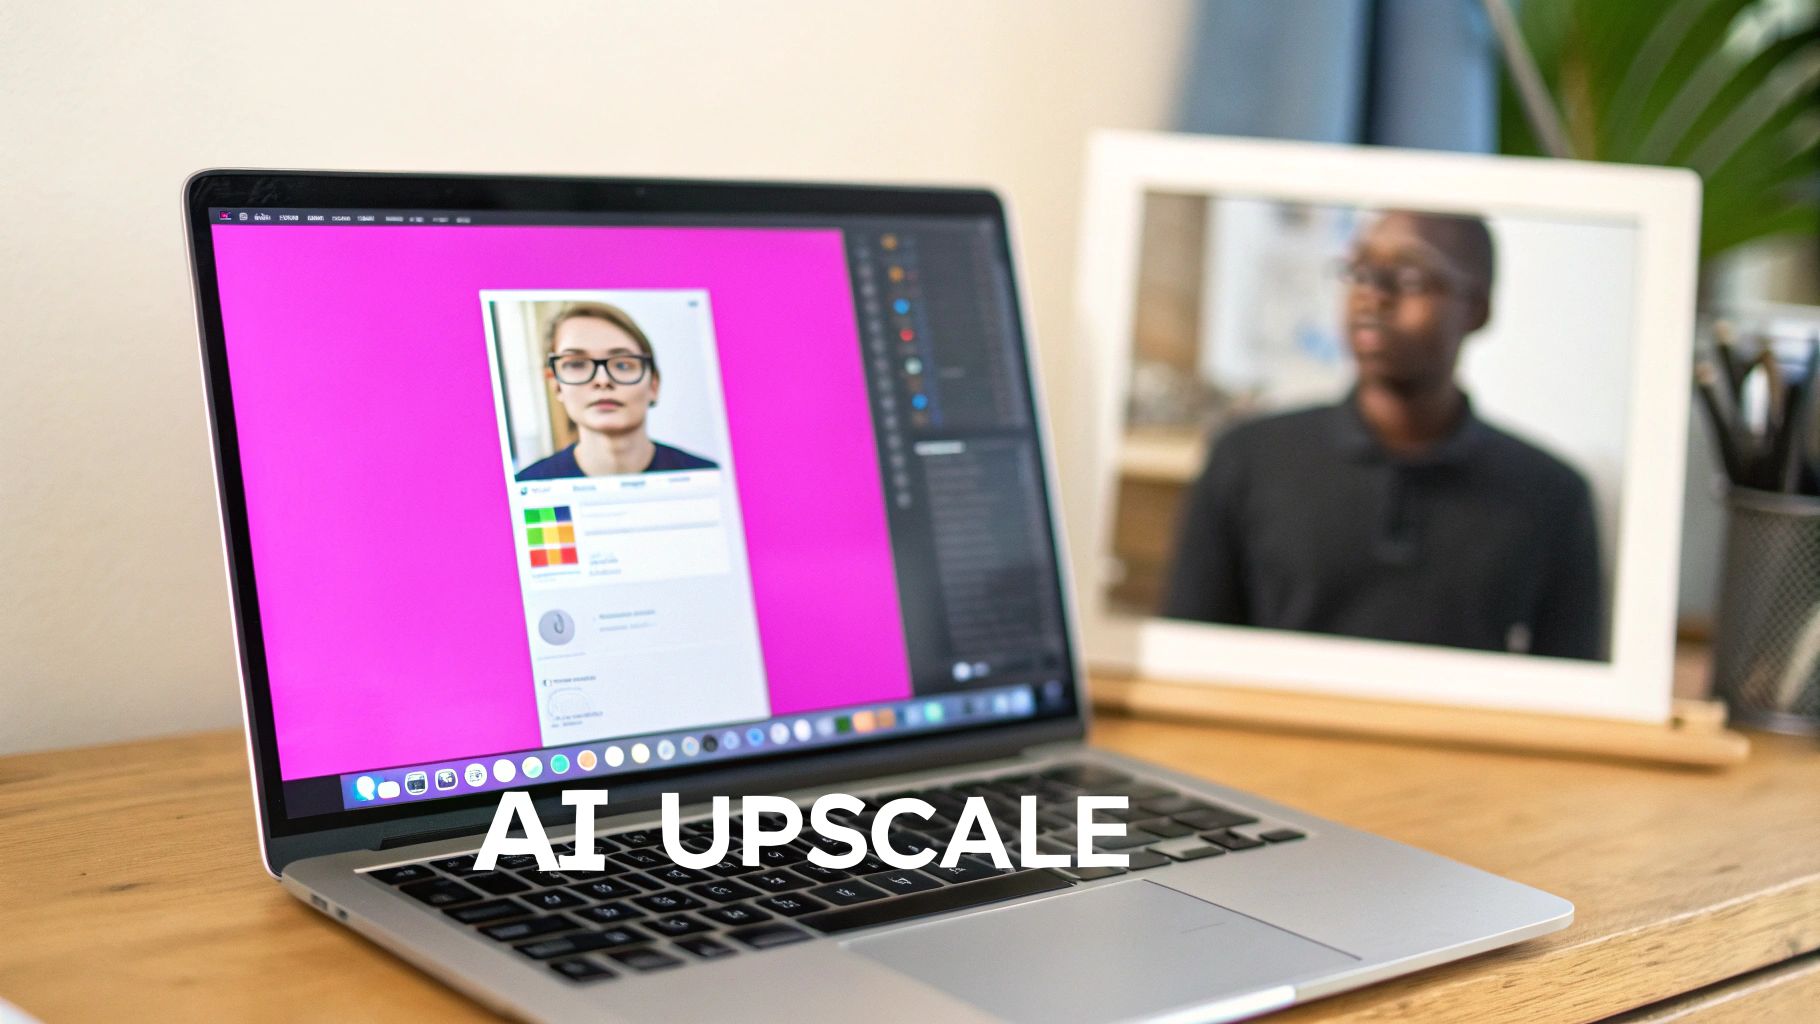
This is where AI really starts to feel like magic. Old-school software just stretched out the pixels you already had, which is why upscaling always ended with a blurry, disappointing mess. But AI upscalers are playing a totally different game. They use machine learning to actually analyze the image, predict what details are missing, and generate brand-new pixels to fill in the gaps.
Instead of just making the image bigger, an AI tool rebuilds it from the ground up. It’s been trained on millions of photos, so it knows what things like hair, fabric, or leaves are supposed to look like. This allows it to add believable details, sharpen fuzzy edges, and even clean up noise and compression artifacts. It can turn a low-quality shot into something crisp and usable.
How AI Intelligently Invents New Pixels
These AI techniques, often called "super-resolution," use deep learning models to restore the fine details that get lost in low-resolution files. This can boost the perceived quality by 30-50% compared to traditional methods like bicubic resizing. You’re not just stretching the image; you're effectively getting a higher pixel count without having to go back and reshoot. For a deeper dive into the tech, Codefinity has a great write-up on how these tools have evolved.
For the user, the process is incredibly straightforward. You just upload your picture, pick an enlargement factor like 2x or 4x, and let the AI do its thing. The results are usually ready in seconds and can be genuinely surprising.
If you don’t have any technical design skills, AI upscalers are a lifesaver. They offer a one-click fix for a problem that used to require expensive software and hours of practice. Now anyone can increase picture pixels without breaking a sweat.
Take a look at this image, which was run through a typical AI tool for a 2x upscale.
See how the AI didn't just blow it up? It actually added definition to the hair and skin, making the final image far clearer. That’s a level of refinement older methods just couldn’t touch.
Real-World Uses for AI Upscaling
I find myself turning to AI upscalers all the time for quick fixes. They're perfect for all sorts of common problems. I’ve personally used them to:
- Rescue old family photos: I scanned a small, grainy photo from the '90s and enlarged it enough to create a beautiful 8x10 print for a gift.
- Fix client image files: A client once sent me a tiny, pixelated logo file that was completely unusable. An AI upscaler created a high-res version that looked great in their website header.
- Prep digital art for printing: Even AI-generated art can sometimes come out at a lower resolution. Upscaling it is a great way to get it ready for a large-format print.
And if you’re looking to create your own visuals from scratch, you can play around with our AI image generator tool to see what's possible.
Ultimately, these tools make it incredibly simple to fix blurry images and get them ready for anything, whether it's for a marketing campaign or a personal project.
Getting Your Hands Dirty With Professional Software
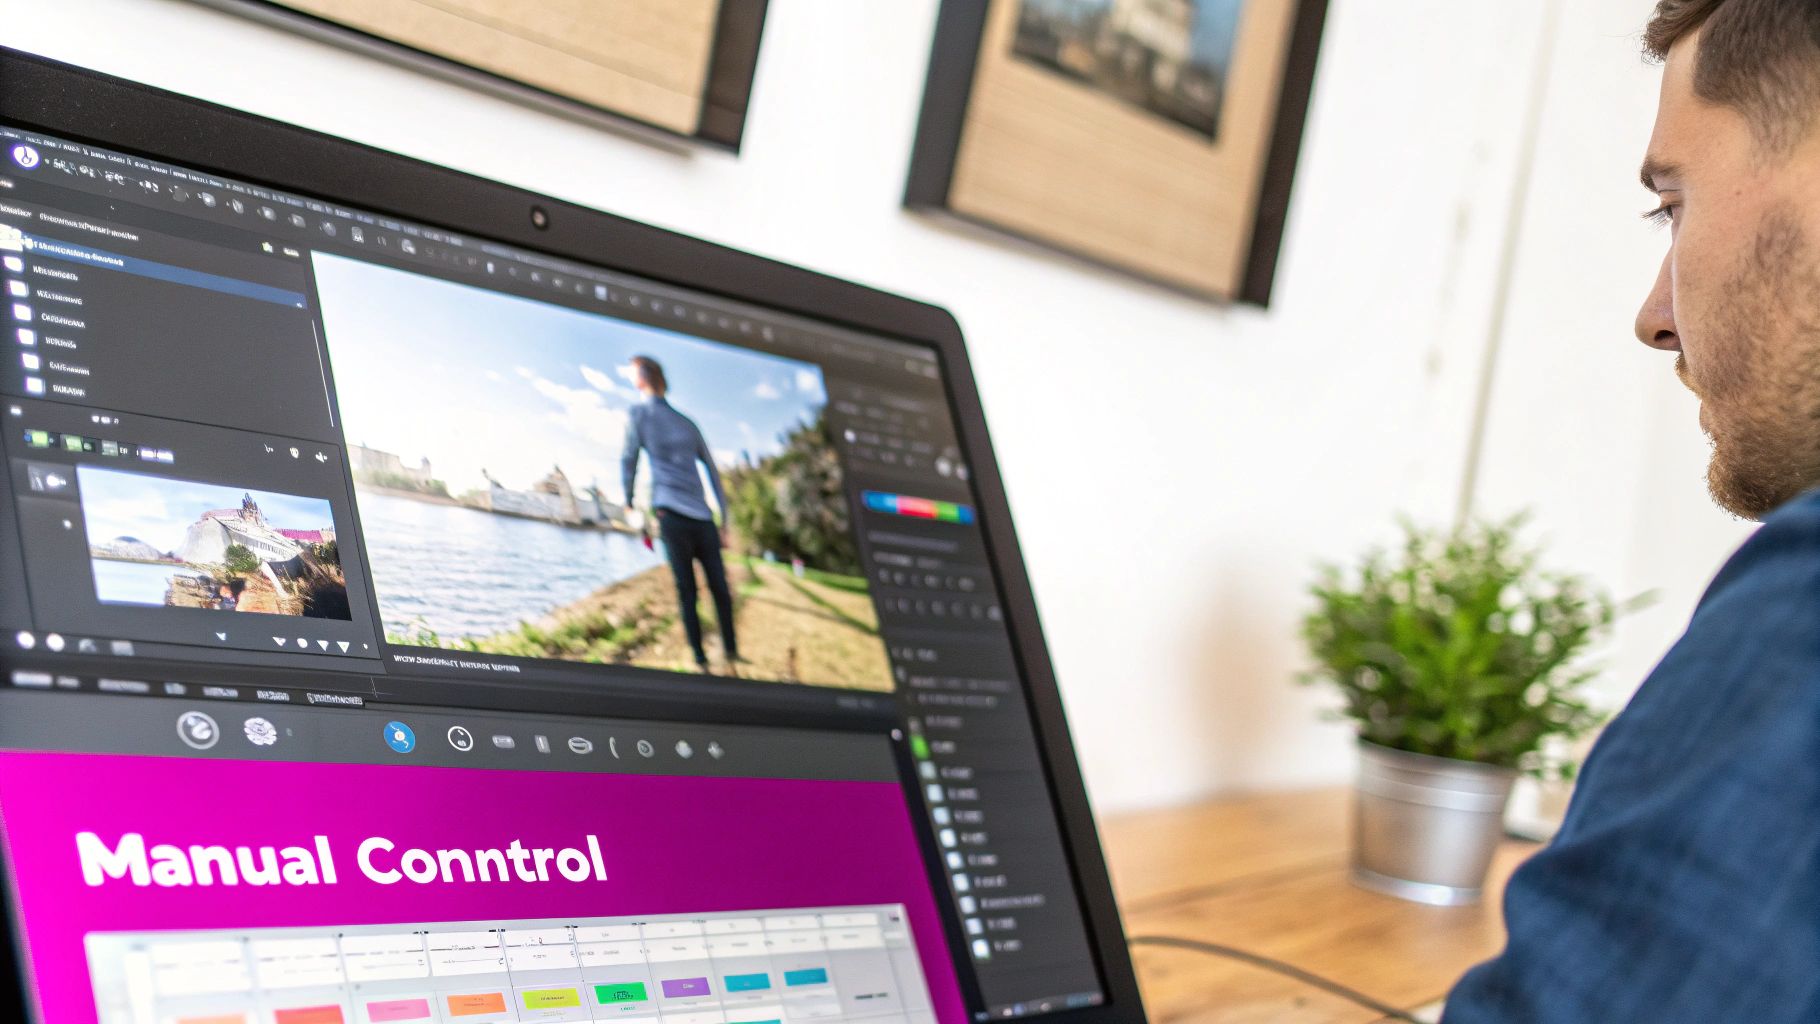
Sometimes, you just need total control. For photographers and graphic designers who live and breathe pixels, jumping into professional software like Adobe Photoshop or GIMP is the only way to go. This hands-on approach, called resampling, puts every decision squarely in your hands.
Sure, it's less automated than AI, but the precision you get is second to none. This manual process is perfect when you're already deep in an editing workflow and need to upscale an image without breaking your stride.
Understanding Resampling Algorithms
The magic behind manual upscaling is the resampling algorithm. Think of it as the brain of the operation—it’s the specific set of rules the software follows to invent all those new pixels. Your choice here really depends on what kind of image you’re working with, because one size definitely does not fit all.
Here are the heavy hitters you’ll find in most professional tools:
- Bicubic Smoother: This is my default for most photographic enlargements. It’s brilliant at creating smooth, natural-looking gradients and prevents those ugly jagged edges (or "jaggies") that can ruin a photo.
- Preserve Details 2.0: If you’re working with an image that has fine textures or sharp lines, this is your best friend. It’s a smarter algorithm that uses a bit of machine learning to analyze the image and keep edges crisp. The "Reduce Noise" slider that comes with it is a lifesaver for cleaning up artifacts.
- Nearest Neighbor: This one’s a bit of a specialist. You’ll want to use it for things like pixel art or screenshots where you want that blocky, aliased look. It doesn’t try to blend pixels at all, just duplicates them, which is perfect for maintaining that sharp, retro aesthetic.
You'll find these settings right where you'd expect. In Photoshop, just head to Image > Image Size. Once you punch in your new dimensions, you’ll see the "Resample" dropdown menu with all these options.
Pro Tip: Resampling almost always softens an image, no matter which algorithm you choose. I always plan on applying a subtle sharpening filter afterward—something like "Unsharp Mask" or "Smart Sharpen"—to bring back that crispness. Just be careful not to push it too far, or you’ll end up with an over-processed, unnatural halo effect around your edges.
When you're diving deep into manual edits, it helps to be aware of tools that are exploring image resizing functionalities to give you even more detailed control. And if you find yourself needing to apply these tweaks across a whole folder of images, a dedicated bulk image resizer can turn a tedious afternoon into a quick five-minute job.
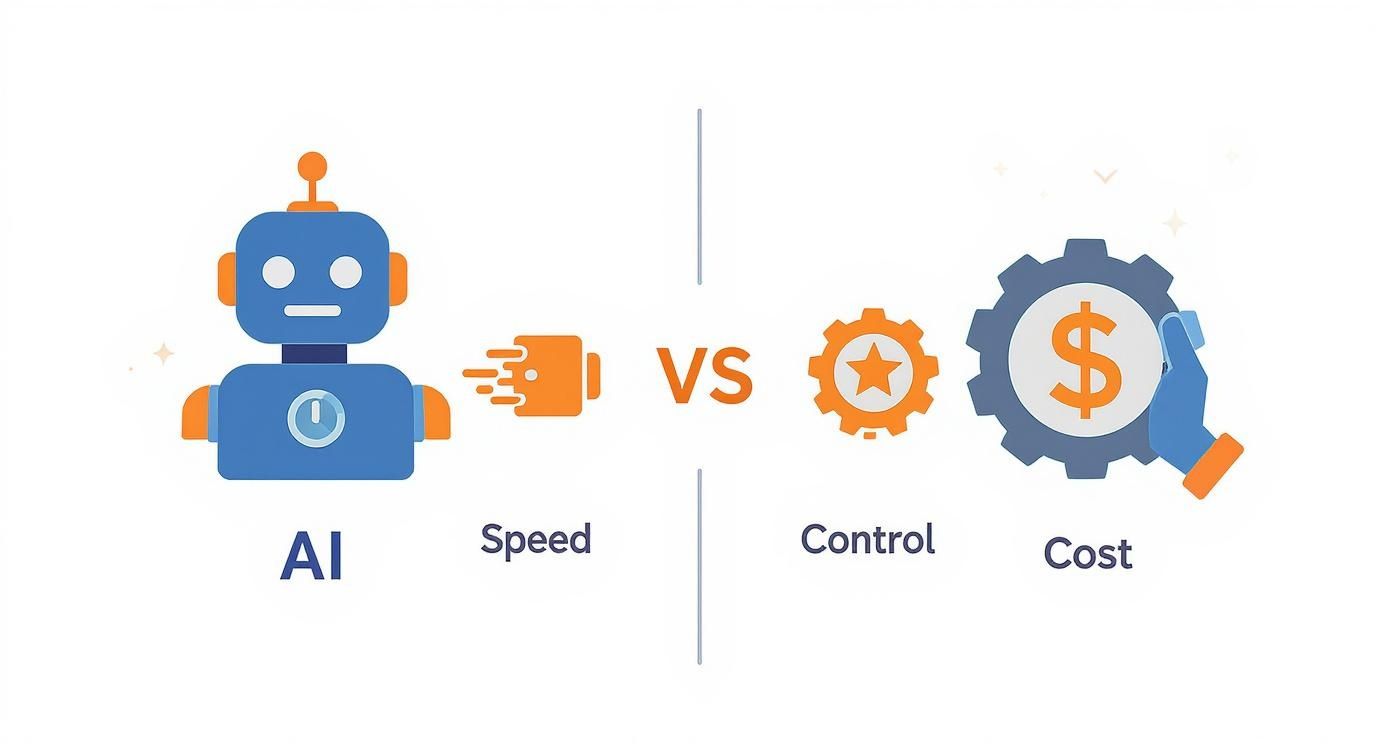
AI Upscalers vs. Traditional Software
When you need to make an image bigger, you’re basically at a fork in the road. One path leads to AI upscalers, the other to traditional, hands-on software like Adobe Photoshop. Which one you should take really boils down to your project, your comfort level with design tools, and how much time you’ve got on your hands.
AI tools are all about speed and simplicity. Seriously. You can take a grainy, low-res photo, and with just a click or two, get a surprisingly sharp result. Because the AI has been trained on millions of images, it doesn't just enlarge the pixels—it intelligently adds new details. Think textures in a sweater or individual strands of hair that look completely believable. This makes them a lifesaver for anyone without a design background or pros on a tight deadline.
On the flip side, you have the old guard: traditional software. This route gives you total creative control. It definitely takes more technical skill, but you get to fine-tune every single part of the process. You can pick the exact resampling algorithm, apply sharpening filters with surgical precision, and tweak noise and color until it's perfect. This level of control is non-negotiable for professional photographers and designers who need the final image to match their specific vision, no questions asked.
A Head-to-Head Comparison
To help you choose, let’s put these two approaches side-by-side and see how they really stack up.
The decision often comes down to a simple trade-off: AI delivers incredible quality with minimal effort, while traditional software gives you complete control if you're willing to put in the work.
Honestly, the best way to grasp the difference is to see it for yourself. Run the same low-res image through both an AI tool and a manual process in Photoshop. You’ll often find that the AI does a much better job of preserving natural textures, avoiding that soft, slightly blurry look that’s a dead giveaway of a manual upscale. The AI can literally reconstruct details that traditional algorithms would just smooth over.
To make things even clearer, here’s a quick table to help you decide which tool is right for you when it's time to increase your picture's pixel count.
AI Upscalers vs. Traditional Software: A Quick Comparison
Here's a direct comparison to help you choose the right method for increasing picture pixels.
| Feature | AI Image Upscalers | Traditional Software (e.g., Photoshop) |
|---|---|---|
| Final Quality | Often superior, generating new, realistic details. | Good, but can appear soft without careful sharpening. |
| Ease of Use | Extremely simple, usually a one-click process. | Requires technical knowledge of tools and settings. |
| Speed | Very fast, with results typically in seconds. | Slower, involving manual adjustments and multiple steps. |
| Control | Limited to preset enhancement levels (2x, 4x, etc.). | Full control over algorithms, noise, and sharpening. |
| Cost | Many free or affordable subscription options available. | Often requires a significant upfront or subscription cost. |
Ultimately, there’s a place for both. For quick, impressive results, AI is the clear winner. For meticulous, pixel-perfect projects where you need to be in the driver's seat, traditional software still holds its ground.
Pro Tips for Achieving the Best Upscaling Results
Just hitting the upscale button won't guarantee a masterpiece. To get truly professional results when you increase picture pixels, you need to start thinking like an editor. I can't stress this enough: the most critical rule is the classic "garbage in, garbage out" principle.
An AI tool can work wonders, but it can't invent details that were never there in the first place. Always start with the highest quality source file you can get your hands on, even if it's small. A sharp, well-lit 800x600 photo will always give you a better result than a blurry, over-compressed 1200x900 image.
For anyone working with mobile images, applying some essential phone photography tips can drastically improve your starting quality before you even think about upscaling.
Small Adjustments Make a Big Difference
Here's a little trick I've learned: instead of going for a single, massive 8x enlargement, try a more controlled 4x upscale first. Take a close look at the result for any weird artifacts or softness. You'll often find that smaller, incremental steps give you much cleaner results than pushing the software to its absolute limit in one go.
Also, go easy on the sharpening after you upscale. This is a super common mistake. Over-sharpening creates those harsh, unnatural "halos" around edges that just scream "this has been edited!" Your goal is a subtle tweak that brings back some crispness, not some hyper-realistic effect that looks fake.
Key Takeaway: The best upscales look natural and authentic. Prioritize a clean source file and make subtle, deliberate adjustments to maintain the original photo's integrity while boosting its resolution. This thoughtful approach is what separates amateur attempts from professional-grade enhancements.
Common Questions About Increasing Picture Pixels
If you're diving into the world of image upscaling, you've probably got a few questions. It's a common scenario—you have a great photo, but it's just too small. Let's clear up some of the usual points of confusion so you can get the best results.
Can I Make an Image Bigger Without Losing Quality?
This is the big one, isn't it? The short answer is: you can't create detail that wasn't there in the first place. However, modern AI tools get incredibly close to a "no quality loss" result. They intelligently predict and add new pixels that look completely natural, which minimizes that blurry, stretched-out look we all hate.
Traditional methods, like the ones in older software, will almost always make the image softer. So, while no method is truly magic, AI gives you the best shot at a clean, sharp enlargement. Always start with the highest quality source image you have.
What’s the Difference Between Pixels and DPI?
This trips up a lot of people, especially when it comes to printing. Pixels and DPI are related, but they are not the same thing.
- Increasing pixels actually adds more data to the image file, making its dimensions larger. Think of it as going from 800x600 pixels to a much bigger 1600x1200 canvas.
- DPI (Dots Per Inch) is just a printing instruction. It tells the printer how many of those pixels to cram into one physical inch of paper.
You can change an image’s DPI without ever touching its pixel count. But if you want a better-quality print, you absolutely need to increase the number of pixels first.
Think of it this way: pixels are your raw ingredients. DPI is just the recipe telling you how to use them. For a better print, you need more ingredients.
How Far Can I Realistically Push an Upscale?
So, how much is too much? Most AI upscalers will offer options like 2x, 4x, or even 8x enlargement. While you could technically run an image through an upscaler multiple times, you'll start seeing diminishing returns. Each pass risks adding weird digital artifacts that make the image look over-processed.
A good rule of thumb is to do a single, powerful upscale rather than stacking smaller ones. For instance, going straight to 4x is almost always better than doing two separate 2x enlargements. Always zoom in and check the result—every image has a breaking point before it starts looking unnatural.
Ready to increase picture pixels with the power of AI? Bulk Image Generation offers cutting-edge tools to enhance your photos in seconds, ensuring professional quality every time. Try it for free.