How to Get High Resolution Images for Your Projects

Aarav Mehta • October 13, 2025
Discover how to get high resolution images with our complete guide. Learn to find, create with AI, and upscale photos for professional-quality results.
Acquiring the perfect high-resolution image really comes down to three main plays: finding them on dedicated platforms, creating them from scratch with AI, or upscaling images you already have. The truth is, image quality—measured in pixels or DPI—is the bedrock of any professional design, whether it's for a website, a social media campaign, or a glossy print brochure.
This guide will give you a clear roadmap for getting stunning, high-resolution images for any project you can dream up.
Why High-Resolution Images Are Non-Negotiable
In a world that scrolls first and reads later, the quality of your images says everything about your brand. A blurry or pixelated photo can instantly make a website feel unprofessional, a marketing campaign look cheap, and a printed flyer seem like an afterthought. Crisp, clear visuals, on the other hand, grab attention and build trust.
The hunger for sharp visuals is only growing. Just look at the stock photography market, which was valued at around USD 7.19 billion in 2025 and is expected to surge to USD 11.25 billion by 2032. That explosion tells you everything you need to know about the demand for professional visuals in modern advertising and media. You can dig deeper into the expansion of the stock photo market on coherentmarketinsights.com.
Before we get into the "how," it's helpful to see the big picture. Here’s a quick breakdown of the three main paths you can take to get the high-resolution images you need.
Three Core Methods for Acquiring High Resolution Images
| Method | Best For | Typical Cost | Key Benefit |
|---|---|---|---|
| Finding Existing Images | Speed and immediate needs, when you know what you're looking for. | Varies (Free to $$$) | Access to a massive, professionally curated library. |
| Creating with AI | Unique, highly specific, or conceptual visuals that don't exist. | Varies (Free to $$) | Total creative control and one-of-a-kind results. |
| Upscaling Your Own Images | Improving the quality of photos you already have but are too small. | Varies (Free to $) | Rescuing and repurposing existing assets for new uses. |
Each of these methods has its place, and knowing when to use which is half the battle. Now, let’s explore the advantages of committing to high-quality visuals in the first place.
The Real-World Benefits of Using High-Quality Photos
Working with top-tier images isn't just about aesthetics; it delivers tangible results that can elevate your entire project.
- Boosts User Engagement: Sharp, compelling images stop the scroll. They hold attention longer, which can lower bounce rates on your site and drive more interaction on social media.
- Builds Professional Credibility: High-resolution visuals signal that you care about the details. This builds trust and makes your brand look more polished and reputable.
- Gives You More Versatility: A high-resolution file is your creative Swiss Army knife. You can crop it, resize it, and adapt it for anything—from a massive printed banner to a tiny social media icon—without it turning into a pixelated mess.
High-resolution isn’t just about looking good; it’s about flexibility. An image that works for a billboard can easily be cropped for an Instagram post, but the reverse is almost never true.
Even social media platforms can be a goldmine for content if you know how to approach them. For instance, learning how to download high-quality Instagram photos can be a great way to source user-generated content. Just be sure you're always mindful of copyright and have the right permissions.
Ultimately, starting with a superior image file unlocks a world of creative possibilities and saves you a ton of headaches down the line.
Finding Great Stock Photos Without the Guesswork
We’ve all been there: scrolling endlessly through stock photo sites, hoping to stumble upon the perfect image. It’s a classic method for a reason, but it can feel like a total time sink. The real trick isn't just knowing where to look, but how to look. Mastering the search and filter functions is what separates a quick, successful hunt from hours of frustration.
Generally, you have two main options: free hubs like Unsplash and Pexels, or paid libraries such as Getty Images or Adobe Stock. Free sites are fantastic for blogs or social media posts, offering some incredible shots at no cost. The trade-off? Their libraries can be smaller, and you might see the same photos popping up elsewhere.
Paid services, on the other hand, give you a massive, professionally curated selection with much stronger legal protections. This makes them the go-to for bigger commercial projects where you can't afford any licensing mishaps.
Search Smarter, Not Harder
Instead of just typing "business meeting" and resigning yourself to an afternoon of scrolling, you need to get friendly with the advanced filters. This is where the magic happens.
- Filter by Resolution: Always look for a "size" or "resolution" option. Go straight for the largest available, like "Large" or "Original," to make sure you're downloading a file that can handle any use case without looking pixelated.
- Filter by Orientation: Need a hero image for your website header? Filter for "horizontal" or "panoramic." It instantly clears out all the vertical shots that won't work.
- Filter by Color: If your brand has a specific color scheme, this is a lifesaver. Use the color filter to find images that already fit your aesthetic, which can save you a ton of editing time later.
Here’s a look at the simple interface on Unsplash, where you can easily find the filters for orientation and color right after you search.
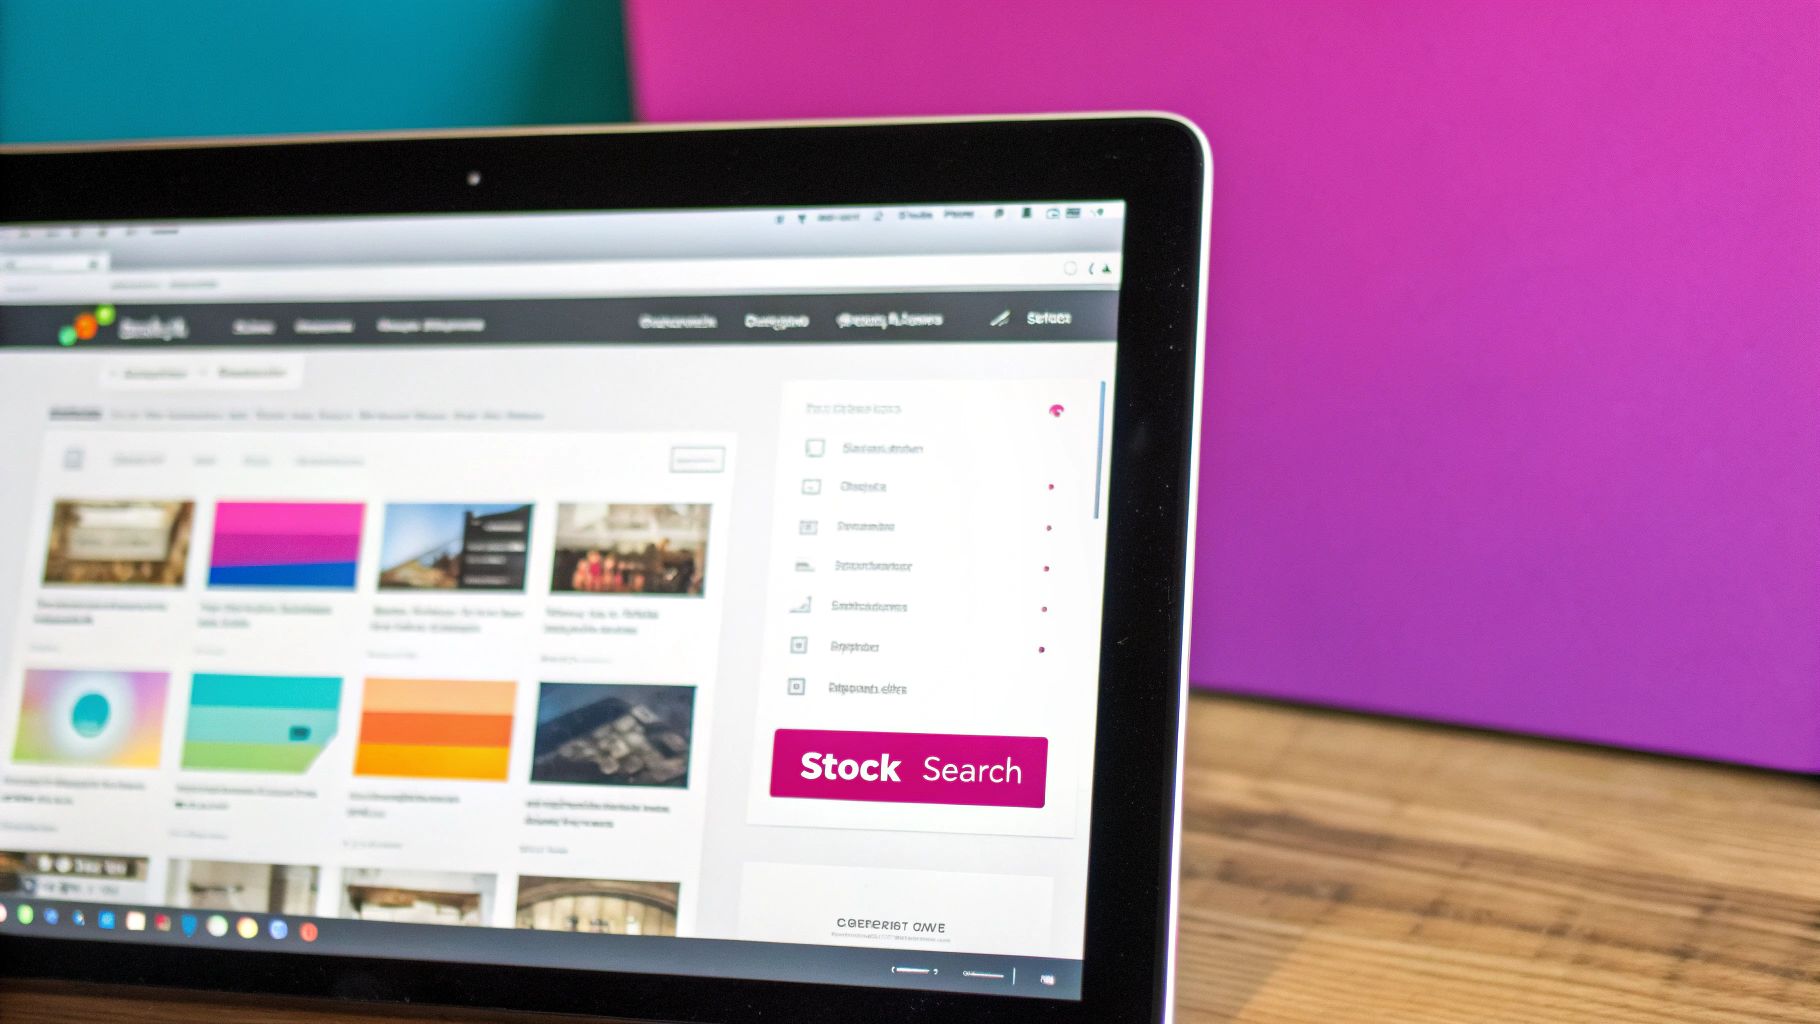
This one move alone can dramatically narrow your results to images that are not only high-quality but also a perfect fit for your design right from the start.
The demand for high-res stock images is huge. In fact, North America accounted for over 40% of the global stock photo revenue in 2024, with a market size of USD 1.37 billion. This growth is all about the constant need for fresh visuals on social media and e-commerce sites. This data just goes to show how critical good imagery is in today’s market.
Understanding Basic Image Licenses
Finding a great photo is only half the battle; you also have to make sure you have the legal right to use it. Licensing can feel intimidating, but it's usually pretty straightforward.
Creative Commons (CC0): This is the holy grail for free images. It essentially means "no rights reserved." You can use the image for pretty much anything—personal or commercial—without needing to give credit.
Royalty-Free (RF): This is the standard on most paid sites. You pay a one-time fee, and in return, you get to use the image multiple times across different projects without paying extra royalties for each use.
Always, always check the license before you download. Using a photo improperly can land you in legal hot water, so taking a few seconds to verify the permissions is a non-negotiable step.
Of course, if you're looking to sidestep the traditional stock photo route altogether, you might want to see how an AI stock image generator can create completely unique, royalty-free visuals from scratch.
Dreaming Up Your Own High-Resolution Images with AI
What happens when the perfect image doesn't exist? You create it. When stock photos feel stale or just don't capture your vision, AI image generators are the answer. They let you turn a simple text description into a completely original, high-resolution visual.
This isn't about making quirky, abstract art anymore. Tools like Midjourney and DALL-E 3 can produce photorealistic images that are indistinguishable from professional photography. The real trick is learning how to "speak their language" with detailed, descriptive prompts.
Think of yourself as an art director. You wouldn't just tell a photographer, "take a picture of a car." You'd give them the details—the mood, the setting, the style. It's the same with AI.
Mastering the Art of the Prompt
The quality of your final image comes down to one thing: the quality of your prompt. A vague request gets you a vague, often useless, result. But a specific, detailed prompt? That can create something truly breathtaking. This is the secret to getting high-resolution images that perfectly match what's in your head.
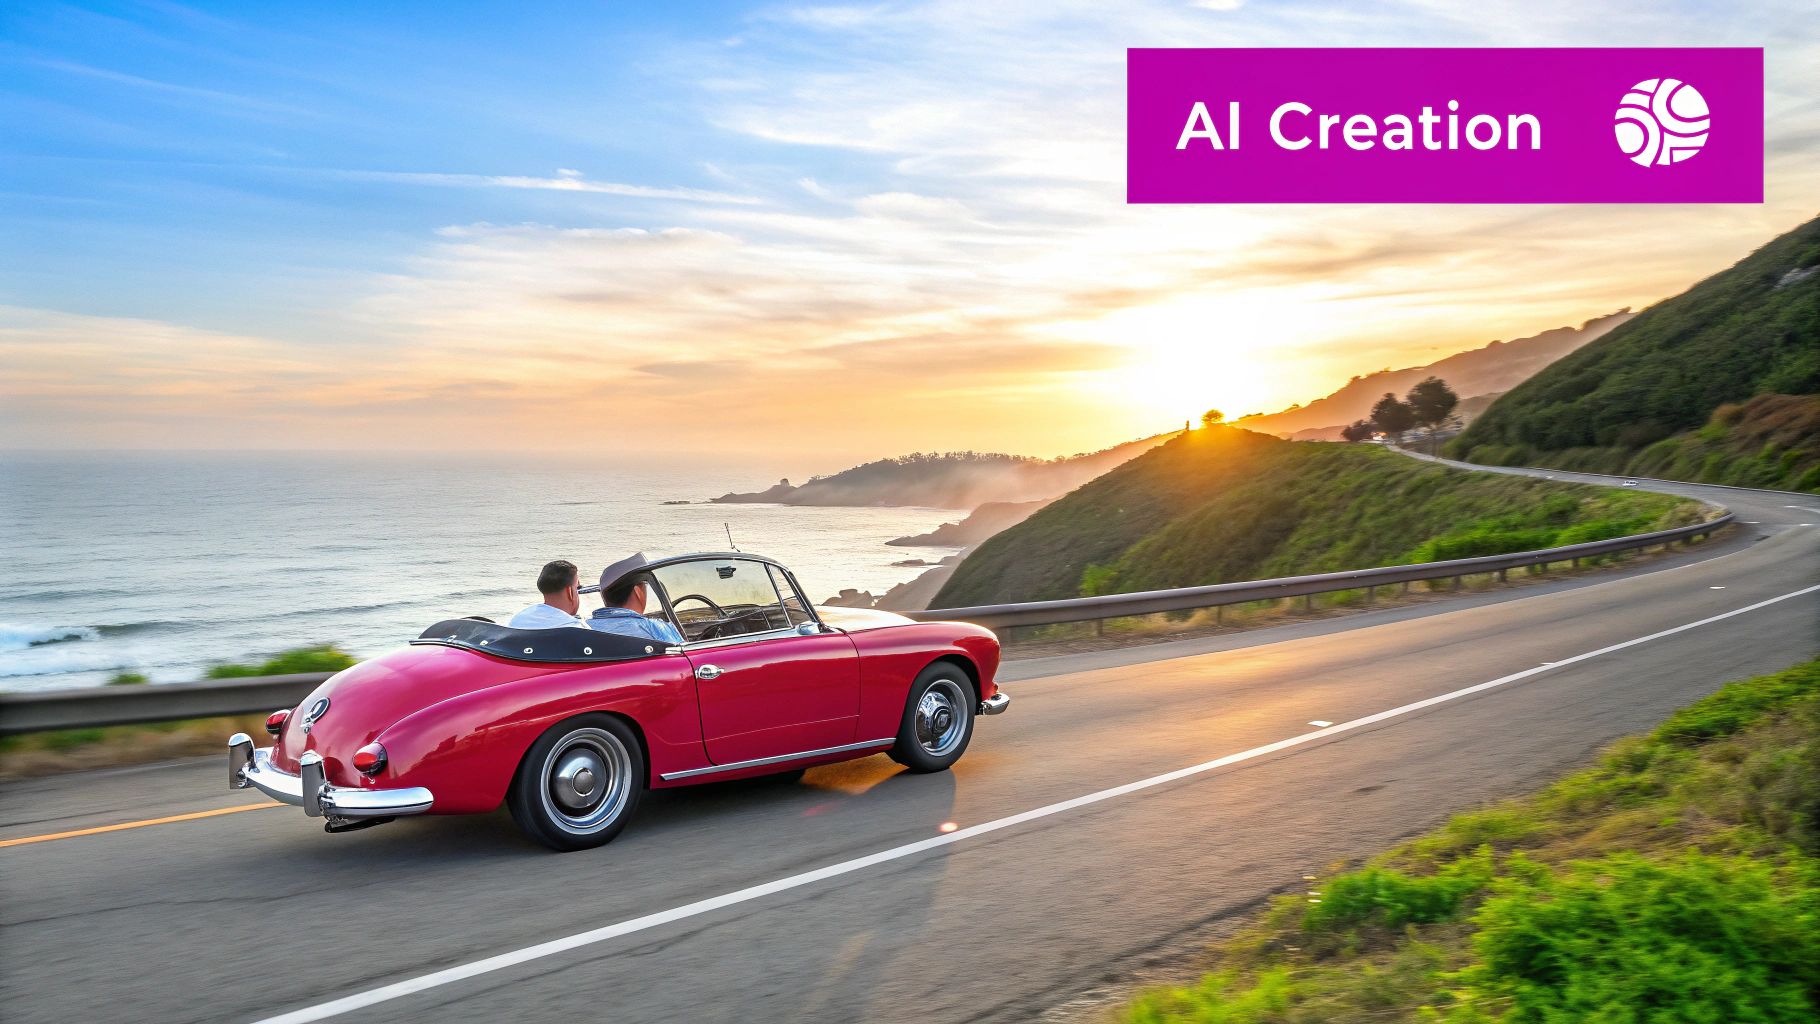
Let's break it down with a real-world example.
- Simple Prompt:
car on a road - Detailed Prompt:
cinematic shot of a vintage red convertible on a coastal highway at sunset, sharp focus, dramatic lighting, 8K
See the difference? The second prompt gives the AI context, style, and technical specs. It explains how to create the image, not just what to create. The result is a far richer and more usable visual.
When you're writing prompts, try to include details about the subject, the environment, the lighting, the artistic style, and even the desired resolution.
If you’re ever stuck trying to find the right words, a specialized tool can be a huge help. You can get ideas and learn how to structure your commands better with a free AI image prompt generator, which is great for building more effective prompts.
Key Platforms and What to Expect
Right now, Midjourney and DALL-E 3 (often found inside tools like ChatGPT Plus) are two of the biggest names in the game. They each have their own personality.
Midjourney is famous for its stunning, artistic, and highly stylized outputs. It's a favorite playground for designers and digital artists who want to create something with a unique aesthetic flair.
Here’s a peek at the Midjourney interface, where you can see how users generate and refine their images in a cool, community-driven space.
The platform's public gallery is a testament to what's possible, showing everything from hyperrealistic portraits to mind-bending fantasy worlds.
DALL-E 3, on the other hand, is a master at understanding natural, conversational language. This makes it incredibly easy for beginners to jump in and generate specific concepts without needing to learn a bunch of complex prompt jargon.
AI image generation isn't a one-and-done deal. It's an iterative process. Your first attempt is rarely your final masterpiece. Tweak your prompts, generate a few variations, and keep refining until the image is perfect.
No matter which platform you choose, the workflow is pretty similar. You start with your detailed prompt, the AI gives you a few initial options, and you pick one to refine or "upscale." That upscaling step is where the magic happens. The AI intelligently increases the image's pixel dimensions, turning a small preview into a massive, high-resolution file.
Many of these tools now have built-in upscalers that can push images well beyond 4096x4096 pixels. That’s more than enough resolution for almost any digital or print project you can think of, making AI a seriously powerful solution for creating high-quality visuals on demand.
How to Upscale and Sharpen Your Existing Images
Ever found the perfect photo on your hard drive, only to realize it's way too small? It happens all the time. Maybe it's an old product shot, a great picture from your phone, or an image you cropped years ago that you now need for a full-screen banner.
In the past, trying to enlarge a small image was a recipe for a blurry, pixelated disaster. You’d just be stretching the existing pixels, and the result was always a mess. But today, AI-powered upscaling tools can completely rescue those low-resolution files.
Instead of just making the pixels bigger, AI upscalers use machine learning to intelligently generate new pixels. The software analyzes the details it can see—lines, textures, and patterns—and then rebuilds the image at a much higher resolution while keeping things sharp. The results can be incredible, turning a tiny 800-pixel image into a crisp 4K-ready asset.
The AI Upscaling Advantage
Think about a classic e-commerce problem. You have a decent product photo that looks fine as a tiny thumbnail on your store. But when you try to feature it in a big homepage banner, it falls apart and looks completely unprofessional.
This is exactly where tools like Topaz Gigapixel AI or other online upscalers come in. They can easily 2x, 4x, or even 6x the dimensions of your image without the fuzzy artifacts you’d get from a standard Photoshop resize.
This side-by-side comparison shows you exactly what I mean. A small but decent image is transformed into a high-resolution version that’s ready for a professional website banner.
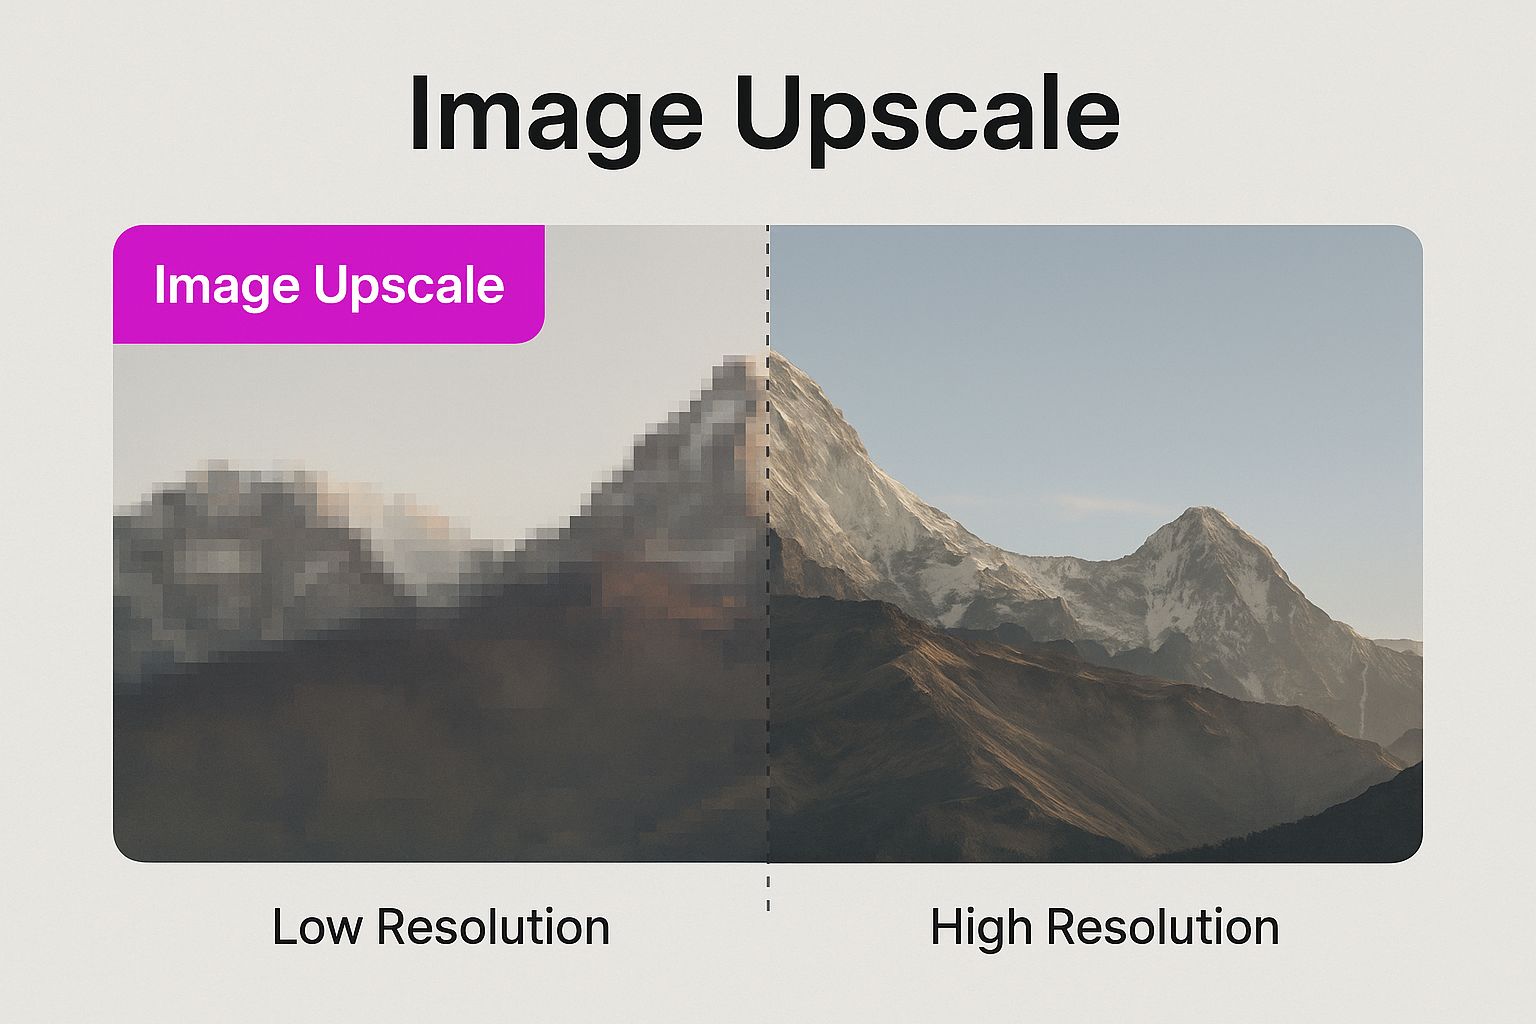
As you can see, the AI-enhanced image isn't just bigger—it's genuinely sharper and clearer. Details that were completely lost in the original are now fully restored.
Comparing Image Upscaling Methods
To really get why AI is such a game-changer here, it helps to see a direct comparison. Traditional resizing has been around for decades, but AI is a fundamentally different approach.
| Feature | Traditional Resizing (e.g., Photoshop Standard) | AI Upscaling (e.g., Gigapixel AI) |
|---|---|---|
| Process | Stretches existing pixels, which introduces blur and artifacts. | Analyzes content and intelligently adds new, context-aware pixels. |
| Detail | Loses fine details and textures, creating a soft or "muddy" look. | Reconstructs and enhances details, often making them even sharper. |
| Best For | Minor size adjustments where a small loss in quality is okay. | Significant enlargements needed for print or large digital displays. |
| Outcome | Images often look soft, blurry, or "blocky," especially at high zoom. | Produces crisp, clear, and natural-looking results. |
The gap in quality is huge. While old-school resizing might be fine for a tiny adjustment, AI is the only way to go for any serious enlargement task. And if you're working with a lot of images, using a bulk image resizer can apply these powerful AI enhancements to entire folders at once, saving you an incredible amount of time.
This push for better quality isn't just for professionals. Big tech is getting in on it, too. Meta recently added a feature to WhatsApp that lets users send HD photos. While it’s not full, uncompressed resolution, it uses a much lighter compression to keep way more detail than before, proving that everyone wants better-looking images. This trend is part of a broader movement toward higher-quality digital content, as detailed in reports from market analysts like Technavio.
Pro Tip: For the best possible results with AI upscaling, always start with the highest quality source image you can find. The AI needs clean data to work its magic. A sharp but small photo will upscale infinitely better than a blurry, compressed image of the same size. Garbage in, garbage out still applies
Pro Tips for Professional Image Quality
Knowing how to find, create, or upscale images is a great start. But the real magic happens when you master the technical details that separate amateur visuals from truly professional ones. Getting a handle on a few key concepts ensures that the high-resolution image you start with stays sharp and crisp everywhere you use it.
First things first, you need to choose the right file format. This decision directly impacts your image quality and file size, and each format has a specific job.
- JPEG (or JPG): This is your go-to for photographs on the web. It uses clever compression to keep file sizes small, which is a huge deal for page load speeds. Just be mindful—every time you save a JPEG, it loses a tiny bit more data.
- PNG: Perfect for web graphics that need a transparent background, like logos or icons. PNGs use "lossless" compression, which means they don't degrade in quality when saved. The trade-off is that their file sizes are usually bigger than JPEGs.
- TIFF: The heavyweight champion of the print world. TIFF files are typically uncompressed and hold onto every last bit of image data. This makes them the top choice for professional photographers and designers who need maximum quality for physical prints.
Understanding these formats is fundamental to managing your digital assets. For anyone creating visuals for an app store, for instance, these details are everything. Mastering the art of creating high-converting iOS app screenshots is a perfect example of how applying these principles can make a real-world difference.
Demystifying DPI for Print
If you're taking your images from the screen to the real world, you absolutely need to understand DPI, or Dots Per Inch. This little number dictates how sharp an image will look when it’s actually printed on paper.
For any professional print job—whether it’s a brochure, business card, or poster—300 DPI is the industry gold standard. An image might look fantastic on your 72 DPI computer screen but come out looking blurry and pixelated on paper if the DPI is too low.
To make sure your print quality is top-notch, you can quickly calculate the pixel dimensions you need. Just multiply the print size in inches by 300. For a standard 8x10 inch photo, you'll need an image that's at least 2400 x 3000 pixels.
For Photographers: Shoot in RAW
If you’re the one behind the camera, do yourself a favor and shoot in RAW format whenever you can. Think of a RAW file as a digital negative—it captures all the unprocessed, raw data straight from the camera's sensor.
This gives you an incredible amount of flexibility during the editing process. You can adjust exposure, white balance, and color with far more control, all without sacrificing a shred of quality.
Use Google Search Filters Wisely
Finally, don't underestimate the power of a simple Google Images search, as long as you use its advanced tools. When you're searching, just click on Tools > Size > Large. This one simple filter weeds out all the tiny, low-quality images and only shows you files with serious pixel dimensions.
But here's the crucial part: always check the usage rights. You can filter by Usage Rights > Creative Commons licenses to find images that are legally safe for you to use.
High-Resolution Image FAQs
Let's clear the air on some of the most common questions that pop up when dealing with high-resolution images. Getting these fundamentals right can save you a ton of headaches, whether you're designing for a website or getting files ready for print.
What’s the Magic Number for High-Quality Prints?
For anything you're printing professionally, the gold standard is 300 DPI (Dots Per Inch). It's the industry benchmark for a reason—it ensures your images come out looking crisp and detailed, with no fuzzy edges or pixelation in sight. An image might look great on your 72 DPI computer screen but turn into a blurry mess on paper if the resolution isn't high enough.
Here’s the simple math to figure out the pixel dimensions you need: just multiply the print size (in inches) by 300.
- For an 8x10 inch photo: You're looking for an image that’s at least 2400 x 3000 pixels.
- For a 4x6 inch postcard: You'll need a file that's 1200 x 1800 pixels.
Now, for web use, the rules change completely. It's all about pixel dimensions, not DPI. Generally, any image over 1920 pixels on its longest side is considered high-resolution and will look sharp on most digital displays.
Can I Just Grab Any High-Res Image I Find Online?
No. Absolutely not. This is probably the single biggest (and most costly) mistake people make.
The vast majority of images you'll find through a quick Google search are protected by copyright. Using them for your business, blog, or any public project without the proper license can land you in serious legal hot water.
Always, always assume an image is copyrighted unless you can prove it isn't. Your safest bet is to source images from legitimate stock photo sites, create them yourself, or get explicit, written permission from the creator.
Keep an eye out for licenses like Royalty-Free (RF) or Creative Commons Zero (CC0). These give you the green light for commercial use. Just right-clicking and saving is never the answer.
Do AI Upscalers Actually Fix Blurry Photos?
AI upscalers can feel like magic, but they have their limits. They shine when working with images that are clear and well-defined but are simply too small in their pixel count. The AI needs good, clean data to work with so it can intelligently add new pixels that look sharp.
But if a photo is blurry because it was out of focus when it was taken, the AI is more likely to amplify the blurriness than fix it. The tech is smart, but it can't invent details that were never captured in the first place. For the best results, always start with the sharpest, cleanest version of the image you have, no matter how small.
Ready to create stunning, unique visuals without ever worrying about licensing or resolution again? With Bulk Image Generation, you can produce hundreds of high-quality, completely original images in seconds. Just describe your vision and let our advanced AI do the heavy lifting. Start creating for free today!