How to Edit Cover Photo on Facebook: Your 2026 Guide

Aarav Mehta • July 27, 2026
Learn how to edit cover photo on Facebook with our easy, step-by-step 2026 guide. Maximize your profile's visual impact and express yourself!
You've got the Facebook cover open, the new banner looks sharp on your laptop, and then you refresh on mobile and the logo is chopped in half. That's the moment you realize how to edit cover photo on Facebook is not really about clicking upload, it's about designing for the crop before you touch the editor.
Facebook makes cover changes simple on the surface, but the workflow only works when the image is framed correctly. The button path is easy, but the work is making sure the important part survives desktop, mobile, group headers, and the preview frame.
Why Facebook Cover Edits Go Wrong Before You Click Anything
The mistake starts before the upload. Someone builds a banner that looks perfect in a design file, drops it into Facebook, and suddenly the headline sits too high, the face lands outside the frame, or the logo disappears on a smaller screen.
That is not a Facebook problem, it's a preparation problem. Facebook's own help flow shows that the cover is selected, then repositioned, then saved, which means the platform expects you to adjust the visible area after upload, not trust the original crop to hold everything in place (Facebook cover photo help).
What you need to get right first
Practical rule: If the image matters, build it wide and keep the key content centered. Don't design a tall poster and hope Facebook will forgive it.
You also need to know which header you're editing. A personal profile, a Page, and a group all use cover photos, but the controls don't always look identical. Facebook's group help flow uses a separate edit path, which is another clue that the interface is standardized but not copy-pasted everywhere (Facebook group cover help).
The rest of this guide gives you the actual click path on desktop and mobile, the crop rules that keep logos and text alive, the problems that usually break saves, and a faster way to generate ready-to-post covers before you log in. If you follow that order, you stop wasting time fixing the same banner twice.
Editing Your Facebook Cover Photo on Desktop
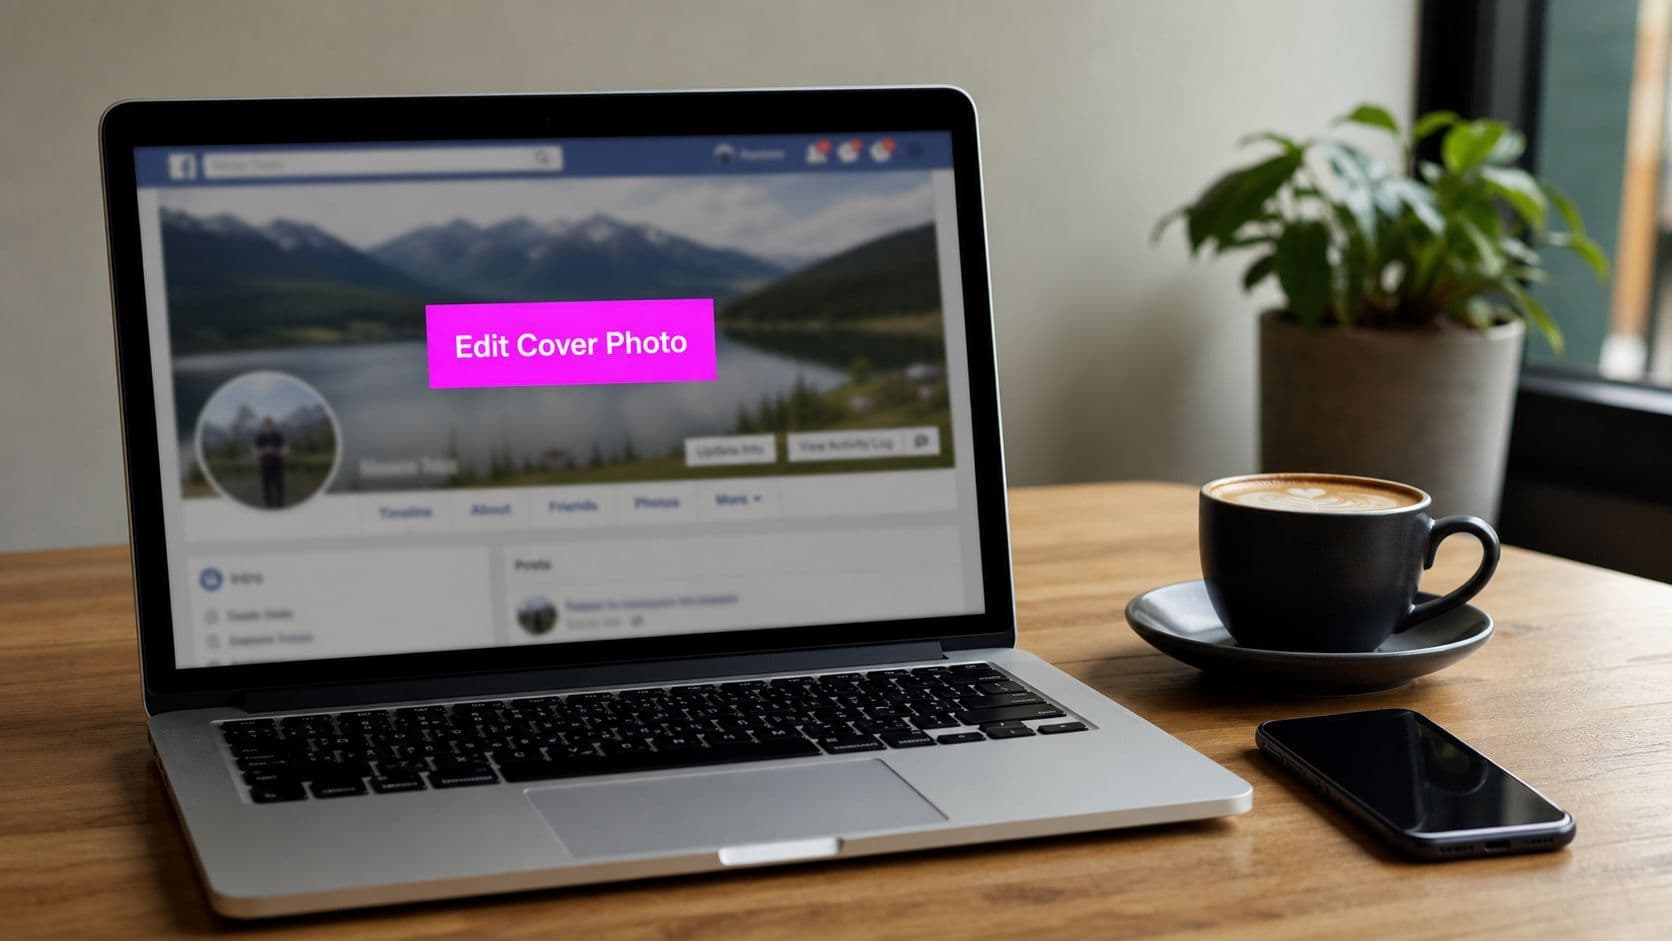
On desktop, start from the cover itself. Open the profile or Page, click the cover menu, choose Edit Cover Photo, then pick Select Photo or Upload Photo from the menu that appears.
After the image loads, drag it inside the preview frame. That repositioning step is the critical step, because Facebook gives you control over what stays visible, and that movement decides whether your headline survives the crop or gets cut off.

Don't skip the drag step
The right desktop workflow is simple, upload first, then frame the story. Wide banners often need a small adjustment to keep a face away from the edge or move a headline into the visible zone, and the drag control is the only built-in fix Facebook gives you.
If you're preparing multiple banner versions, resize them before upload so you are not fighting the editor with the wrong canvas shape. A quick utility like this bulk image resizer helps you prep a set of covers that already match the layout Facebook expects.
The Save button usually appears after you've actually made a change. That prevents accidental swaps when you were only previewing the image.
Facebook keeps the desktop workflow short because it is built for a fast update, not a full design session. The less correction you need inside Facebook, the cleaner the final cover will look.
Editing Your Facebook Cover Photo on Mobile
Most cover changes happen on a phone, and the mobile flow is close to desktop, just tighter. Tap the cover area on your profile or Page, hit the camera or edit icon, choose Upload Photo or Reposition, then drag the image into place with your finger.
The smaller preview is the trap. What looked balanced on a laptop can feel cramped on a phone, and that's where users notice that the safe area is much easier to violate than they expected.

Mobile behaves differently from desktop
Older app versions sometimes hide Reposition behind a second tap, so if you only see the upload screen, don't assume the feature is missing. Keep tapping the cover controls until the image can be dragged, because that is where the crop is controlled.
Group covers follow a similar pattern on mobile, but the starting point is the group header, not a personal profile header. Facebook's group help flow says admins click Edit in the bottom right-hand corner of the cover, choose an image source or Reposition, then save the change (Facebook group cover help).
Preview the cover after you save, not just before. Mobile-only crop issues are the ones followers notice first, and they're the easiest to miss when you only look at the editor once.
If the cover looks clean on your phone after saving, you're in good shape. If it's off by even a little, fix it immediately, because mobile is where most of your audience will experience the header first.
Cover Photo Dimensions and Safe Areas That Actually Matter
A cover photo that fits Facebook still fails if the layout is wrong. Facebook stretches, crops, and re-centers the header differently across desktop and mobile, so the file has to leave room for that shift from the start. The common guidance is 851 by 315 pixels for the upload file, with a desktop display around 820 by 312 pixels and a smartphone display around 640 by 360 pixels in the reference guide from Hootsuite (Facebook image sizes).
Keep the important stuff away from the edges. Put text, a logo, and anyone's face in the center third, then let the background carry the outer edges. If you squeeze key details to the sides, Facebook will trim them on one device or another.
Facebook Cover Photo Sizes
| Surface | Recommended upload (px) | Approximate desktop crop | Safe area for text and logos |
|---|---|---|---|
| Personal profile cover | 851 x 315 | 820 x 312 | Central zone only |
| Page cover | 851 x 315 | 820 x 312 | Central zone only |
| Group cover | Keep wide and horizontal | Crop varies by device | Middle third |
A larger source file gives Facebook more room to crop without wrecking the composition. A 1200 by 630 source keeps the focal point easier to manage and leaves space for the visible area to shift between devices. If you are checking ratios before you upload, use the aspect ratio calculator to confirm the file matches the banner shape instead of guessing.
The same safe-area logic shows up everywhere in social design. The ChurchSocial.ai guide on Reels safe area makes the point clearly, keep important content inside the protected zone and stop designing right up against the edges. That rule applies here too, because a cover that looks clean on one screen can get clipped the moment Facebook renders it elsewhere.
If you need a quick planning rule, use this one. Center the message, keep decorative elements wide, and leave breathing room on all sides.
That is how you avoid a cover that looks fine in the editor and broken everywhere else. Facebook changes the visible crop based on the device, so the safest design is the one built with extra space from the beginning.
Troubleshooting Common Cover Photo Editing Problems
Most cover problems come from a few repeat mistakes, and they're easy to diagnose once you stop guessing. The usual failures are upload issues, skipped repositioning, confusing privacy settings, and crops that look fine on one device but fail on another.

Fix the cause, not the symptom
If the upload fails, check the file format and the browser or app cache before you blame the platform. If the cover won't save, you probably skipped the reposition step or never changed the image enough for Facebook to register the edit.
If the cover looks fine on desktop but wrong on mobile, the composition is too close to the edges. That is why tall images get cut off so often, and why a full-frame upload is usually the wrong move for a banner-style asset (independent tutorial guidance).
The mistakes that waste the most time
- File mismatch: Facebook handles some files better than others, so stick to a clean JPG or PNG when possible.
- Skipped reposition: If you do not drag the image after upload, you leave the crop to chance.
- Text overload: Dense text often looks rough after upload, which is one reason the old 20% text rule still shapes how busy Facebook covers should be.
- Privacy confusion: A personal profile cover follows your profile visibility, while a public Page cover is meant to be publicly visible to visitors.
- Tall composition: Vertical assets get clipped because the banner space is wide, not tall.
The PostSyncer social media cover photo guide is useful if you want another quick reference for safe-zone thinking across cover-style graphics. I'd still keep the rule simple, though. Build wide, keep the important content centered, and don't expect a heavy text poster to survive Facebook's crop cleanly.
Batch Producing Cover Variations With Bulk Image Generation
The bottleneck isn't clicking Edit Cover Photo. It's producing enough solid options to swap in for product launches, holiday refreshes, local events, or a new offer that needs a fresh header fast.
That's where bulk creative wins. Instead of building one banner from scratch every time, describe the brand, color palette, and topic in natural language, generate a batch of options, then keep the best ones ready for Facebook before you ever open the page editor.
Build the cover library first
With Bulk Image Generation, you can generate up to 100 unique visuals in under 20 seconds using Flux 1.1, then push the selected images into a batch editor for cleanup, resizing, and enhancement. The workflow is simple, you describe the style, let the system create the variations, then choose the strongest layout for the cover format.
Lock the aspect ratio to a Facebook-friendly banner shape before you start selecting winners. That saves you from the common mistake of picking a great image that breaks the composition once it's squeezed into the cover frame.
Once you've got a few good options, store them in a shared folder by campaign. That way, your next cover swap becomes a fast content decision, not a design emergency.
The smartest teams don't wait until the day of the campaign to make the banner. They prebuild the options and keep them ready.
That is the cleanest way to turn Facebook cover management into a repeatable workflow. You stop improvising, and your page starts looking current without last-minute design chaos.
A Short Cover Photo Checklist Before You Hit Save
Use a 1200 by 630 source when you can, keep the logo and headline inside the center, and make sure the image reads cleanly on both desktop and mobile. Verify the visibility setting, because a personal profile and a public Page don't behave the same way, and keep a folder of pre-made seasonal covers ready for the next swap.
If the composition only works when the image is huge or zoomed awkwardly, redo it. A cover should survive the crop on the first try, not after three edits and a frustrated refresh.
Do that once, and next time you'll edit your Facebook cover in under a minute.
If you want a faster way to keep Facebook covers on-brand without rebuilding every banner by hand, try Bulk Image Generation. It helps you create multiple cover-ready variations in one pass, then narrow them down to the version that fits your page, your campaign, and your crop.