How to Create Overlays for Twitch That Captivate

Aarav Mehta • September 15, 2025
Learn how to create overlays for Twitch that look professional and engage viewers. Our guide covers design, tools like Canva, and OBS setup.
A custom Twitch overlay is a total game-changer. It’s the process of designing your own branded graphics—like webcam frames, alert boxes, and info panels—and then layering them into streaming software like OBS to create a polished, professional look. This one step elevates your stream from just another gameplay feed into a memorable, branded broadcast that helps you stand out and actually build a community.
Why A Custom Overlay Is Your Secret Weapon For Growth
Let’s be real: first impressions are everything on Twitch. With millions of channels out there, a custom overlay is one of the fastest ways to signal that you’re serious about your content. It instantly moves your stream beyond a simple hobby and frames it as a professional broadcast, building immediate credibility with anyone who stumbles upon your channel.
Think of your overlay as the set design for your show. A clean, well-organized layout makes the whole viewing experience better. It guides your audience's eyes, making it easy for them to follow the gameplay, read chat, and catch important alerts without the screen feeling cluttered or chaotic.
Crafting A Memorable Brand Identity
Your overlay is so much more than just a few graphics; it's the visual DNA of your channel. A cohesive design with consistent colors, fonts, and themes is what builds brand recognition. When someone lands on your stream, they should immediately associate that unique look with you.
This consistency pays off in a few huge ways:
- It Screams Professionalism: A polished, branded look tells viewers you're a dedicated creator, which is key for attracting a serious audience and even potential sponsors.
- It Improves the Viewer Experience: A clean layout cuts through the visual noise, letting viewers focus on what truly matters—you and your content.
- It Drives Engagement: Custom spots for recent followers, new subs, and donation goals create interactive focal points that naturally encourage your community to participate.
The Real Impact On Viewer Retention
A visually appealing and functional overlay doesn't just attract clicks; it keeps people watching. When information is presented clearly, viewers feel more connected and clued in on what’s happening. This is a critical piece of growing your community, especially when you're competing with over 9 million other active streamers.
A streamer who clearly displays follower goals and shouts out recent subscribers is actively inviting their audience to be part of the journey. This simple detail makes viewers feel like they're contributing to something tangible, which massively boosts their investment in the channel.
In fact, channels that integrate alerts into their overlays can see viewer retention rates up to 30% higher than those that don't. That statistic alone shows just how powerful a well-designed overlay is at building genuine audience interaction. If you want to dive deeper, you can learn more about the impact of overlays on viewer engagement.
This strategic edge is exactly why learning how to create overlays for Twitch is a skill that pays massive dividends in channel growth and community building.
Planning Your Stream's Visual Identity
Before you even think about firing up a design tool, let's pump the brakes. The single most important part of this whole process happens right now, in the planning phase. A killer overlay is way more than just a few cool-looking graphics slapped on the screen—it’s a direct extension of your brand and personality.
It all boils down to one simple question: What’s the vibe of your channel?
Are you all about high-octane, competitive action in games like Valorant? Or is your stream a cozy, chill hangout for Stardew Valley fans? The answer to that question will guide every single design choice you make, from the color palette to the font style. Getting this right is what separates a professional, cohesive stream from one that just looks like a random mess of images.
Defining Your Core Theme and Colors
Your theme is basically the story of your channel. If you're going for a futuristic, cyberpunk feel, you'll probably lean into neon blues and purples with sharp, angular fonts. On the flip side, a fantasy RPG stream would feel more at home with earthy tones, ornate borders, and maybe a classic serif font.
A good way to start is by jotting down a few words that describe your stream. Are you chaotic? Chill? Funny? Educational? Use those as a launchpad. Once you’ve landed on a theme, picking your colors gets a whole lot easier.
You can even use a color palette generator to explore combinations that fit the mood you’re after. I usually recommend starting with two primary colors and one punchy accent color for highlights. You can dive deeper into turning these ideas into a solid framework by learning how to build a brand kit based on your core identity.
Mapping Out Essential On-Screen Elements
Alright, theme and colors are locked in. Now, what actually needs to be on the screen? The golden rule here is less is more. Back in the day, overlays were a cluttered nightmare of information overload. The modern approach is all about clean, minimalist design that keeps the focus where it should be: on the game and on you.
Overlays have completely changed over the years. We've moved away from busy, info-heavy layouts toward something much cleaner. In fact, about 85% of top streamers now use minimalist overlays that only show what’s absolutely necessary. This shift keeps viewers locked on the content, not distracted by the clutter.
Your goal is to give your viewers key info without pulling their eyes away from the main event. Before you design anything, I suggest grabbing a piece of paper (or opening a blank canvas) and sketching out a rough layout of where everything will live.
For your main gameplay scene, here are the absolute must-haves:
- Webcam Frame: This neatly integrates your camera feed into the rest of the design.
- Alert Box: This is where you'll see notifications for new followers, subs, and donations. Find a spot that's visible but doesn't cover up crucial game UI.
- Information Bar: A simple, small spot to display your latest follower or top supporter. Keep it short and sweet.
- Chat Box (Optional): If your stream is heavily community-focused, showing the chat on-screen can be a great touch.
By planning out the placement of these components first, you're making sure your overlay isn't just stylish, but also functional. It’s this kind of thoughtful approach that makes all the difference when you're creating overlays for Twitch that actually level up your broadcast.
Creating Your Assets With Accessible Tools
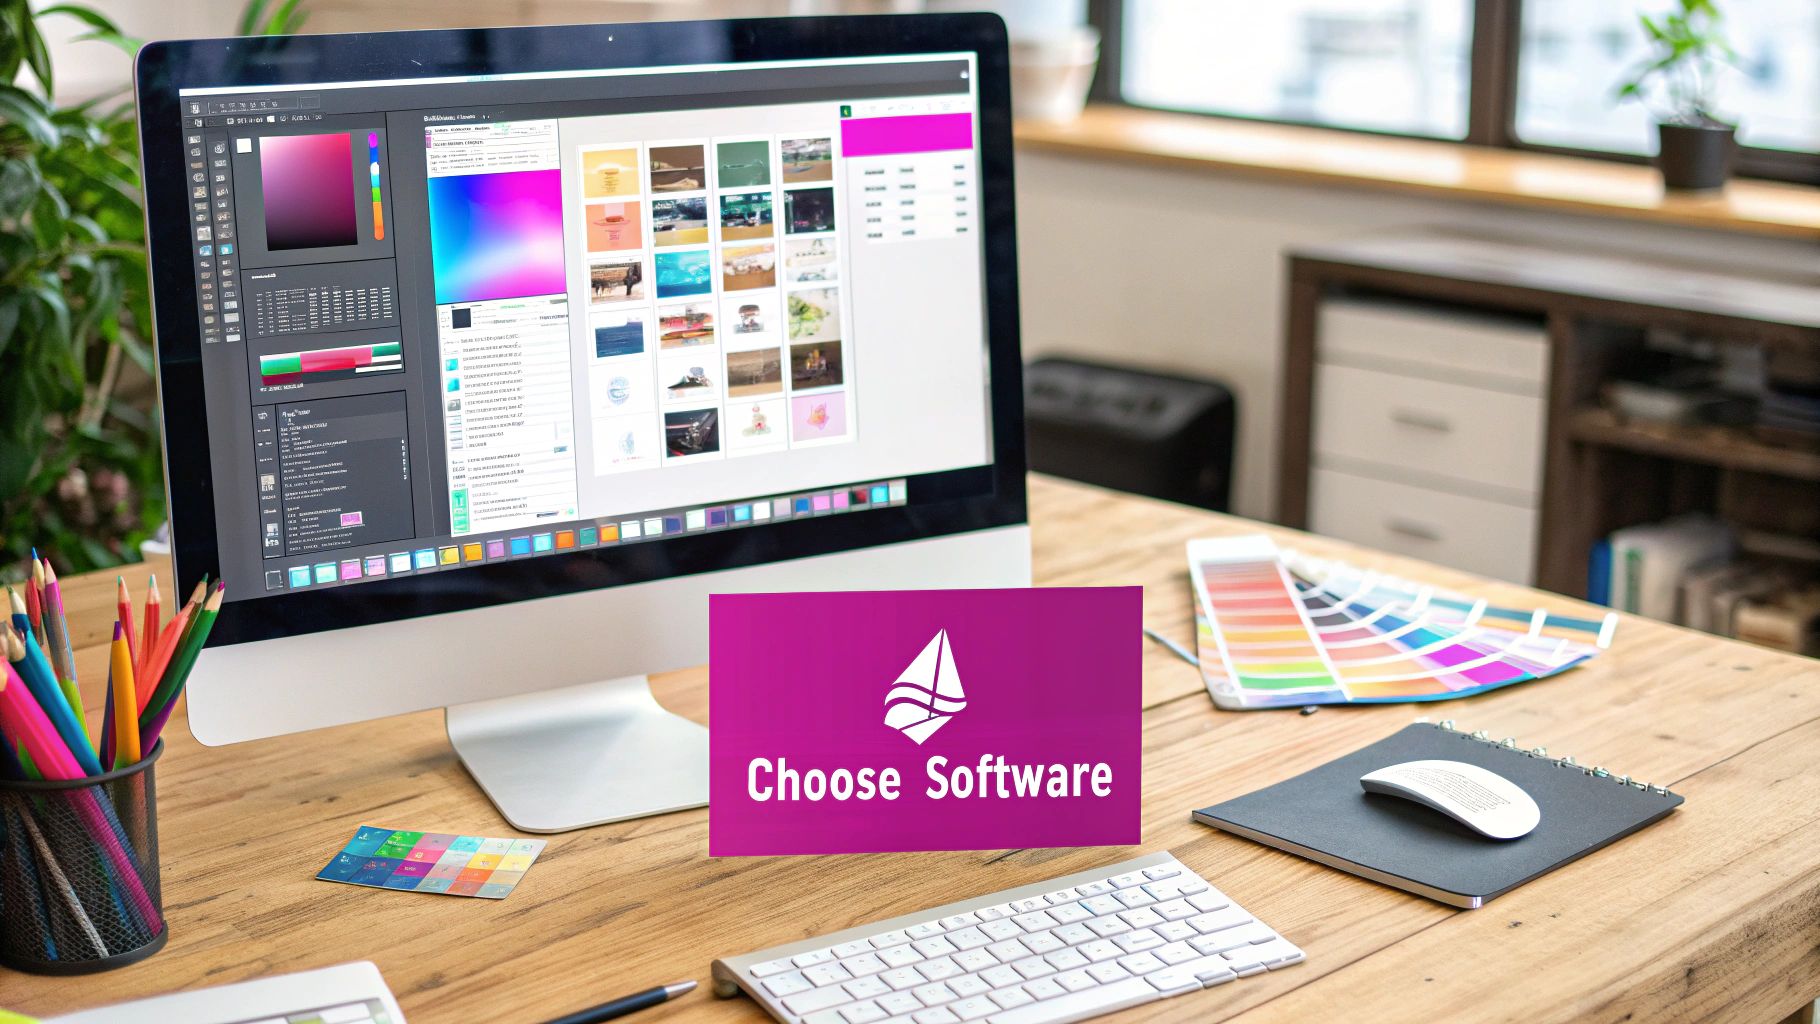
This shot from Canva is a perfect example of why you don't need to be a design pro to get started. Its massive library of overlay templates does a lot of the heavy lifting, giving you a solid base to build from. From there, it's all about tweaking colors, fonts, and layouts to make it your own.
Now that you've got your creative vision mapped out, it's time to actually make the thing. You don't need a fancy design degree or an expensive Adobe subscription to create professional-looking stream assets. Some of the best tools out there are surprisingly easy to get into.
We're going to tackle this with a hybrid approach that gives you the best of both worlds: structure and originality. We’ll use a template-based editor like Canva for the core layout and then bring in an AI image generator to create custom graphics that are 100% unique to your channel.
Mastering Canva for Your Overlay Foundation
Canva is the perfect place to start because it handles all the technical stuff for you. You can jump right into its huge collection of pre-made Twitch overlay templates and find a professional foundation that you can easily customize with the color palette and theme you've already decided on.
Before you do anything else, though, you need to get your canvas size right. This is non-negotiable. Set your canvas to 1920x1080 pixels. This is the standard resolution for a 1080p stream, and designing at this size from the start ensures your graphics will look crisp and fit perfectly, with no weird stretching or blurriness.
Once your canvas is ready, you can start building out the key pieces of your overlay.
- Webcam Frames: Grab a simple shape or border that vibes with your theme. Tweak the colors, maybe add a subtle drop shadow. Done.
- Info Panels: Create a few clean, rectangular boxes where you can display your social media handles or shout out your latest subscriber. Just make sure the font is consistent with your overall brand.
- Background Elements: Even simple abstract shapes or soft gradients layered behind other elements can add a surprising amount of depth to your stream layout.
Here's the single most important technical detail you need to remember: transparency. Every single piece you create—the webcam frame, your alert boxes, those info panels—must be exported as a PNG file with a transparent background. This is the magic that lets your gameplay show through behind your awesome new graphics.
Generating Unique Graphics With AI
Canva is brilliant for structure, but AI image generators are where you can get truly creative and make something no one else has. Tools like Midjourney or DALL-E can spit out incredible backgrounds, character art, or abstract textures from just a few words.
This is your chance to really lean into your theme. Instead of a generic stock background, you can generate one that perfectly captures your "cozy fantasy" or "cyberpunk" aesthetic. For instance, a prompt like, "lo-fi futuristic cityscape at night, glowing neon signs, anime aesthetic, clean vector lines," could give you a killer background for your "Starting Soon" screen.
And when you're ready to add some motion, choosing the best video editing software is the next logical step to bring those static AI-generated visuals to life as slick, animated elements.
After the AI works its magic, you might need to resize the images to fit your 1920x1080 canvas. A dedicated tool can be a real lifesaver here. You can use a bulk image resizer to adjust multiple assets at once, making sure everything scales properly without losing quality.
This approach isn’t just a niche trick; it's become a core part of branding for countless streamers. As of 2025, it's estimated that over 100,000 streamers worldwide use custom overlays to stand out and engage their audiences.
Getting Your Overlay Set Up in OBS or Streamlabs
Alright, you've got your custom assets exported and ready to roll. Now for the fun part: bringing them to life inside your streaming software. Whether you’re team OBS Studio or Streamlabs, the basic idea is the same. It's all about layering your graphics and widgets correctly within different scenes to build a slick, professional-looking broadcast.
Think of scenes like different camera setups for your stream. You'll want a dedicated scene for each part of your show: a "Starting Soon" screen, your main "Gameplay" layout, a "Be Right Back" screen, and maybe an "Ending Stream" graphic. Each one will hold a unique mix of your overlay elements.
Building Your Scenes with Image Sources
Let's dive in with your main gameplay scene, since that’s usually the most complex one. In either OBS or Streamlabs, find the "Sources" panel and hit the "+" icon to add a new source. For all your static graphics, the one you'll use most is the Image Source.
You'll need to add each PNG file you created as a separate Image Source. A typical gameplay scene might include:
- Your main background graphic
- The webcam frame you designed
- An info bar for recent followers or subs
Pay close attention to the order of these sources in your list—it’s critical because it dictates how they’re layered on screen. Sources at the top of the list appear in front of sources at the bottom. A good rule of thumb is to place your webcam frame at the very top and your background elements near the bottom, just above your actual game capture.
This whole process is a pretty straightforward workflow. You import your assets, arrange them on the canvas, and then get ready to go live.
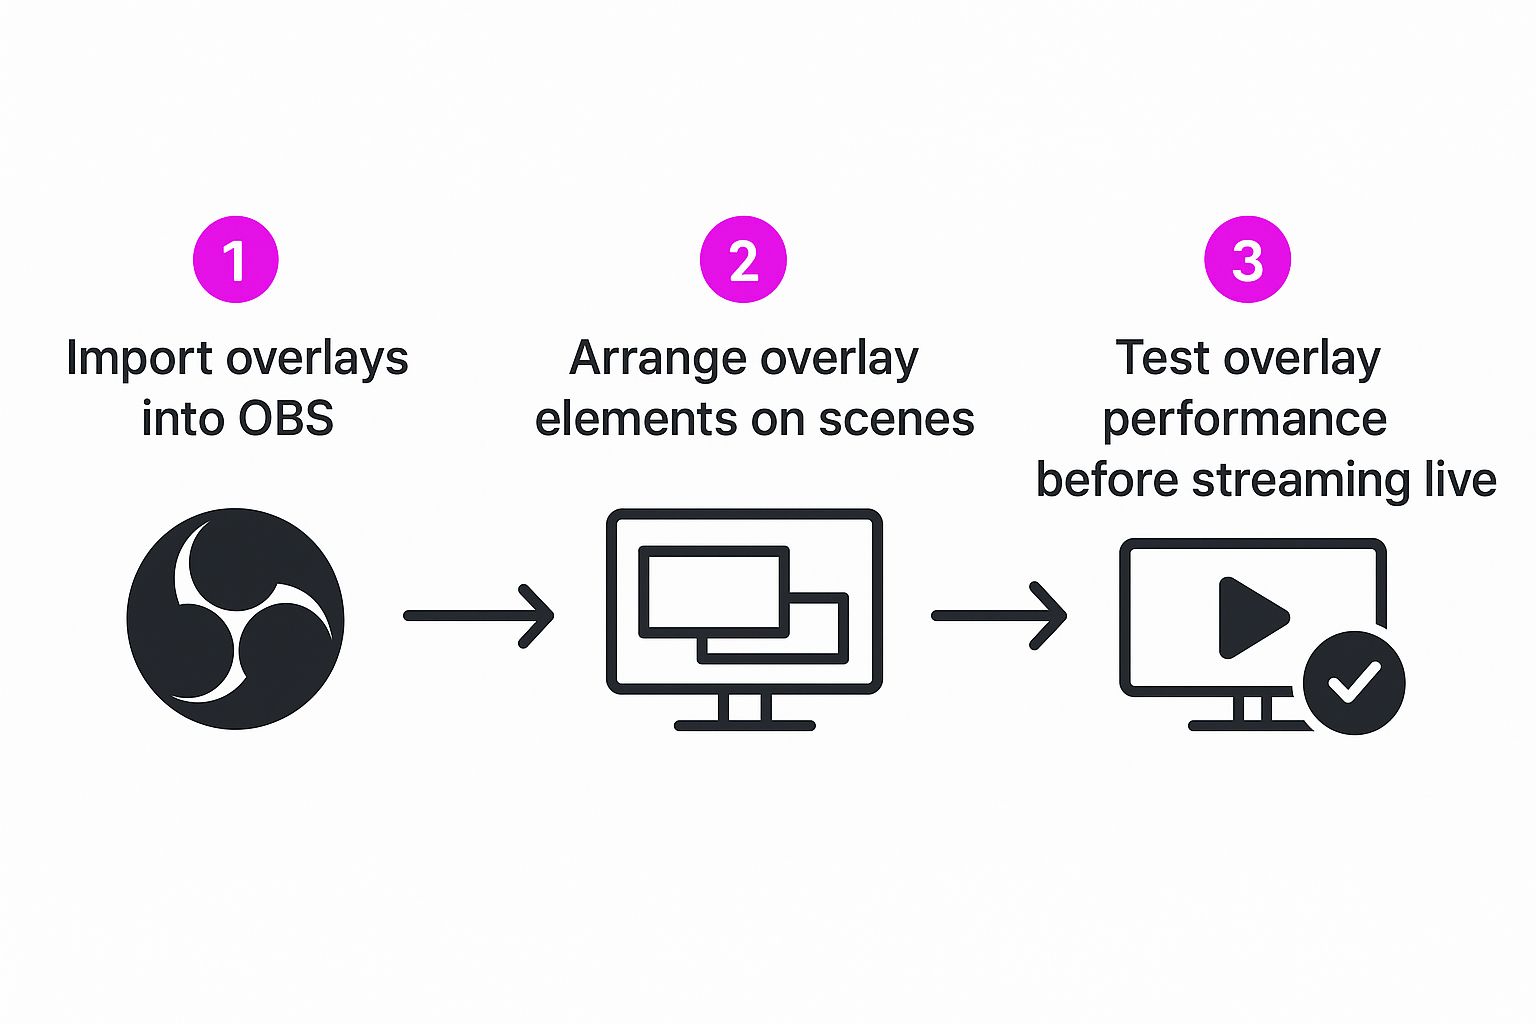
As you can see, it’s a logical flow: import, arrange, and test. Following this sequence ensures you don’t miss a step before hitting that "Start Streaming" button.
Adding Alerts and Widgets with Browser Sources
Static images are just one piece of the puzzle. To bring in dynamic elements like follower alerts, a live chat box, or a sub goal, you’ll need to use a Browser Source. Services like StreamElements or Streamlabs give you a unique URL for your custom alert boxes and widgets.
Just add a "Browser Source" in your software, paste in the URL from your alert service, and set the dimensions. Getting the size just right is key so it fits perfectly into the spot you designed for it. If you need a hand with this, you can use a handy aspect ratio calculator to find the correct dimensions for your widget windows.
Pro Tip: Keep your sources organized by grouping them. I always create a folder called "Overlay" right inside my sources panel and drag all the related graphics into it. This seriously declutters your workspace and lets you hide or show the entire overlay with a single click—a lifesaver for managing complex scenes.
Once everything is in place, do a quick dry run. Trigger a few test alerts and click through your different scenes to make sure transitions are smooth and every element pops up exactly where you want it. This final check is what separates an amateur setup from a polished, professional broadcast.
Let's Add Some Motion
A static overlay gets the job done, but an animated one? That feels alive. Adding a little bit of motion is what separates a good stream from a truly professional broadcast. It’s the difference between a flat image and an immersive experience for your viewers.
We're not talking about wild, distracting animations that pull focus from your gameplay. Think subtle. A gentle pulse of light around your webcam frame when you get a new follower. A soft shimmer effect on a donation alert. These are the small, purposeful touches that add a layer of polish.
These details catch the viewer’s eye just long enough to signal that something cool is happening. It adds a premium feel that your audience will absolutely notice, even if they don't consciously realize it.
Why WEBM is Your New Best Friend
When you're adding animation, performance is everything. The last thing you want is for your awesome new effects to lag your stream or cause dropped frames. That’s exactly why WEBM is the undisputed king for animated stream assets.
Forget about chunky GIFs or resource-hogging MP4 files. WEBMs are incredibly efficient. They pack high-quality video and, most importantly, transparency (the alpha channel) into a tiny file size. This means you can have looping animations, like that shimmering alert box, running constantly without putting any real strain on your PC. Your stream stays buttery smooth, and your animations look crisp and clean.
Seriously, using WEBM for your animated elements is a non-negotiable best practice. It’s the industry standard for a reason: you get maximum visual impact for minimal performance cost. It’s a win for you and a better show for your audience.
Bringing in Interactive Widgets
Beyond just looking cool, your animations can be interactive. This is where you can integrate elements that react to your community in real-time, making your broadcast feel much more connected and engaging.
You’ll typically add these as Browser Sources in your streaming software, pulling them from services like StreamElements or Streamlabs.
Consider adding widgets that show things like:
- Live Follower Counts: A little ticker that updates the second someone new joins your community.
- Subscription Goals: A progress bar that visually fills up as you get closer to your monthly goal.
- Event Lists: A live feed showing off recent followers, subs, raids, and donations.
These data-driven elements turn your overlay from a simple frame into a dynamic dashboard of community activity. When a viewer sees their name pop up on screen inside a stylish, animated alert you designed, it creates a powerful connection. It makes them feel like a real part of the show, and that’s what keeps people coming back.
Common Questions About Twitch Overlays
Getting into the weeds with overlay tech can feel a bit much when you're just starting out. I've seen countless new streamers hit the same couple of roadblocks when they're figuring out how to create overlays for Twitch. Nailing these fundamentals is the difference between a beautiful design that works and one that just causes headaches on stream.
Let's walk through the most common questions I hear. Getting these right will help you sidestep the usual problems and get your stream looking sharp without all the frustration.
What Is the Best Size for a Twitch Overlay?
Always, always, always design your main canvas at 1920x1080 pixels. This is the standard for full HD streaming, and it guarantees your graphics will look crisp and fit perfectly without any weird stretching or ugly pixelation.
You might be thinking, "But I stream at 720p!" Doesn't matter. Still design in 1080p. It’s way easier to scale a high-quality image down than it is to stretch a small one up. This little bit of planning future-proofs your assets and keeps everything looking clean, no matter what resolution you're broadcasting at.
How Do I Make My Overlay Background Transparent?
Transparency is the magic that makes an overlay... well, an overlay. To pull it off, you have to export every single piece—your webcam frame, alert boxes, little info panels—as a PNG file.
Why PNG? It's the only common format that supports an "alpha channel," which is the bit of data that tells software like OBS which parts of the image should be completely see-through. So, when you're in a tool like Canva or Photoshop, just make sure you either delete or hide the background layer before you export. That one click is what lets your gameplay shine through behind all your cool graphics.
I can't stress this enough: PNG transparency is what makes a stream look professional and cohesive. Without it, you’d just have solid-colored boxes covering your content, and that kind of defeats the whole purpose, right?
Can I Use Animated Overlays Without Lagging My Stream?
You absolutely can, but you have to be smart about it to avoid turning your stream into a slideshow. The hands-down best format for any animated stream element is WEBM. It packs fantastic visual quality into a file size that's way smaller than old-school GIFs, meaning it's much gentler on your CPU.
My advice? Keep your animations tasteful. A subtle glow or a gentle pulse is way more effective (and less resource-hungry) than some crazy, distracting animation looping constantly. Before you ever hit that 'Go Live' button with new animations, do a test stream. Keep an eye on the CPU usage meter in OBS or Streamlabs. This quick check will tell you if your PC can handle the load without dropping frames, ensuring a buttery-smooth experience for your viewers.
Ready to create stunning, unique graphics for your stream in minutes? With Bulk Image Generation, you can use advanced AI to generate backgrounds, assets, and more with simple text prompts.
Start designing your dream overlay today at https://bulkimagegeneration.com.