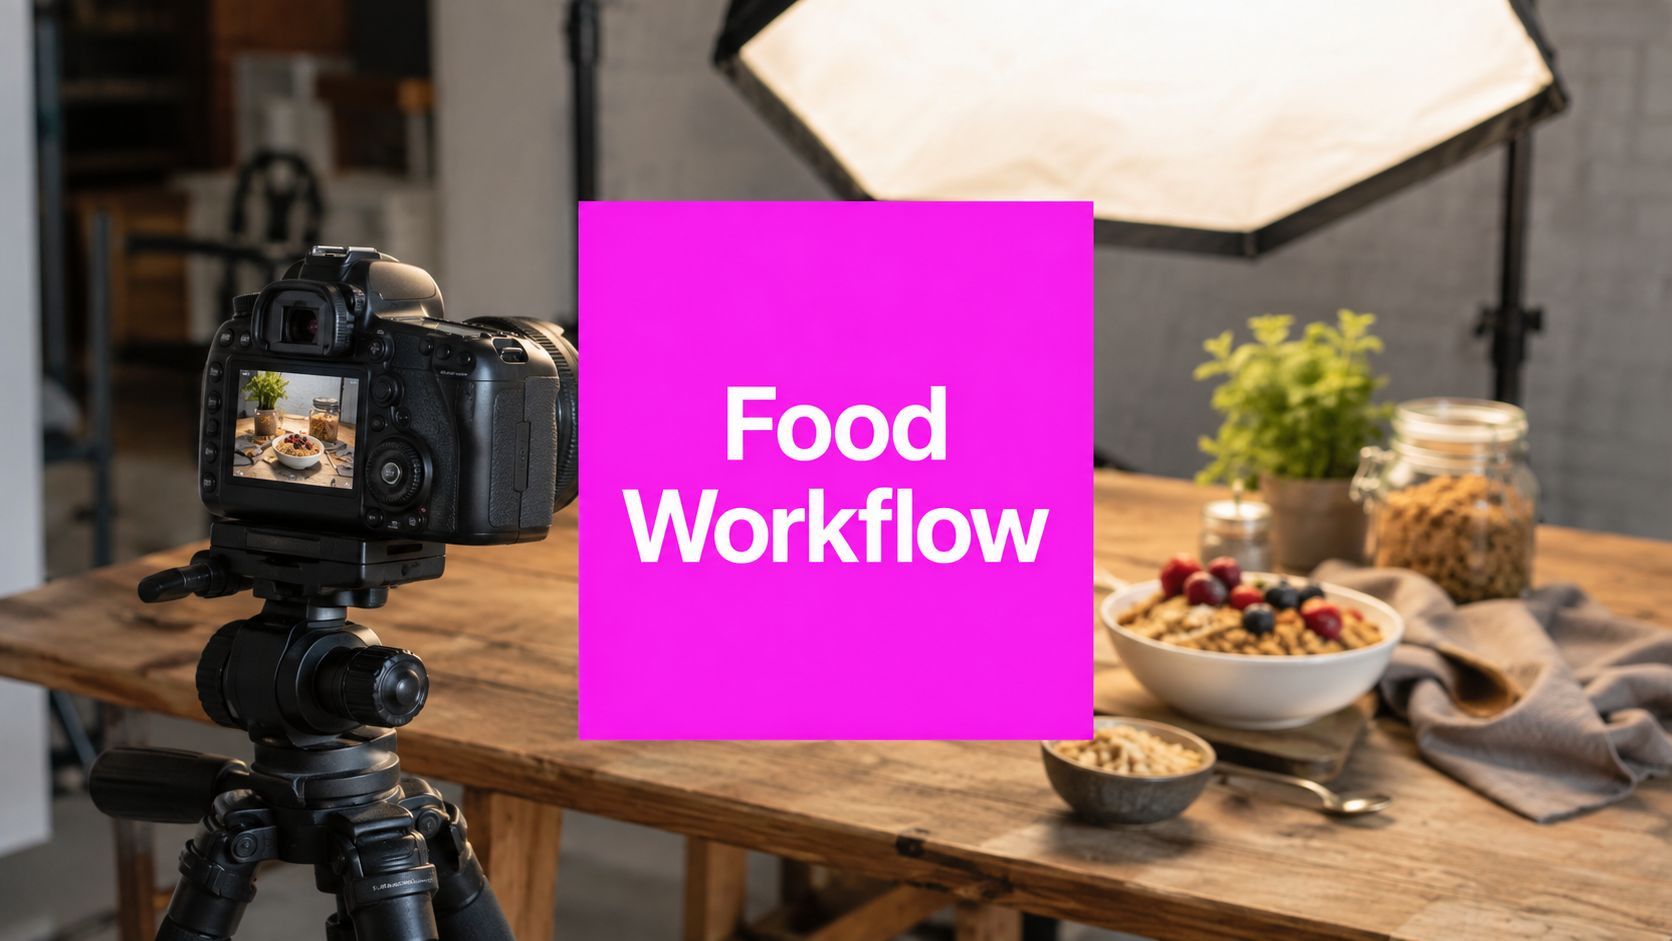
Food Product Photography: Workflow, Gear, and AI Shortcuts

Ryan Bennett • September 2, 2026
Master food product photography from brief to bulk export. Step-by-step workflow, gear, lighting, styling, retouching, and AI batch workflows that scale.
A Tuesday morning in a small studio rarely looks like a cookbook cover. Fifty granola SKUs are waiting on the prep table, three flavors need to be photographed before lunch, and the fourth must be restyled because the props team found a chipped bowl. Marketing still expects rich, magazine-quality images, but the deliverables are catalog thumbnails, product-detail-page heroes, marketplace carousels, social crops, and seasonal refreshes.
That tension defines modern food product photography. The craft began as experimental still life, with photography unveiled publicly in 1839 and William Henry Fox Talbot making an early food-centered photograph by 1845, showing peaches and a pineapple. An earlier milestone often cited is Nicéphore Niépce's 1827 image of a set table, where food-related objects appeared among the earliest photographic subjects. Commercial work matured more slowly, remaining largely black and white until the 1910s, gaining a major advertising role in the 1930s, and changing again as magazine and cookbook production accelerated in the 1990s. Artsy's history of food photography traces that movement from experimental still life to specialized commercial discipline.
The studio problem today isn't how to make one plate look appetizing. It's how to create accurate, consistent, adaptable images at catalog scale without allowing automation to invent a product the customer will never receive.
The Reality of Producing Food Product Images at Scale
A single hero frame can absorb an entire morning. A catalog shoot has to do something harder: repeat the same visual logic across every flavor, size, and format while keeping the food believable.
The photographer may start with a white-background pack shot, move to a three-quarter angle for the product detail page, then capture a texture close-up for a social crop. The stylist swaps toppings, the producer checks the label, and the retoucher marks which reflections must remain because they describe the packaging rather than distract from it. A chipped bowl isn't a minor inconvenience when the set has already been lit, tethered, and approved. It can interrupt the sequence, alter the shadow pattern, and force a crop review across the whole range.
Practical rule: Treat every image as a production asset, not an isolated photograph.
That distinction changes how the team works. Catalog photography needs a repeatable camera position, controlled light, predictable file names, and a shot list that survives handoffs between marketing, styling, photography, retouching, and legal review. A beautiful frame that can't crop cleanly or doesn't show the product label is often less useful than a quieter image that can travel across channels.
Why consistency beats isolated brilliance
Food imagery has become a mass visual language. Instagram has more than 942,112,858 images attached to four major food hashtags, #food, #foodporn, #instafood, and #yummy, according to Country Roads Magazine's coverage of food imagery. The same visual habits that made food compelling in magazines now influence ecommerce listings, delivery platforms, branded feeds, and mobile thumbnails.
That scale creates a practical challenge. Buyers compare products side by side, often in small interface tiles where inconsistent angles, color temperatures, or background tones make a range look careless. The studio therefore has two responsibilities that can appear opposed: create appetite and preserve evidence.
The hybrid production model
Traditional capture remains the foundation for anything involving the actual package, portion, ingredient structure, or physical texture. AI and batch tools can then extend the approved visual system into alternate backgrounds, crops, and repetitive variants.
Pure generation fails when it changes a seal, reshapes a jar, adds an ingredient, or makes a serving look larger than the product. Pure manual production fails when a small team spends hours repeating edits that could have been standardized. The reliable model is a human-shot source image plus controlled automation, with review at the points where visual invention could become a customer-trust problem.
Plan the Brief Before You Touch the Camera
The brief should answer production questions before anyone mounts a lens. If it only says “make the product look premium,” the studio will spend the shoot resolving decisions that marketing should have settled earlier.
Start with a one-page document containing:
- Primary channel: Identify whether the frame is for a product detail page, marketplace listing, delivery menu, social post, print piece, or several of these.
- Required crops: Record the aspect ratios and safe areas needed for each destination. Mark whether the product must remain centered, leave room for copy, or support a tight thumbnail.
- Product truth: List the packaging version, approved serving appearance, ingredient callouts, nutrition panels, allergen icons, and any claims that must remain readable.
- Visual direction: Define the palette, surface, shadow behavior, prop style, and acceptable level of imperfection.
- Deliverables: State the file format, resolution, naming pattern, color profile, and approval owner.

Build a shot list tied to the SKU
A numbered shot list should connect each frame to a SKU code, not just a flavor name. “Cocoa granola” can refer to several package sizes or revised labels, while a code gives the producer a precise handoff target.
For each SKU, specify the hero angle, front-facing pack shot, detail frame, lifestyle variation, and required crop. Add a status field for product received, styling approved, capture complete, retouching complete, legal review, and export. This turns a creative assignment into an auditable production record.
Reference mood from three sources. Review competitor product pages to understand category conventions, the brand's existing catalog to protect continuity, and one wildcard board to introduce a fresh texture, color, or prop idea. The wildcard should influence atmosphere, not override the brand system.
Finish the brief with a shared handoff document containing shot counts, deadlines per SKU, approval gates, and named owners. That document saves more time than a last-minute retouching shortcut because it prevents avoidable questions from reaching the set.
Gear, Camera Settings, and Lighting Setups That Hold Up
Product cameras are rarely the first place to spend extra budget. A dependable body, tethering support, and reliable color handling matter, but lenses, modifiers, stands, flags, and a stable workflow usually affect the final image more directly.
A 24-70mm zoom covers most product-detail-page frames. A 90-100mm macro lens reveals crumb structure, glaze, grain, and label texture without forcing the camera too close. For overhead work, a stabilized telephoto on a boom keeps the camera out of the set and helps maintain a consistent working distance.
I typically begin at ISO 100-200, use f/8 as a baseline, and move to f/11 when a flat lay needs more texture across the plane. Shoot tethered, capture RAW files, and record a safety JPEG for immediate previews. Set a custom white balance with a gray card, then keep that reference available for the first frame of each lighting change.
Match the light to the channel
A white-background hero image needs clean separation and controlled highlights. A lifestyle frame can carry deeper shadows, but it still needs enough information for the package and food to read at a reduced size. Direct sunlight is a poor default for glossy sauces and oils because hard highlights can erase surface detail. The standardized food-image protocol indexed by PubMed supports controlled, repeatable capture conditions, while practical food-photography guidance favors diffused natural light or softboxes over direct sun.
For a straightforward PDP hero, place one octa camera-left at roughly 45 degrees and add a white bounce on the opposite side. Glossy packaging often benefits from a two-light clamshell, while glass jars need a three-light arrangement with a gridded backlight to define the edge without flooding the label.
| Channel | Setup | Key Modifier | Aperture | Flagging |
|---|---|---|---|---|
| Product detail page | Single octa camera-left at 45 degrees | Diffused octa with white bounce | f/8 | Black flag on the shadow side |
| Marketplace thumbnail | Soft frontal light with controlled side fill | 1x1 diffusion panel | f/8 | Flags to protect label contrast |
| Social lifestyle frame | Side key with gentle background separation | 1x2 diffusion panel | f/8 to f/11 | Negative fill for shape |
| Glass jar detail | Three-light setup with gridded backlight | Grid plus diffusion | f/11 when depth requires it | Black flags around reflective edges |
Mark the tripod height and hero angle with tape. Test the framing against 1:1, 4:5, and 16:9 crops before shooting the range. For reflective packs, a polarizer can help, but it can also reduce the controlled sheen that makes a pouch or jar feel dimensional. For a broader treatment of repeatable ecommerce capture, this guide on product photography for eCommerce is useful as a planning reference.
Food Styling Tricks That Survive the Shoot
The stylist's first decision happens before the food reaches the set. Choose ingredients for stability as well as appearance. Firmer tomatoes hold their edges, thicker yogurt keeps a clean surface under warm lights, and a slightly sturdier garnish gives the team time to adjust the composition without watching it collapse.
A typical hero setup begins with the bowl, product, and key garnish placed according to the shot list. The stylist builds the visible face of the dish rather than overworking every hidden area. Parsley can sit just over the lip of a bowl to create scale and freshness, while a garnish scattered across the entire dish can make the image look accidental.

Control moisture, heat, and shape
Gloss needs management, not indiscriminate shine. A light glycerin spritz can keep a surface looking fresh, vegetable oil can bring controlled life to greens, and a cotton swab dipped in broth can restore a matte stew surface without flooding the food. Test every treatment under the actual light because a small highlight may become a blown patch once the strobe fires.
Visible steam is usually staged. Microwaved wet cotton balls placed behind a back wall can create a soft vapor effect without heating the dish or sending uncontrolled steam across the lens. Keep the steam source hidden and shoot in short bursts, since the effect changes quickly.
Ice cream is a timing problem. For a stable stand-in, stylists may carve spheres from Crisco, then match the surface texture and color to the intended product. A collapsing cake can often be reinforced with a spatula hidden inside a frosted seam, while a soft filling can be supported from behind where the camera can't see.
Let the props serve the food
Matte ceramics absorb highlights and tend to keep attention on the dish. Raw wood can appear lighter and more contrasty under strobes than it did during a tabletop test, so props should be checked under the final lighting rather than chosen under room light.
Styling test: Place the hero product, plate, and garnish under the finished light before committing to the full prop set.
That test catches competing colors, unwanted reflections, and surfaces that overpower the package. The best prop is the one that supports the product's position and category cues without turning the image into a separate still life.
On-Set Checklist, Retouching, and Batch Editing
Reshoots usually begin with a small omission. The white balance wasn't recorded, the hero angle wasn't marked, the tether path failed after the first frame, or the next prop wasn't ready when the product was at its best.
Run this checklist before the shutter:
- Record a white-balance reference: Place the gray card and color checker in the first frame of the setup.
- Mark the hero angle: Tape the tripod position, product footprint, and rotation of the package or bowl.
- Test tethering: Confirm that the camera, cable, capture software, and destination folder communicate correctly.
- Prepare storage: Clear the backup card and verify that local storage has room for the complete job.
- Stage the next frames: Position props and replacement food so the handoff is quick without disturbing the lighting.
- Inspect crop safety: Check the live frame against the required square, portrait, and other compositions.
- Review reflective surfaces: Look for lamps, flags, crew, and room reflections in glass or glossy packaging.
- Confirm product integrity: Check label version, lid position, serving size, crumbs, garnish, and visible defects.
Retouch in an order that protects texture
Start dust removal at 100% scale with a healing brush before resizing. At that view, you can distinguish sensor dust, stray crumbs, packaging scratches, and genuine food texture. Removing every irregularity produces a synthetic surface, especially on baked goods, grains, sauces, and rough paper labels.
Use restrained dodging around a bowl rim to restore contour, then handle glossy sauces with careful localized adjustments rather than broad contrast changes. When packaging is visible, give label readability its own pass. A clean shadow is useful, but a retouch that softens a nutrition panel or changes an allergen icon creates a production problem.
Build repeatability from the approved hero frame. Save exposure, white-balance, and contrast treatments as presets in Capture One or Lightroom, then convert stable Photoshop corrections into an action sequence. Batch processing can handle file opening, dust cleanup rules, resizing, and export preparation across a large catalog, but it shouldn't decide whether a food hue still looks natural or whether glass reflections describe the actual package.
For channel adaptation, a bulk image resizer for catalog production can help prepare consistent dimensions after the master image has been approved. Keep the original RAW, layered working file, and final exports separate so a marketplace crop never becomes the only surviving version.
Human review belongs at the edge cases: food color, reflective glass, soft texture, visible claims, and any frame that could make the delivered product look different.
Where AI Belongs in a Food Product Photography Pipeline
AI earns its place when it removes repetition without changing the evidence in the photograph. It struggles when the requested change affects what the customer believes they're buying.
A photographed granola bag can become a controlled variant on white, slate, or a lifestyle background. A clean source frame can support background extension for a marketplace crop, automated background removal for thumbnails, localization of approved text treatments, or upscaling of older assets. These tasks preserve a known product while expanding how the team can publish it.
The boundary matters. A generated background can add space around a jar, but it shouldn't redraw the jar. A localization workflow can create a new layout for approved copy, but it shouldn't rewrite nutrition facts. A cleanup model can remove a distracting prop, but it shouldn't add ingredients that aren't in the pack or plate.
Five productive uses
- Variant backgrounds: Generate or composite alternate environments from an approved product photograph while preserving the package geometry.
- Crop extension: Add plausible surrounding space when a hero frame needs a wider composition, then inspect the product edge and shadow manually.
- Catalog isolation: Remove backgrounds consistently for thumbnails and product grids.
- Approved localization: Adapt layouts around verified label and campaign copy, with a human checking every text element.
- Legacy asset recovery: Upscale and clean older files when reshooting isn't practical, while treating recovered detail as enhancement rather than newly captured evidence.
Three places to slow down
Consumption claims, nutrition inference, child-appealing imagery, and products the brand hasn't shipped require a much stricter workflow. A generated bowl that looks more generous than the actual serving can undermine trust even if the package itself remains accurate. The same problem appears when AI adds steam, toppings, or ingredients that imply a formulation the customer won't receive.
Use a sidecar record for every AI-touched file. Log the prompt, seed, model version, source asset, requested operation, and reviewer name. That record gives legal and brand teams a short audit path instead of forcing them to reconstruct what happened from an exported JPEG.
For teams combining real capture with controlled generation, this tutorial on AI product photography offers a practical reference for creating product variations. Bulk Image Generation is one option for producing batches of visual variants and applying repetitive image operations, but the approved photograph should remain the source of truth for product identity.
The End-to-End Workflow You Can Reuse Every Week
A reusable pipeline starts with intake, not inspiration. Collect the physical product, packaging references, approved ingredient claims, deadlines, delivery dimensions, required variants, and the person responsible for each approval.
Turn that information into a shot list, then lock the capture plan before the set opens. Record styling notes, file naming, lighting presets, crop requirements, and handoff owners in the same working document. Test one representative SKU first. That frame exposes problems with reflections, label placement, food stability, and crop safety before the team repeats them across the range.

The production sequence
- Intake and verify: Confirm products, packaging versions, claims, channels, deadlines, and output dimensions.
- Plan the set: Approve references, write the shot list, assign owners, and prepare props and styling notes.
- Test one frame: Capture a representative product and review focus, color, reflections, texture, label accuracy, and crop room.
- Capture the range: Shoot RAW files tethered to local storage, then back up the completed set.
- Approve the hero: Retouch one lead frame carefully, preserving texture and correcting only visible defects.
- Batch the safe work: Apply background removal, color corrections, resizing, and repetitive variants while keeping product geometry unchanged.
- Review and archive: Conduct human approval, export channel masters, attach the production report, and preserve working files, references, prompts, and final outputs.
AI belongs in ideation, cleanup, localization, background treatment, and repetitive variations. It shouldn't alter nutrition facts, ingredients, package size, serving reality, or recognizable product geometry. Final review stays human-led because those details carry commercial and regulatory consequences.
Teams that also need motion should treat video as a separate deliverable rather than forcing still images to do everything. Current trend coverage points toward real food in real light, process imagery, micro-video, pours, steam, and other movement cues, but it also highlights the unresolved operational questions around category fit, page speed, platform requirements, and return on investment. Coverage of 2026 food photography trends and visual trends for 2026 are useful starting points, but the production team still needs to test motion against its own channels and audience.
For larger campaigns, the same handoff discipline used by commercial video production companies can help. Assign ownership for creative approval, product accuracy, capture, post-production, localization, and delivery rather than letting every decision return to the photographer.
At the end of each job, log what slowed the shoot. Update the brief template, lighting presets, prop inventory, file naming, and approval checklist while the problems are still fresh. For teams exploring controlled variations, this guide to creating digital product images with AI generators can support experimentation without replacing the source photography.
If your catalog needs consistent food product photography across backgrounds, crops, and channels, use Bulk Image Generation to handle controlled batch variations and repetitive image preparation around your approved studio captures. Start with one representative SKU, document the review rules, and scale only after the product geometry, label accuracy, and visual consistency hold up.
