
How to Draw on Image With AI Like a Pro

Aarav Mehta • December 12, 2025
Learn how to draw on image using powerful AI tools. Go beyond basic edits with practical tips for creating stunning visuals for marketing, design, and more.
Knowing how to draw on an image might sound like a job for a graphic designer, but it’s actually one of the most practical skills you can have today. Whether you’re using a high-end tool like Photoshop, a smart AI editor, or just the markup feature on your phone, the right tool depends entirely on what you’re trying to accomplish.
Why Drawing on Images Is a Strategic Skill
Let’s get one thing straight: this isn't about becoming the next Picasso. It's about clear communication. A few simple lines, a highlight, or a quick diagram can turn a generic photo into a compelling message. That’s the real magic here.
This skill used to be locked behind expensive software and a steep learning curve, but that's no longer the case. The whole game has changed.
The market for digital drawing tools is booming for a reason. It's expected to jump from around USD 425.8 million in 2025 to a massive USD 1,370.5 million by 2035. You can dig into the full report on this market growth to see just how fast things are moving. This isn’t just about artists; it’s about everyone finding new ways to get their point across visually.
Who Benefits From This Skill?
This is way more than just a fun party trick. It has real-world applications that save time and make an impact.
- Marketers: Ever wanted to point out a new feature on a product shot? Or circle a call-to-action on a social media post? This is how you guide your audience's eyes right where you want them.
- Educators: Imagine annotating a historical map, circling key parts of a diagram, or giving visual feedback directly on a student's project. It makes learning far more interactive and clear.
- Small Business Owners: Forget hiring a designer for every little thing. You can whip up quick promotional images, add a personal touch to product photos, or design a simple ad in minutes.
The goal isn’t to create a masterpiece. It's about adding a layer of information or emphasis that makes your image clearer, more persuasive, and more engaging for your audience.
Before we get into the step-by-step guides, picking the right tool is half the battle. You’ve got options that range from incredibly powerful and complex to fast, simple, and surprisingly capable.
Choosing Your Tool to Draw on an Image
The table below breaks down the most common options to help you figure out where to start. Each has its own strengths, whether you need professional-grade control, AI-powered speed, or just a quick annotation on the go.
| Tool Type | Best For | Learning Curve | Key Feature |
|---|---|---|---|
| AI-Powered Editors | Batch processing, creative enhancements, and smart annotations. | Low | Automated features, smart object recognition, and batch workflows. |
| Traditional Software | Professional graphic design, detailed photo editing, and complete creative control. | High | Advanced layering, extensive brush libraries, and precise selection tools. |
| Mobile Apps | Quick annotations, social media markups, and on-the-go edits. | Very Low | Simplicity, touch-friendly interface, and instant sharing. |
Think about your primary need. If you're creating dozens of similar images for a campaign, an AI tool will be your best friend. For a single, highly polished design, traditional software is the way to go. And for those moments when you just need to circle something and send it off, your phone is perfect.
A Practical Guide to Drawing on Images With AI
Jumping into an AI editor is refreshingly simple. Most modern tools, like the one we built into Bulk Image Generation, are designed to get you from a rough idea to a finished image with as little friction as possible. The first step is always the same: get your base image into the editor. This is usually just a simple drag-and-drop or a quick file upload.
Once your image is loaded, take a second to get your bearings. You’ll typically see your image in the center with a toolbar off to the side or up top. This is your creative arsenal—brushes, masks, color pickers, and all the other good stuff. Don't let it overwhelm you; we're just going to focus on the core features you need to get drawing.
Mastering Your Brush and Canvas
The brush tool is where the magic happens. Before you even make your first stroke, it’s worth poking around its properties. AI editors let you fine-tune a few key settings that completely change the outcome:
- Size: This one’s obvious—it determines how thick your line is. A smaller size is perfect for detailed notes, while a bigger one is great for highlighting entire areas.
- Opacity: This controls how see-through your drawing is. If you lower the opacity, the original image will show through, which is great for creating subtle effects like a soft glow on a new product.
- Hardness: A hard brush gives you crisp, sharp lines—perfect for diagrams or technical callouts. A soft brush, on the other hand, produces feathered edges that are ideal for blending or adding atmospheric effects.
Experimentation is everything here. For example, a marketer might use a soft, low-opacity red brush to draw a gentle circle around a new feature on a software mockup. It grabs attention without being aggressive. An educator could use a hard, high-opacity blue brush to trace the flow of a process on a schematic, making it crystal clear.
The real power move with these tools is non-destructive editing. By drawing on a separate layer, you leave your original image completely untouched. This gives you total freedom to experiment, erase, and tweak your work without any risk.
This simple workflow—idea, drawing, sharing—is the backbone of effective visual communication. It's fast and flexible.
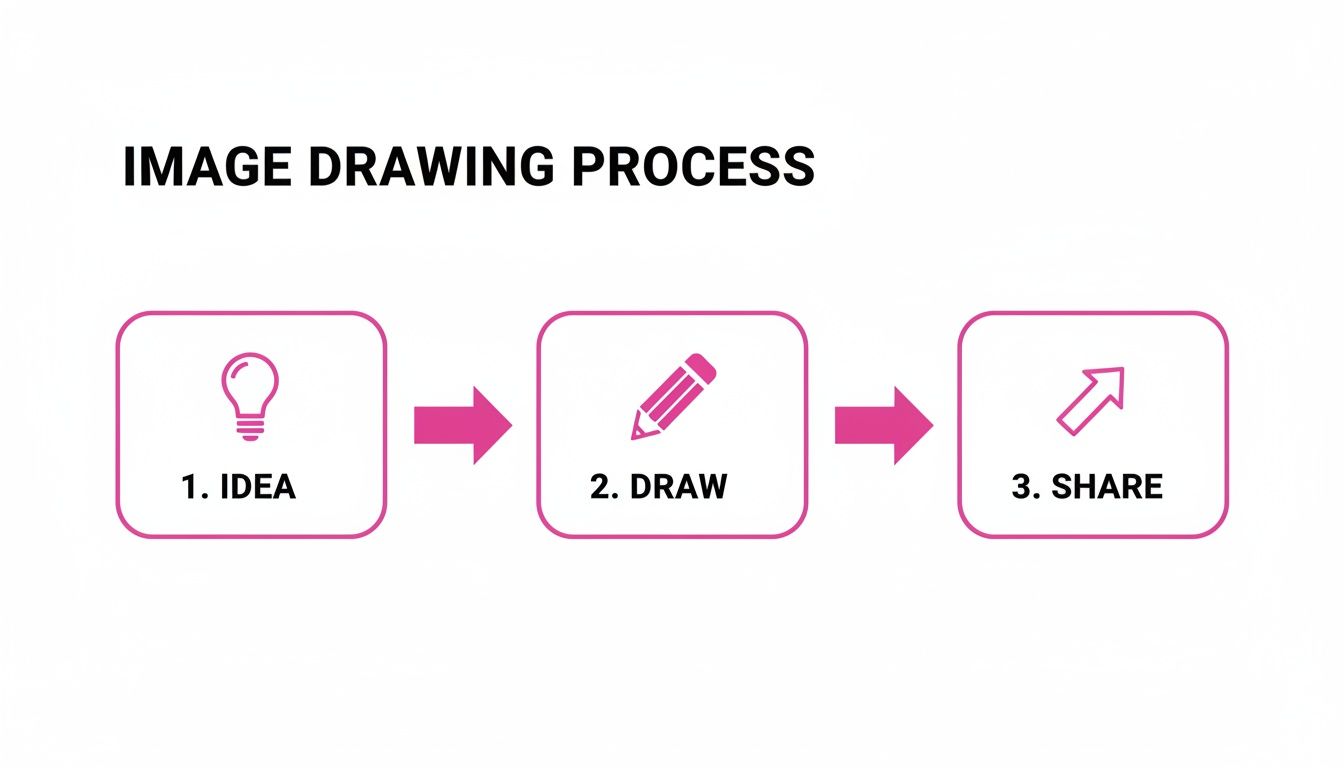
This process really just boils down the direct path from concept to execution, showing how quickly you can bring an idea to life right on the canvas.
Putting It All Together
Let's walk through a real-world scenario. Say you have a product photo and you want to highlight the unique texture of the material. You’d start by creating a new layer. Then, you'd grab a brush with a medium size and a soft edge. You could even use the color picker to sample a color directly from the image itself to make sure your annotation blends in perfectly.
From there, you just gently trace the area you want to emphasize. If the effect feels a little too strong, just dial back the layer's opacity. Easy.
And don't forget, you can also use our free AI image generator to create entirely new visual elements to add to your image. To stay on top of what’s possible, it’s always a good idea to keep an eye on current AI image creation trends for fresh inspiration. Combining direct drawing with AI generation really opens up a ton of creative doors.
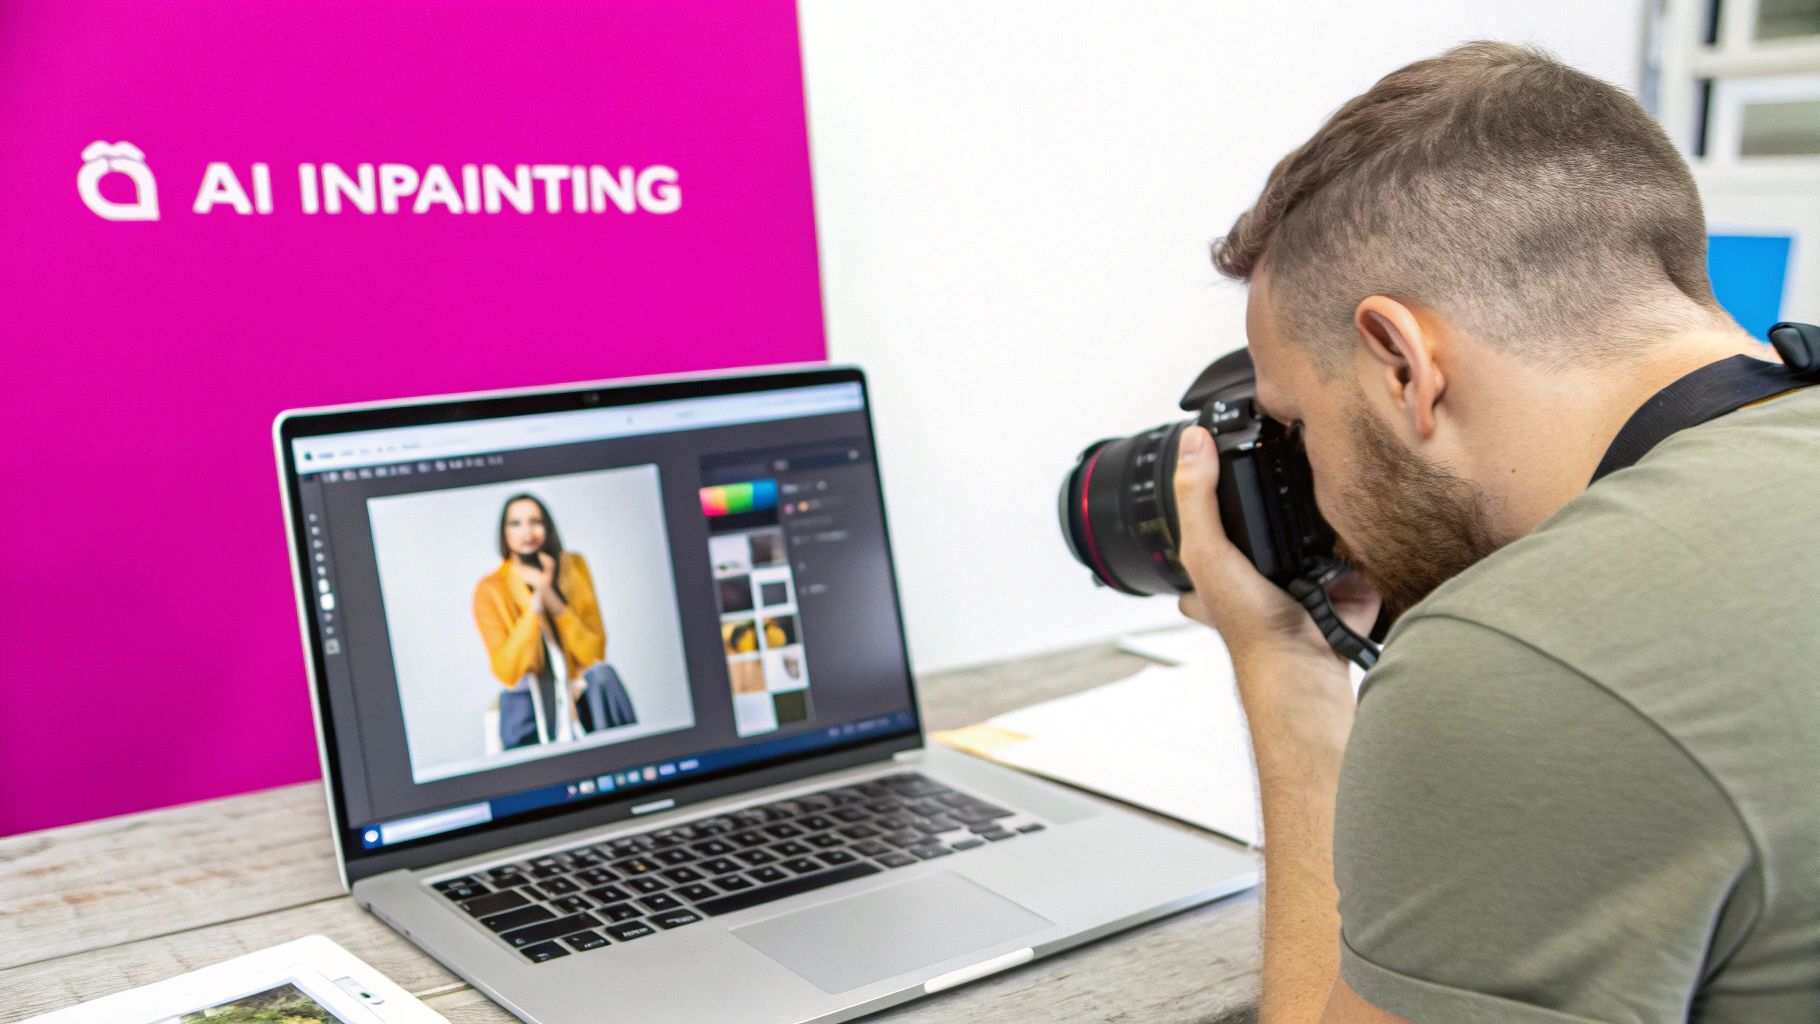
Unlocking Creative Power With AI Inpainting and Masks
Alright, let's move beyond just drawing lines on top of an image. This is where AI editing gets really interesting: inpainting and masks. Think of it less like adding a sticker and more like fundamentally changing what's already in the picture.
The concept is surprisingly simple but incredibly powerful. You just draw over a part of your image to select it—this is your "mask"—and then you tell the AI what you want to do with that specific area. It could be anything from removing a distracting coffee cup from a desk to changing the color of a shirt or even generating a completely new object out of thin air. Forget spending hours with clumsy clone stamps and healing brushes; you just paint a rough mask and let the AI do the heavy lifting.
This workflow shift is exactly why so many creative pros are jumping on board. By the mid-2020s, an estimated 20–30% of digital artists were already using AI in their projects. This isn't just about cool art, either—it has a real business impact. Some e-commerce sellers have seen conversion rates jump by up to 40% just by improving their product photos with AI. You can dig deeper into how AI is shaping digital art if you're curious.
Practical Scenarios for AI Masks
Think of a mask as your instruction zone. Everything inside the area you paint becomes editable. The AI knows to focus all its changes only within those boundaries, leaving the rest of your image completely untouched.
Here are a few ways I’ve seen this work wonders:
- Effortless Object Removal: A street photographer can quickly paint over a piece of trash on the sidewalk, prompt the AI to "remove object," and watch it intelligently fill in the space with the right pavement texture. No more tedious patching.
- Creative Additions: A marketer getting ready for a holiday sale can draw a mask on a product table and prompt, "add a small, festive gift box." The AI generates a realistic prop that actually matches the scene's lighting.
- Instant Style Changes: You could mask a person's t-shirt in a portrait and just type, "change shirt to a blue plaid pattern." Done. The clothing is instantly transformed.
The real magic here is that your drawing doesn't need to be perfect. A rough outline is usually all the AI needs to understand what you're pointing at. This speeds up the whole editing process like you wouldn't believe. You're no longer the pixel-pusher; you're the creative director guiding the AI.
Putting It All to Work: Real-World Wins for Marketers and Creators
Okay, so we’ve covered the "how," but the real magic happens when you connect these simple drawing techniques to tangible results. We're not talking about becoming a digital artist overnight. This is about making quick, smart visual tweaks that directly support your goals, whether that’s boosting sales or making a lesson stick.
Think about a social media marketer staring at a new ad creative. Instead of just posting it, they could take 30 seconds to draw a bright, can't-miss-it circle around the "Shop Now" button. It’s a simple visual nudge that guides your audience's eyes right where you want them to go. Another classic move? When you’re announcing a new software feature, just draw a few quick arrows on a screenshot to point out what’s new. Boom—you’ve turned a boring update into a mini-tutorial.

Driving Business and Educational Goals
For business owners, especially in e-commerce, these skills make your product photos work so much harder. A quick, hand-drawn outline to emphasize a unique material on a handbag or a subtle glow added to a product’s best feature can make it instantly more desirable. We actually dive deep into creating stunning visuals like this in our guide on AI product photography, showing you how to scale up that "wow" factor.
Educators are finding huge value here, too. It’s one thing to describe something, but it’s another to show it.
- Making Concepts Click: Imagine trying to teach the water cycle. Drawing directly onto a diagram to illustrate evaporation and precipitation makes an abstract idea feel concrete and easy to grasp.
- Giving Better Feedback: Instead of just leaving text comments, a teacher can circle a mistake on a student's math homework or quickly sketch the correct way to solve a problem. It's faster and often clearer.
This hands-on, visual-first approach isn't just a niche trick; it's a core skill in a booming industry. The global digital art market is set to explode from USD 7.24 billion in 2025 to a massive USD 30.69 billion by 2035.
These same creative principles are what power even more advanced tools. For example, a good AI Ad Generator uses these ideas of visual emphasis and clarity to build compelling ads from the ground up, proving that a little bit of smart annotation goes a long way.
Quick Guides for Drawing in Other Popular Tools
While AI editors are fantastic for speed and sparking new ideas, sometimes you just want to stick with a tool you already know and love. Many of us designers and photographers practically live in Adobe Photoshop, and for good reason. When you need to draw on image assets with absolute precision, its control is unmatched.
The go-to is, of course, the Brush Tool (B), which offers a dizzying array of textures and styles. But here's the real pro move I learned years ago: always work with Layer Masks. Instead of painting directly on your image—a move you'll regret later—you create a mask and paint on that with black or white. It's a completely non-destructive workflow, letting you tweak, erase, and perfect your annotations without ever touching the original photo. This is a lifesaver for detailed client work.
Drawing on Your Phone
What about when you’re away from your desk? Your smartphone is a surprisingly powerful tool for quick markups. Both iOS and Android have solid built-in features that are perfect for edits on the fly.
- On iOS: Just open a photo, hit "Edit," then tap the "Markup" icon (it looks like a pen tip). You'll get instant access to pens, highlighters, and shape tools.
- On Android: In Google Photos, open your image, tap "Edit," and scroll over to "Markup." It’s got a similar toolkit for quick notes and drawings.
These mobile options are perfect for circling something in a photo for a friend or quickly adding notes to a screenshot for a colleague. They’re all about speed and convenience, not deep editing features.
While these traditional and mobile tools are essential parts of any creative toolkit, they require you to work on each image one by one. This is where AI really shines, especially when you need to get creative or process a whole batch of images at once.
And if you're ever stuck for creative fuel for your next project, our free AI image prompt generator is a great way to spark some fresh ideas, no matter which platform you're using.
Common Questions About Drawing on Images
As you start drawing on images more often, you'll inevitably run into a few practical questions. Nailing these small details can make a massive difference in your workflow and the quality of the final product. Let’s clear up some of the most common hurdles you might face.
One of the first things people ask is about file formats. It sounds technical, but getting it right is crucial for preserving your work.
What Is the Best Format to Save an Image After Drawing on It?
There’s no single "best" option here—the right choice depends entirely on what you plan to do with the image. Think of it as choosing the right tool for the job.
- PNG for Transparency: If your drawing has a transparent background, like a logo you want to float over a webpage, PNG is your go-to. It handles transparency perfectly without any weird artifacts.
- JPG for Web Use: When transparency isn't a concern, a high-quality JPG is fantastic. It gives you a great balance of sharp image quality and a small file size, which is perfect for loading quickly on websites, blogs, and social media.
- Native Formats for Future Edits: Think you might need to tweak the drawing later? Always save a copy in the tool's native format, like a .PSD file for Photoshop. This keeps all your layers, effects, and brushes intact so you can pick up right where you left off.
Another big worry is making a mistake. It’s a terrible feeling when you think one wrong move has ruined the entire image. Luckily, modern tools are built for experimentation.
The best editors work non-destructively. This means your drawings live on a separate layer from the original photo. You get total freedom to experiment, erase, and adjust things without ever risking the original image.
If something isn’t working, you can just hide or delete the drawing layer to get back to the original. For a quick fix, the universal "Undo" command (Ctrl+Z or Cmd+Z) is your best friend. For more precise clean-up, the eraser tool will take care of any specific lines you want to get rid of. This kind of flexibility lets you work with confidence, knowing no mistake is truly permanent.
Ready to create stunning visuals without the usual headaches? With Bulk Image Generation, you can draw, annotate, and use powerful AI to edit hundreds of images in minutes, not hours. Start creating for free today and see the difference for yourself.