
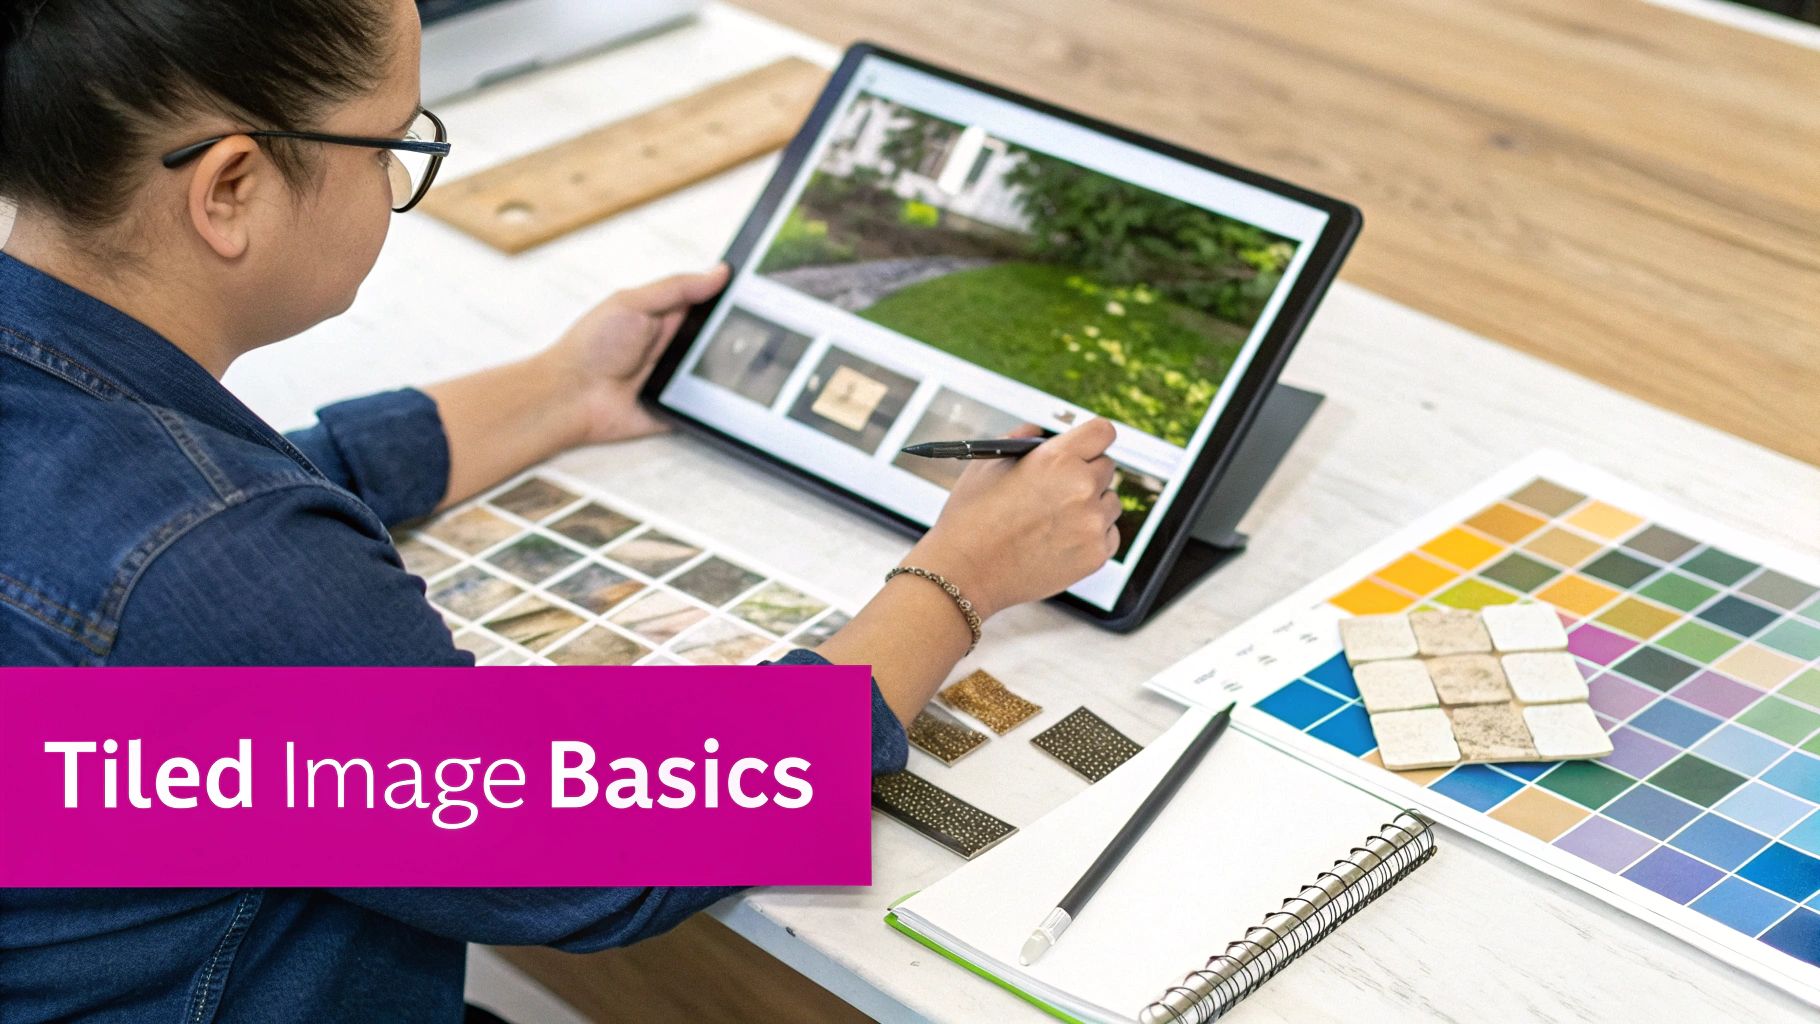
Create a Tiled Image Seamlessly with AI Tools

Aarav Mehta • July 13, 2025
Learn how to create a tiled image effortlessly with AI. Discover tips and tools to generate perfect seamless tile images quickly and easily.
The old-school way to create a tiled image was a bit of a grind. You'd start with a decent source image—something with a simple background was always best—and then jump into an editor like Photoshop.
From there, you’d apply an "Offset" filter to see where the seams didn't line up. Then came the tedious part: using tools like the Clone Stamp or, more recently, generative fill to painstakingly blend those edges until you had a seamless, repeatable pattern.
Laying the Groundwork for Your Seamless Pattern
Before you even think about generating a single pixel, you need a plan. A truly great pattern doesn't just appear out of nowhere; it starts with a clear vision shaped entirely by its final destination.
Think about it. The needs for a subtle website background are worlds apart from a vibrant, busy fabric print or a photorealistic texture for a 3D model.
Defining your project's purpose right from the get-go is the single most important thing you can do. This decision dictates everything that comes next, from the prompts you feed the AI to the finishing touches you add in post-production.
Choosing Your Creative Toolkit
With your concept locked in, it’s time to gather your tools. You’ll need a solid combination of software to get the job done right: an AI image generator to create the raw material and a photo editor to refine it into a polished, final asset.
To make your life easier, here’s a breakdown of the essential tools you’ll need.
Essential Tools for AI Tiled Image Creation
This table outlines the software categories you'll need to generate, refine, and assemble your tiled images effectively.
| Tool Category | Example Software | Primary Function |
|---|---|---|
| AI Image Generator | Midjourney, DALL-E 3, Stable Diffusion | Generates the initial visual elements and patterns from text prompts. |
| Photo Editor | Adobe Photoshop, GIMP (free) | Blends seams, adjusts colors, and handles final assembly. |
| Upscaling Tool | Gigapixel AI, various online upscalers | Increases the resolution of your final tiled image without losing detail. |
Getting the right combination of these tools is half the battle. Once you're set up, you can focus on the creative side of things.
Why Planning Prevents Problems
I've seen it happen time and time again: someone gets excited, jumps straight into an AI generator, and ends up with a mess. Skipping the planning stage is a surefire way to get frustrating results.
You get patterns that don't tile correctly, styles that clash with your project's aesthetic, or source images that are a nightmare to blend together. Taking just a few minutes to strategize first will save you hours of frustrating cleanup work later on.
The secret to a beautiful, endlessly repeating design isn't just generating a good image; it's the careful refinement that happens afterward. This foundational work is what separates a disjointed mess from a polished, functional pattern.
A well-planned approach is your best guarantee that the final tiled image will not only look stunning but also work flawlessly wherever you need it.
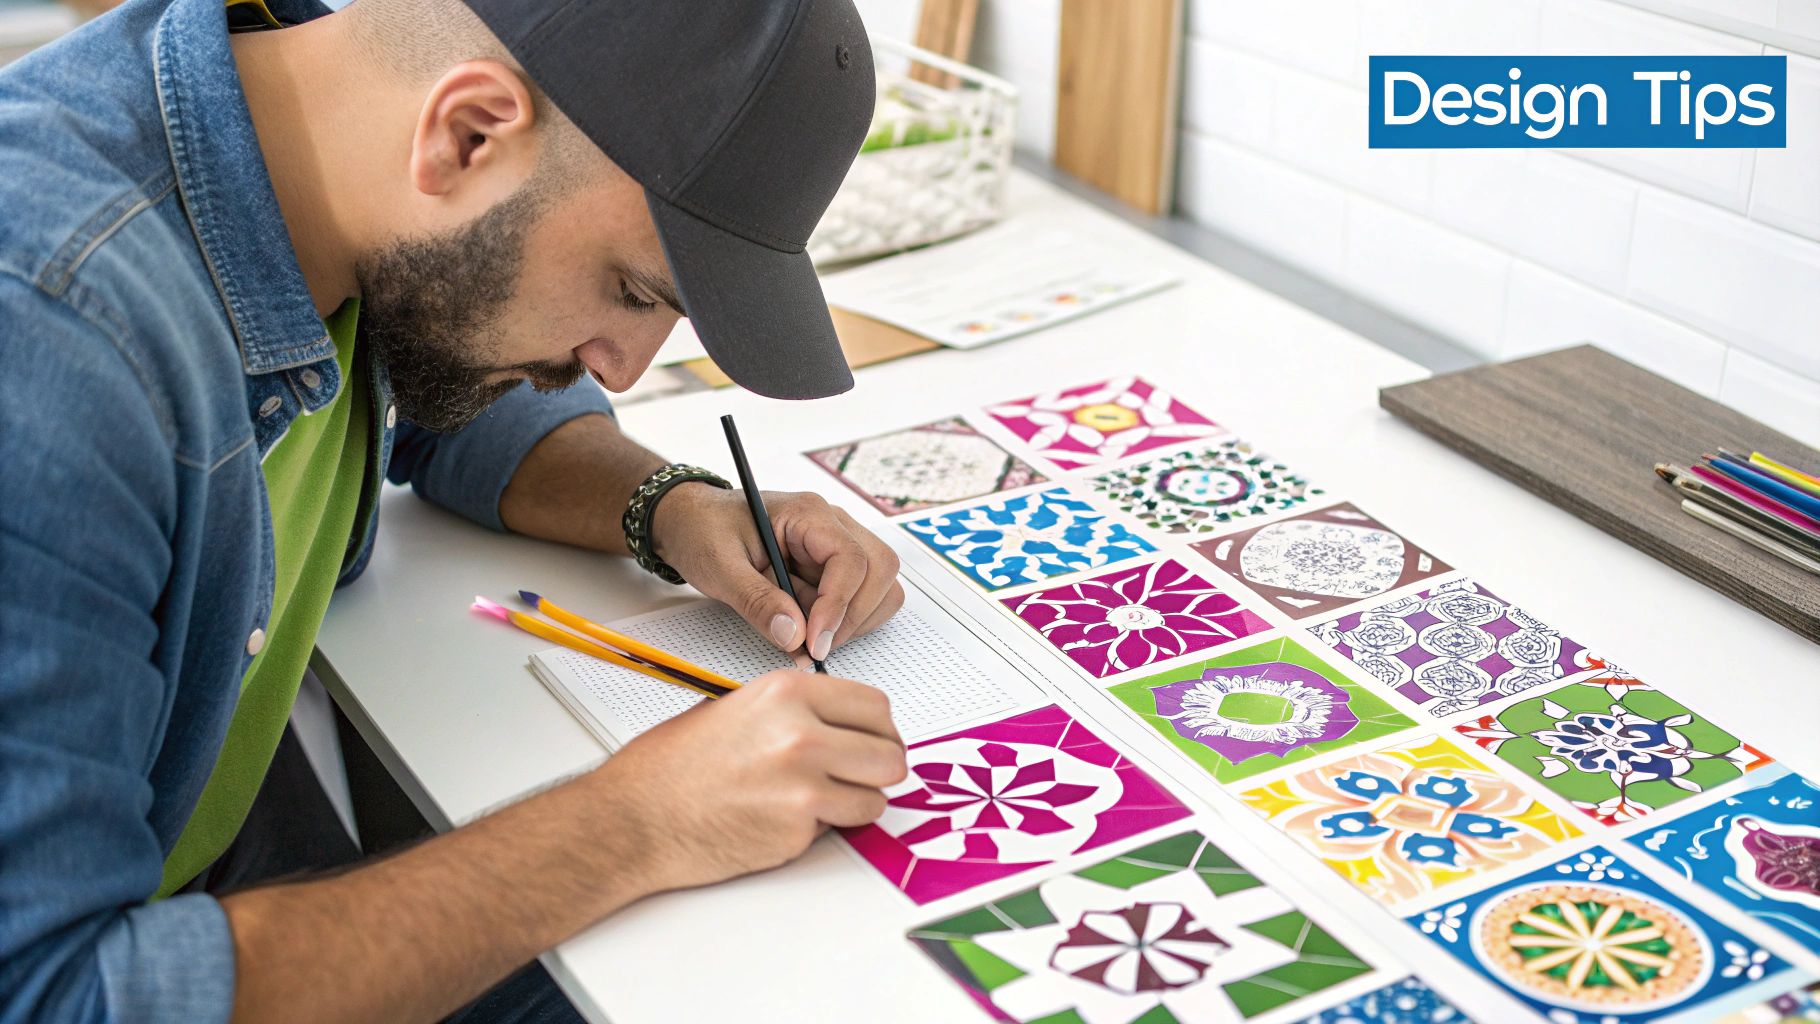
Crafting Prompts for Tile-Friendly AI Images
If you want a great tiled image, it all starts with the prompt. Giving the AI vague instructions is a recipe for generic, unusable results. You can't just ask for ‘flowers’ and expect magic. To get images that are actually easy to tile, you need to be specific and guide the AI from the very beginning.
Think about it. A lazy prompt like ‘watercolor poppy’ might spit out a pretty picture, sure. But that picture could have a distracting background, weird shadows, or get cut off right at the edge—making it a nightmare to blend later. The real goal is to get it right from the start, minimizing how much cleanup you have to do in Photoshop.
A much better way to work is to build a detailed prompt that anticipates and solves these tiling problems before they even happen. It’s about thinking like a designer and a developer at the same time, telling the AI exactly what to put in and—just as importantly—what to leave out.
From Vague Ideas to Precise Instructions
So, what does a strong prompt actually look like? It considers everything: composition, background, and style. Let's take that simple poppy idea and make it work for us.
- Weak Prompt:
watercolor poppy - Strong Prompt:
delicate watercolor poppy, isolated element, centered, neutral background, minimalist, high detail
See the difference? This level of detail tells the AI to create an object that’s practically begging to be cut out and placed into a pattern. Adding terms like ‘isolated on a white background’ or ‘centered element’ is a simple trick to stop the AI from awkwardly chopping your subject in half at the border. In the same way, using negative prompts to tell it to exclude things like shadows or complex textures can save you hours of manual editing.
If you're ever feeling stuck or just need some fresh ideas, a specialized tool can be a huge help. You can get your creative juices flowing and build much better instructions with a free AI image prompt generator.
I've found that the most tedious part of making a tiled image is fixing the seams where the images meet. A well-crafted prompt that gives you a clean, isolated element on a simple background can easily cut your editing time by over 50%.
Ultimately, your prompt is the blueprint. By providing crystal-clear instructions, you're not just hoping for a good result; you're engineering one. When you're refining your prompts and looking at the AI's outputs, knowing a bit about techniques like how to annotate images for AI training success can also give your final images a noticeable quality boost. This kind of planning is what separates amateur patterns from truly professional, seamless designs.
Using AI Batch Processing to Create Variations
If you've ever tried to manually create dozens of similar but slightly different images, you know it's a creative dead end. This is where the real power of AI comes in, letting you create a rich, organic pattern that doesn’t feel robotic or repetitive. The secret is AI-driven batch processing.
This approach is a game-changer. It lets you automatically generate hundreds of unique variations from a single core image or prompt. Instead of one-off generations, you set up a single batch job in your tool of choice. This lets you explore subtle differences across a massive set of images without the soul-crushing manual effort.
Automating Variation for Organic Patterns
To get started, you can use seed variations or just slightly alter the text prompts for each image in the batch. For instance, you could tell the AI to generate a batch of 50 leaves, each with minor tweaks to its color, scale, or orientation. It's this small dose of controlled chaos that ultimately makes the final tiled image feel so natural and hand-crafted.
To get the most out of batch creation, you need to be smart with your settings:
- Batch Size: I usually start with a batch of 20-50 images. It’s enough to build a solid library of assets without getting overwhelmed.
- Prompt Nuances: Introduce small variables. Think "slightly curled leaf" vs. "flat leaf" or "deep green" vs. "light green." This is crucial for ensuring diversity.
- File Organization: Always, always save your batches into clearly named folders. This seems simple, but it's a critical step that will save you a massive headache later in your workflow.
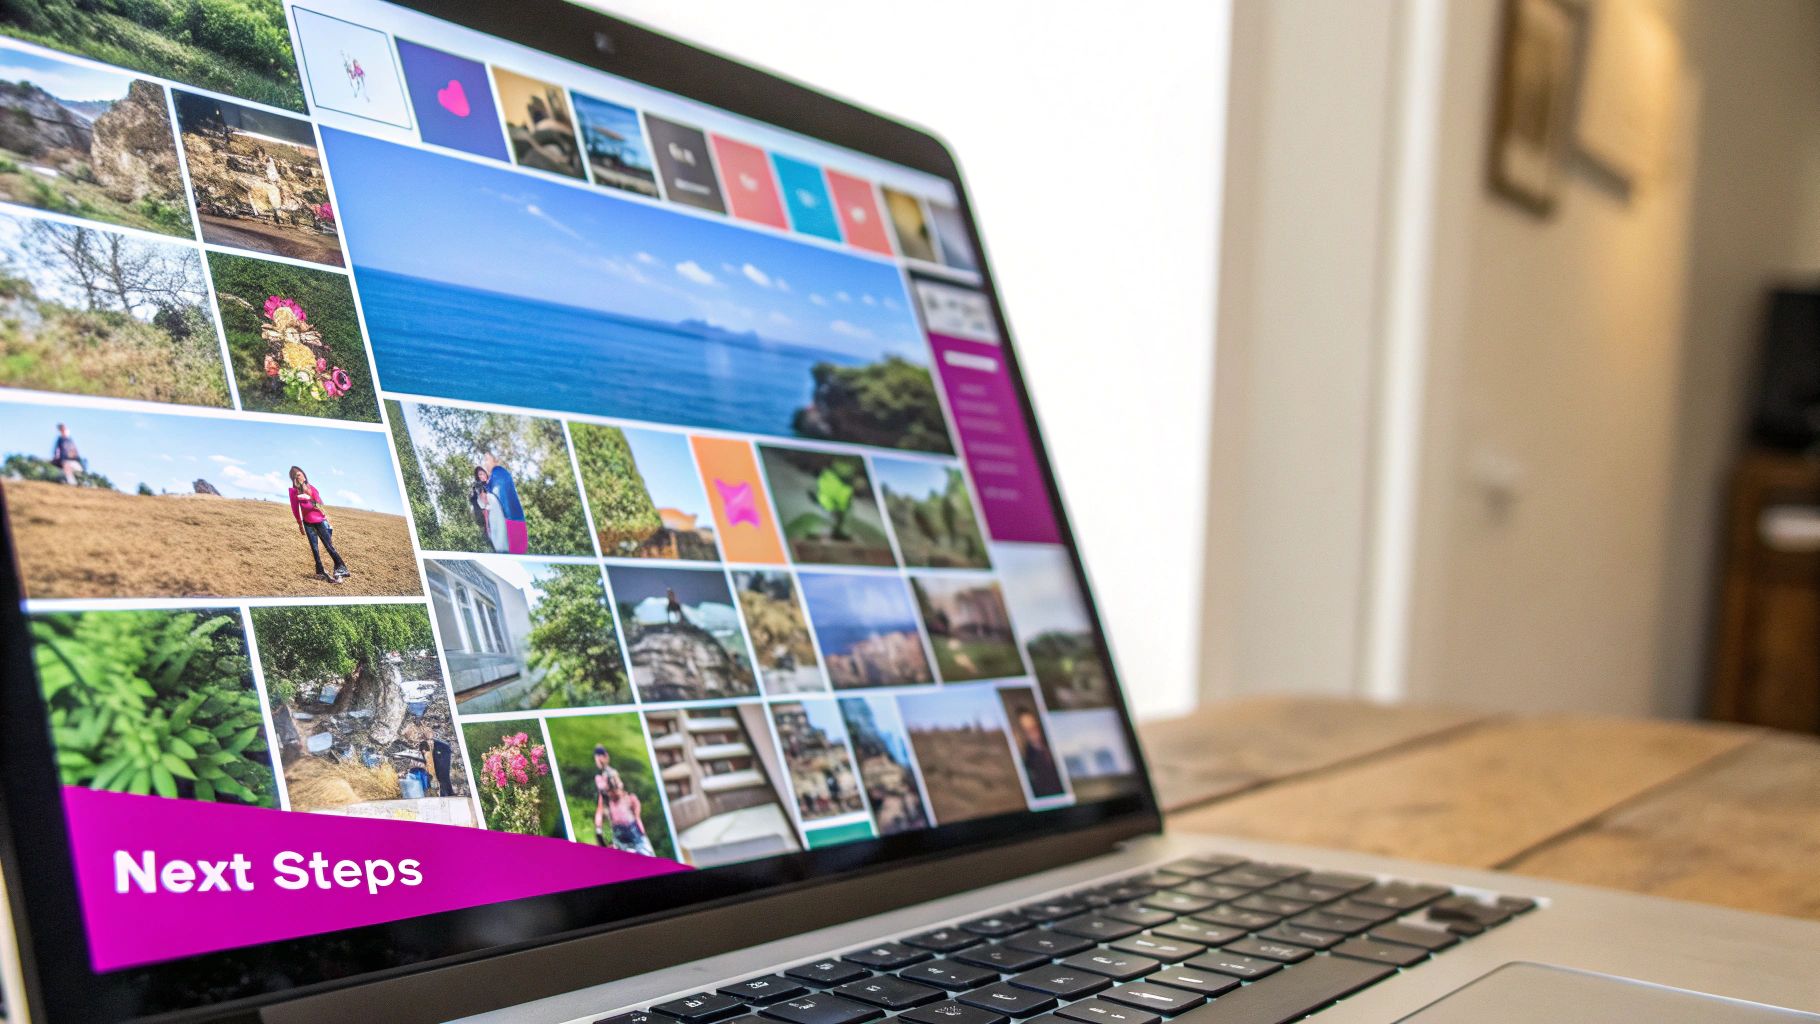
The general process is actually quite straightforward.

This visual gives you a good sense of the basic flow, from selecting a base image all the way to generating a final pattern. For a more detailed walkthrough and to check out some different platforms, you can find helpful guidance on a powerful AI image generator.
By generating a large pool of varied assets upfront, you give yourself the creative freedom to build a more dynamic and visually interesting composition during the final assembly stage. It’s a huge time-saver that directly improves the quality of your work.
Assembling and Refining Your Tiled Masterpiece
Alright, you've got a folder packed with unique, AI-generated assets. Now for the fun part—this is where your creative vision and technical skills come together to build a professional-grade pattern from those individual pieces. For this task, you’ll want a solid photo editor like Adobe Photoshop or the open-source GIMP.
Your first move is to arrange your elements on a square canvas. I typically start with something like 2048x2048 pixels. Don't stress about getting the edges perfect just yet; the main goal here is to create a balanced and dynamic composition. Start rotating, resizing, and layering your AI assets until the canvas feels full and visually interesting. A key tip is to avoid placing identical elements too close together, which helps maintain a more organic, less repetitive look.
Finding and Fixing the Seams
With your canvas filled, it’s time to tackle the most critical step for any seamless pattern: the Offset filter. This is the magic trick that makes a tiled image truly seamless. In Photoshop, you'll find it under Filter > Other > Offset.
The Offset filter works by shifting your entire image horizontally and vertically, which cleverly moves the outer edges right into the center of your view. This instantly shows you exactly where the harsh lines and awkward gaps will appear when the pattern repeats.
- Horizontal Offset: Set this to exactly half your canvas width (e.g., 1024 for a 2048px canvas).
- Vertical Offset: Set this to exactly half your canvas height (e.g., 1024 for a 2048px canvas).
- Undefined Areas: Make sure “Wrap Around” is selected so the edges loop back on themselves.
This action lays the seams bare. From here, you can use tools like the Clone Stamp and Healing Brush to blend these newly visible edges. I find it works best to sample textures and elements from other parts of the image to paint over the breaks, creating a smooth, unnoticeable transition. You might also need to move, resize, or even add a few new elements to cover up any stubborn problem spots.
My personal pro-tip is to run the Offset filter several times throughout the editing process, not just once at the end. It helps you check your work from different angles and ensures no subtle seam goes unnoticed before you call it done.
As you're perfecting your tiled masterpiece, it's also smart to keep an eye on its technical properties. Using image metadata viewer tools can help you inspect details like resolution and color profiles, ensuring everything stays consistent across all your assets.
This blending and refining stage is what separates an amateur attempt from a polished, professional pattern. It’s how you transform a collection of AI-generated digital product images into a single, cohesive, and visually engaging final piece. For more inspiration on what’s possible, check out the great examples in our guide on how to create stunning digital product images using AI generators.
Alright, you've got the basics down. Your AI is cranking out some decent tiled patterns, but they still feel a bit... repetitive. A little too perfect. Now it's time to get your hands dirty in post-production and really make those patterns sing. This is where you erase any hint of a grid and inject some serious depth and character.
One of the most powerful tools in your arsenal is right inside your photo editor: generative fill and AI inpainting. These features are incredible for blending the seams between your tiles. Instead of a hard, obvious edge, you can create custom, organic transitions that make the pattern feel truly endless. It gives you precise control over the final look, letting you smooth out any awkward spots.
Layering for Depth and Complexity
Another trick I use all the time is layering multiple patterns. Don't just stick with one design. Experiment by stacking different patterns on top of each other in your editor and playing with their blend modes and opacities. You'd be amazed at the complex, rich textures you can get from a few simple source files.
Here are a few combinations to get you started:
- Throw a bold geometric pattern over a soft, organic texture using an Overlay blend mode.
- Layer two similar patterns, but slightly rotate or scale one of them to break up the repetition.
- Stack a monochrome pattern over a colorful one to create a more muted or unique color palette.
If you're looking to dive even deeper into generative methods, it’s worth checking out a complete guide to dynamic images and visual innovation, which covers some of the more programmatic techniques out there.
The real artistry here isn’t just in the AI generation. It’s in the thoughtful way you combine and tweak those assets. The goal is to make the repetition completely invisible and the final design endlessly interesting to look at.
Commercial Applications and Market Demand
These skills are more than just a creative outlet; they're genuinely valuable in the market today. The demand for unique, high-quality digital patterns is exploding across different industries. You could be designing bespoke digital papers for an Etsy shop, developing one-of-a-kind textures for video game environments, or creating custom backgrounds for major branding projects.
This isn't just a niche trend. The market for decorative patterns is massive. To give you an idea, the physical decorative tiles market alone was valued at a staggering $33.74 billion in 2025 and is still growing. You can discover more about these market insights yourself. It’s clear proof that there's a huge, sustained appetite for unique patterns, both in the digital and physical worlds.
Got Questions About Making Tiled Images?
Diving into tiled images with AI is exciting, but you're bound to hit a few snags. It happens to everyone. Let's walk through some of the most common issues I see and how to solve them so you can get back to creating.
"How Do I Get Rid of These Ugly Seams?"
This is probably the #1 frustration. You generate a beautiful image, tile it, and suddenly there are obvious grid lines everywhere. This happens because the edges of your source image just don't match up.
The classic fix is to use the "Offset" filter in an editor like Photoshop. It cleverly shifts the image so the edges meet right in the middle. Now you can clearly see the break and fix it with tools like the Clone Stamp or a generative fill feature. It works like a charm.
Pro-Tip: I've found that starting with source images that have neutral or simple backgrounds makes this whole blending process way easier. You'll thank yourself later.
"My Pattern Looks So Repetitive. How Can I Fix It?"
Another frequent problem is a pattern that screams "I'm a repeating tile!" The secret to avoiding this is simple: variation.
Use AI batch processing to create a whole library of slightly different elements. When you're putting your final pattern together, don't just copy and paste. Manually rotate, scale, and place these unique variations to break up the monotony.
I also recommend building a larger "master tile"—say, 2048x2048 pixels—from lots of smaller, unique pieces. When you tile that across a big surface, the repetition becomes almost impossible to spot.
"What Are the Best Tools and Techniques to Use?"
Finally, people often ask which AI tools are best for the job. Honestly, it depends on what you need.
- For fast, seamless patterns right out of the box, Midjourney's
--tileparameter is fantastic. - For maximum control and flexibility, a tool like Stable Diffusion with extensions like ControlNet gives you a massive amount of power.
To give your designs a more professional, intentional feel, think about how real-world materials work. For example, the color of grout can completely change the vibe of a physical tile layout. A light gray grout might make a space feel bigger, while a high-contrast black grout creates a bolder, more industrial look. Applying that same logic to the "space" between your digital elements can really elevate your final design.
Ready to stop creating images one by one and start producing stunning visuals at scale? Bulk Image Generation uses advanced AI to create up to 100 unique images in seconds, complete with powerful batch editing tools. Streamline your entire creative workflow at https://bulkimagegeneration.com.