
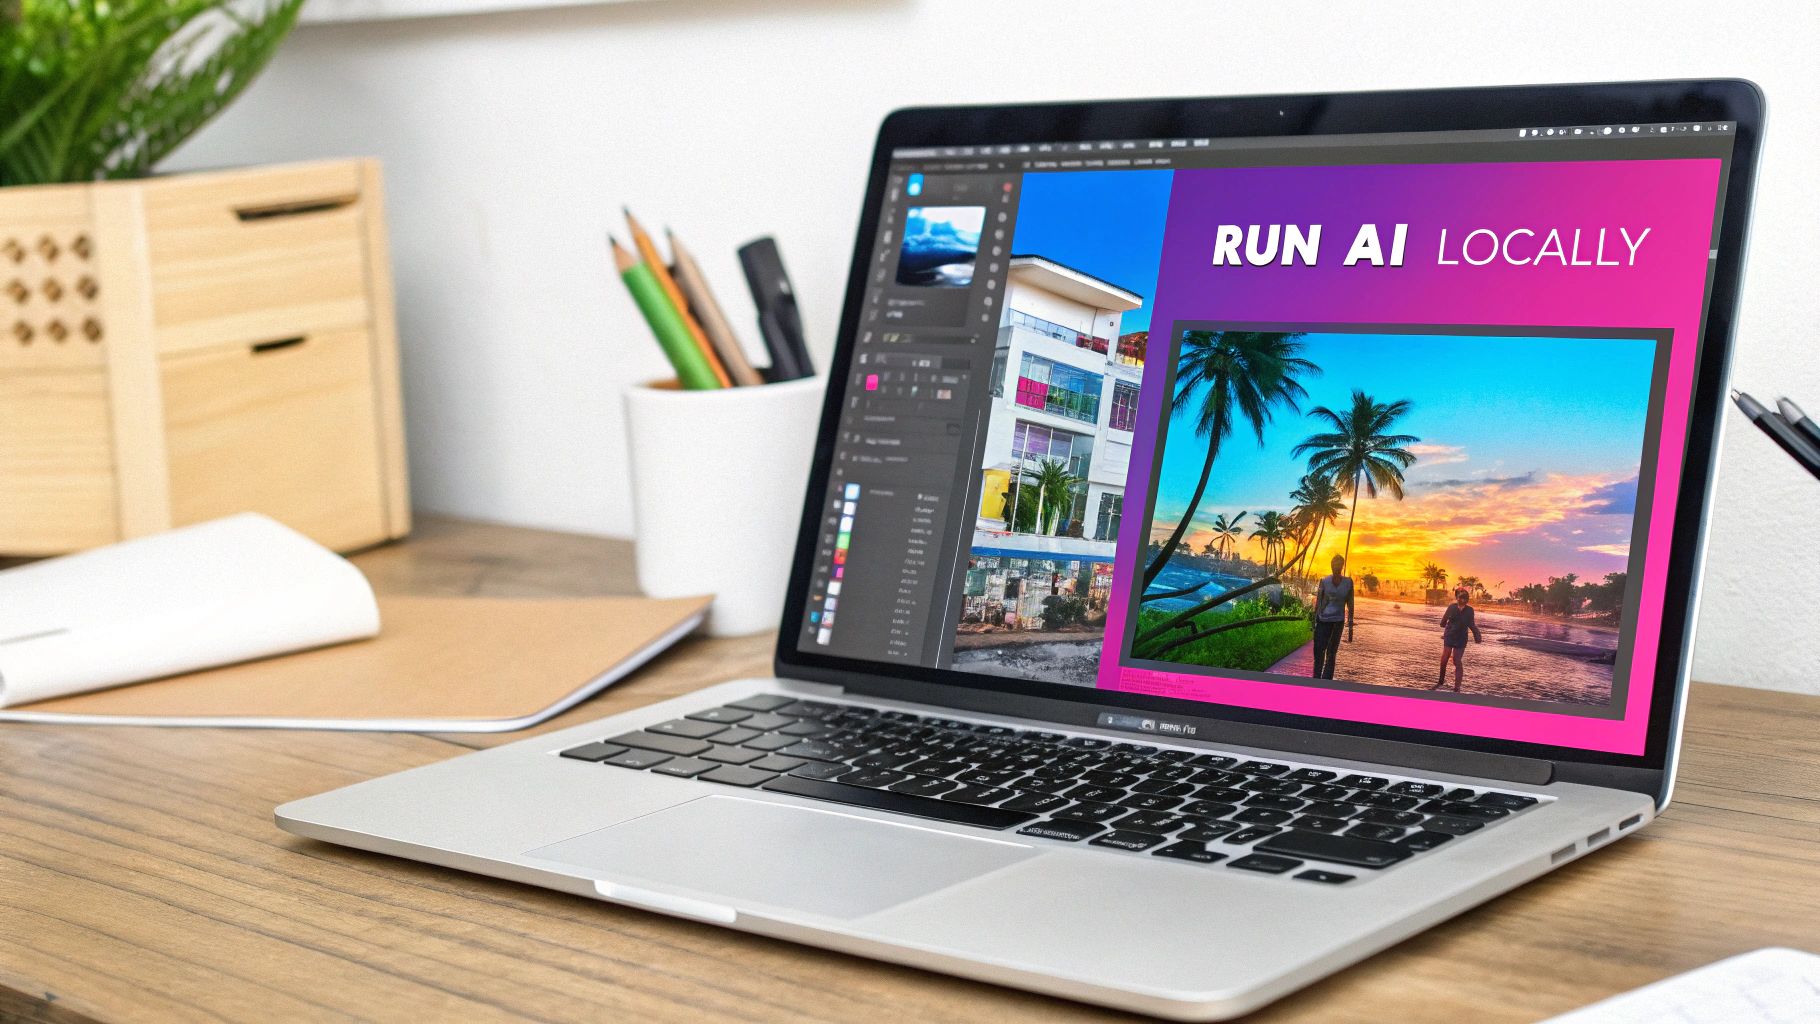
Run Stable Diffusion Locally A Complete Guide

Aarav Mehta • July 8, 2025
Unlock creative freedom by running Stable Diffusion locally. This hands-on guide covers setup, optimization, and advanced tips for any creator.
So, you've heard about Stable Diffusion and you're thinking about running it yourself. What does that actually mean? In simple terms, running it locally means you install the entire AI image generator right onto your own computer. You're in the driver's seat, with no cloud platforms, no subscriptions, and zero usage credits to worry about.
Why Run Stable Diffusion On Your Own Machine?
While web-based AI tools are convenient, running Stable Diffusion on your own hardware unlocks a whole different level of freedom. It’s about taking full ownership of your AI toolkit and breaking free from the guardrails of online services. When the software lives on your machine, you make the rules.
The biggest, most immediate win? No more ongoing costs. Cloud services usually hit you with a credit system or a monthly subscription. If you're creating a lot of images, that gets expensive, fast. A local setup is a one-time investment in your hardware. After that, you can generate one image or ten thousand without paying another dime.
Unlocking True Creative Freedom
This is where it gets really good. A local instance gives you the keys to the entire kingdom. You’re no longer stuck with the models, settings, or content filters that a third-party platform decides you can use.
This means you can:
- Install any model: Dive into the ocean of community-trained models on sites like Civitai or Hugging Face. Each one offers a totally unique artistic style, and you can switch between them in seconds.
- Use custom LoRAs: Want to create a specific character, art style, or object? Fine-tune your generations with specialized LoRAs (Low-Rank Adaptations) to nail the exact look you're after.
- Fine-tune your own models: This is the ultimate move. You can train the AI on your own artwork or photos to build a model that understands your vision perfectly.
This kind of customization just isn't on the table with most commercial platforms. It transforms Stable Diffusion from a fun toy into a deeply personal and powerful creative tool.
Ensuring Absolute Privacy and Control
For many artists, designers, and businesses, privacy is non-negotiable. When you type a prompt or upload an image to a cloud service, you’re sending your creative data to someone else's servers. For client work, confidential projects, or just personal art you're not ready to share, that's a huge risk.
Running Stable Diffusion locally keeps everything on your hard drive. Your prompts, your generated images, your custom models—it all stays with you. Nothing gets uploaded, giving you complete peace of mind.
This local-first approach is critical for professionals who handle sensitive intellectual property. Stable Diffusion, first released in 2022, was a breakthrough because its diffusion technology uses a "latent space" to dramatically cut down on computing power. This innovation is what makes it possible to run such a powerful model on consumer-grade GPUs, making private, local operation a reality for almost everyone. You can get a deeper technical look at how it all works in this Stable Diffusion overview.
Choosing The Right Hardware For Local AI
Alright, let's talk about the gear you'll need to run Stable Diffusion locally. If there's one piece of hardware that matters more than anything else, it's your Graphics Processing Unit (GPU). While your computer's main processor (the CPU) is a jack-of-all-trades, the GPU is a specialist, purpose-built for the massive parallel calculations that AI image generation eats for breakfast.
Here’s a simple way to think about it: your CPU is a master chef, meticulously crafting one complex dish at a time. Your GPU, on the other hand, is an entire brigade of line cooks, all chopping mountains of vegetables in perfect sync. Generating an image is far more like chopping vegetables than preparing a single gourmet meal, which is why your GPU choice is so critical.
The Critical Role of VRAM
When you start comparing GPUs, the single most important number for Stable Diffusion is its VRAM (Video Random Access Memory). This is the dedicated, high-speed memory built right onto your graphics card. Think of it as your AI's workspace—it determines how big and complex your projects can be before your entire system grinds to a halt.
Having more VRAM directly translates to better capabilities:
- You can generate much higher-resolution images without errors.
- You can load and use more powerful and nuanced models, like the popular SDXL.
- It's essential if you ever want to fine-tune your own models, a process that is famously VRAM-hungry.
- You can create images in larger batches, which dramatically speeds up your creative workflow.
Running a big model with too little VRAM is a recipe for frustration. It’s like trying to bake a five-tiered wedding cake in a tiny toaster oven—it’s going to be slow, messy, and you probably won't get the result you wanted.
Breaking Down Hardware Tiers
So, what kind of muscle do you really need? The answer completely depends on your ambitions. You definitely don't need a top-of-the-line, bank-breaking GPU just to get your feet wet.
Key Takeaway: The sweet spot for a smooth, frustration-free experience is a GPU with 12GB to 16GB of VRAM. This gives you enough power for high-resolution images, using advanced models, and even dipping your toes into model training without constantly bumping into performance walls.
This table breaks down what you can realistically expect from different VRAM tiers, helping you match your hardware to your creative goals.
GPU VRAM Recommendations for Stable Diffusion
This table outlines the performance and capabilities you can expect based on your GPU's VRAM, helping you match your hardware to your creative ambitions.
| VRAM | Recommended Usage | Expected Performance |
|---|---|---|
| 8GB | Entry-Level/Hobbyist Use: Good for 512x512 to 768x768 images with standard SD 1.5 models. Great for learning and basic prompting. | Slower generation times, especially at higher resolutions. May require memory-saving settings for larger models like SDXL. |
| 12GB | Enthusiast/Serious Hobbyist: The sweet spot. Comfortably handles high-res images (1024x1024+) and SDXL models. Light fine-tuning is possible. | A smooth and responsive experience. Faster batch generation and the flexibility to use most community models without issue. |
| 16GB | Prosumer/Light Professional Use: Excellent for heavy SDXL use, larger batch sizes, and more intensive fine-tuning or LoRA training. | Very fast generation. Provides enough headroom to experiment with advanced workflows and multiple tools simultaneously. |
| 24GB+ | Professional/Developer Use: Essential for serious model training, developing complex custom workflows, and maximum-speed, high-volume generation. | Unlocks the full potential of Stable Diffusion. Blazing-fast performance and the ability to handle virtually any task. |
As you can see, you can get started with a modest card, but more VRAM opens up more creative doors.
Running Stable Diffusion locally really pushes your hardware. A solid combination of high VRAM, good memory bandwidth, and modern features like NVIDIA's Tensor Cores is what separates a sluggish setup from a high-performance creative machine. The great news is that consumer-grade GPUs with 8GB of VRAM or more have brought this powerful technology out of the data center and into the hands of creators and small businesses. If you want to dive deeper, this 2025 Stable Diffusion hardware guide offers some great insights.
The image below gives a quick visual breakdown of our recommended specs for a balanced and powerful local AI rig.
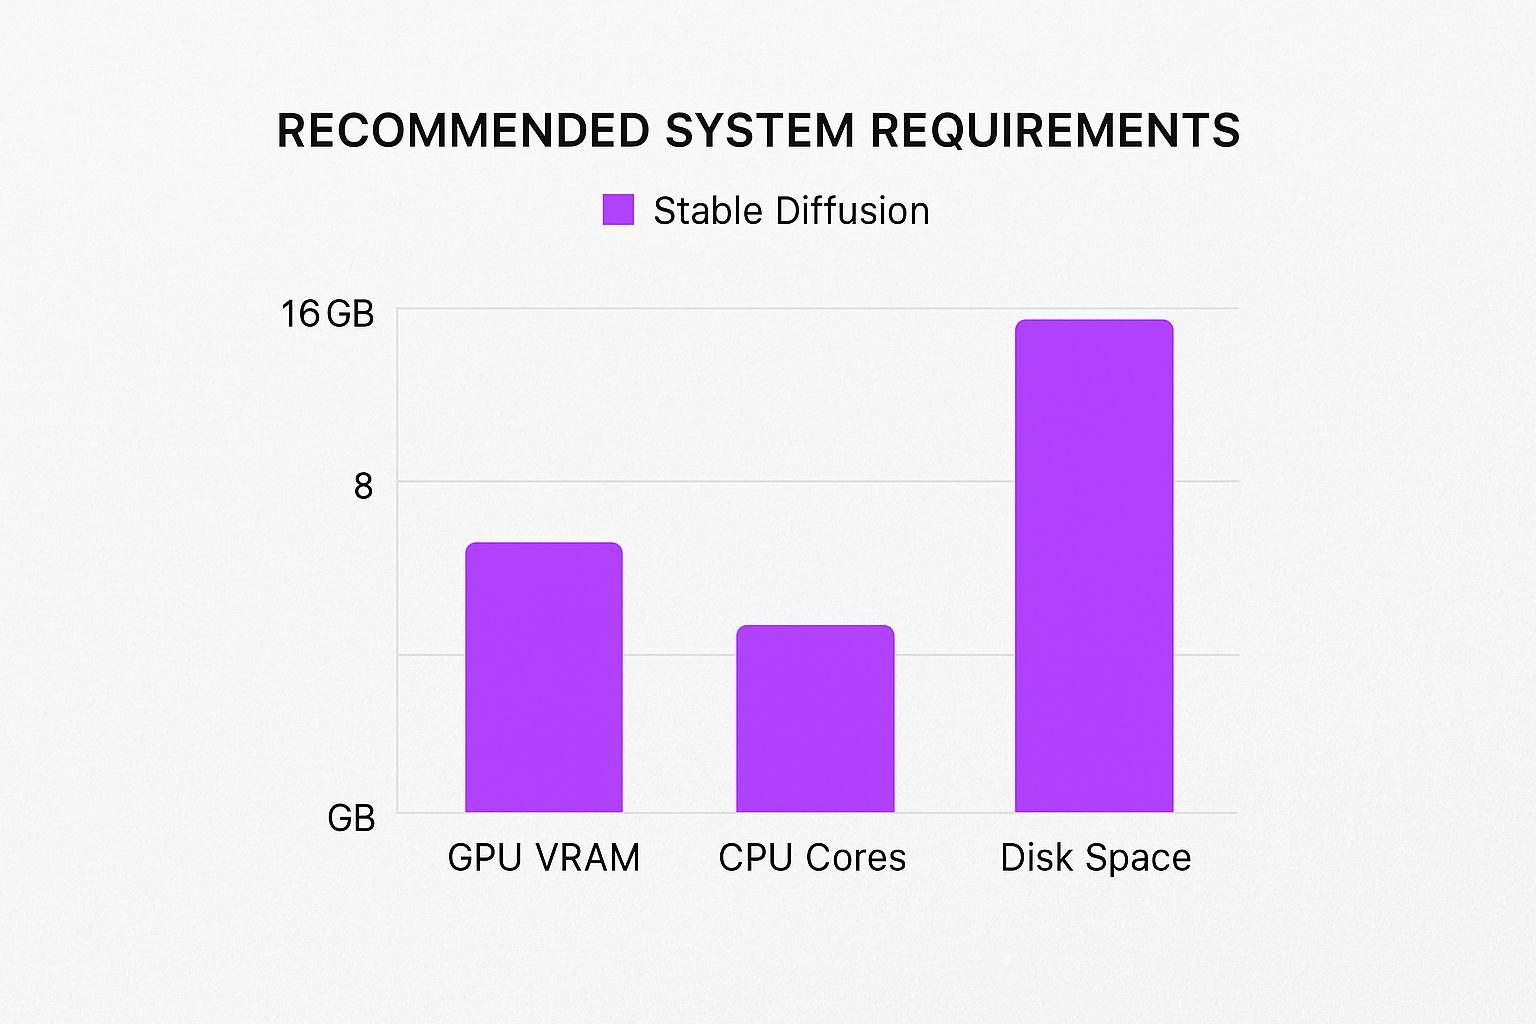
While the GPU is definitely the star of the show, this guide highlights that a decent CPU, ample RAM, and fast storage are also crucial. A well-rounded system is key to avoiding bottlenecks and ensuring your entire creative process, from installation to final render, is as seamless as possible.
Installing Automatic1111 On Your System
 This is the official GitHub repository for Automatic1111, which is the heart of the whole project. You'll be getting the core files and documentation from here to get Stable Diffusion running locally.
Now that your hardware is sorted, it’s time to get the software that makes the magic happen. We'll be using Automatic1111, a browser-based interface that has pretty much become the community standard for running Stable Diffusion on your own machine. It's powerful, packed with features, and surprisingly easy to get going once you handle a few prerequisites.
The process has a few technical steps, but don't let that intimidate you. I'll walk you through it logically, explaining what each piece does and why it's necessary. Think of it as gathering the ingredients before you start cooking.
Preparing Your System With The Right Tools
Before you can install Automatic1111 itself, your system needs two essential—and free—tools: Python and Git.
- Python is the programming language Stable Diffusion is built on. It does all the heavy lifting behind the scenes, from processing your text prompts to managing the AI model.
- Git is a version control tool. It lets you "clone" or copy the Automatic1111 software directly from its official home on the internet, ensuring you always have the latest, most stable version.
For Windows users, getting these is straightforward. First, head to the official Python website and grab the latest version. Python 3.10.6 is a solid choice and often recommended by the community for its compatibility.
CRITICAL STEP: During the Python installation, you absolutely must check the box that says "Add Python to PATH." Missing this one simple step is the source of countless headaches later on.
Next up is Git. Just download and install Git for Windows from its official site. The default settings during installation are perfectly fine for our purposes. With those two installed, your machine has the foundation it needs to become your personal AI art studio.
Cloning The Automatic1111 Repository
With the prep work done, it's time to grab the actual Automatic1111 software. This is where Git comes in.
First, decide where you want all your Stable Diffusion files to live. I highly recommend creating a simple, easy-to-find folder, like C:\stable-diffusion.
Once you've made the folder, open it, right-click inside the empty space, and choose "Git Bash Here." This will pop open a command-line terminal right where you need it.
Now, you'll run a single command to download all the project files. Just copy and paste the following line into the terminal and hit Enter:
git clone https://github.com/AUTOMATIC1111/stable-diffusion-webui.git
Git will connect to the server and download the entire project into a new folder called stable-diffusion-webui inside your directory. The whole thing usually only takes a minute or two. For a more in-depth walkthrough with screenshots for every operating system, check out this detailed installation guide for Automatic1111.
The First Launch And Final Setup
This is it—the final step. Navigate into the new stable-diffusion-webui folder that Git just created for you. Inside, you'll find a file named webui-user.bat.
Double-click this file to kick off the first-time setup. A command prompt window will appear and start downloading all the remaining dependencies. This includes PyTorch, the core machine learning framework that does the real work.
This part requires some patience. It can take anywhere from 15 minutes to over an hour, depending on your internet connection, as it needs to download several gigabytes of data. Just let it run.
Once it's all done, the script will start the web server and give you a local URL, which is almost always http://127.0.0.1:7860. Copy and paste that address into your web browser, and you'll be greeted by the Automatic1111 interface, ready for you to type in your first prompt.
Finding And Managing Your AI Models
With your software ready, it’s time to get the "brains" for your operation—the AI models. I like to think of a model, often called a checkpoint, as a highly trained artist who has mastered a specific style. Your local Stable Diffusion setup is the studio, but the model is the artist who actually picks up the brush and creates the image.
These models are the absolute core of generating unique visuals. Finding the right ones is what will elevate your results from generic AI art to something that perfectly captures your vision. The best part? You're not stuck with a single style. You can download and swap between models specializing in photorealism, anime, fantasy art, or just about anything else you can imagine.
Where To Safely Download Models
The two places everyone in the community trusts are Hugging Face and Civitai. Seriously, these are essential resources for anyone running Stable Diffusion locally. They don't just host thousands of models; they provide crucial user reviews, plenty of sample images, and, most importantly, safety checks.
When you're browsing, you'll see two main file types:
- .ckpt (Checkpoint): This is the original format. While you'll still see it around, it has a security risk—it can potentially contain malicious code.
- .safetensors: This is the newer, much safer standard. It's designed to only load the model's necessary data (the weights), which effectively blocks any harmful code from running. Whenever you have the choice, always, always download the .safetensors file.
When you're just starting out, my best advice is to stick to the most popular models. Look for ones with tons of positive reviews and a gallery full of user-submitted images. It's the simplest way to know you're getting a high-quality, safe file that actually does what it promises.
Base Models Versus Custom Models
You'll often hear models described as being based on SD 1.5 or SDXL. Think of these as the foundational canvases created by Stability AI. From there, creators in the community take these base models and "fine-tune" them on specific datasets to teach them incredibly unique artistic styles.
An SD 1.5 model is lighter on your hardware but usually tops out at lower-resolution images. SDXL models, on the other hand, are much more powerful. They have a better grasp of complex prompts and can produce some truly stunning high-resolution art, but they do demand more VRAM from your GPU.
For example, the recent Stable Diffusion 3.5 is built on this more advanced architecture and can create everything from slick 3D renders to classic oil paintings. Its friendly Community License, which allows for free non-commercial use and even commercial use for smaller creators, has helped it spread like wildfire. You can dig into the full details of the SD 3.5 release to see just how capable it is.
LoRAs And Other Creative Tools
Beyond the main checkpoint models, you’ll discover a whole ecosystem of smaller, specialized files like LoRAs (Low-Rank Adaptations). A LoRA isn't a full model but more like a plugin or an add-on that tweaks a main model's output.
They are fantastic for injecting a specific character, a unique art style, or a particular object into your images without having to swap out your entire checkpoint. For anyone needing consistent visuals for things like branding or a series of digital products, mastering LoRAs is a total game-changer. In fact, you can learn how to create stunning digital product images by leveraging these kinds of powerful techniques.
Organizing these files couldn't be simpler. Just drop your downloaded .safetensors checkpoints into the stable-diffusion-webui\models\Stable-diffusion folder. For any LoRAs you grab, they go into the stable-diffusion-webui\models\Lora folder. Once they're in place, they will automatically pop up in the Automatic1111 interface, ready for you to start creating.
Optimizing Performance And Generating Your First Image
Alright, you've got Automatic1111 installed and loaded up with some killer models. Now for the real fun: tweaking your setup for maximum speed and finally making some art.
Before you even launch the interface, there's a simple edit you can make that gives your system a serious performance kick. This is especially true if you're working with a graphics card that's a bit light on VRAM.
You'll want to find that webui-user.bat file again—the same one you used for the initial launch. Just right-click on it and hit "Edit." Inside, you'll spot a line that says set COMMANDLINE_ARGS=. This little line is your secret weapon for telling Stable Diffusion how to best use your hardware.
Key Performance Tweaks
If you're running an NVIDIA GPU, adding --xformers is pretty much non-negotiable. Think of it as a specialized turbo button. It's a memory-efficient attention mechanism that can crank up your image generation speed by 20-30% or even more, all while cutting down on VRAM usage. It’s a huge win with practically no downside.
Got a GPU with 8GB of VRAM or less? You'll probably want to add --medvram to your command line. If you're still running into out-of-memory errors (especially with bigger images), you can try --lowvram. Just be aware that --lowvram can slow things down, so only use it as a last resort.
On my own mid-range card, my go-to starting point in the
webui-user.batfile looks like this:set COMMANDLINE_ARGS=--xformers --autolaunchThat second command,--autolaunch, is just a nice quality-of-life tweak. It automatically opens the web UI in your browser when you run the file, saving you a click.
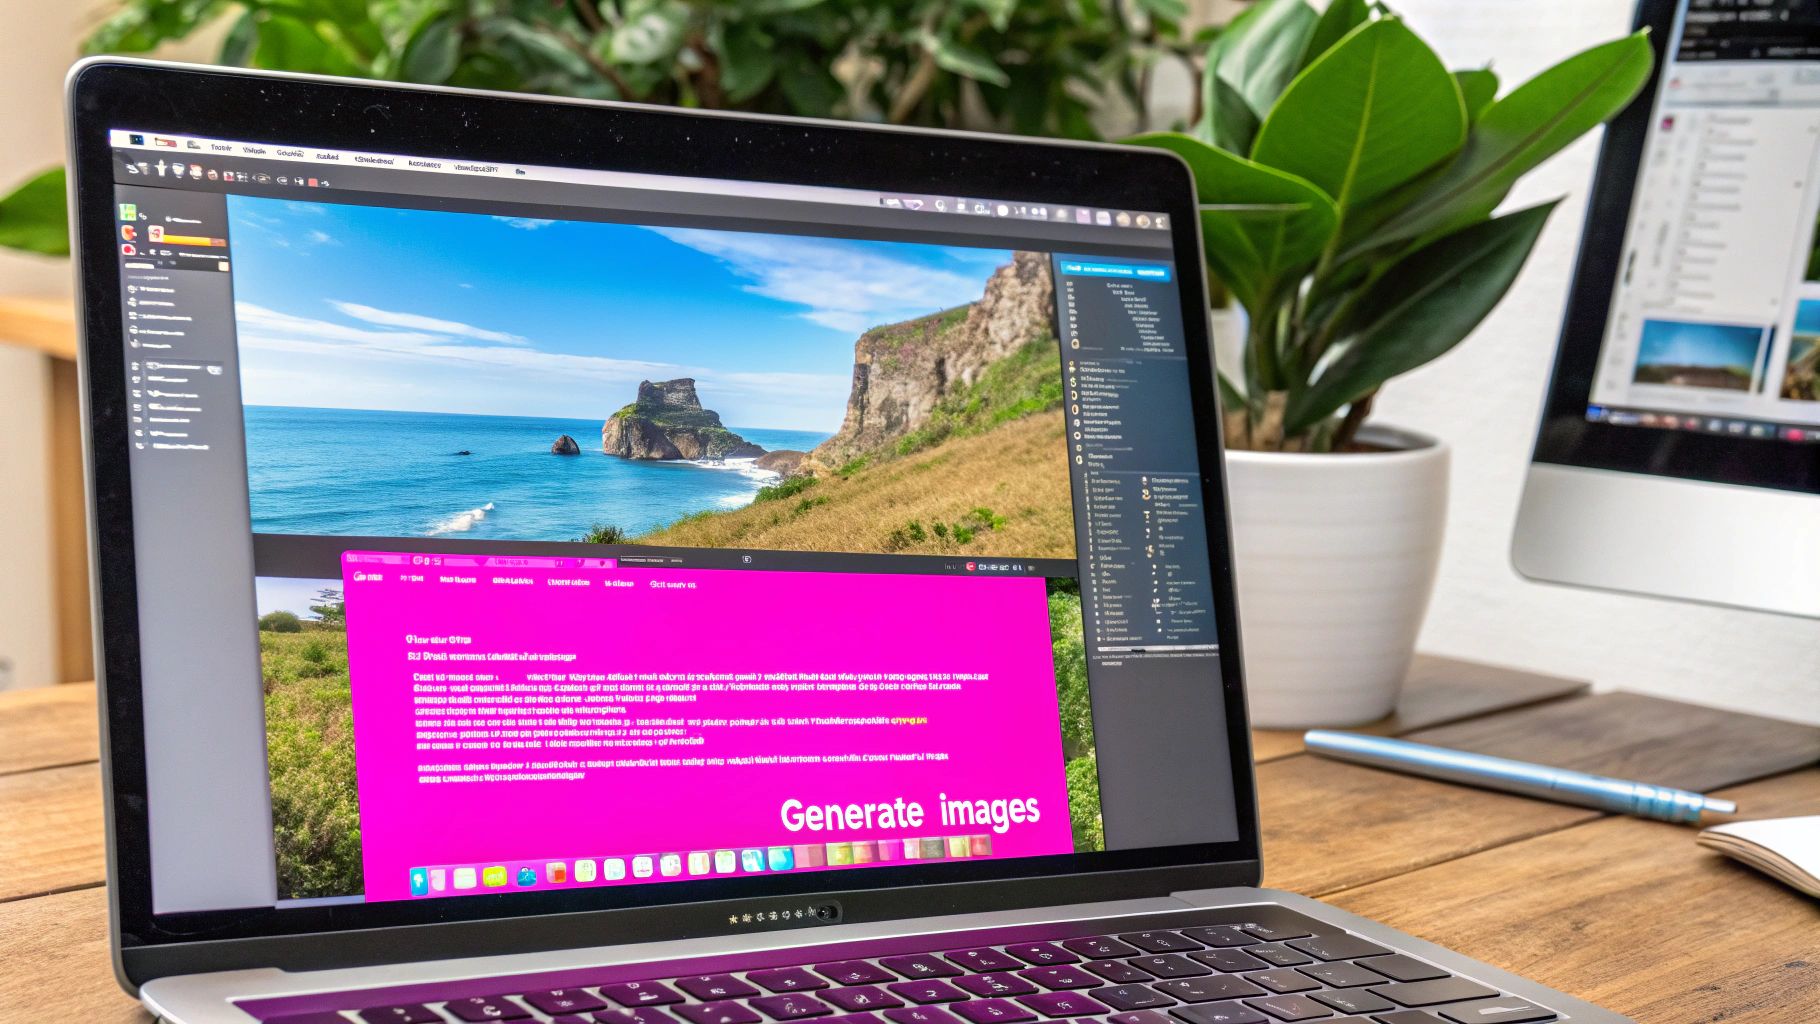
Crafting Your First AI Image
Now we get to the good stuff. Go ahead and launch the UI. You'll land on the "txt2img" tab, which is your creative command center. This is where you'll tell the AI what to bring to life.
You'll see a few critical fields that shape your final image:
- Prompt: This is where the magic starts. Don't just say "a cat." Get descriptive! Try something like, "a photorealistic portrait of a fluffy orange cat wearing a tiny wizard hat, sitting on a pile of ancient books." The more detail, the better.
- Negative Prompt: Just as important is telling the AI what you don't want. I almost always include terms like "blurry, deformed, ugly, bad anatomy, extra limbs." This helps clean up the output and avoid common AI weirdness.
- Sampling Steps: This tells the AI how many times to refine the image. I find 20-30 steps is the sweet spot. Going higher often leads to diminishing returns and just takes longer.
- CFG Scale: This dial controls how strictly the AI adheres to your prompt. A value of 7 is a fantastic, balanced starting point. Lower numbers give the AI more creative freedom, while higher values will follow your instructions more literally.
Go ahead, play with these settings and mash that "Generate" button. Your first few images might not be masterpieces, and that's completely normal. Experimentation is the name of the game.
If you get stuck for ideas, our free prompt generator can be a great source of inspiration. By getting comfortable with these simple settings, you gain an incredible amount of control over the style and quality of your art when you run stable diffusion locally.
Got Questions About Your Local Stable Diffusion Setup?
Jumping into a local Stable Diffusion setup is a blast, but it's totally normal to hit a few roadblocks or have questions pop up. I've been there. Let's walk through some of the most common issues I see people run into so you can get back to creating.
First up, the big one: privacy. People often ask if their image generations are truly private. When you run Stable Diffusion on your own machine, the answer is a resounding yes. Everything—your prompts, the models you use, and the images you create—stays on your computer. Nothing is sent to the cloud unless you choose to upload it somewhere. This is a huge deal, especially if you're working on sensitive client projects or just value your privacy.
Another hot topic is performance on non-NVIDIA GPUs. While NVIDIA cards with CUDA support offer the smoothest experience, you can absolutely get AMD GPUs to work. It just takes a little more elbow grease. On Windows, this usually means using a specific version of PyTorch that works with DirectML. If you're on Linux, you'll be looking at the ROCm API. It’s a bit more involved, but the community has put together some fantastic guides to get you up and running.
What If My Images Just Look... Bad?
This is probably the single most common frustration for anyone starting out. You had a great idea, you wrote a prompt, and the result is a blurry, distorted, or just plain weird-looking image. Don't worry, this is usually fixable.
The problem often starts with the prompt itself. Is it specific enough? A vague prompt will almost always give you a vague, muddy image. You also need a solid negative prompt. This is your quality control filter, telling the AI what to avoid. Things like "blurry, bad anatomy, extra limbs, deformed" can work wonders. This one tweak can take your images from unusable to amazing.
For a deep dive into crafting better prompts, checking out some of the best prompt ideas for AI image generators is a great way to get inspired and learn what works.
If your prompts are solid, the next place to look is your settings. Specifically, the Sampler and CFG Scale.
- Sampler: I've found that a DPM++ sampler is a great, reliable starting point.
- Steps: Aim for 20-30 steps. Too few and the image won't resolve properly; too many and you get diminishing returns.
- CFG Scale: A value around 7 is the sweet spot. If you push this too high, the AI can get overly creative and produce strange artifacts.
Can I Use Other AI Tools With This Setup?
Absolutely, and you definitely should! Think of your local Stable Diffusion setup as the heart of a bigger creative studio. It's fantastic for generating base images, concepts, or assets that you can then pull into other programs for post-processing, compositing, or upscaling.
And it doesn't have to stop with images. Your local instance can be the first step in a much larger creative pipeline. Many of the top AI content creation tools out there cover everything from writing to video and audio. You can generate a character in Stable Diffusion, write a script with an AI writer, and then use those assets in a video project. It all works together, giving you an incredibly powerful, end-to-end workflow that you have complete control over.
Ready to skip the complex setup and generate hundreds of high-quality images in seconds? Bulk Image Generation uses advanced AI to turn your ideas into stunning visuals effortlessly. Describe your goal, and let our platform handle the rest. Try Bulk Image Generation today and accelerate your creative workflow