
Create Tile Image Assets with AI Seamlessly

Aarav Mehta • July 14, 2025
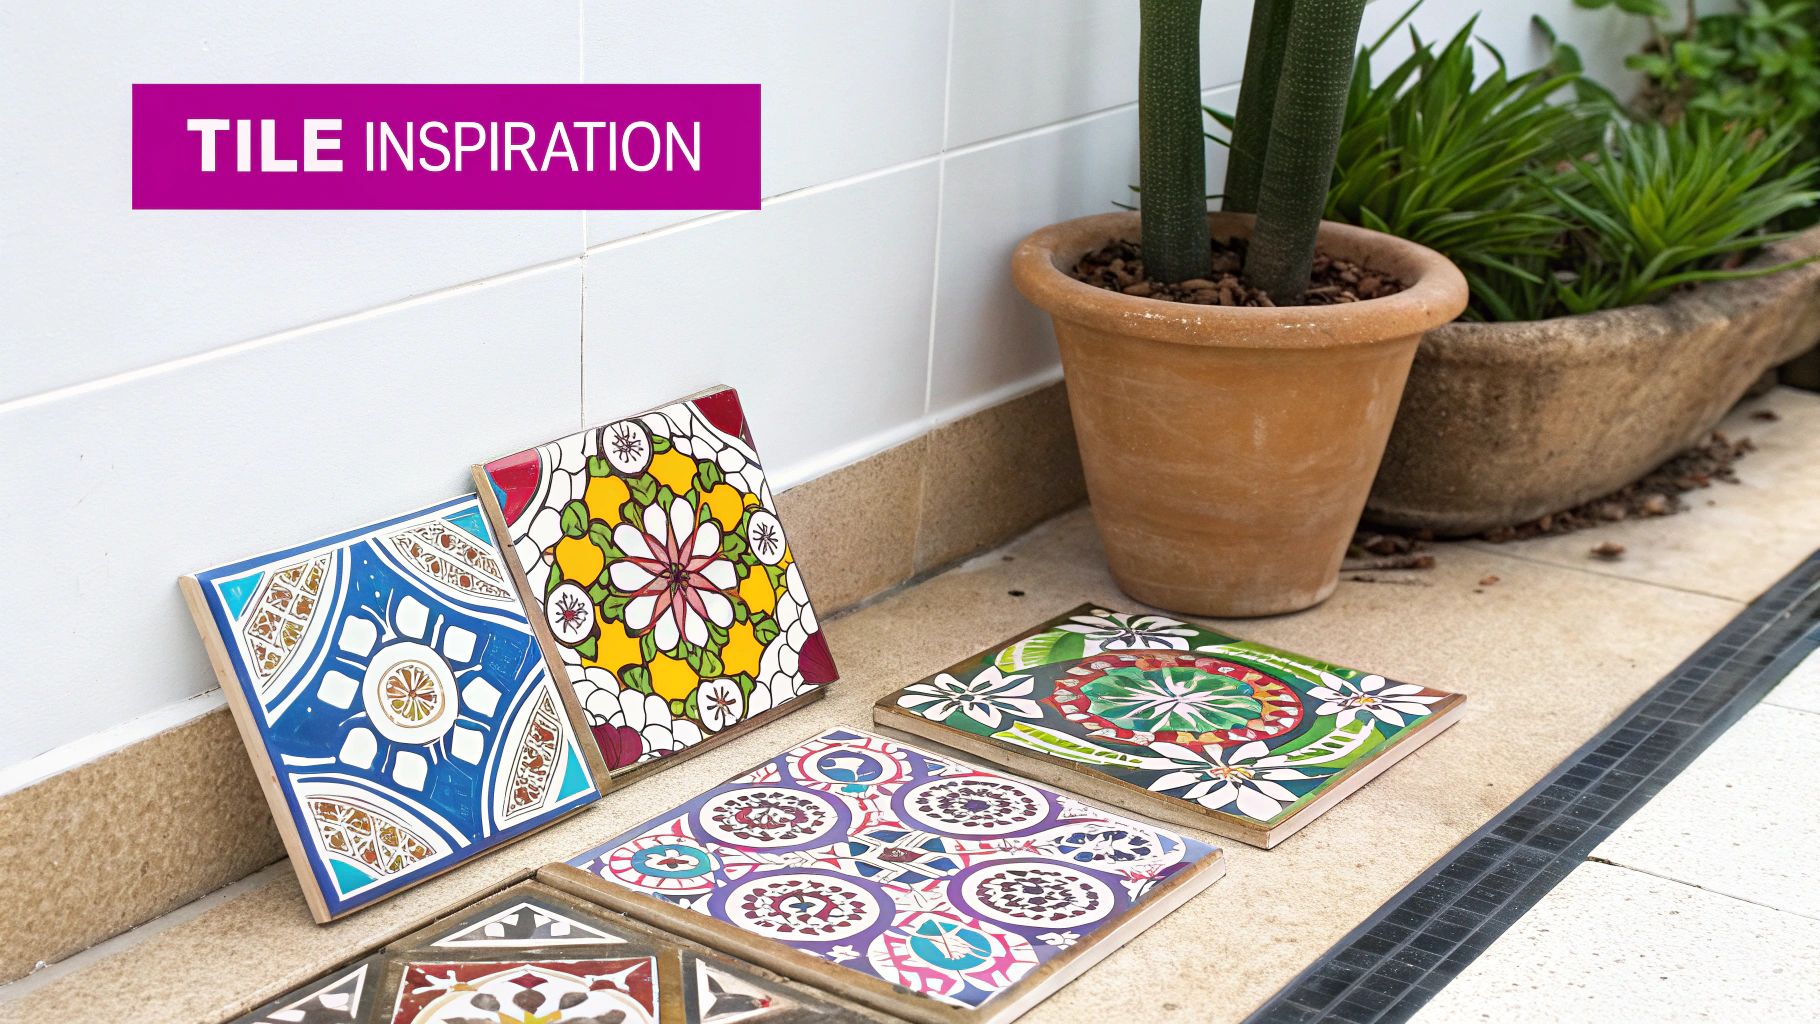
Learn to create tile image assets that look incredible. This guide walks you through using AI for seamless patterns, textures, and backgrounds in minutes.
If you've ever been involved in design, you know that some skills are just foundational. They're the secret weapons that unlock massive efficiencies and give your work that professional polish. Learning how to create tile image assets is one of those skills.
A seamless tile image is a small, repeating pattern designed to cover large digital areas—think website backgrounds or 3D model textures. When done right, you can't see any seams or breaks, creating a flawless, continuous surface.
Why Seamless Tile Images Are a Design Superpower
 Before we jump into the "how-to," let's talk about why mastering seamless patterns is a total game-changer for any creative project. These are the quiet workhorses of digital design, essential across multiple industries for their efficiency and visual impact.
Real-World Applications
The real power of a great tile image is its versatility. You’ve seen these assets everywhere, probably without even realizing it because they're so well integrated.
- Video Game Environments: Developers use seamless textures for everything from vast landscapes to building facades. A single, small tile of brick or grass can be repeated to build an entire city or field, which keeps game files small and performance buttery smooth.
- Website Backgrounds: A subtle, repeating pattern adds depth and personality to a webpage without bogging down load times. It's a much smarter solution than using a massive, high-resolution background image. There’s a whole science to using stunning background patterns for websites effectively.
- Architectural Visualization: 3D artists and architects rely on seamless tiles to render realistic materials like wood flooring, marble countertops, and wallpaper. This is how they show clients exactly how a finished space will look and feel.
The Professional Edge
Honestly, the ability to create a solid tile image is what separates professional work from amateur efforts. Nothing cheapens a design faster than a poorly made tile with obvious seams or a repetitive, grid-like look.
The goal is to create a pattern that feels organic and infinite, even though it's built from a single, repeating square. A visible break in the pattern immediately shatters the illusion.
When you learn to generate high-quality, seamless patterns, you gain an invaluable skill. You can produce completely custom textures for any project, ensuring your designs are both unique and technically sound. This foundational knowledge makes everything that follows much more intuitive and helps you sidestep the common pitfalls.
Choosing Your AI Pattern Generation Toolkit
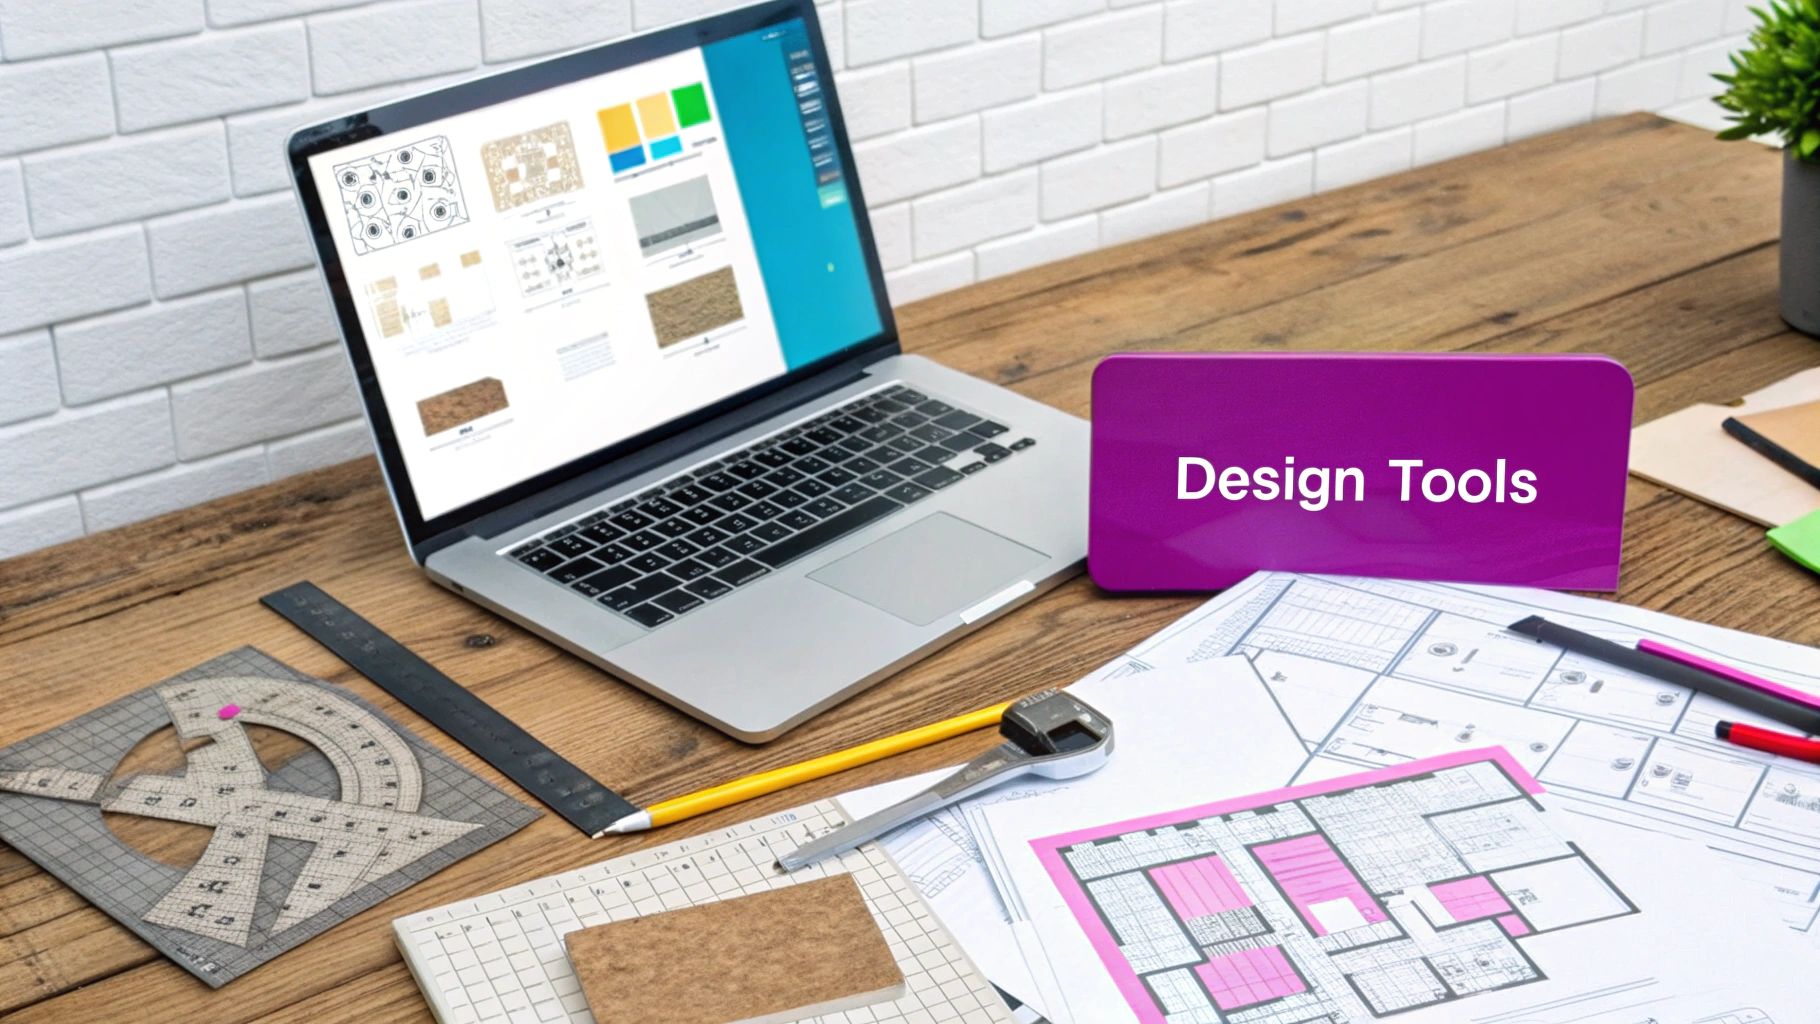
To create a truly seamless tile image, you need the right AI in your corner. Gone are the days of spending hours in Photoshop with the offset filter, painstakingly trying to blend seams by hand. Today’s AI platforms can generate perfect patterns from a simple text prompt—but not all are created equal for this specific task.
The trick is to match the tool to your end goal. Some platforms are absolute wizards at photorealistic textures; think weathered wood, rough concrete, or woven fabric. Others are geared more toward stylized, abstract, or illustrative patterns.
Before you even think about comparing platforms, get a clear vision for your final asset. If you need a subtle background for a website, you’ll want a tool known for modern geometrics. If you're designing a texture for a 3D model, you'll need one that excels at realism.
A common mistake I see is people jumping into a powerful but overly complex tool when a simpler, more focused platform would get them better results, faster. Your goal is to find the most direct path from your idea to a usable, seamless asset.
Key Platforms and Their Strengths
Every AI generator has its own "personality" and is trained on different data, which heavily influences its output. When you’re picking your toolkit, here’s a quick breakdown of what I always look for:
- Dedicated Tiling Modes: Does the tool have a specific feature or command for creating seamless patterns? This is a massive advantage. It tells the AI to specifically render an image where the edges will perfectly align, saving you a ton of prompt engineering headaches.
- Style Versatility: Always check the platform's community showcase or gallery. Do you see a good mix of realistic textures and creative patterns? A diverse gallery is a great sign that the model is flexible enough for whatever project you throw at it.
- Ease of Use: Some tools feel like they were built for developers, while others prioritize a simple, intuitive user experience. If you’re just starting out, grab an option with a clean interface and clear settings. For a great rundown of your options, check out our AI image generator comparison.
Ultimately, the best choice comes down to your project's specific needs, your skill level, and your budget. Choosing the right tool isn’t just about using AI—it’s about using it strategically to nail your creative vision with precision and efficiency.
Crafting Your First AI-Generated Seamless Tile
Alright, let's get our hands dirty and move from theory to a real, usable asset. The absolute most important part of this whole process is getting the prompt right. It's the difference between a generic, unusable mess and a perfect, repeating pattern.
Think of your prompt as a detailed set of instructions for a designer. If you’re vague, you’ll get vague results. So, the first thing you need to do is tell the AI its main job. You absolutely have to include phrases like 'seamless pattern,' 'tileable texture,' or 'repeating motif.' These are non-negotiable keywords.
The Anatomy of a Powerful Prompt
Once you’ve told the AI to make a seamless pattern, you can start layering in the fun stuff. This is where you describe the materials, the overall style, the color palette, and even the lighting.
Let's imagine a real-world project. Say we're designing a background for a futuristic video game or a cyberpunk-themed website. Our goal is a 'cyberpunk cityscape neon rain pattern.'
Here's how I'd break down that prompt:
- Core Command:
seamless pattern - Subject:
cyberpunk cityscape at night, neon signs, glowing windows - Atmosphere:
heavy rain, wet streets, reflections, moody lighting - Style:
detailed, photorealistic, 8k
Putting it all together, a really solid starting prompt would look something like this:
seamless pattern, cyberpunk cityscape at night with neon signs and glowing windows, heavy rain on wet streets creating moody reflections, detailed, photorealistic, 8k.
This level of detail gives the AI a clear roadmap, which massively boosts your chances of nailing the image on the first or second try. If you're looking for more ideas on prompting for different kinds of digital assets, check out our guide on https://bulkimagegeneration.com/blog/en/tutorials/how-to-create-stunning-digital-product-images-using-ai-generators-5-digital-product-image-prompt-examples.
Getting good at this is a huge advantage. As you build your skills, knowing how to write AI prompts for perfect results becomes second nature and ensures your generated tiles actually match what's in your head.
AI Prompt Modifiers for Better Tile Images
To really fine-tune your results, you need a good grasp of specific keywords, or "modifiers." Think of these as the dials and knobs you can turn to push the AI in a specific stylistic direction. They help you control everything from the texture to the overall aesthetic.
Here's a quick reference table of modifiers I use all the time to get better, more predictable patterns.
| Modifier Keyword | Purpose | Example Usage |
|---|---|---|
seamless pattern | The core command. Ensures the image edges will line up perfectly. | seamless pattern of watercolor flowers |
tileable texture | A great alternative to "seamless pattern," often good for materials. | tileable texture of rough concrete |
repeating motif | Best for patterns with distinct, repeating objects or symbols. | repeating motif of minimalist geometric shapes |
isometric | Creates a 3D-like, top-down view that tiles well. | isometric seamless pattern of a tiny village |
flat lay | A top-down perspective, great for objects on a surface. | flat lay seamless pattern of autumn leaves |
abstract | Pushes the AI toward non-representational, artistic patterns. | abstract seamless pattern, flowing liquid gold |
vector style | Generates clean, graphic-style images with sharp lines. | vector style seamless pattern of cartoon cats |
photorealistic, 8k | Adds a high degree of detail and realism to the texture. | photorealistic, 8k seamless texture of marble |
Having a list like this handy saves a ton of time and guesswork. You start to learn which keywords give you the exact look you're after, making the whole process much more efficient.
The image below shows the basic workflow for taking your generated image and turning it into a tiled background in your design software.
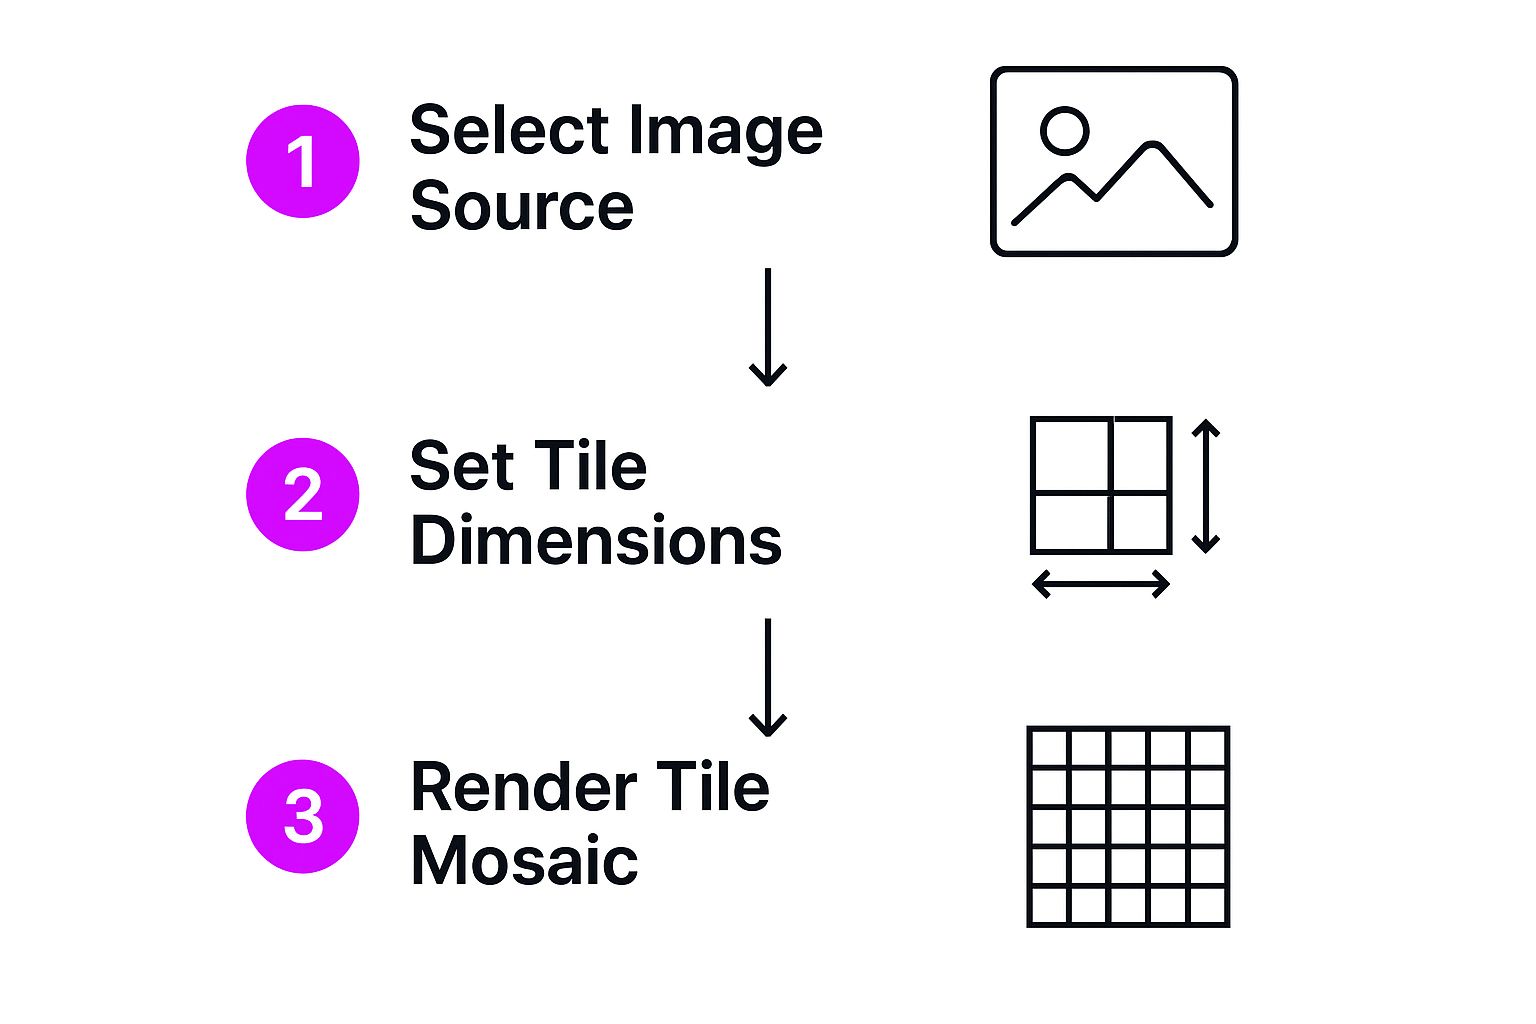
It really is that simple: generate the tile, check its seams, and then apply it as a repeating background. This is the fundamental process you'll use no matter what design tool you're in.
Getting Your Tile Image Ready for the Real World
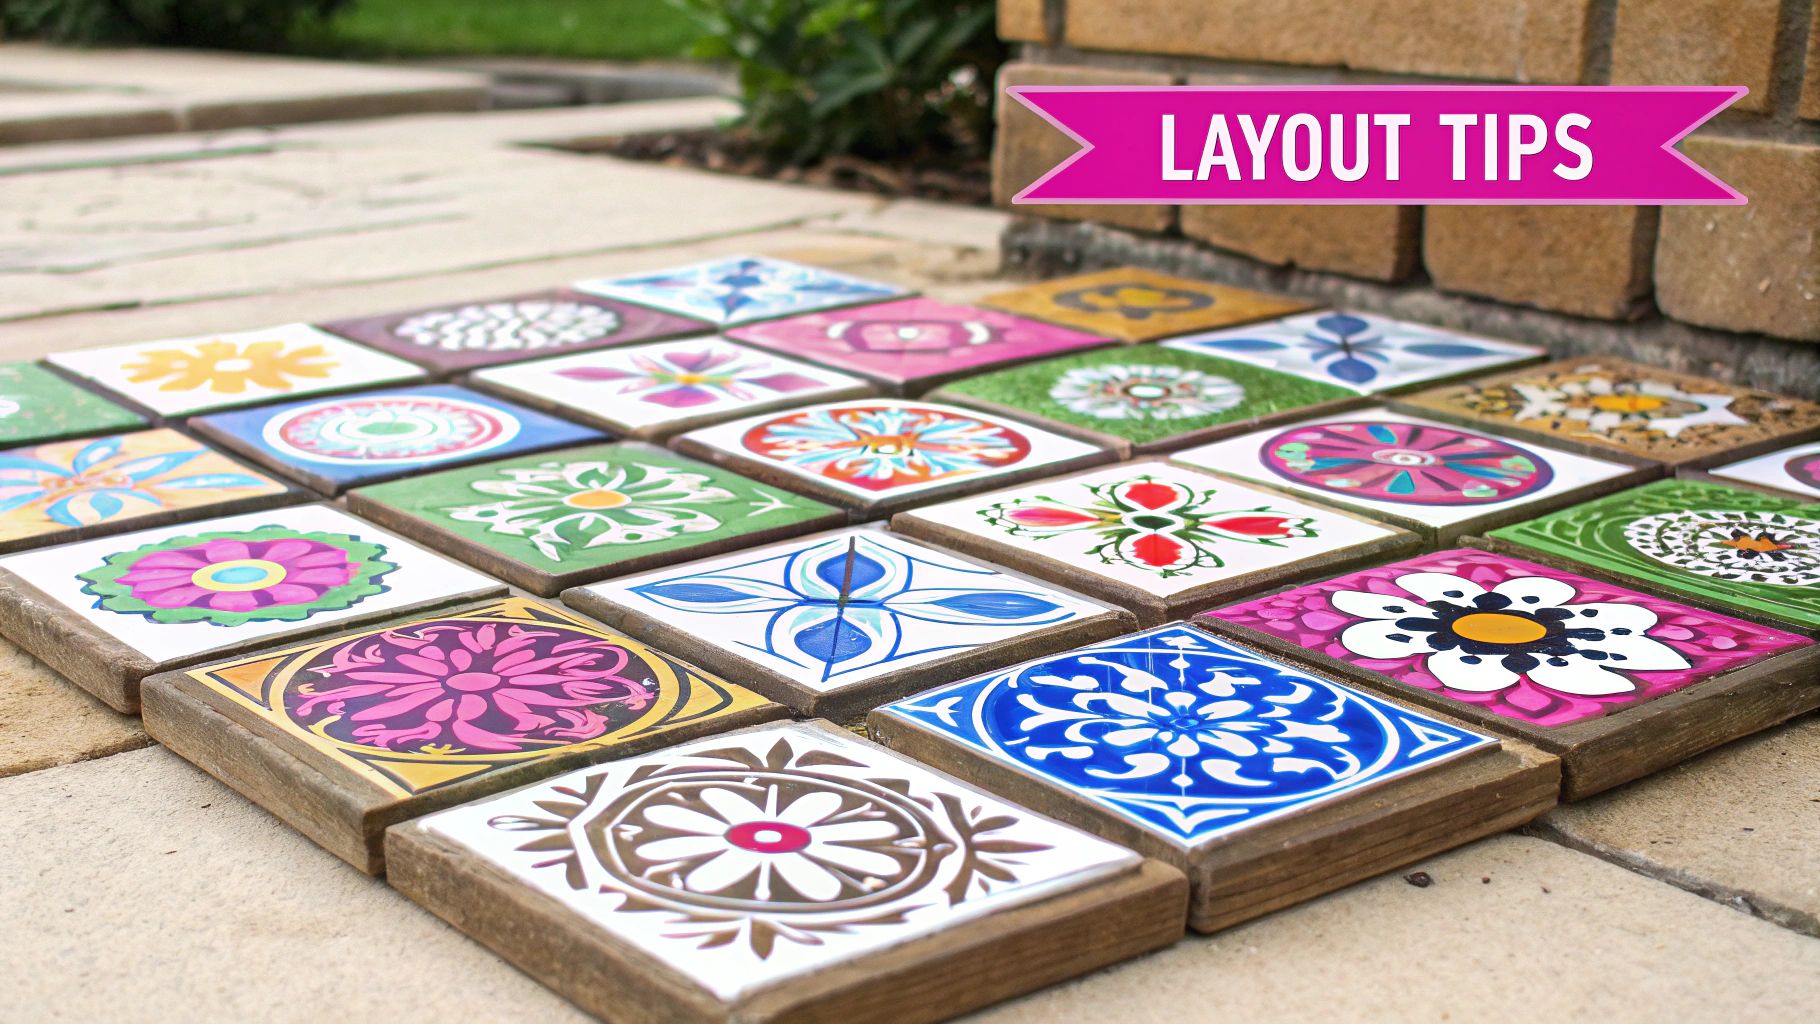
So, you've generated a tile image with the AI. That’s a huge first step, but we’re not quite done. The real moment of truth happens when you see that pattern repeated over and over. A single tile can look absolutely perfect on its own, but subtle flaws love to reveal themselves when they're multiplied across a large surface.
This little quality control check is what separates an amateur asset from a professional one. You're looking for those tiny misalignments, distracting elements that create an unintentional grid, or edges the AI didn't quite manage to make seamless. The good news is, you don't need any fancy software for this.
There are a bunch of free online pattern previewers out there. I just upload my image, and the tool instantly tiles it across the screen. It's my go-to for a quick gut check. You’ll know immediately if your attempt to create tile image assets was a home run or if you need to go back to the generator for another round.
A Few Final Tweaks and Upscaling
Honestly, most modern AI generators with a dedicated tiling feature do a fantastic job, so you'll rarely need to do major surgery. But if you do spot a small flaw—a slightly-off element or a weird pixel—a quick touch-up in any basic image editor with a clone or healing brush is all you need. It’s way faster than trying to wrangle the AI into fixing a tiny imperfection.
Once your pattern passes the test, there's one last thing to do: get it ready for high-resolution use. That initial AI generation might be 1024x1024 pixels. That's fine for testing, but it might not be crisp enough for big projects like high-res renders or printing.
Using a high-quality AI upscaler is the secret sauce for professional-grade results. These tools can blow up your image by 2x or 4x without making it blurry or adding weird artifacts, keeping all the sharp details of your original tile.
This final polish ensures your pattern is sharp and versatile enough for any project, from a website background to a detailed 3D model texture. It’s what really makes your work shine.
Most of the time, your upscaling goals will be one of these:
- 2x Upscale: Perfect for web graphics and most digital stuff.
- 4x Upscale: This is what you want for high-resolution game textures, print design, and large architectural renders where every detail counts.
By testing and refining like this, you guarantee every tile you create isn't just seamless—it's flawless and ready for anything.
Taking Your Patterns to the Next Level
Once you’ve got the hang of generating basic tiles, it’s time to really start flexing your creative muscles. This is where you move past simple descriptive prompts and start using more sophisticated strategies to get fine-grained control over your final texture.
Think of advanced prompting as your new secret weapon. For starters, get comfortable with negative prompts, a feature in many AI tools that's honestly a lifesaver. Let's say you're trying to create a rustic wood texture, but the AI keeps throwing in distracting knots or water stains. Instead of just re-rolling and hoping for the best, you can add a negative prompt like --no knots, stains to tell the AI exactly what to leave out. It’s a much smarter way to refine your work.
Another trick I love is blending multiple image prompts. This is how you create completely new hybrid materials that just don't exist in the real world. Imagine prompting for a texture that's part "bioluminescent fungi" and part "brushed metal." The results can be incredibly original, perfect for sci-fi or fantasy projects that need a unique visual flair.
Getting a Handle on Scale and Density
One of the most crucial skills to master is managing the scale and density of your pattern. This is what separates a decent asset from a truly professional one. A fine-grained leather texture meant for a small 3D wallet is completely different from a large-scale cobblestone pattern needed for a sprawling game environment.
To direct the AI, you need to be specific with modifiers in your prompt:
- For tight, detailed work: Try using keywords like
micro detail,close-up, ordelicate pattern. - For bigger, broader patterns: Use phrases like
wide shot,large format pattern, orzoomed out texture.
The real pro-move is to think about the final use case before you even start generating. A pattern's scale completely changes how it’s perceived, and nailing that detail is what will make your textures stand out.
These techniques, combined with the constant evolution of AI, are blowing the doors wide open for creators. You can get a glimpse of what's on the horizon by checking out our article on upcoming AI image generation trends.
Of course. Here is the rewritten section, crafted to sound like an experienced human expert, following all the provided guidelines and examples.
Common Questions About Tile Images
Once you start making tileable patterns, you'll probably run into a few of the same questions that trip everyone up at first. Getting a handle on these early can save you a ton of headaches down the road. Here are the questions I get asked all the time, along with some straight-to-the-point answers.
Can I Turn an Existing Photo into a Seamless Pattern?
You absolutely can, but be prepared for some hands-on work. It’s not as simple as just hitting a button. The old-school way involves a tool like Photoshop and its "Offset" filter. This trick pushes the edges of your image to the center, revealing the ugly seam where they meet.
From there, it’s a manual process. You’ll spend time with tools like the clone stamp or healing brush to blend that seam until it vanishes. Some online "pattern maker" tools try to automate this, but I've found that getting a truly seamless result almost always requires a bit of manual finessing.
What’s the Best File Format for a Tile?
The right format really boils down to where the image will end up. You're always trading off between quality and file size, so picking the right one from the start is crucial.
- PNG: This is my go-to for most web design work, especially for patterns with sharp lines or transparency. Since it’s a lossless format, you don’t lose any quality, which keeps your pattern looking crisp and clean every time it's saved.
- JPG: If you’re dealing with something photographic, like a complex wood grain or fabric texture, a high-quality JPG is a good option to keep file sizes small. Just be sure to zoom in and check for compression artifacts, especially around the edges where the tiling happens—that’s where they’ll show up first.
- TIFF or TGA: For the pros working in game development or high-resolution print, you’ll want a lossless format like TIFF. These formats keep every last pixel of data, which is essential when quality is non-negotiable.
My best piece of advice? Think about the end use before you even start. Choosing the wrong format can lead to blurry artifacts or bloated files that will slow down your website or game.
How Do I Make My Pattern Not Look So… Repetitive?
That “obvious repeat” look is the number one sign of an amateur pattern. The secret to avoiding it is to build variation and a bit of organic chaos right into your source tile. Instead of symmetrical designs, prompt the AI with phrases that suggest natural randomness, like “asymmetrical floral print” or “irregular stone paving.”
Here’s another pro tip: generate a bigger tile. I’m talking 1024x1024 pixels, or even 2048x2048 if you can. When the source tile is larger and more detailed, the repetition becomes far less noticeable when tiled across a big surface. You’re essentially giving the eye too much information to easily spot where the pattern begins and ends.
Ready to stop worrying about seams and start creating stunning patterns in seconds? Bulk Image Generation lets you describe your vision and generates up to 100 unique, tileable images instantly. Skip the tedious work and start creating at https://bulkimagegeneration.com.