Bulk Image Upload Workflow That Saves Hours

Ryan Bennett • September 30, 2026
Master bulk image upload with a proven workflow. Learn file prep, naming, sizing, and batch editing steps that save hours on every project.
You're at your desk with a folder full of product photography, a migration deadline on the calendar, and no reliable way to tell which files are ready. The images look fine individually, but the folder contains mixed formats, inconsistent names, duplicate views, and files that belong to different variants. A drag-and-drop upload may get some of them into the CMS, but it won't tell you whether the catalog is complete or whether the right image is attached to the right SKU.
That's why bulk image upload works better as a production pipeline than as a file-transfer task. Preparation, transfer, editing, mapping, validation, and publishing are connected handoffs. If one handoff is weak, the failure usually appears later, when it costs more to fix.
Why Bulk Image Upload Breaks Without a Pipeline
At scale, an upload button is only the middle of the job. A producer may begin with hundreds of approved product shots, but the destination system still has to interpret file formats, accept the transfer, attach each asset to the correct record, generate derivatives, refresh caches, and report failures accurately.
Digital asset management systems support individual upload, bulk import, and automated synchronization because large libraries need more than one ingestion path. Bulk import is especially useful when a team is moving images from a shared drive or existing storage into a controlled repository. Enterprise libraries can contain thousands or even millions of assets, and Microsoft identifies scalability as critical for organizations operating at that level. Cloudinary's overview of digital asset management also describes bulk intake through methods such as drag-and-drop, FTP or SFTP, and API-connected pipelines.
The three failures that repeat
The first failure is a silent rejection. A platform may skip an unsupported format, reject a damaged file, or accept an upload without making the exception obvious in the final status. The folder looks complete, but the destination library has gaps.
The second is a transfer failure. Browsers are convenient for small jobs, but long queues can be interrupted by a closed tab, an expired session, a gateway timeout, or an unstable connection. Without resumable behavior, the operator may have to start again or guess which files arrived.
The third is reconciliation debt. A partial batch creates a new manual task. Someone must compare the source folder with the destination, identify missing assets, check duplicate uploads, and repair product or variant relationships. That work often takes longer than the original transfer.
Practical rule: Treat every upload as incomplete until the destination has been reconciled against the source.
A repeatable brand asset process also helps teams decide who owns naming, metadata, approvals, and version control before files move. The step-by-step brand framework is useful context for defining those responsibilities. The point isn't to add bureaucracy. It's to prevent a fast upload from becoming a slow cleanup project.
Preparing Your Files Before the Upload Starts
Good preparation removes ambiguity before the platform has a chance to create it. The decisions below affect searchability, delivery performance, variant matching, and the amount of manual support your team will need after publishing.
For photographic catalogs, JPEG is usually the practical default. Use PNG when transparency is part of the asset's purpose, such as a logo, cutout, or interface graphic. WebP can suit modern storefronts, but add a fallback when your publishing stack or downstream partners don't handle it consistently.
Export from the largest required master rather than enlarging a smaller file. Set a clear long-edge target for each destination, then create channel-specific derivatives from the master. This avoids sending oversized originals everywhere while protecting the image quality needed by the most demanding channel.
File names should carry operational meaning. A pattern such as shirt-1042-blue-front-03.jpg gives an importer information about the product, variant, view, and sequence. It also makes human review faster when an automated match fails. Teams dealing with large catalogs can use this guide to file naming conventions to formalize the pattern before the next export.
Compression belongs before the upload, not after the catalog is live. ImageMagick, libvips, and Squoosh can apply a consistent preset across a folder. The right setting depends on the image type and destination, but the operating principle is simple: remove unnecessary weight while preserving the visual details buyers need. Oversized files increase transfer time, complicate retries, and can create slower page delivery.
| Decision | Recommended Setting | Downstream Cost If Skipped |
|---|---|---|
| File format | JPEG for photographs, PNG for transparency, WebP where the stack supports it | Rejected files, unnecessary weight, or compatibility work |
| Dimensions | Start from the largest required master and create channel-specific derivatives | Blurry images from upscaling or oversized delivery files |
| Naming | Use a consistent slug with SKU, variant, view, and sequence | Broken matching, unstable sort order, and manual assignment |
| Compression | Apply a tested batch preset before transfer | Longer uploads, heavier delivery, and repeated re-exporting |
| Traceability | Keep an export log that connects original and processed names | Difficult investigation when a file is missing or misassigned |
Brand teams also need governance around approved versions, usage rights, and channel variants. FLYP LTD's material on brand asset management provides useful background for that broader operating model. A clean folder is valuable, but a clean folder with clear ownership is what keeps future uploads consistent.
A Repeatable Prep Workflow You Can Reuse
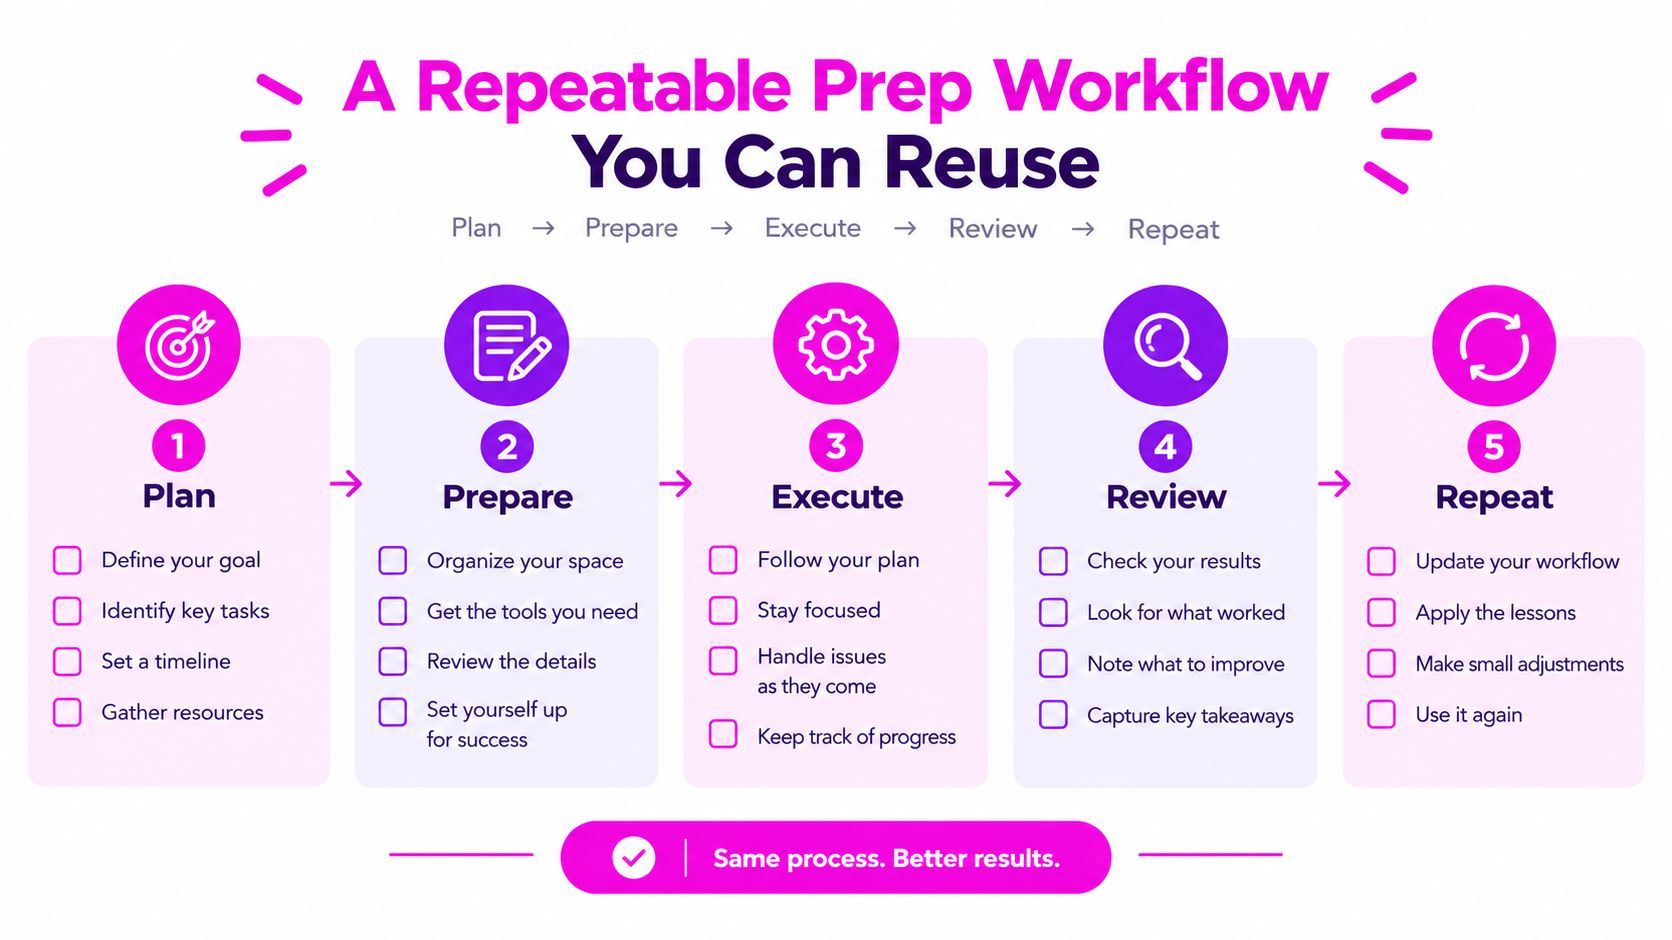
Run the same preparation sequence before opening the destination uploader. The tools can change, but the handoffs should stay stable.
- Audit the folder with a file scanner or a short Python script, flagging mixed extensions, unusual aspect ratios, duplicate names, and oversized files in a CSV of exceptions.
- Orient and sanitize images with ImageMagick by applying EXIF-based rotation and stripping personal metadata, including location data and camera identifiers.
- Crop and resize the set with libvips or ImageMagick, using a consistent background pad for product shots and a locked long-edge target for each channel.
- Rename the exports with a script or Bulk Rename Utility using the SKU, variant, view, and sequence pattern, while preserving original names in a sidecar log.
- Run a small test batch before the full import, using the recommended five-product test approach for large catalogs to verify dimensions, formats, identifiers, and mapping behavior.
The test batch should include ordinary files and awkward ones. Select a portrait image, a transparent asset, a variant with a complicated identifier, and a file likely to expose a naming or format rule. Confirm that the destination receives the files, parses the names correctly, preserves the intended dimensions, and reports exceptions clearly.
Make the log part of the process
A sidecar CSV is more useful than a folder of renamed files with no history. Store the original filename, processed filename, SKU, variant, view, export preset, and upload status. When a marketplace or storefront rejects an image later, the team can trace the asset back to its source without asking the photographer to reconstruct the export.
Automation makes the routine easier to repeat, but it doesn't remove the need for controlled checks. Services that help teams automate workflows with AI can be considered for repetitive transformations and routing, provided the workflow still records exceptions and preserves a human approval point.
Sequential vs Parallel Upload and What the Numbers Say
The fastest upload method isn't always the one with the most simultaneous connections. A production pipeline has to balance throughput, error recovery, server limits, and the cost of restarting a failed transfer.
A logging study covering 47 teams measured a sequential upload process with exponential backoff. The error rate fell from 11.3% to 0.4%, while the median batch time for 50 images at 2 MB each was 142 seconds. Parallelized uploads took 217 seconds in that measured workflow because packet loss and retransmission offset the expected concurrency advantage. These figures come from Filestack's guidance on handling large uploads, and they're best treated as a planning benchmark rather than a universal promise.
| Approach | Images/min | Failure Recovery | Best Catalog Size |
|---|---|---|---|
| Sequential with backoff | Not specified as a universal rate | Straightforward per-file retries | Small tests or unstable workflows |
| Parallel transfer | Not specified as a universal rate | More complex, with possible retransmission | Stable connections and systems that support concurrency |
| Chunked and resumable | Depends on chunk size and connection | Resume from an interrupted point | Large files or unreliable connections |
Use concurrency deliberately
Sequential transfer is easier to observe. Each response tells the worker what happened before it sends the next file, which makes logs and retries simpler. It can still be inefficient if the connection is reliable and the platform supports safe parallelism.
Parallel transfer can reduce idle time, but more connections also increase pressure on rate limits and network reliability. A queue should honor server responses, apply exponential backoff, and use idempotent file identifiers so a retry doesn't create a duplicate asset.
For large files, stream data directly to disk or object storage rather than loading the entire upload into memory. Chunked and resumable uploads add implementation work, but they prevent a broken connection from forcing the system to resend the entire file. Keep the retry policy visible in the operator dashboard, and make failed files selectable for a second pass.
API-aware teams should also understand how rate limits affect workers and retry queues. The discussion of OpenAI API rate limits is relevant as a general reminder that automated workers need backoff and scheduling, not just more concurrency.
Batch Editing After the Upload Lands
Uploading the source files doesn't mean they're ready for every channel. Once the assets arrive, route them through a batch editor rather than opening each image individually. The editor should apply named presets for background treatment, resizing, enhancement, and any approved creative transformation.
Start with the least destructive operation. Background removal, padding, and cleanup should happen on a controlled source derivative, not on the only copy of the original. Then apply destination rules, such as marketplace dimensions, social crops, or email thumbnails, as separate outputs. Each output should retain a relationship to the same SKU and variant.

Test presets before scaling them
A preset that looks correct on one studio image can fail on reflective packaging, dark fabric, hair, transparent edges, or a model photographed against a similar background. Test every preset against a representative sample before applying it to the full queue. Check edges, shadows, colors, crop safety, and whether the output still carries the expected filename and identifier.
Face swaps and other generative edits need the same discipline. They may be appropriate for approved creative variants, but they can also alter product details or create inconsistent results across a collection. Keep those transformations in their own stage so the team can approve them independently from technical resizing and compression.
The output name should remain machine-readable. If shirt-1042-blue-front-03.jpg becomes an opaque export name, the storefront loses the clue it needs for automatic matching. Preserve the source identifier in the filename, metadata, or a manifest file.
For teams building a repeatable post-production system, this post-production workflow guide offers a useful reference point. Bulk Image Generation is one option for generating and processing image sets, including resizing and other batch editing operations, but the same validation principle applies regardless of the tool: approve the preset before multiplying its output.
What Goes Wrong After the Upload Succeeds
A green upload status only confirms that the transfer process reported success. It doesn't necessarily confirm that every source file exists in the destination, that every image is attached to the correct variant, or that customers can already see the replacement.
Partial failures are the first problem to check. A worker may preserve successful files while isolating failed ones, or it may pause the import and require a manual resume. Reconcile the source manifest against the destination inventory, then re-queue only the missing or failed files. Never rely on a single overall completion message.
Cache freshness creates a second trap. One product workflow warns that updated images may remain cached for 24 hours before changes appear, as described in Art Galleria's guidance on uploading multiple artworks. Use a supported purge process or versioned asset references, and tell merchandising, support, and campaign teams when the new files are expected to become visible.
Protect the mapping logic
SKU mapping fails when a processed filename no longer contains the identifier used by the storefront. Variant-heavy catalogs make this harder because one image may apply to several child variants, regions, or sales channels. WizCommerce's bulk image upload guidance highlights the role of filename matching and the manual work required when files don't match an SKU.
Before publishing, verify that each asset has the expected product, variant, view order, and region assignment. Keep the original filename in a manifest or metadata field, and compare the final attachment list against the source mapping. Also inspect generated thumbnails for missing dimensions, because conversion systems can produce poor mobile outputs when the input rules are incomplete.
Putting the Pipeline Together and Common Questions
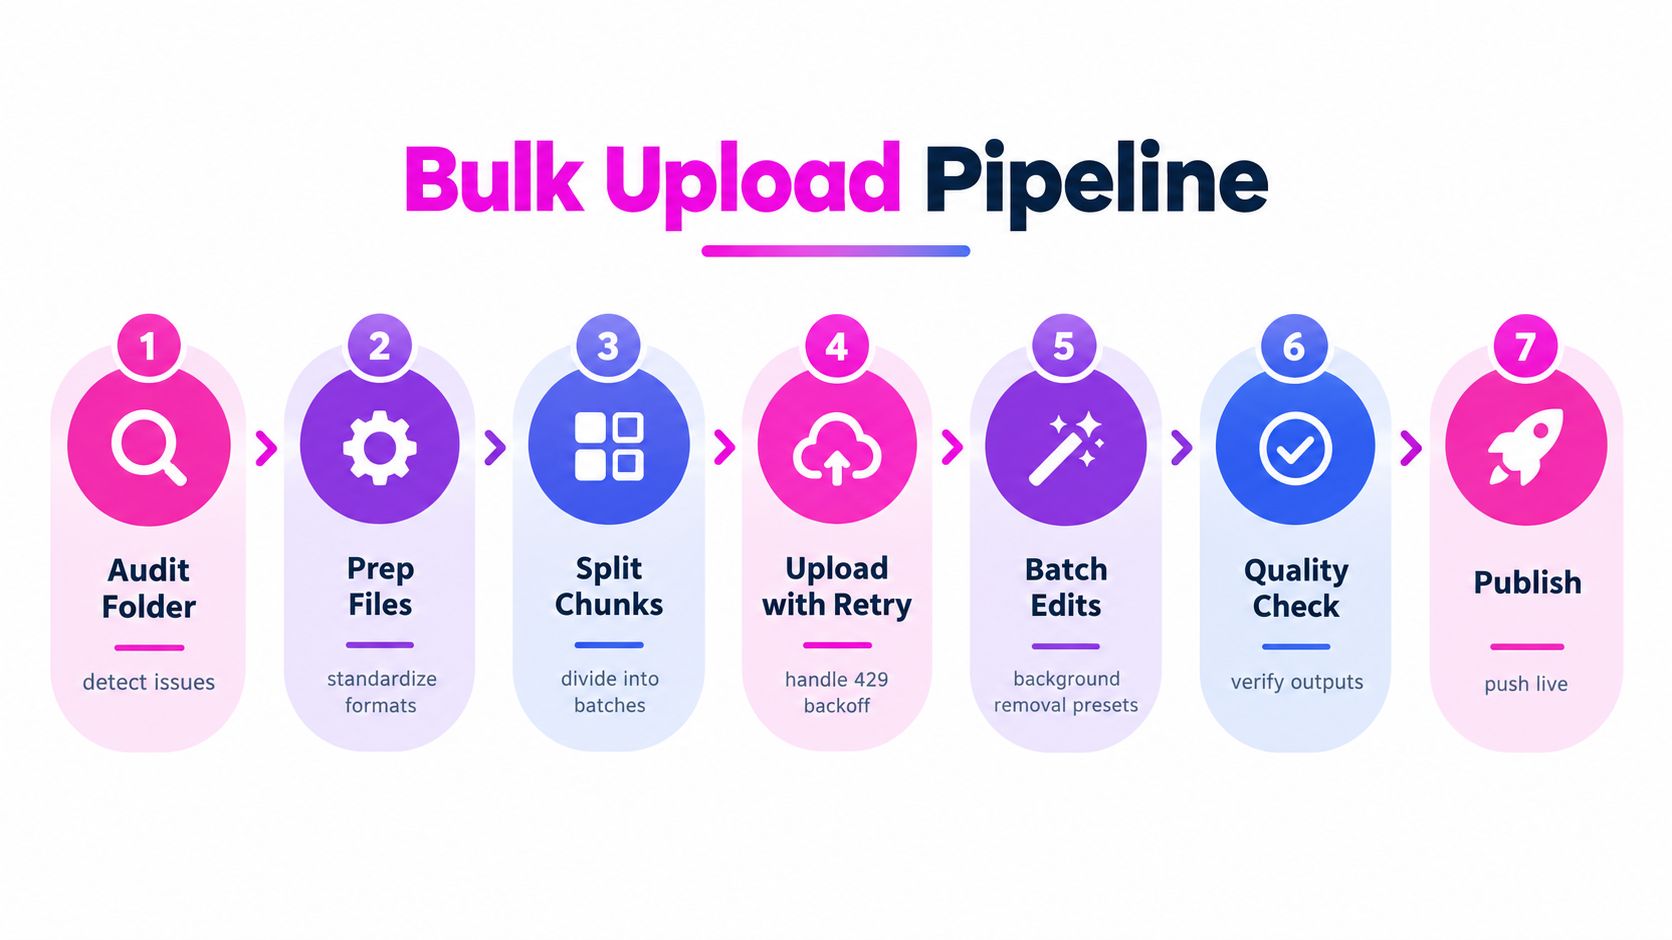
A dependable production line has seven handoffs:
Audit folder → prep files → split into chunks → upload with retry logic → run batch edits → reconcile SKUs → verify cache refresh and publish.
Each stage should produce an observable result. The audit produces an exception list. Preparation produces normalized files and a manifest. Upload produces per-file statuses. Editing produces approved derivatives. Reconciliation produces a mapping report. Publishing produces a cache and storefront check.
Common production questions
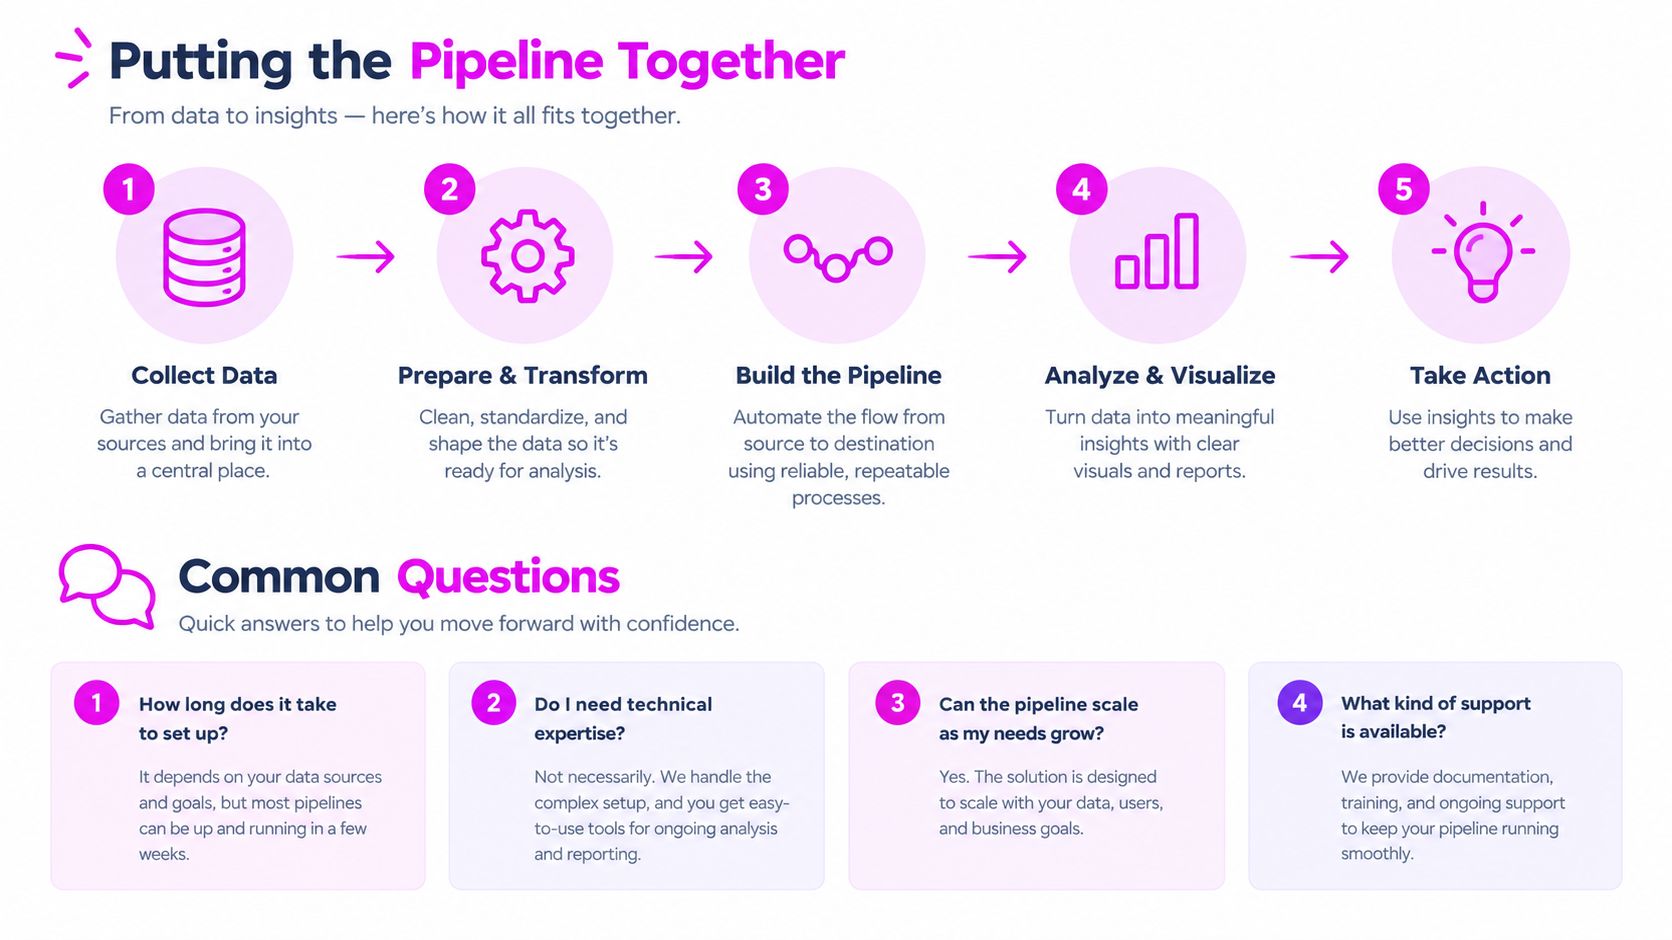
How should mixed aspect ratios be handled? Separate them into known groups, apply a channel-specific crop or background pad, and keep exceptions out of the main batch until someone approves them.
Which names survive CDN caching? Keep stable SKU and variant identifiers in the filename, then use versioned paths or the platform's supported cache invalidation method when replacing an existing asset.
What happens after a network drop? Resume from the last confirmed file or chunk, not from the beginning, and compare the destination against the manifest before restarting anything.
How should refresh warnings reach other teams? Send a concise status containing the batch name, affected catalog, expected cache behavior, failed-file report, and the person responsible for the final storefront check.
The goal is repeatability. Once the pipeline completes cleanly, the next catalog inherits the same preparation rules, retry behavior, mapping checks, and publishing rhythm.
Bulk Image Generation can support this workflow with batch image creation, resizing, and post-production steps that help teams prepare consistent asset sets before publishing. Visit Bulk Image Generation to assess whether its batch tools fit your next catalog or campaign pipeline.