
A Guide to Resolution and Size of an Image for Web and Print

Aarav Mehta • December 8, 2025
Master the resolution and size of an image with this guide. Learn how to optimize images for web, print, and social media to achieve perfect clarity.
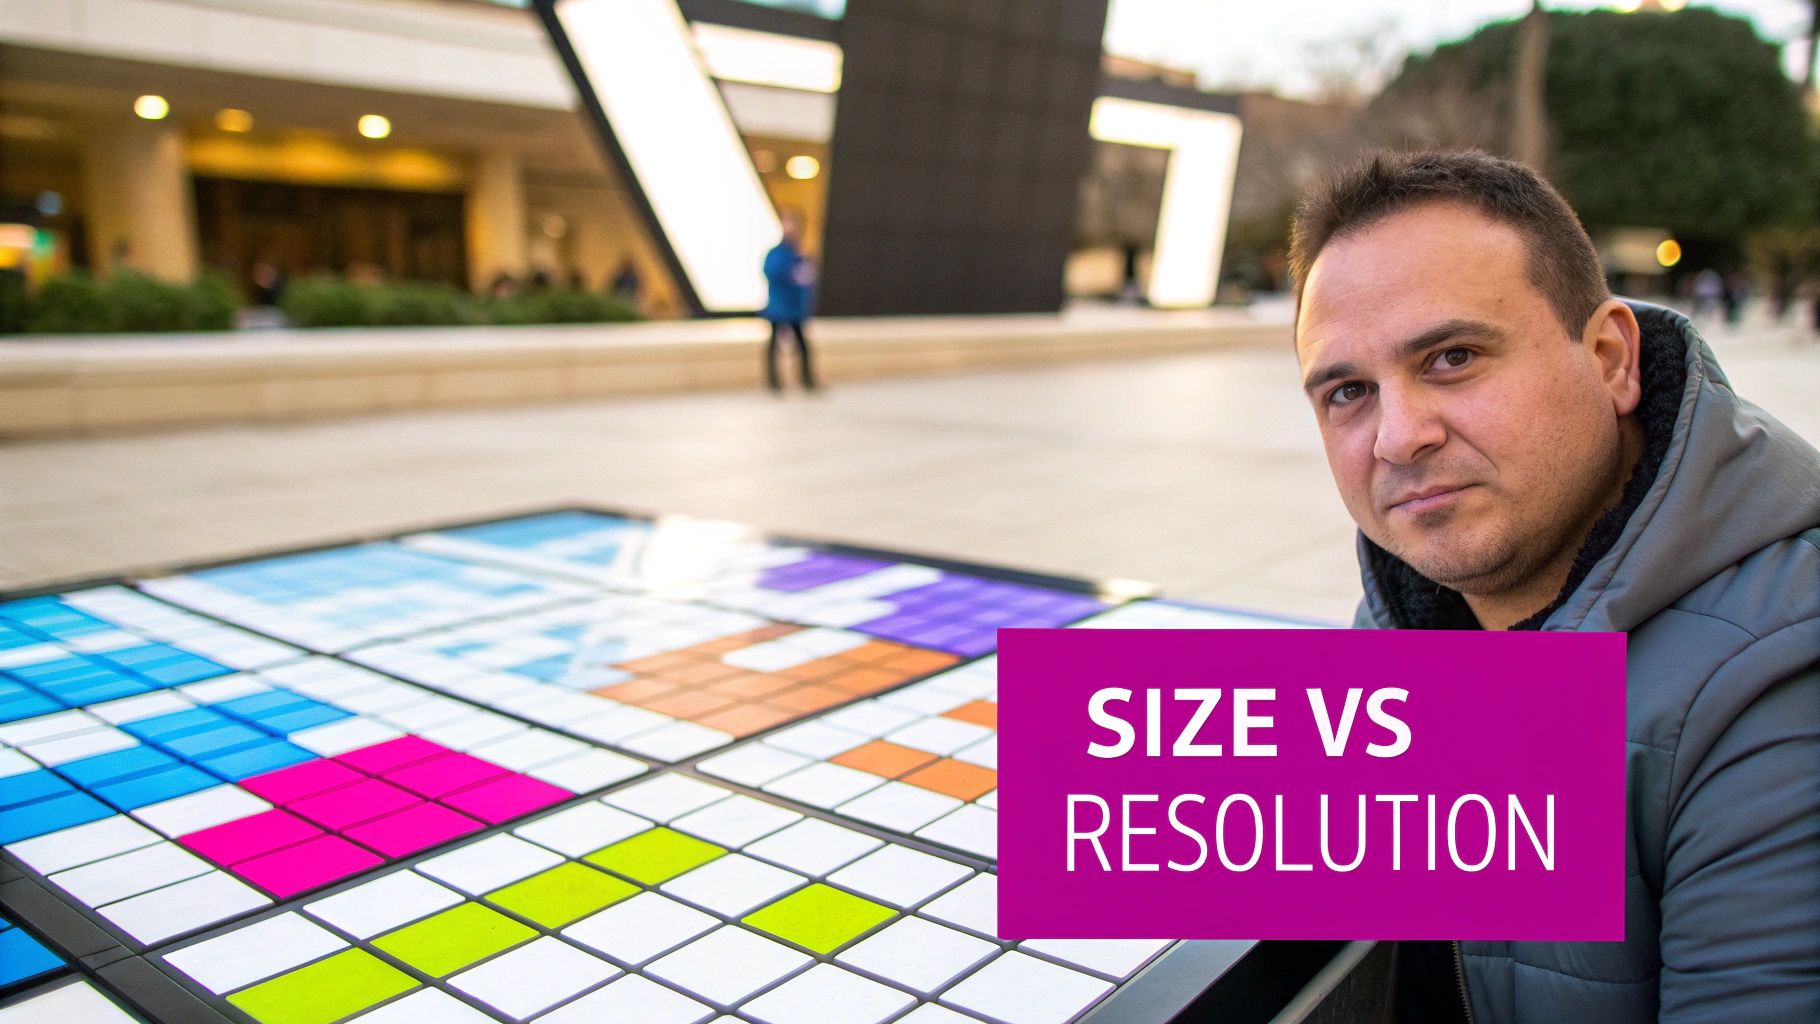
Let's be honest, "image size" and "resolution" get thrown around interchangeably all the time. But in reality, they're two completely different things. Getting a handle on this difference is the first, most crucial step to creating images that look fantastic, whether they're printed on a massive banner or loading lightning-fast on your website.
Think of it like this: Image size is the total number of Lego bricks you have to build with. Resolution is how tightly you pack those bricks together. One tells you how much you have, the other tells you about the quality and detail of the final build.
The Foundation of Digital Images
Before we get into fancy editing tricks, let's lock down these two core ideas. Mixing them up is a common mistake, but understanding how they work together is your ticket to producing professional-quality visuals for any project.
What Is Image Size?
When we talk about image size, we're really talking about its dimensions in pixels—those tiny little dots of color that make up every digital picture.
If you see dimensions like 1920 x 1080 pixels, it simply means the image is 1,920 pixels wide and 1,080 pixels tall. Multiply those two numbers (1920 × 1080), and you get 2,073,600 total pixels, which is roughly 2.1 megapixels. The more pixels you have, the larger you can display or print the image before it starts looking blurry or "pixelated."
What Is Image Resolution?
Resolution, on the other hand, is all about pixel density. It measures how many of those pixels are crammed into a physical space, usually one inch. This is where you see terms like PPI (Pixels Per Inch) for screens and DPI (Dots Per Inch) for print.
For a high-quality photo print, you'll want a high resolution, like 300 PPI. That means 300 pixels are packed into every single inch of the paper, creating a crisp, detailed image. But for the web, the standard is much lower—just 72 PPI. That's because screens have a fixed pixel density, and anything higher just bloats the file size without making the image look any better on-screen.
To make this crystal clear, here’s a simple breakdown:
Image Resolution vs Size at a Glance
| Concept | What It Measures | Common Units | Primary Use Case |
|---|---|---|---|
| Image Size | The total pixel dimensions (width x height). | Pixels (px), Megapixels (MP) | Determining the total amount of visual data. |
| Resolution | The density of pixels within a physical area. | Pixels Per Inch (PPI), Dots Per Inch (DPI) | Defining the sharpness and quality for print or screen. |
| File Size | The amount of storage space the image takes up. | Kilobytes (KB), Megabytes (MB) | Web performance and storage management. |
This table shows how each concept plays a distinct role. Image size gives you the raw material, resolution defines its clarity in a real-world application, and file size is the resulting digital footprint.
Key Takeaway: Image size is the total amount of visual data you have. Resolution is the quality and clarity of that data when it’s displayed or printed at a certain physical size.
The two are completely intertwined. A photo with huge pixel dimensions (a large image size) can be printed on a big poster while maintaining a high resolution of 300 DPI. But if you take a tiny image with very few pixels and try to blow it up to poster size, the resolution will plummet, and you'll end up with a blurry mess.
It’s also important that your dimensions stay proportional when you resize things. If you need help with that, a good aspect ratio calculator can save you from accidentally squashing or stretching your images.
From Film Grain to Digital Pixels
To really get why image resolution and size are so important today, it helps to rewind a bit. Before we had pixels, we had film grain. Think of it as tiny, light-sensitive crystals of silver halide packed onto a strip of celluloid. The size and density of these grains were everything—they dictated the photo's sharpness and detail.
A fine-grain film could capture stunningly detailed images, but it was thirsty for light, demanding longer exposure times. On the other hand, coarse-grain film was much more sensitive, making it perfect for action shots or low-light situations, but the trade-off was a "grainier," less detailed picture. Photographers had to make a very real, physical choice between detail and practicality. That same balancing act is still with us in the digital world.
This analog era of chemical reactions and physical limits really set the stage for the massive shift in how we create and view images. The goal hasn't changed: capture as much detail as humanly (and technologically) possible.
The Dawn of the Digital Image
The jump from physical grain to digital pixels wasn't an overnight thing. It was a slow burn of scientific discovery. The big bang moment came in 1957 when computer scientist Russell Kirsch and his team scanned the world's first digital image—a photo of his baby son. This groundbreaking picture was a humble 176 x 176 pixels, a little over 30,000 pixels in total. You can dive deeper into this pivotal moment in the history of photography.
By today's standards, that first scan was incredibly primitive. It was 1-bit, meaning each pixel could only be black or white, with no shades of gray. But it proved a revolutionary concept: a picture could be turned into a grid of numbers, stored, and then displayed by a machine. This single idea laid the groundwork for everything from satellite imagery to the phone in your pocket.
A Pixel Is Born: The word "pixel," short for "picture element," caught on in the 1970s. It’s the smallest individual dot you can control on a screen—a single point of light and color in a massive grid.
The next major leap forward was the invention of the Charge-Coupled Device (CCD) in 1969. CCDs are sensors that turn light into electrical signals, basically acting as digital film. They became the heart of early digital cameras, scanners, and telescopes, translating light into the raw data that makes up a digital picture.
From Monochrome Grids to Full-Color Displays
Early digital images were simple, often black and white, but the tech evolved fast. The introduction of color filter arrays, like the Bayer filter, allowed a single sensor to capture red, green, and blue light data for each pixel. This was the key that unlocked the full-spectrum color images we see everywhere today.
This whole journey really underscores why we're so focused on improving image resolution and size. Every single advancement has brought us a step closer to creating a more detailed and faithful copy of reality.
- Film Grain (Analog): Detail was limited by the physical size of silver halide crystals. Smaller grains meant sharper photos.
- First Digital Scans (1950s): Detail was capped by the scanner's ability, starting with that simple 176x176 grid.
- CCD Sensors (1970s-1990s): The number of light-capturing sensors on the chip gave us the "megapixel" count, which determined the image's potential detail.
- Modern CMOS Sensors (2000s-Present): Today’s sensors cram millions of pixels into tiny spaces, giving us the incredible high-resolution photos and videos we use every day.
Knowing this history puts our modern obsession with megapixels and HD displays into perspective. It was never just about making the numbers bigger. It has always been a relentless chase for more clarity, richer color, and finer detail, moving from the physical texture of film to the clean, abstract perfection of the pixel grid.
Making Sense of PPI and DPI
Ever had that sinking feeling when an image that looked perfectly sharp on your monitor comes out of the printer as a blurry, pixelated mess? If so, you've run headfirst into the crucial difference between PPI and DPI.
These two little acronyms are at the heart of image resolution and size, but they're constantly mixed up. Getting them straight is the secret to making sure your visuals look fantastic everywhere, from a tiny phone screen to a glossy brochure.
The easiest way to remember it is this: pixels live on screens, while dots live on paper. One is digital, the other is physical.
PPI: Pixels Per Inch for Screens
PPI, or Pixels Per Inch, is all about the density of pixels on a digital display. Think about your laptop or smartphone screen—its sharpness comes from how many tiny points of light (pixels) are crammed into every inch. More pixels packed into that space means a higher PPI, which gives you crisper text and more detailed images.
The term 'pixel' (short for 'picture element') really took off in the 1970s with the rise of digital imaging. In fact, its use in patent filings reportedly doubled each year during that decade, which shows just how fast the technology was moving. If you're curious about the deep dive, you can explore the history of the term in early digital imaging research.
For anything destined for the web, 72 PPI has long been the standard. This isn't just a random number. It’s a relic from early Macintosh monitors, which had a 1:1 pixel-to-point ratio that made text on screen look the same size as it would on a printed page. Even though modern screens have much higher pixel densities, 72 PPI is still the go-to for web images because a screen can only show its native number of pixels anyway.
Key Takeaway: Saving a web image at 300 PPI instead of 72 PPI won't make it look any sharper on a screen. It will only bloat the file size and slow down your website for zero visual gain. The browser just ignores the extra PPI data.
DPI: Dots Per Inch for Print
Okay, let's step away from the screen and walk over to the printer. This is where DPI, or Dots Per Inch, comes into play. DPI refers to the physical dots of ink a printer lays down on paper. A printer doesn't have a neat grid of pixels; it uses microscopic dots of cyan, magenta, yellow, and black (CMYK) ink to recreate your image.
The more dots the printer can squeeze into a single inch, the smoother the color blends and the sharper the final printed image will be. This is exactly why the gold standard for high-quality printing is 300 DPI. At that density, the human eye can't distinguish the individual dots from a normal viewing distance, making the image look clear and continuous.
This visual timeline captures the journey from the physical grain of old film to the organized grid of modern pixels we see today.
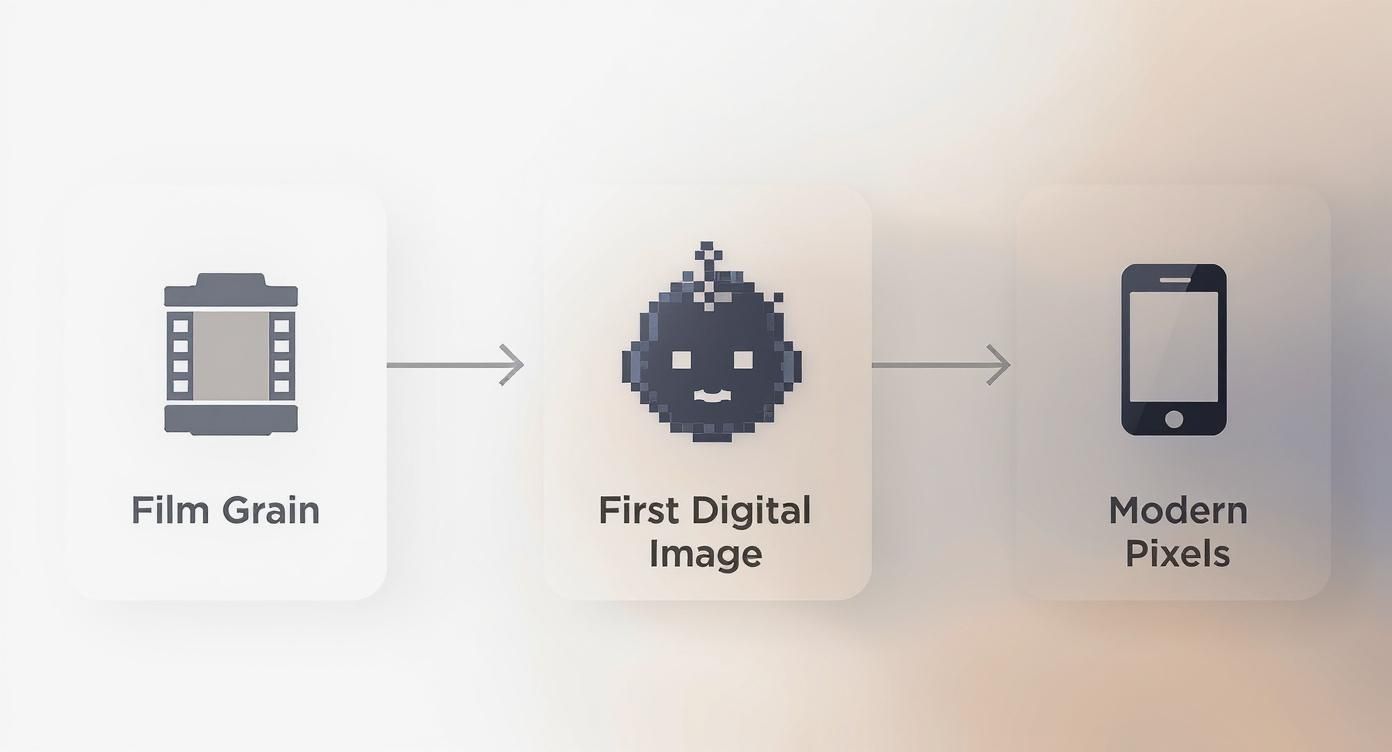
It’s a great illustration of the constant push for more detail, a goal that requires totally different approaches for digital screens versus physical prints.
Connecting PPI and DPI in the Real World
So, how do these two concepts actually work together? It all comes down to preparing your image for its final destination. The total number of pixels you have (your image's dimensions) dictates how large you can print it while keeping the DPI high enough to look good.
Let's break it down with a practical example:
-
Scenario 1: You have a 1200 x 600 pixel image saved at 72 PPI. It looks great on your website. If you send this file to a professional printer aiming for 300 DPI, the math is simple: (1200 pixels / 300 DPI) = 4 inches wide. Your image will print as a tiny but very sharp 4x2 inch photo.
-
Scenario 2: Now, let's say you try to print that same 1200 x 600 pixel image on an 8x4 inch flyer. To fill that space, the printer has to stretch those pixels out, which guts your resolution. The effective DPI drops to just 150 (1200 pixels / 8 inches). The result? A blurry, pixelated mess that looks unprofessional.
Grasping this simple math is the secret to avoiding those frustrating resolution problems. Before you start any project, just ask yourself: will this be viewed on a screen or held in someone's hand? The answer tells you whether to focus on PPI for the web or DPI for print. It’s that distinction that ensures your images are always fit for purpose.
A Practical Guide to Image Settings for Any Platform
Theory is great, but knowing how to apply it is what really counts. Instead of guessing dimensions and just hoping for the best, let’s get into some clear, actionable presets for the most common places you’ll use images. Nailing these settings from the start saves a ton of time, prevents those frustrating quality issues, and makes sure your visuals land the way you want them to.
Think of it as a balancing act. For websites and social media, you’re looking for that sweet spot between crisp visuals and speedy load times—after all, even a one-second delay can hurt engagement. But for print? The game changes completely. It's all about maximum detail.
Optimal Image Settings for Web Pages
Performance is king when you're prepping images for a website. Huge, unoptimized images are one of the biggest reasons pages load at a snail's pace. The go-to resolution for any web image should be 72 PPI (Pixels Per Inch). Anything higher is just overkill for a screen and will needlessly bloat your file size without any visual benefit.
Here are a few solid starting points for dimensions:
- Full-Width Hero Images: Shoot for 1920 x 1080 pixels. This size looks great on most modern desktop screens without being ridiculously large.
- Blog Post Banners: A width of 1200 pixels is a safe, versatile bet. A 3:2 aspect ratio is common, which works out to 1200 x 800 pixels.
- In-Content Images: This really depends on your site’s layout, but you’re usually safe with a maximum width between 800 and 1000 pixels.
When it comes to e-commerce, your product shots have to be crystal clear. Sharp, clean images can directly impact your sales. If you're curious about how AI can help you create flawless product photos, check out our guide on AI product photography.
Essential Social Media Image Dimensions
Every social media platform is its own little world with its own specs. Using the wrong size can lead to your beautiful graphic getting awkwardly cropped or looking fuzzy. It pays to optimize images for platforms like LinkedIn and others by getting the dimensions right from the get-go.
While these numbers can change, here’s a quick cheat sheet for the big players:
- Instagram Post (Square): 1080 x 1080 pixels
- Instagram Post (Portrait): 1080 x 1350 pixels
- Instagram Story: 1080 x 1920 pixels
- Facebook Feed Post: 1200 x 630 pixels
- X (Twitter) In-Stream Photo: 1200 x 675 pixels
- Pinterest Pin: 1000 x 1500 pixels
And just like with websites, stick to 72 PPI for all your social media graphics. These platforms are notorious for compressing whatever you upload, so giving them a high-quality, correctly sized file to start with gives their algorithms the best possible material to work with.
High-Quality Settings for Print Projects
Print is a completely different beast. Here, detail is everything. Unlike digital screens, a physical piece of paper needs a much higher density of information to create a sharp, professional-looking image. The industry standard for high-quality print is 300 DPI (Dots Per Inch).
Pro Tip: Never, ever send a 72 PPI image for a professional print job. It might look perfectly fine on your screen, but it will come out looking blurry and pixelated on paper. There just isn't enough data there to create a crisp physical image.
The pixel dimensions you'll need depend entirely on the final physical size of the print. The math is simple: just multiply the desired print dimensions in inches by the DPI.
-
Business Card (3.5 x 2 inches):
- 3.5 inches x 300 DPI = 1050 pixels wide
- 2 inches x 300 DPI = 600 pixels tall
- Your image file needs to be 1050 x 600 pixels.
-
Standard Flyer (8.5 x 11 inches):
- 8.5 inches x 300 DPI = 2550 pixels wide
- 11 inches x 300 DPI = 3300 pixels tall
- Your image file needs to be 2550 x 3300 pixels.
Using these presets as your starting point will help you confidently prep your images for any destination, making sure they look their best and perform exactly as they should.
To make things even easier, here's a handy reference table that pulls all these key settings together.
Recommended Image Dimensions and Resolution
This table is your quick-glance guide for the most common image settings, whether you're creating for the web, social media, or a print project.
| Platform/Use Case | Recommended Dimensions (Pixels) | Recommended Resolution (PPI/DPI) | Notes |
|---|---|---|---|
| Website Hero Image | 1920 x 1080 | 72 PPI | Optimized for full-screen display on desktops. Compress to balance quality and speed. |
| Blog Post Image | 1200 x 800 | 72 PPI | A versatile size for featured images that also looks good when shared on social media. |
| Instagram Post | 1080 x 1080 (Square) | 72 PPI | For portrait posts, use 1080 x 1350 pixels to take up more screen space in the feed. |
| Facebook Post | 1200 x 630 | 72 PPI | This is the ideal size for link-sharing previews to avoid unexpected cropping. |
| Standard Business Card | 1050 x 600 | 300 DPI | Based on a 3.5" x 2" physical card. Always confirm bleed requirements with your printer. |
| A4/US Letter Flyer | 2550 x 3300 | 300 DPI | Corresponds to an 8.5" x 11" document. Using a lower DPI will result in visible quality loss. |
Bookmark this guide, and you'll never have to second-guess your image dimensions again.
How to Resize Images Without Losing Quality
Changing an image's size can feel like a high-stakes move. Go too small, and you might lose critical detail. Go too large, and you risk turning a sharp photo into a blurry, pixelated mess. The key to pulling this off without disaster is understanding one crucial distinction before you even touch a tool.
The process is a bit more involved than just plugging in new numbers for width and height. To really resize an image without tanking its quality, you have to know the difference between simply resizing and a more complex process called resampling.
Get this distinction right, and you'll be able to adjust image sizes with confidence.
Resizing vs. Resampling Explained
Let's demystify these two terms. They sound almost the same, but they have completely different impacts on your image's core data.
-
Resizing: This is the simple act of changing an image's print dimensions without actually touching its pixel data. Imagine you have a photo that's 3000 x 2000 pixels. If you change its resolution from 300 DPI down to 150 DPI, its print size will double, but the total number of pixels stays exactly the same. You're just spreading the existing pixels out over a larger physical area.
-
Resampling: This is where things get more technical. Resampling literally changes the number of pixels in the image. When you make an image smaller (downsampling), the software throws away pixels. When you make an image larger (upsampling), the software has to invent new pixels to fill the gaps. This is almost always where quality loss happens.
When you enlarge an image, your editing software uses a process called interpolation to guess what the new pixels should look like based on the ones around them. The quality of that guess determines how good the final, larger image appears.
Understanding this difference is everything. If you only need to change the print output size, stick to simple resizing. But if you need to alter the pixel dimensions for the web or a different display, you have to resample.
A Step-by-Step Guide to Smart Resizing
When you need to adjust an image's resolution and size, using a dedicated tool gives you more control and simplifies the whole thing. For tackling multiple images at once, a tool like the Bulk Image Generation batch editor is a lifesaver. Our bulk image resizer gives you a dead-simple interface for these exact tasks.
Here’s a practical workflow to follow:
-
Work on a Copy: This is the golden rule. Never overwrite your original, high-quality image file. Always save a copy first and do your edits on the duplicate. This protects your master file from accidental changes or quality damage.
-
Define Your Goal: Know your destination. Are you prepping an image for a website banner (say, 1920x1080 pixels at 72 PPI) or for a professional print job (maybe 2550x3300 pixels at 300 DPI)? Your target dictates the exact dimensions and resolution you need.
-
Choose the Right Interpolation Method: When upsampling, your software will ask you to choose an interpolation algorithm. These are just different methods for creating new pixels. Common options include "Bicubic," "Nearest Neighbor," and "Bilinear." For most photos, Bicubic Smoother (for enlargements) or Bicubic Sharper (for reductions) offer the best results, producing a much more natural look.
Minimizing Quality Loss When Enlarging
Making an image larger is always the trickier move because you're asking software to create data that wasn't there to begin with. While no method is perfect, you can take a few steps to get the best possible result.
One effective strategy is to enlarge the image in small increments. Instead of jumping from 100% to 300% in one go, try increasing the size by just 10-15% at a time. This step-by-step approach can sometimes produce a smoother, more detailed result than one giant leap.
For situations where you absolutely need to enlarge images without sacrificing clarity, consider using an online image upscaler to improve quality for your product photos. These specialized AI-powered tools are trained to intelligently add detail and can often produce far better results than old-school interpolation methods. Follow these steps, and you can confidently adjust your images while keeping as much of their original quality as possible.
Solving Common Image Resolution Problems
Even with the best plan, sometimes things just go wrong. We’ve all been there: an image looks crisp on your computer but turns into a blocky, pixelated mess on your website. Or worse, the page takes forever to load, frustrating visitors and sending them packing.
Most of the time, these headaches come down to a few common culprits. Let’s walk through how to diagnose and fix them so your images always look sharp and perform beautifully.
The most frequent offender is stretching a small image too far. When you take a low-resolution photo and try to blow it up, you aren't magically adding new detail. You're just making the existing pixels bigger, which creates that classic, unprofessional "blocky" look.
Another classic mistake is using the wrong resolution for the job. You might think uploading a massive 300 DPI print file to your website will make it look extra sharp, but it does the opposite. All you get is a gigantic file that slams the brakes on your page speed, which can hurt both your SEO and the patience of your audience.
Fixing Pixelated and Blurry Images
When an image looks fuzzy or distorted, the first thing to do is check the original file's dimensions. Was the image actually big enough for the space you're trying to fill?
- For Web Use: Make sure your source image has pixel dimensions at least as large as the container it will fill on the screen. You can always scale an image down without losing quality, but scaling up is a recipe for disaster.
- For Print: You have to do the math. To get a clean 8x10 inch print at 300 DPI, your image file absolutely must be at least 2400 x 3000 pixels. Anything smaller is guaranteed to look fuzzy.
The Golden Rule of Resolution: Always, always start with the highest quality, largest image you have. It’s a million times easier to shrink an image down than it is to try and make it bigger without ruining it.
Choosing the Right File Format
The file format you choose is just as important. It’s all about finding that sweet spot between image quality and file size, and each format has a specific job to do.
- JPEG: This is your go-to for most photos on the web. It offers fantastic compression to keep file sizes small, which is a must for fast-loading websites.
- PNG: Reach for a PNG when you need a transparent background. Think logos, icons, or any graphic where you don't want a solid box around it. The files are usually bigger than JPEGs, but they perfectly preserve sharp lines and that all-important transparency.
- WebP: This is the modern choice for top-tier web performance. WebP offers even better compression than JPEG and PNG, meaning you get smaller files with similar (or better!) quality. If you want to speed up your site, WebP is your best friend.
By figuring out the root cause—whether it’s a simple dimension mismatch, the wrong resolution setting, or an un-optimized file type—you can quickly fix these common issues and get back to making your images look incredible.
Unpacking Common Questions About Image Resolution and Size
To wrap things up, let's tackle a few of the most common questions that pop up when you're dealing with image resolution and size. Think of this as a quick reference to clear up any lingering confusion and lock in the main ideas.
Can You Make a Low-Resolution Image High-Resolution?
Technically, yes, but it’s not the magic wand you might hope for. When you increase an image's resolution in software—a process called upsampling—the program is essentially guessing what the new pixels should look like. It doesn't create new detail out of thin air.
The result? You often end up with a blurry, pixelated, or artificial-looking image. The best practice is always to start with an image that's big enough for what you need it for. You can always scale down, but scaling up rarely ends well.
Is Higher Resolution Always a Better Image?
Absolutely not. This is a huge misconception. For anything on a screen, a 72 PPI image will look just as sharp as a 300 PPI one because screen pixel density is what it is. Pumping up the resolution for web use only bloats the file size, which slows down your website without any visual benefit for your visitors.
High resolution is really king for printing, where more dots of ink per inch (DPI) create a sharper, more detailed physical picture.
Key Insight: The best resolution is the one that fits its final destination. For screens, focus on getting the pixel dimensions right at 72 PPI. For print, you'll want to aim for 300 DPI at the physical size you intend to print.
What Is the Difference Between Image Size and File Size?
It's easy to mix these two up, but they measure completely different things.
- Image Size: This is all about dimensions—the width and height in pixels (like 1920 x 1080 pixels). It's the canvas itself.
- File Size: This measures how much storage space the image takes up on your hard drive (like 2 MB). It’s the weight of the canvas.
A larger image size usually means a larger file size, but it’s not a one-to-one relationship. Other things, like the file format you choose (JPEG vs. PNG) and how much you compress it, play a massive role in the final file size.
Streamline your entire image creation and editing workflow with Bulk Image Generation. Generate hundreds of images in seconds and use our powerful batch editor to resize, enhance, and optimize them all at once. Try it for free at bulkimagegeneration.com.