
A Practical Guide to Photo Editor Layers

Aarav Mehta • November 5, 2025
Unlock pro-level results with our guide to photo editor layers. Learn how to manage, blend, and mask layers for stunning, non-destructive photo edits.
Ever wondered how the pros create those flawless, stunning images? The secret isn't some magic button—it's photo editor layers.
Think of layers as invisible, transparent sheets stacked on top of your original photo. Each sheet can hold a different edit, like a color tweak, a special effect, or a text overlay, without ever permanently changing the precious pixels of your base image. It’s the difference between painting directly on a canvas versus using stencils you can move around, adjust, or throw away.
Why Layers Are a Game Changer in Photo Editing
Honestly, understanding layers is the skill that separates simple, one-click filter slapping from sophisticated, professional-grade work. By isolating every single change you make, you gain absolute control over your entire creative process. No more "undo, undo, undo" moments of frustration.
Imagine you're working on a landscape shot. You want to make the sky a more dramatic blue, brighten up the shadowy foreground, and maybe add a gritty texture for mood. Without layers, you’d apply these changes one after the other, permanently baking them in. Make one wrong move with the sky? You have to scrap the whole thing and start over.
But with layers, it's a completely different ballgame.
The Power of Non-Destructive Workflows
Each of those adjustments gets its own dedicated layer. The sky enhancement lives on one, the foreground brightening on another, and the texture effect sits on a third. This separation is the heart and soul of non-destructive editing. Your original photo stays perfectly safe and untouched at the bottom of the stack.
This simple concept gives you an incredible amount of freedom. Suddenly you can:
- Experiment without fear: Go wild and test out different effects. If something doesn't work, just delete that layer. No harm, no foul.
- Fine-tune with precision: Feel like that texture is a bit too strong? Just dial back the opacity on its layer without messing with your sky or foreground edits.
- Revisit projects anytime: Come back to an edit weeks or months later and find every adjustment neatly organized and ready to be tweaked.
The ability to stack and individually edit multiple effects completely revolutionized digital imaging. It transformed editing from a rigid, linear process into a flexible, creative playground where mistakes are just part of the fun.
From a Simple Concept to Total Creative Freedom
This whole idea was famously brought to the masses by Adobe Photoshop, which introduced layers way back in its version 3.0 in 1994. It was such a powerful feature that it quickly became the standard for any serious photo editing software. If you're curious about how editing software has evolved, you can find more insights on Statista.com.
Mastering photo editor layers truly unlocks a world of creative possibilities, from basic sky replacements to mind-bending digital art composites. It's the key to making precise, targeted changes and building up incredible visuals from scratch. Getting this one concept down is your first real step toward taking command of your images.
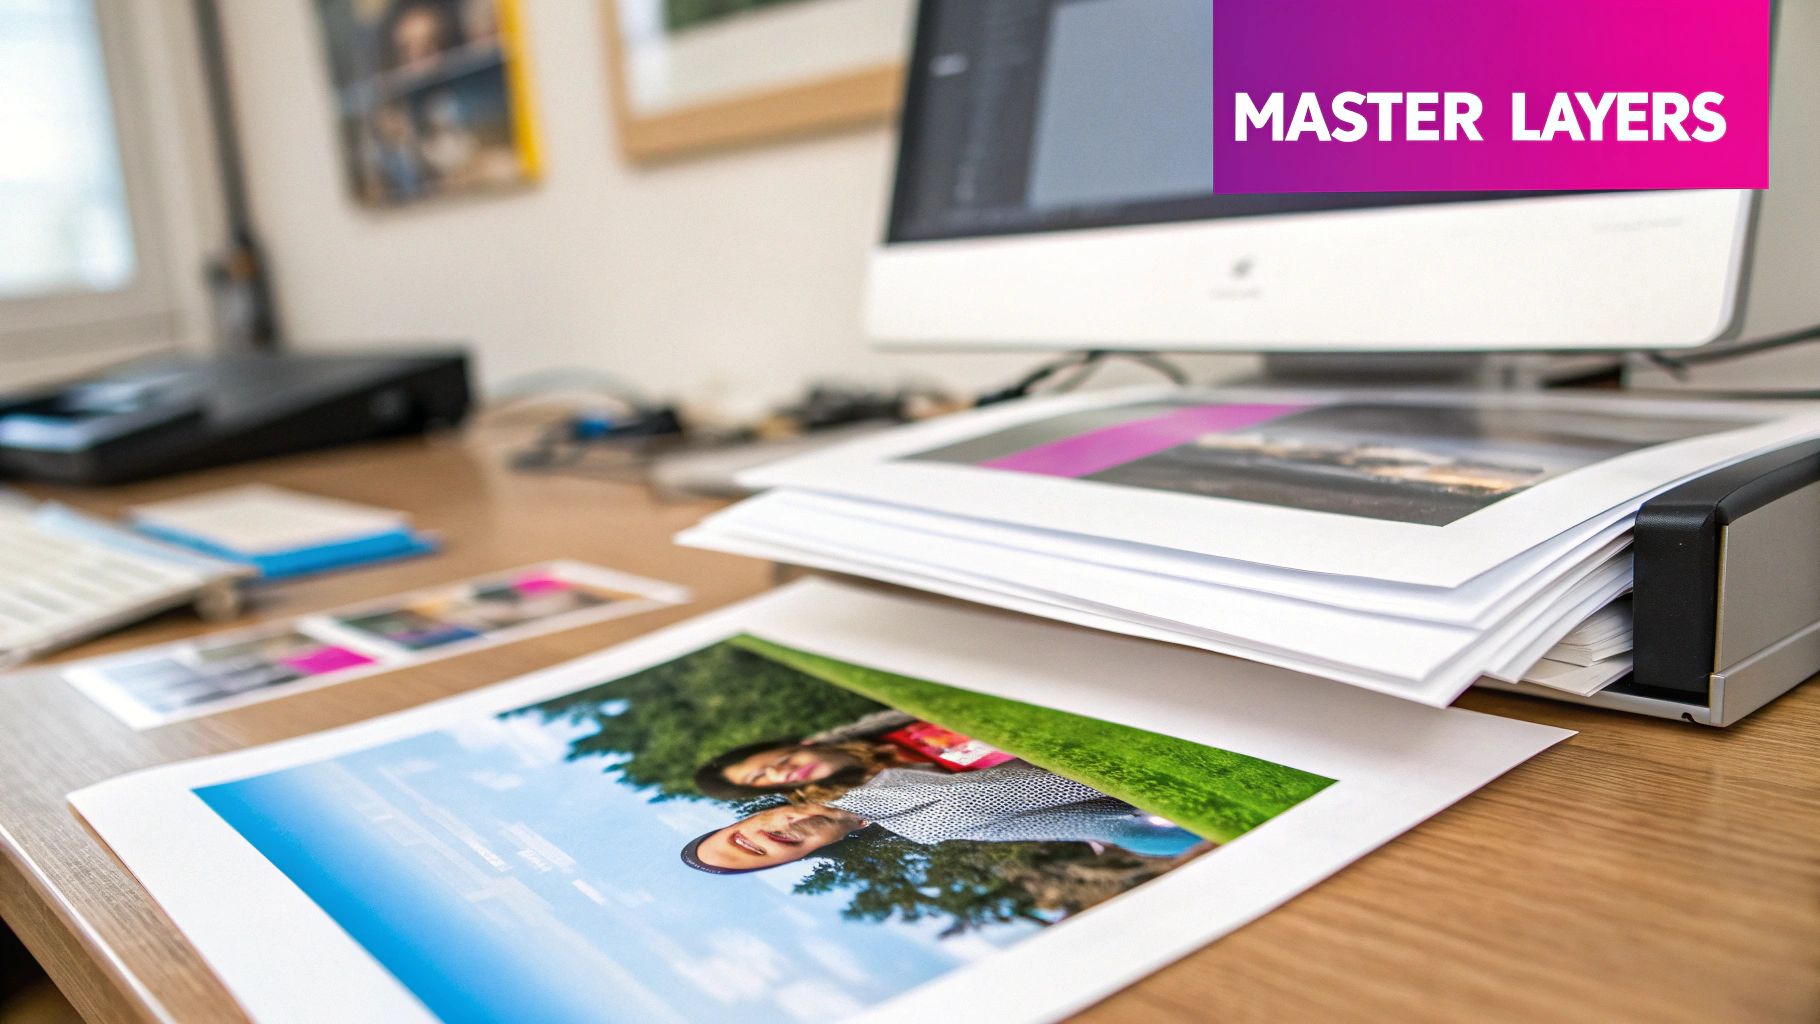
Your First Layered Editing Project
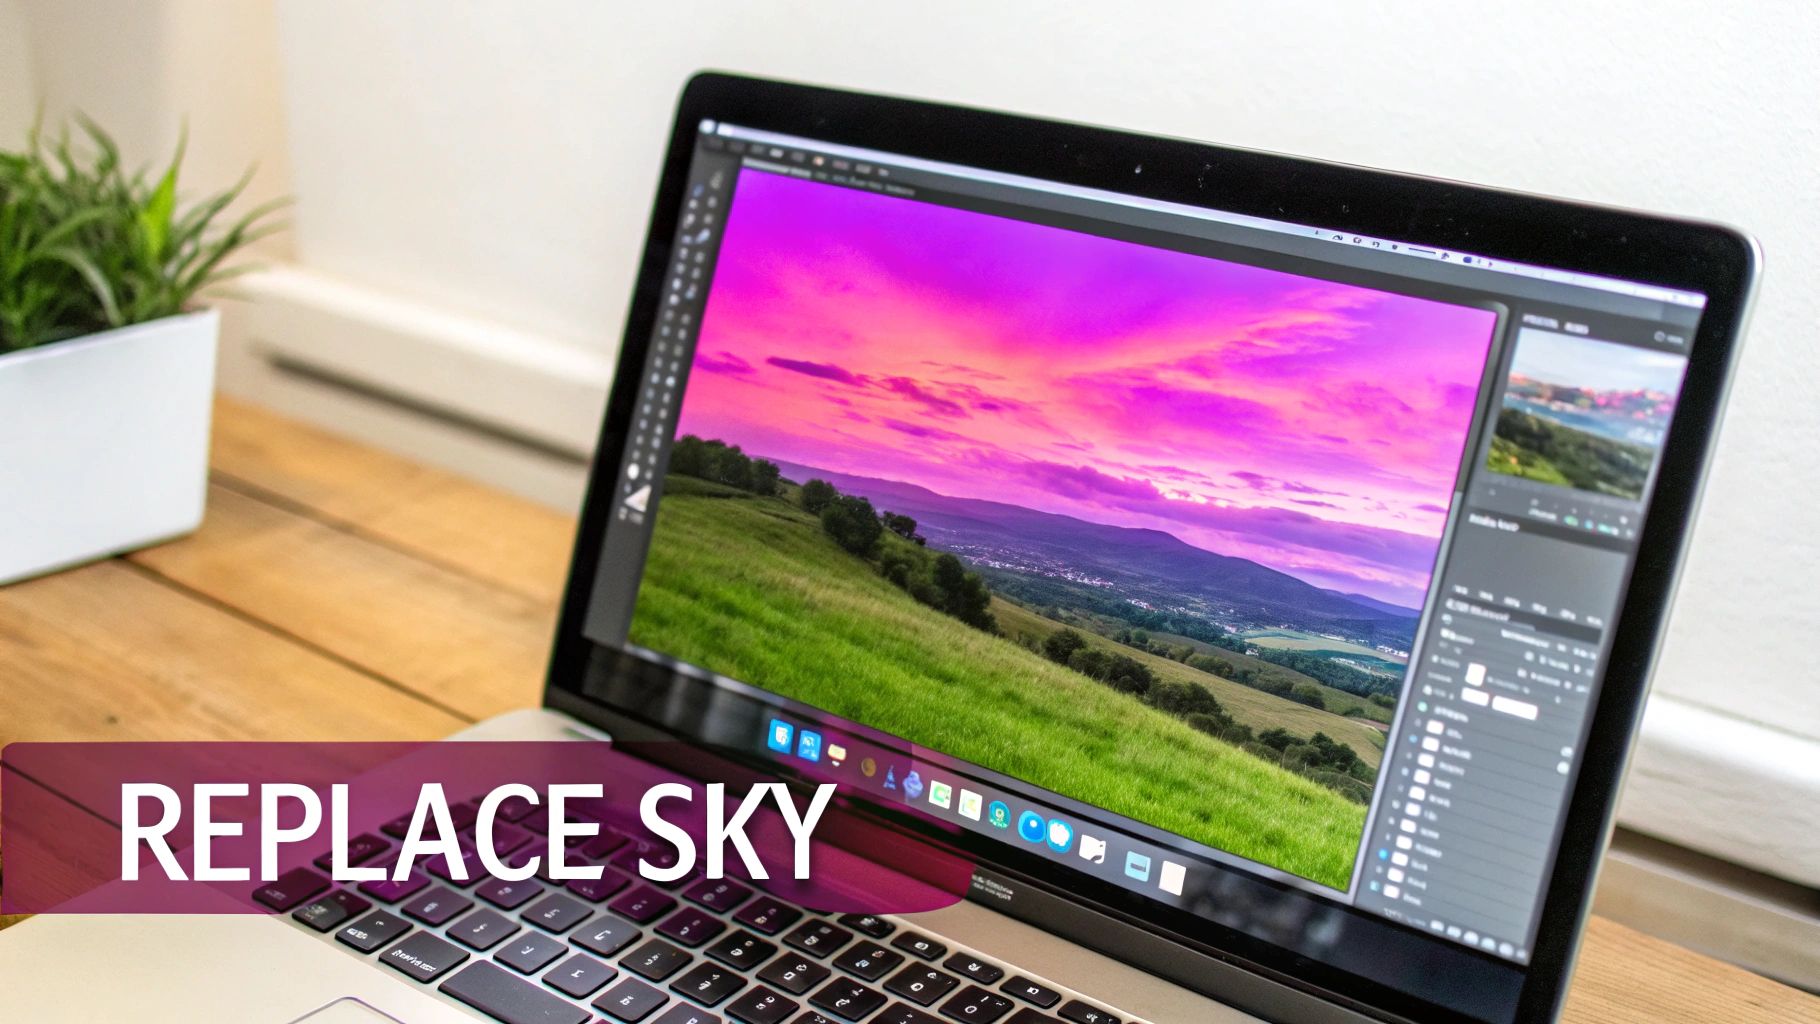
Alright, enough with the theory. Let's get our hands dirty and create something you can actually see. One of the most common—and honestly, most satisfying—first projects is swapping out a bland, washed-out sky for something with a bit more punch. It's the perfect way to see how photo editor layers work in a real-world edit.
First things first, you'll need two images: your base photo (the one with the boring sky) and a separate photo of a much more interesting sky. Go ahead and open your base photo in your editor. This image automatically becomes your Background Layer, the canvas for your entire project.
Now, bring your new sky photo into the same project. Most editing software is smart enough to place this new image on its own layer, right on top of your background. Take a look at your layer panel—you should see two distinct layers, with the new sky completely covering your original photo. Don't panic; this is exactly what's supposed to happen.
Arranging and Blending Your Layers
You’re now looking at the layer hierarchy in action. The top layer is fully visible, and the one below it is hidden. If your new sky image is smaller than your base photo, you can grab the transform tools to resize it and drag it into position over the old sky.
This is where a simple but powerful tool comes into play: the opacity slider. It’s your best friend for alignment.
- Select the Sky Layer: In your layer panel, just click on the new sky layer to make sure it's active.
- Find the Opacity Slider: You'll usually spot this at the top of the layer panel, set to 100% by default.
- Adjust the Value: Click and drag that slider down to around 50%.
As you lower the opacity, your original photo will start to peek through the new sky. This temporary transparency is the key to lining everything up perfectly. Once you're happy with the placement, you can crank the opacity back up to 100%.
This simple act of stacking, reordering, and adjusting transparency is the heart and soul of layered editing. It gives you the power to compose and blend elements in a way that’s just impossible with a single, "flat" image.
Of course, just slapping a new sky on top isn't the final move. The real artistry comes from using layer masks to seamlessly blend that new sky with your original foreground—a more advanced trick we’ll get into later. For now, this basic process of stacking and positioning builds the muscle memory you'll need for every project down the line.
To get started, you'll want the right software. It's worth exploring the best digital art software for beginners, as they almost always have solid layering features. Once you're comfortable with the basics, you can apply these same principles to more complex jobs, like creating eye-catching product shots. For some ideas, check out our guide on using AI for product photography to see how layering concepts can produce incredible commercial images: https://bulkimagegeneration.com/blog/en/tutorials/ai-product-photography.
Understanding Different Layer Types
Not all layers are created equal. If you really want to get the hang of a photo editor, you have to know which tool to grab for the right job. Think of it like a mechanic's toolbox—you wouldn’t use a wrench to hammer a nail, right? The same idea applies here. Different photo editor layers are built for very different things.
This is what takes you from just stacking images on top of each other to making intentional, powerful edits. It’s the difference between fumbling in the dark and working with surgical precision. Let's break down the most common and essential layer types you’ll run into.
Adjustment Layers: The Non-Destructive Powerhouse
For most photographers, adjustment layers are the real MVP. Instead of holding pixels like a normal image, they hold a set of instructions—things like "bump up the contrast by 15%" or "shift the blues toward cyan." These instructions then affect every layer sitting underneath them without permanently changing a single pixel on your original photo.
This is what non-destructive editing is all about. Let’s say you’re color grading a landscape to give it a moody, cinematic vibe. You can toss in a "Hue/Saturation" adjustment layer and start tweaking the colors. If you decide later that you went too far, you just delete that one layer. Boom. Your original image is perfectly intact underneath.
A few adjustment layers you'll use all the time:
- Levels & Curves: Your go-to for precise control over brightness, contrast, and the overall tonal range.
- Hue/Saturation: Perfect for shifting colors, making them more vibrant, or even desaturating parts of your image.
- Color Balance: Use this to fix weird color casts or to get creative by adding color tints to shadows, midtones, and highlights.
Pixel Layers: The Building Blocks
These are your bread-and-butter layers. Every time you drop in a new photo, copy a piece of your image, or paint with a brush, you’re working on a pixel layer. They contain the actual image data—all those tiny pixels with specific color and transparency information.
For instance, if you're compositing a picture of a bird into a sky photo, that bird would live on its own pixel layer. This setup lets you move, resize, and mess with the bird all you want without touching the background. They're essential, but just remember that editing them directly (like using the eraser tool) is destructive, meaning the change is permanent.
A killer workflow is to use pixel layers for the main parts of your image and then clip adjustment layers directly to them. This way, you get the best of both worlds: you can make all the non-destructive color and light edits you want on specific elements.
To help you keep track, here’s a quick-reference guide for choosing the right layer for common editing tasks.
Common Layer Types and Their Best Uses
| Layer Type | Primary Function | Common Use Case |
|---|---|---|
| Adjustment Layer | Applies non-destructive edits | Color grading an entire photo, tweaking contrast, or correcting white balance. |
| Pixel Layer | Holds image data (pixels) | Adding a new element to a composite, like placing a person into a new background. |
| Fill Layer | Fills the layer with color, gradient, or pattern | Creating a solid-colored background or adding a subtle color tint over an image. |
| Text Layer | Holds editable, vector-based text | Adding a watermark, designing a social media graphic, or creating poster titles. |
Think of this table as your cheat sheet. When you're not sure what to use, a quick glance can point you in the right direction and speed up your workflow significantly.
Fill and Text Layers
Fill Layers do pretty much what the name says: they fill the entire layer with a solid color, a gradient, or a repeating pattern. They’re super handy for creating backgrounds from scratch, adding a stylistic color overlay, or making uniform color blocks for graphic design projects. And just like adjustment layers, they’re non-destructive—you can swap out the color or gradient any time you want.
Text Layers are another special type. When you add text, it lives on its own vector-based layer. This is huge, because it means you can resize it, switch the font, and rewrite the words as much as you need to without losing any quality. Your text stays perfectly crisp and editable until you decide to "rasterize" it, which turns it into a standard pixel layer. It’s perfect for adding watermarks or designing graphics. And if you're making lots of visuals at once, a dedicated bulk image generator tool can be a real time-saver, letting you create multiple versions of your text and graphic layouts in a fraction of the time.
Taking Full Control with Masks and Blend Modes
Once you've got the hang of stacking layers, you're ready to unlock their real creative power. This is where a good photo editor layers system truly shines. We're moving past simple stacking and into the world of precise, selective adjustments with two incredible tools: Layer Masks and Blend Modes.
Think of a Layer Mask like a smart stencil you tape onto a layer. But instead of stenciling paint, you're stenciling visibility. Where the mask is pure white, the layer shows through at 100%. Where it's pure black, the layer is completely invisible. Any shade of gray creates partial transparency.
This gives you pixel-perfect control over where an effect, color, or texture appears. It’s the secret sauce behind countless professional edits.
Mastering Layer Masks for Selective Edits
Let's say you're editing a portrait. You want to sharpen the subject's eyes to make them pop but keep their skin soft and natural. If you just slap a sharpening filter on the whole image, their skin texture will look harsh and unflattering. A layer mask is the perfect fix.
First, you’d duplicate your main portrait layer. Then, you'd apply the sharpening effect to this new top layer and add a layer mask to it.
- Fill the mask with black. This immediately hides the entire sharpening effect, bringing your image back to its original state.
- Grab a white brush. Now, you can take a small, soft brush and carefully paint over just the eyes directly on the mask.
- Reveal the effect. As you paint with white, you're selectively revealing the sharpening from the top layer only where you want it.
The result? Razor-sharp eyes and beautifully soft skin, all in the same photo. This technique is fundamental for everything from subtle touch-ups to complex photo composites. To really get the most out of it, understanding the differences between color correction and color grading is key, as pros often use masks to apply these adjustments to specific parts of an image.
Decoding Blend Modes for Creative Composites
If layer masks control where a layer is seen, Blend Modes control how a layer interacts with the ones underneath it. They're basically a collection of math formulas that dictate how the colors and tones of two layers will mix. Instead of just sitting on top of each other, your layers can multiply, screen, or overlay one another to create some seriously cool, seamless effects.
Blend modes are the artist's secret weapon for building mood and atmosphere. They let you add light, shadow, and texture in a way that feels organic and believable, turning a simple stack of layers into a cohesive piece of art.
Here are a few of the most powerful blend modes in action:
- Multiply: This mode darkens the image by multiplying the colors of the top layer with the base layer. It's fantastic for adding realistic shadows or deepening colors without crushing the details.
- Screen: As the exact opposite of Multiply, this mode brightens everything up. It's perfect for creating ethereal light leaks, adding lens flare, or making glowing effects.
- Overlay: This one is a bit of a mix between Multiply and Screen. It boosts contrast, making darks darker and lights lighter, which is great for enhancing texture and adding punch to an image. To get some unique textures to experiment with, check out our guide on the AI Texture Generator: https://bulkimagegeneration.com/blog/en/tutorials/AI-Texture-Generator.
The demand for these advanced layer features is a huge reason why the photo editing software market continues to grow. Enthusiasts and prosumers, who made up 44.6% of the market, are always looking for tools that offer this level of control. By combining masks and blend modes, you can elevate your edits from simple tweaks to truly professional compositions.
How to Organize Complex Layer Workflows
When you start tackling more ambitious projects, your layer panel can go from a tidy list to an absolute mess in no time. We've all been there—a project with dozens of layers named "Layer 5 copy" is a nightmare to navigate, especially if you have to open it again weeks later. A little organization upfront will save you a massive headache down the road.
The simplest habit you can build is giving your layers descriptive names. Ditching generic labels for specific ones like 'Main Subject Retouch' or 'Sky Color Grade' makes your entire workflow instantly understandable. You'll know exactly what each layer does just by glancing at it.
Getting this right is crucial, especially as editing tools get more powerful. The global photo editor app market, valued at around USD 3.31 billion, is growing fast. A big reason for that growth is that users are demanding sophisticated features like layers and masks to make their content stand out. You can learn more about the market's rapid expansion and what's driving it by reading the full industry report on wiseguyreports.com.
This visualization really breaks down how advanced layer control works, showing the relationship between an image, its mask, and the final blend mode.

As you can see, the flow from the base image to the final blend shows how each element builds on the last, giving you precise, non-destructive control over your edits.
Grouping and Color Coding Layers
When you have a bunch of layers that all contribute to a single part of the design—like all the text and graphic elements for a poster—don't just let them float around. Use Layer Groups to bundle them into neat, collapsible folders. It instantly tidies up your panel and lets you manage related elements as a single unit.
For an even faster visual reference, assign colors to your layers. Most professional photo editors let you add a color tag to layers or groups. My system usually looks something like this:
- Red: Reserved for critical base images or elements I shouldn't touch.
- Blue: Signifies all my color adjustment layers.
- Green: Used for all text and vector graphic layers.
This simple system turns your layer panel into a color-coded map. You’ll find what you need in seconds, not minutes, turning a potentially confusing project into a clean, professional, and easily editable file.
Imagine you're designing a complex poster. You might create one group for 'Typography,' another for 'Background Effects,' and a third for 'Subject Retouching.' By naming, grouping, and color-coding, you're not just building a workflow that's efficient today—you're making it painless to update tomorrow.
Common Questions About Photo Editor Layers
Once you get the hang of layers, you'll inevitably run into a few head-scratchers. It happens to everyone. Let's walk through some of the most common questions that pop up for both beginners and pros to clear up the confusion and help you edit smarter.
Duplicate Layer vs. Adjustment Layer: What's the Difference?
This is a big one. It's easy to get tangled up wondering whether to duplicate a layer or just add a new adjustment layer.
Think of it like this: duplicating a layer creates an exact, pixel-for-pixel copy of the original. If you paint, erase, or clone on that new layer, you are making destructive changes. You're permanently altering the pixels on that specific copy, and there's no easy way to undo it later.
An adjustment layer, on the other hand, is a completely non-destructive tool. It’s like a transparent sheet that sits on top of your image, applying effects like contrast or color balance to everything underneath it. You can tweak, hide, or delete that adjustment layer at any point, and your original photo remains completely untouched. This gives you way more creative freedom to experiment without fear.
Can I Use Layers on My Phone?
Absolutely. The power of layers isn't just for desktops anymore. Many mobile photo editors have surprisingly robust layer capabilities that rival their desktop counterparts.
You'll find powerful layer features in apps like Adobe Photoshop Express, PicsArt, and Snapseed.
The interface is obviously built for touchscreens, but the core ideas are the same. You can still:
- Stack photos to create complex composites.
- Use masks to apply edits to very specific parts of an image.
- Experiment with blend modes for unique artistic effects.
It’s incredible how much editing power you can now carry around in your pocket.
When Should I Flatten My Image?
You’ll often hear the term "flattening" an image. This process simply merges all of your visible layers into a single background layer. It's a final, critical step, but it's also a destructive one. Once you flatten an image, all your individual layer information is gone for good.
Always—and I mean always—save a separate, un-flattened version of your project before you flatten it. This file (usually a PSD or TIFF) is your master copy. It keeps all your layers intact in case you ever need to go back and make changes.
So, when is the right time to flatten? Only at the very end of your workflow. Do it when you're 100% finished editing and need a final version for the web or for printing, like a JPEG or PNG.
Help! My New Layer Is Covering Everything!
It's a classic rookie mistake, and we've all been there. You add a new layer, maybe a texture or another photo, and it completely hides the image you were working on. This almost always happens when the new image layer is the same size as your canvas.
The solution is almost always a layer mask. Add a mask to that new top layer, grab a black brush, and simply "paint away" the parts you don't want to see. As you paint with black, you'll reveal the layers hiding underneath. This is the fundamental technique for blending different images and elements together into one seamless picture.
Ready to create stunning visuals without all the manual effort? Bulk Image Generation uses advanced AI to produce up to 100 professional-quality images in seconds, complete with powerful batch editing tools to perfect your creations. Explore our free tools and templates to accelerate your design workflow today at https://bulkimagegeneration.com.