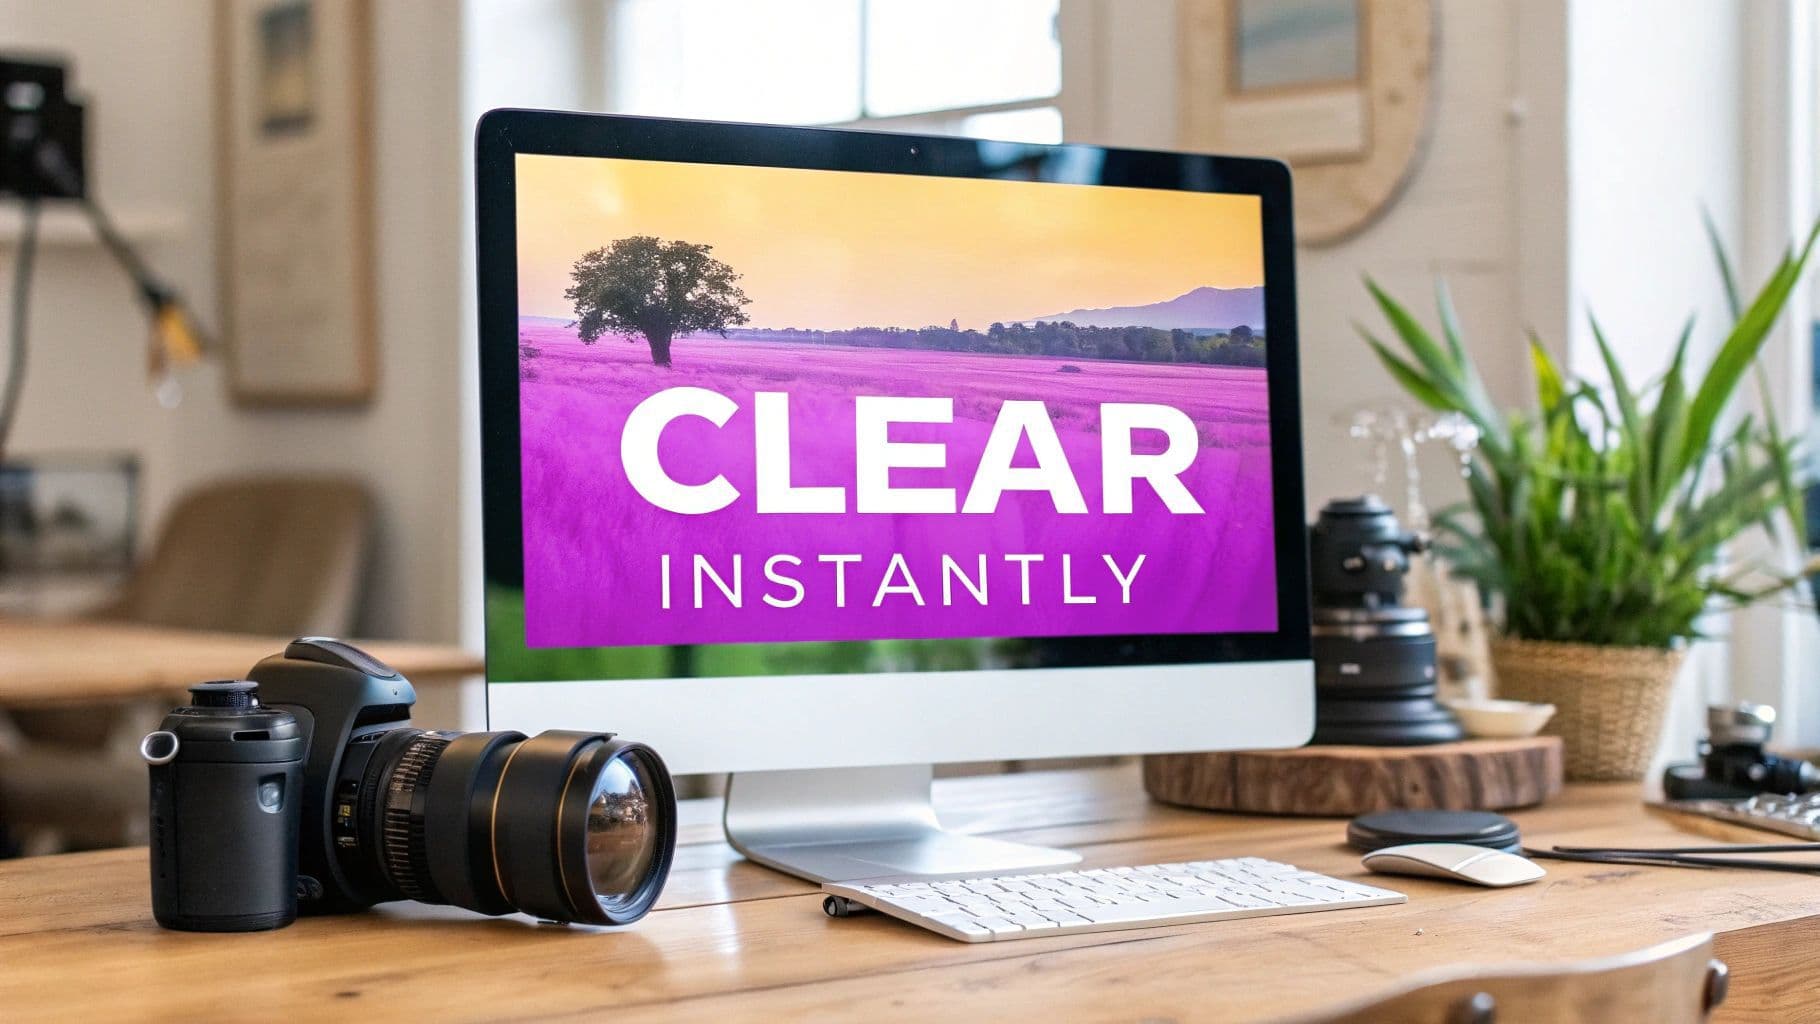
How to Clear Up a Blurry Picture Instantly

Aarav Mehta • October 26, 2025
Struggling with fuzzy photos? Learn how to clear up a blurry picture with our complete guide to powerful software, AI tools, and real-world techniques.
When you need to fix a blurry picture, your best friends are modern photo editing software features like sharpening and AI-powered restoration tools. These functions are incredibly smart—they analyze the image to boost details, cut down on motion blur, or fix focus problems, saving photos that you might have otherwise tossed.
Why Your Pictures Are Blurry and How to Fix It
Before you start clicking every button in your photo editor, it's crucial to figure out why your photo is blurry in the first place. A blurry photo isn't a single problem; it's usually a symptom of a few different issues. Pinpointing the culprit helps you pick the right tool for the job.
Common Causes of Photo Blur
Most fuzzy images fall into one of three buckets, and each one needs a slightly different approach to fix.
- Motion Blur: This is what happens when your subject—or your camera—moves while the picture is being taken. It usually looks like streaks or a general lack of crispness across the image.
- Focus Blur: This one’s a classic. It happens when your camera's lens just misses the mark and fails to focus on your subject, leaving it soft while other parts of the photo might look sharp.
- Lens Smudges: You'd be surprised how often this is the problem. A simple fingerprint or a bit of dirt on your camera lens can diffuse the light and create a soft, hazy look over the entire picture.
The secret to clearing up a blurry picture is matching the solution to the problem. If you just throw a generic sharpening filter at a photo with bad motion blur, you'll probably just end up with a mess of digital noise and weird-looking artifacts.
Think of it like a quick diagnosis. This decision tree can help you figure out what went wrong.
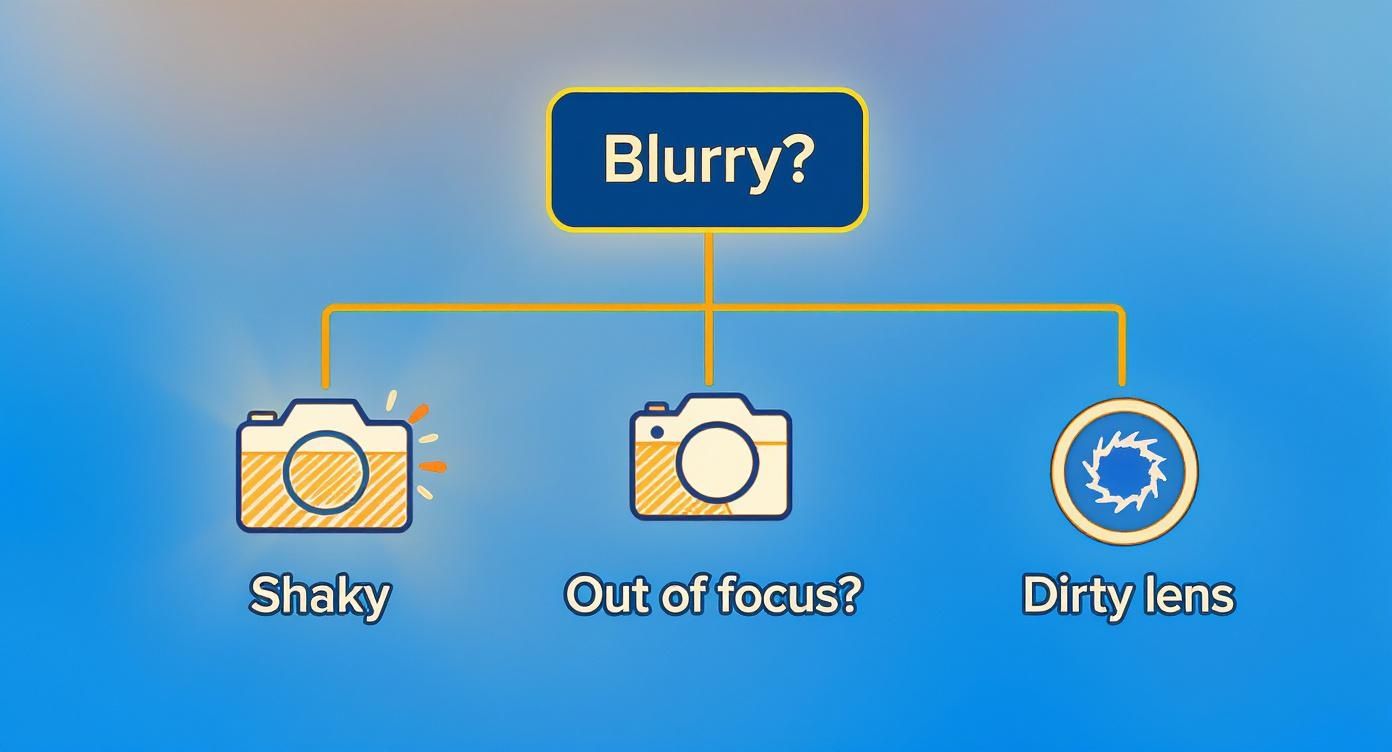
As the infographic shows, a quick check for shakiness, where the focus landed, or a dirty lens can point you straight to the right repair strategy.
Here’s a quick reference table to help you identify the blur and find the right fix.
Common Types of Blur and Primary Solutions
| Type of Blur | Common Cause | Best Software Solution |
|---|---|---|
| Motion Blur | Camera shake or subject movement during a slow shutter speed. | AI-powered deblurring or motion correction tools. |
| Focus Blur | The camera focused on the wrong part of the scene (e.g., the background instead of the person). | AI sharpening tools that can intelligently reconstruct out-of-focus details. |
| Lens Smudges | Fingerprints, dust, or moisture on the camera lens. | Global adjustments like increasing "Clarity" or "Dehaze," followed by careful sharpening. |
This table is a great starting point, but remember that sometimes a photo might have a combination of issues. Don't be afraid to experiment.
The technology behind these fixes is getting better every single day. The global digital image processing market was valued at USD 93.27 billion in 2024 and is expected to skyrocket to an incredible USD 435.68 billion by 2035. That growth is all thanks to the increasing demand for high-quality visuals. You can learn more about the growth of digital image processing at Market Research Future.
Going Beyond the Basic "Sharpen" Filter

If you really want to fix a blurry picture, you have to move beyond a simple, one-size-fits-all sharpen filter. Simply cranking a single slider to the max is a recipe for harsh, unnatural-looking edges. The real skill lies in learning how to balance the core sharpening controls you'll find in programs like Photoshop or Lightroom.
It really comes down to three key settings: Amount, Radius, and Threshold. Think of them as a team working together to refine your image, not just blast it with sharpness. Amount is the overall strength, while Radius tells the software how far out from an edge to apply that effect.
Then there's Threshold. This setting is your secret weapon for protecting smooth areas. It tells the software to only sharpen pixels that have a certain level of contrast, leaving things like clear skies or smooth skin untouched by unwanted gritty texture.
Decoding the Sharpening Sliders
Getting the balance right is where the magic happens. A tiny tweak can make a world of difference, so I always tell people to zoom in to 100%. That's the only way to see the true effect of your changes.
- For Fine Details (Portraits): When you're sharpening a person’s eyes, you want to enhance the tiny details without making them look fake. A small radius (think 0.8 to 1.2 pixels) with a moderate amount will make the eyes pop without adding a crunchy texture to their skin.
- For Hard Edges (Architecture): If you're working on a shot of a building, a slightly larger radius (1.5 to 2.5 pixels) can really help define those strong lines and edges.
The goal is to enhance detail, not to create it from scratch. Over-sharpening is one of the most common mistakes I see. It introduces those ugly "halos" or glowing artifacts around edges, which is a dead giveaway that a photo has been over-edited.
It's pretty amazing how these principles apply elsewhere. In the medical field, digital image processing is essential for clarifying MRI and CT scans—a market that's expected to hit $21.73 billion by 2030. You can discover more insights about the growing digital image processing market on Grandview Research.
If you're just getting your feet wet, a good beginner's guide to photo editing software can walk you through these essential tools. And if you find yourself constantly resizing images before you even start editing, you might find our guide on using a bulk image resizer a huge time-saver.
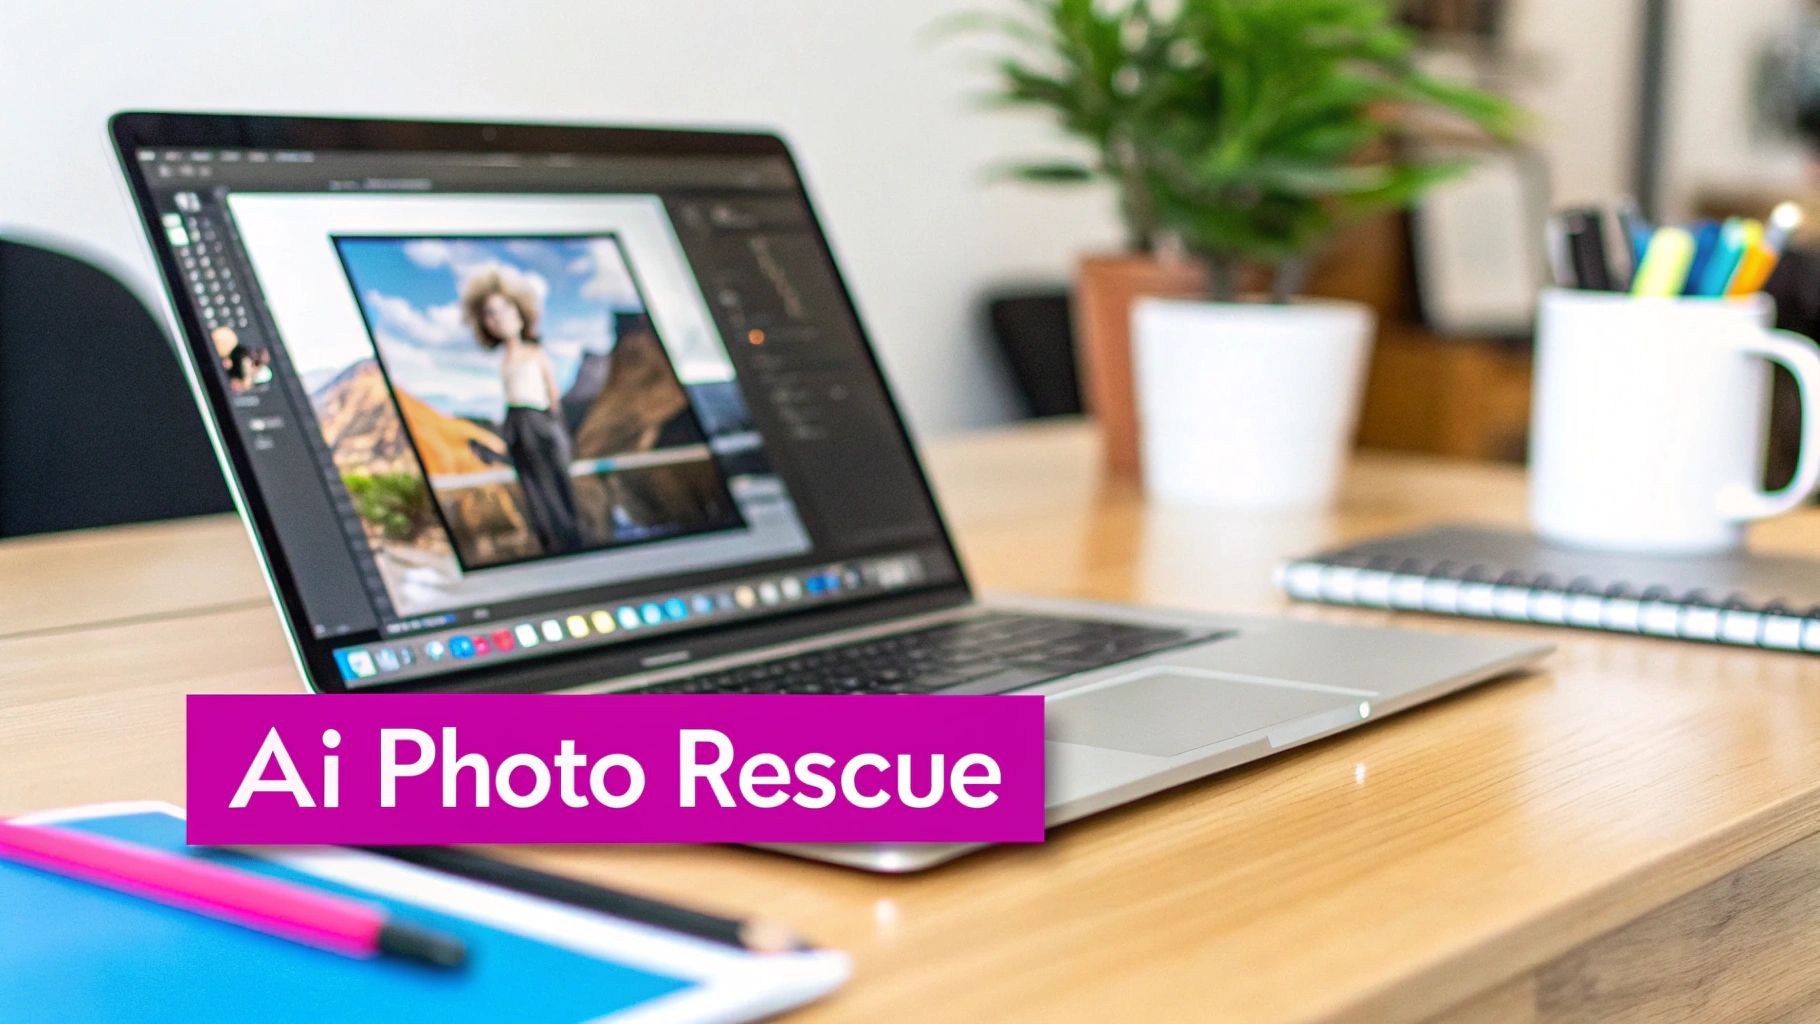
Using AI to Rescue Hopeless Photos
Let's be honest. Sometimes a photo is just… gone. It's so blurry from a shaky hand or a fast-moving subject that the usual sharpening sliders in your editor just make things worse. You push them too far, and you're left with a grainy, crunchy mess full of weird digital artifacts.
This is exactly where AI-powered photo enhancers come in to save the day. Tools like Topaz Photo AI or Remini aren't just sharpening your photo; they're performing what feels like digital magic.
Instead of just cranking up the contrast on existing edges, these tools use machine learning to figure out what went wrong. The AI analyzes the blur, understands what a sharp version of that face or object should look like, and then intelligently reconstructs the missing details. Think of it less like sharpening and more like a careful, pixel-by-pixel restoration.
Reconstructing Reality with AI
The difference is night and day. A standard sharpening filter is stuck working with the blurry pixels you give it. An AI enhancer, on the other hand, is trained on millions of images and can essentially rebuild parts of your photo from scratch, filling in the blanks with plausible details.
This is a game-changer for a few common scenarios:
- Old, Scanned Photos: Got a blurry family portrait from decades ago? AI is incredible at recognizing and restoring fuzzy facial features that would otherwise be lost forever.
- Severe Motion Blur: That photo where your kid is just a streak running across the frame? An AI can sometimes deconstruct that motion path and rebuild a surprisingly clear image.
The real power here is the AI's ability to add new, believable information back into the picture. It’s not just tweaking what’s there; it’s intelligently filling in the gaps. That’s why it’s the ultimate fix when you need to clear up a blurry picture that seems truly hopeless.
This technology isn't just for rescuing old family photos, either. The entire digital imaging market, valued at a whopping USD 2.27 billion in 2024, is expected to climb to USD 4.07 billion by 2032. This growth is driven by professional fields where image clarity is non-negotiable. You can dig into more stats about this growing market on Data Bridge Market Research.
If you're trying to navigate this new landscape, guides on finding the best AI for photo editing tools are a great place to start.
Choosing the Right AI Enhancer
Not all AI tools are created equal. Some are masters at fixing faces, others specialize in zapping digital noise, and some are wizards at undoing motion blur. The good news is that many platforms now offer simple one-click solutions that automatically figure out what’s wrong with your photo and apply the right fix.
To give you a better idea of what's out there, here’s a quick comparison of some popular options.
AI Photo Enhancer Tool Comparison
| AI Tool | Best For | Pricing Model | Key Feature |
|---|---|---|---|
| Topaz Photo AI | Serious photographers & professionals | One-time purchase | Combines sharpening, noise, and upscaling AI |
| Remini | Old family photos & social media | Freemium / Subscription | Exceptional AI-powered face restoration |
| Fotor | Quick, all-in-one online enhancements | Freemium / Subscription | "1-Tap Enhance" for fast, automatic fixes |
| VanceAI | Specific tasks like unblurring & denoising | Freemium / Credits | A suite of specialized, single-purpose tools |
Each tool has its strengths, so the best choice really depends on what kind of blurry photos you're trying to save and how much control you want over the process.
And if you want to see just how far AI has come, check out our AI image generator. It shows how AI can create breathtakingly sharp and detailed visuals from nothing more than a text prompt. It's a fun way to see the creative side of the same technology that can rescue your blurry memories.
Go Deeper with Precision Sharpening Techniques
When the standard sharpening tools just don't cut it, it’s time to pull out the pro-level methods that give you surgical control. These techniques aren't about global adjustments that affect the entire photo. Instead, they let you decide exactly where and how much sharpness to apply. This is how you get those refined, high-end results without introducing ugly digital artifacts.
One of the most powerful and flexible methods in Adobe Photoshop is using the High Pass filter. This isn't your typical sharpening filter; it's a non-destructive technique that works by isolating the edges in your photo on a brand-new layer. You then blend that layer back into the original image, usually with an "Overlay" or "Soft Light" blending mode.
This approach gives you a ton of control over the final intensity. Honestly, it's my go-to for making textures pop and defining edges without that crunchy, overprocessed look.
Master Selective Sharpening with Layer Masks
Here’s the real secret to professional-looking photos: you almost never want to sharpen the entire image evenly. Think about a portrait. You want the eyes, eyelashes, and hair to be crisp and attention-grabbing. But if you apply that same sharpening to the skin, you’ll just emphasize pores and create a gritty, unflattering texture.
This is exactly where layer masks come in. After you’ve created your High Pass sharpening layer, you can add a black layer mask to it, which hides the sharpening effect completely. Then, grab a soft white brush, turn the opacity down, and paint the sharpness back only where you want it—like on the eyes, lips, or the intricate details of a piece of clothing.
A layer mask is your digital paintbrush for sharpness. It lets you guide the viewer's eye exactly where you want it to go, enhancing detail where it matters most while keeping other areas naturally soft.
If you really need to rescue a shot, some editors dive into deconvolution sharpening. This is a much more complex process that tries to mathematically reverse the blur that happened inside the camera. It can be incredibly powerful, but it's a technical method best saved for those critical images where recovering every last pixel of detail is the top priority. Ultimately, these advanced tools give you the final say in how you clear up a blurry picture with absolute finesse.
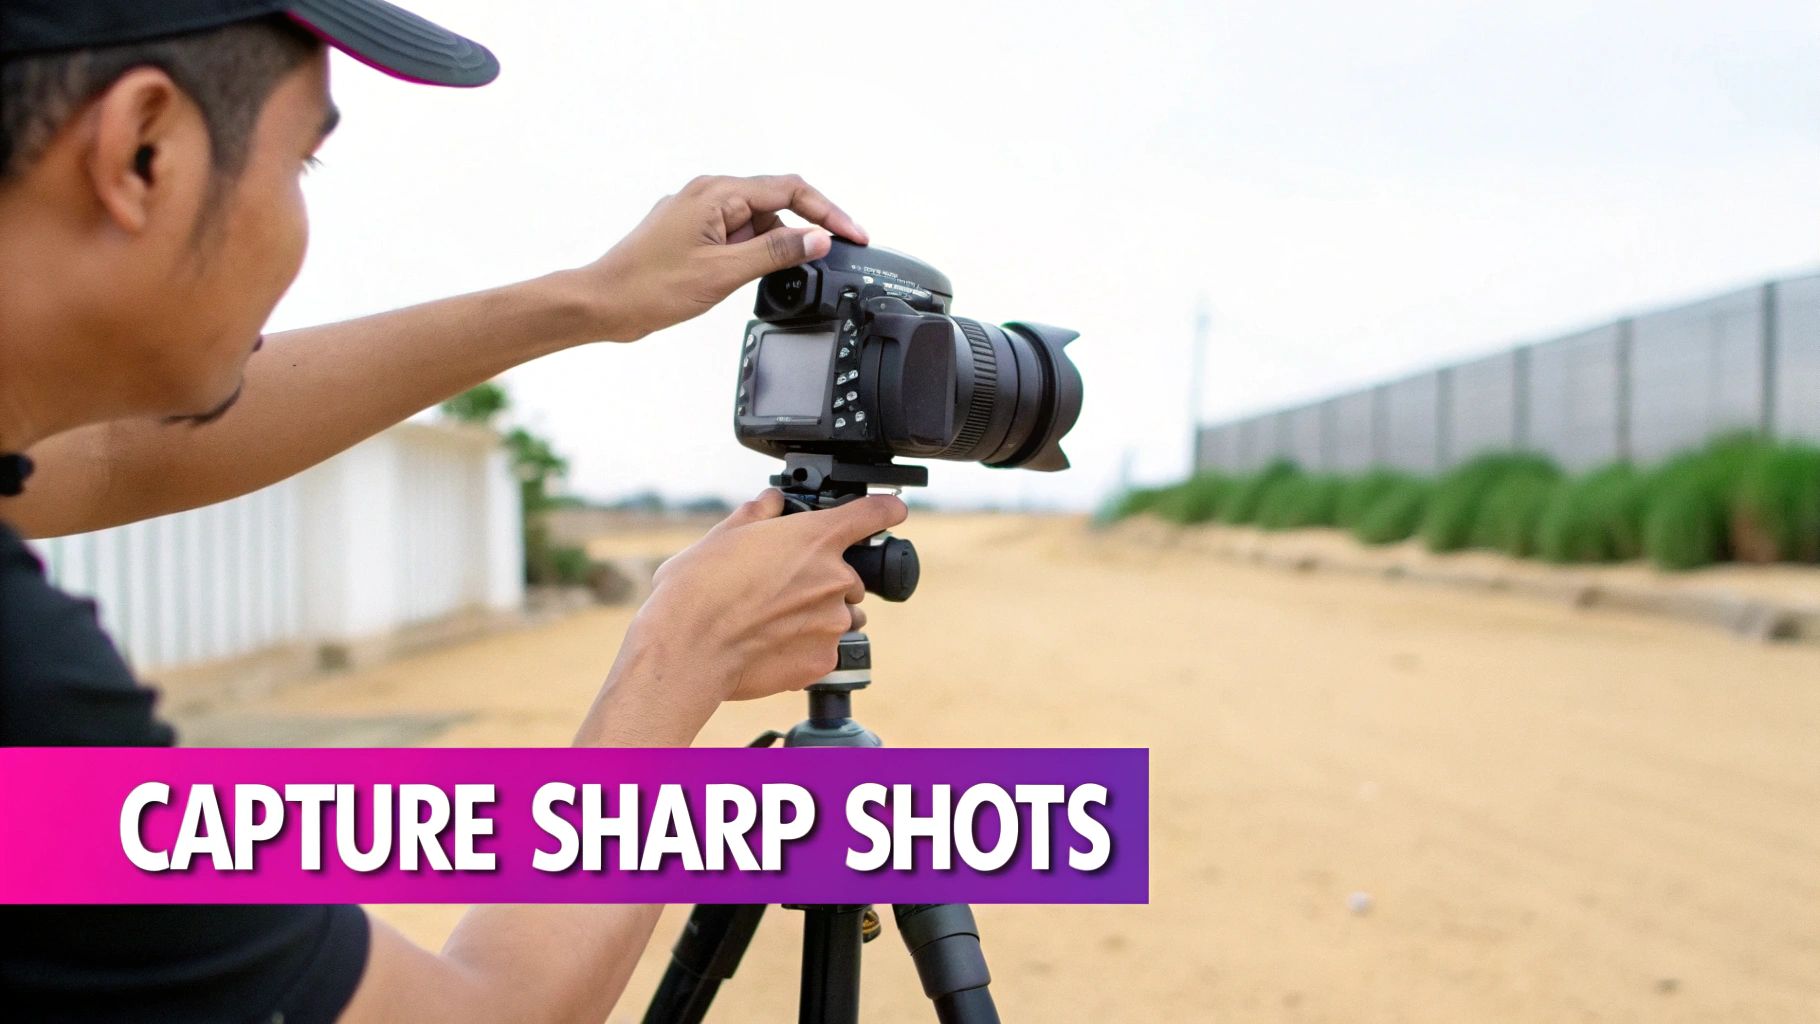
Of course, the best way to fix a blurry picture is to make sure it never happens in the first place. While today's software is pretty incredible, nothing beats a photo that was sharp right out of the camera. Getting into a few good habits can save you a ton of time and headache later.
It all boils down to one thing: stability. Even a tiny handshake can introduce motion blur, and it gets way worse when the lights are low. The simple fix? Find something solid. Lean against a wall, prop your elbows on a table, or just pull your phone or camera in close to your body with both hands.
And for those really dark scenes or long exposures, a tripod is non-negotiable. It's the only way to completely kill camera shake and get those perfectly crisp, clear shots.
Master Your Camera's Settings
Beyond just holding still, a couple of quick setting adjustments can make a world of difference.
First up is shutter speed. This is just how long your camera's sensor is soaking up light. A fast shutter speed (think 1/500s) is your best friend for freezing action—perfect for catching your dog mid-jump or a game-winning goal. A slow shutter speed, on the other hand, lets in more light but makes every little movement a potential source of blur.
Next, get hands-on with your autofocus. Don't just let the camera guess what's important. Tap on your screen to tell it exactly what needs to be sharp. This is especially crucial for product shots where the tiniest details matter. For more tips on getting crystal-clear visuals, check out our guide to AI product photography.
Getting it right before you press the shutter is always the best strategy. Mastering your focus and keeping the camera steady will give you results that no amount of editing can truly replicate.
Finally, don't overlook the obvious. I can't tell you how many times a hazy, soft-looking photo was just the result of a smudged lens. A quick wipe with a microfiber cloth is often the only fix you need for instantly sharper images.
A Few Lingering Questions About Fixing Blur
Even with all these powerful tools, you probably have a few questions about what’s realistic when you're trying to rescue a blurry shot. It's a good idea to set some clear expectations before you dive in.
Let’s be honest: can you perfectly unblur a photo? The short answer is no. While today's AI can work some serious magic by reconstructing missing details, it's really just making incredibly educated guesses. If an image is severely out of focus, you can definitely make it a thousand times better, but you can't restore information that was never there to begin with.
What Are the Best Free Apps for Quick Fixes?
If you need to sharpen a photo on the fly, you don't need a full desktop setup. A couple of mobile apps do a fantastic job.
- Snapseed: Google's free photo editor is a powerhouse. Its "Details" tool gives you separate controls for sharpening and structure, which is great for fine-tuning.
- Adobe Lightroom Mobile: Even the free version has some pro-level sharpening and noise reduction sliders. You can get a ton of control right from your phone.
Here’s a pro tip: aggressive sharpening always has a downside. If you push the sliders too far, you'll start to see digital noise, weird "halos" around edges, and an unnatural, gritty look. The trick is to find that subtle sweet spot.
Is There a Difference Between Sharpening and Clarity?
Absolutely, and knowing the difference is a game-changer for your edits.
Think of it this way: Sharpening is all about the fine details. It works by increasing the contrast along the tiny edges in your photo, making things like eyelashes or the texture of a fabric really pop.
Clarity, on the other hand, boosts contrast in the mid-tones. It adds more punch and definition to larger areas, like making an entire face seem more defined without affecting the super-fine details. Most of the time, using a little bit of both is the secret to a crisp, impactful photo that doesn't look over-edited.
Ready to create stunning, crystal-clear images from scratch? With Bulk Image Generation, you can produce hundreds of high-quality visuals in seconds using advanced AI. Stop fixing old photos and start creating perfect new ones. Visit us at https://bulkimagegeneration.com to learn more.