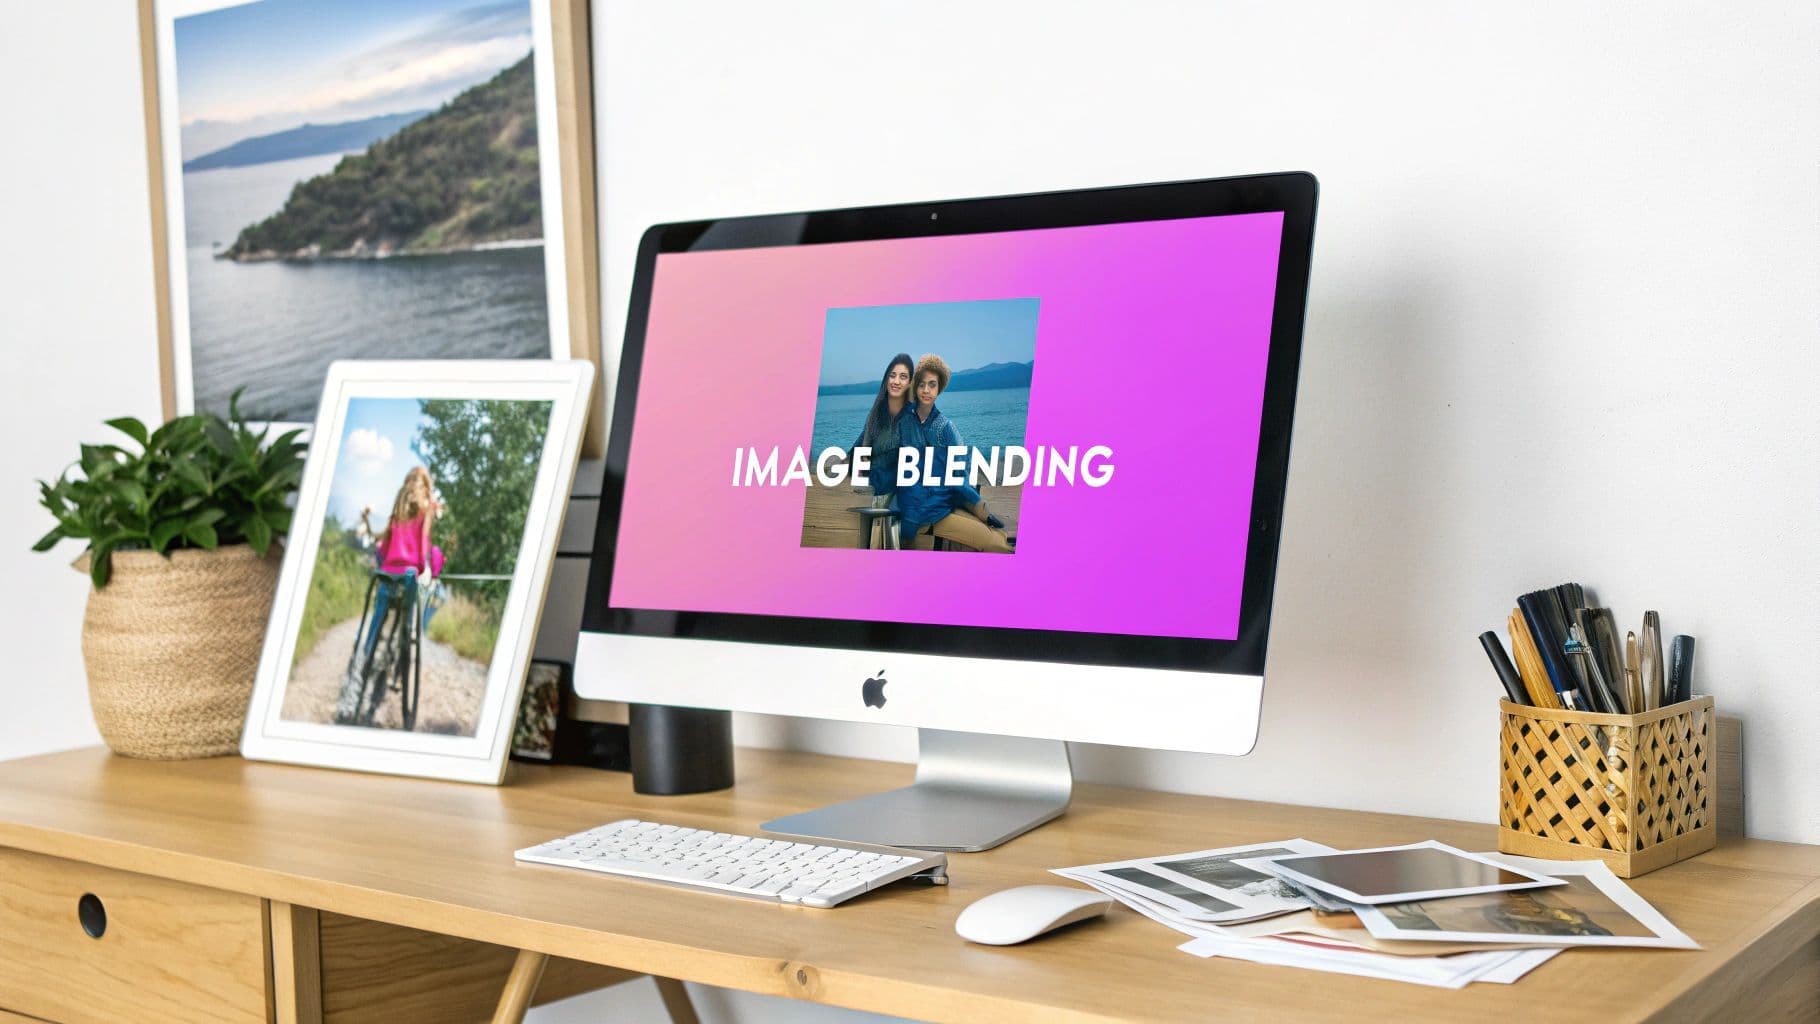
How to Blend 2 Pictures Together A Practical Guide

Aarav Mehta • November 20, 2025
Learn how to blend 2 pictures together seamlessly. This guide covers Photoshop, free online tools, and mobile apps with actionable tips for stunning results.
Learning how to blend two pictures is all about merging them into a single, cohesive image. It’s a foundational skill for anyone serious about digital art, and it usually involves working with layers and masking tools. You'll often hear terms like opacity sliders and blend modes—these are the core features in software like Adobe Photoshop, free online editors, or even mobile apps that make the magic happen.
With a little practice, you can transform ordinary photos into something truly unique.
The Real Power of Blending Images
Blending photos isn't just a technical gimmick; it’s a powerful way to tell a completely new story. It lets you combine elements that could never exist together in the real world, creating anything from surreal, dreamlike landscapes to striking double exposures.
Once you get the hang of it, you unlock a whole new level of artistic expression. A simple snapshot can become a compelling visual narrative with layers of meaning.
Think about the possibilities. A digital artist might merge a portrait with a sprawling cityscape to show a person’s deep connection to their urban home. Or a photographer could blend a quiet forest scene over a subject’s silhouette to create a feeling of introspection. It’s not just about fantasy; it's about adding depth, emotion, and context that a single photo just can't capture on its own.
It Started Way Before Computers
While digital tools make image blending accessible to everyone today, the idea itself is anything but new. The concept has been evolving since the mid-19th century, believe it or not.
The first documented example goes all the way back to 1857, when photographer Oscar Rejlander created 'The Two Ways of Life.' It was a groundbreaking piece made by combining over 30 separate negatives. He used a painstaking technique called combination printing, which required absolute precision to align and expose each piece. You can find a detailed timeline of this artistic evolution that shows how these early pioneers set the stage for the tools we use today.
The goal isn't just to stick two pictures together. It's to create a new, unified image that feels intentional and communicates a specific mood or idea.
So, Why Should You Learn This Skill?
Getting good at photo blending can seriously level up your creative projects. It's a fundamental technique that pops up everywhere:
- Graphic Design: Creating one-of-a-kind marketing materials and website banners that stop people from scrolling.
- Digital Art: Crafting surreal composites and imaginative fantasy worlds from scratch.
- Photography: Producing artistic double exposures and deeply personal portraits.
- Social Media: Designing eye-catching posts that actually stand out in a crowded feed.
No matter your field, knowing how to blend images gives you a massive advantage and a powerful tool in your creative arsenal.
Choosing Your Blending Method: A Quick Comparison
With so many tools out there, picking the right one can feel overwhelming. Are you a professional who needs pixel-perfect control, or are you just looking for a quick and easy way to combine a couple of photos for a social media post? This table breaks down the main options to help you decide.
| Method | Best For | Ease of Use | Cost |
|---|---|---|---|
| Professional Software (Photoshop, GIMP) | Full creative control, complex projects, and high-resolution work. | Steeper learning curve, requires practice. | Subscription or one-time fee (GIMP is free). |
| Free Online Tools (Photopea, Canva) | Quick edits, simple blends, and users without powerful computers. | Very easy to learn, often browser-based. | Free (with optional paid features). |
| Mobile Apps (Snapseed, Bazaart) | On-the-go editing, social media content, and quick, creative fun. | Intuitive and user-friendly for touchscreens. | Often free with in-app purchases. |
Ultimately, the "best" tool really depends on what you're trying to achieve. For serious, detailed work, nothing beats dedicated software like Photoshop. But for fast, fun projects, an online tool or mobile app might be all you need.
Diving Into Adobe Photoshop for Photo Blending
When you need absolute, pixel-perfect control over your image blends, nothing beats Adobe Photoshop. It’s the industry standard for a reason. For pros and serious hobbyists, its deep toolkit lets you go way beyond a simple overlay, opening the door to creating truly seamless, believable digital art.
To really get a feel for it, let's walk through a common project: blending a portrait into a dense forest scene. This kind of composite is a classic for a reason—it teaches you all the core skills.
The ability to do this digitally was a massive leap forward. Back in the early 2000s, digital compositing exploded, with some surveys suggesting over 70% of professional photographers were already using these techniques. Tools like Photoshop put this power into everyone's hands.
The entire process hinges on what we call a non-destructive workflow. This just means you never permanently damage your original photos. Instead, you're using layers and masks to control how everything interacts, giving you total freedom to tweak, adjust, and even completely change your mind without having to start from scratch.
Setting Up Your Layers and Masks
First things first, get both your portrait and the forest background opened up in Photoshop. You’ll want to place the portrait on a layer directly above the forest layer.
Now, here’s the most important part: creating a Layer Mask. Instead of reaching for the eraser tool—which permanently deletes pixels—a layer mask lets you paint with black to hide parts of the portrait and white to bring them back. It’s your creative safety net.
If you accidentally hide too much of the person’s face, just switch your brush color to white and paint that area back in. Simple. This one technique is what really separates a professional workflow from an amateur one.
This infographic gives you a bird's-eye view of the different ways people blend images, from powerful software like Photoshop to quick-and-easy online tools and mobile apps.
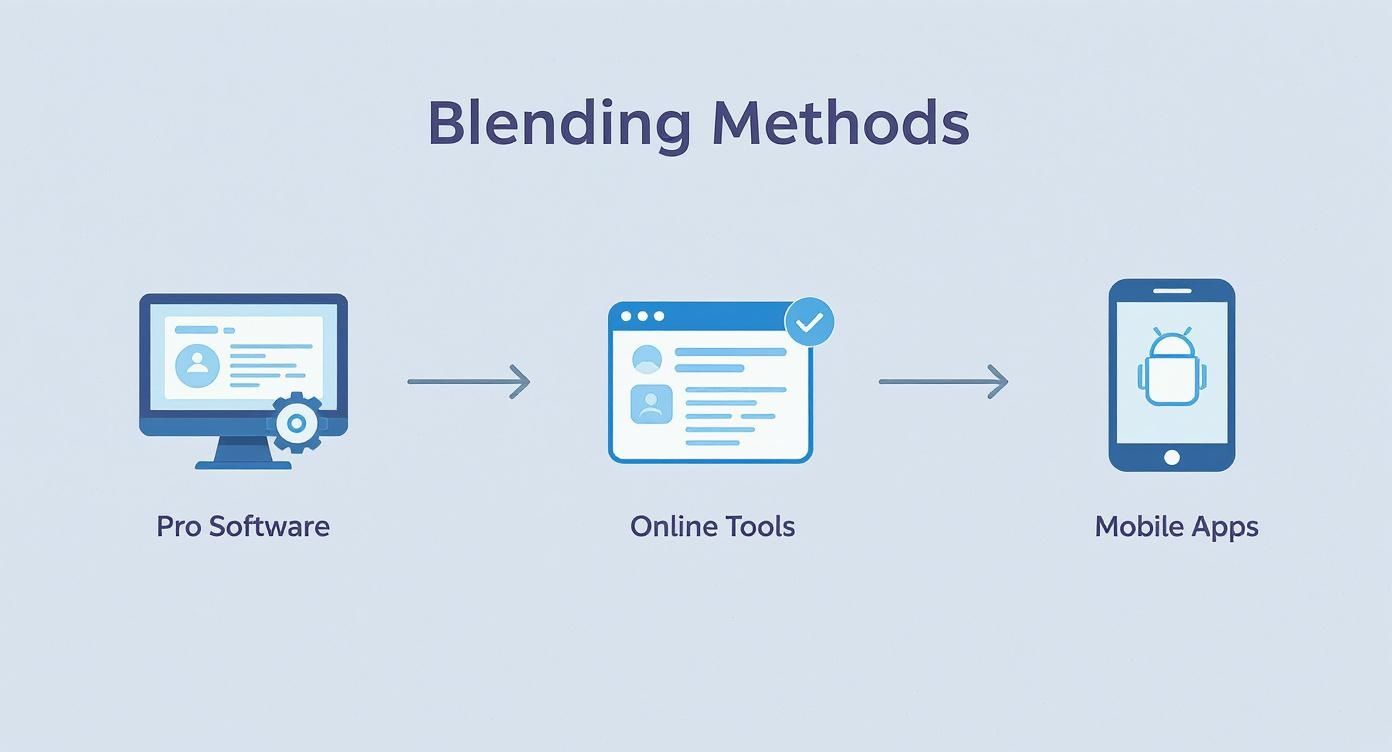 Each route has its own pros and cons, showing there's a perfect tool for every kind of project, whether you need meticulous control or just a fast result on your phone.
Demystifying Blend Modes
With your layers and mask ready, it's time to play with Blend Modes. This little dropdown menu in the Layers panel is where the real magic happens. Think of each mode as a different mathematical formula that controls how the pixels on your top layer interact with the ones below.
For our portrait-in-the-forest project, a few modes are immediate go-to's:
- Screen: This is perfect for creating a light, almost ghostly effect. It brightens the whole image, making the portrait feel like a spirit in the woods.
- Multiply: The complete opposite of Screen. This mode darkens everything and is fantastic for blending in textures or adding deep shadows.
- Overlay: This is the one I find myself using most often. It's a smart combination of Multiply and Screen, keeping the highlights and shadows of the forest while blending the colors of the portrait. It creates a rich, high-contrast look that’s ideal for this kind of double-exposure effect.
Pro Tip: Don’t just settle for one blend mode. Try duplicating your portrait layer a couple of times, setting each copy to a different blend mode (like one on Overlay and one on Screen), and then dial back the opacity on each. Stacking layers like this can create incredibly complex and beautiful results that a single mode just can’t achieve.
Unifying the Image with Adjustment Layers
The final, crucial step is making it all look like one cohesive image, not just two pictures slapped together. This is where Adjustment Layers come in. These are special layers that let you change the color, tone, and light of all the layers beneath them without permanently altering a single pixel.
For example, you could add a Color Balance adjustment layer to give both the portrait and the forest a similar color cast—maybe a cool, moody blue or a warm, vintage sepia tone. A Curves adjustment layer is your best friend for matching brightness and contrast, ensuring one part of the image doesn’t look flat while another is too harsh.
Before you export, take a second to make sure all your elements are sized correctly. If you're creating a whole series of these images for a campaign, you might find that a bulk image resizer helps streamline your workflow and saves a ton of time.
Using Free Online Tools for Quick Image Blends
You don’t always need a pricey software subscription to blend two pictures together. In fact, there's a growing wave of powerful, browser-based tools that offer a surprisingly robust experience for free. These online editors are my go-to when I need a solid result without the hassle of installing heavy software.
For anyone who’s spent time in professional editors, many of these online options will feel instantly familiar. They pack a streamlined yet capable environment for creating impressive blended images right from your web browser.
Getting Started with an Online Editor
Let's walk through a classic project: merging a dramatic, cloudy sky into a photo of a landscape that looks a bit flat. It’s a fantastic way to inject mood and visual punch into an otherwise average shot. For this, we'll follow the workflow in Photopea, a popular online editor that mirrors much of the power of professional desktop software.
The first move is to open both your landscape and sky images in the editor. Just like in the big-name programs, you'll be working with a layer system. The key is to place the new sky image on a layer directly above your original landscape photo.
A common mistake I see is people simply lowering the opacity of the sky layer. While this technically "blends" the images, it creates a washed-out, transparent look that rarely seems real. The real secret to a seamless blend is mastering layer masks.
Using Layers and Masks for a Clean Blend
A layer mask is a powerful, non-destructive tool that lets you selectively hide or show parts of a layer. Think of it like a stencil. By adding a mask to your new sky layer, you can "paint" away the parts of the sky that are covering your landscape's foreground.
- Select the sky layer and click the button to add a layer mask.
- Grab a soft-edged brush tool and set its color to black.
- Now, carefully paint over the areas of the image where you want the original landscape to peek through.
Made a mistake and hid too much of your awesome new sky? No problem. Just switch your brush color to white and paint that area right back in. This flexibility is exactly what makes masking the superior method for blending pictures.
Tips for Working with Online Tools
While incredibly convenient, online tools do have a few quirks compared to their desktop cousins. Keep these tips in mind for a smoother ride:
- Watch Your File Size: Browser-based editors can sometimes lag with extremely large, high-resolution images. If the tool feels sluggish, try resizing your photos before uploading them.
- Save Your Work Frequently: You're working in a browser. A dropped connection or an accidental tab closure could wipe out your progress. Make a habit of saving your project file often.
- Explore Different Options: Photopea is fantastic, but other tools like Canva or Fotor also offer blending features, often with simpler, more guided interfaces that are great for quick jobs.
Experimenting with these free resources is a great, low-risk way to get the fundamentals of image compositing under your belt. Plus, if you're looking to create totally unique visuals from scratch, many of these blending concepts can be applied when using an AI-powered image generator for your creative projects.
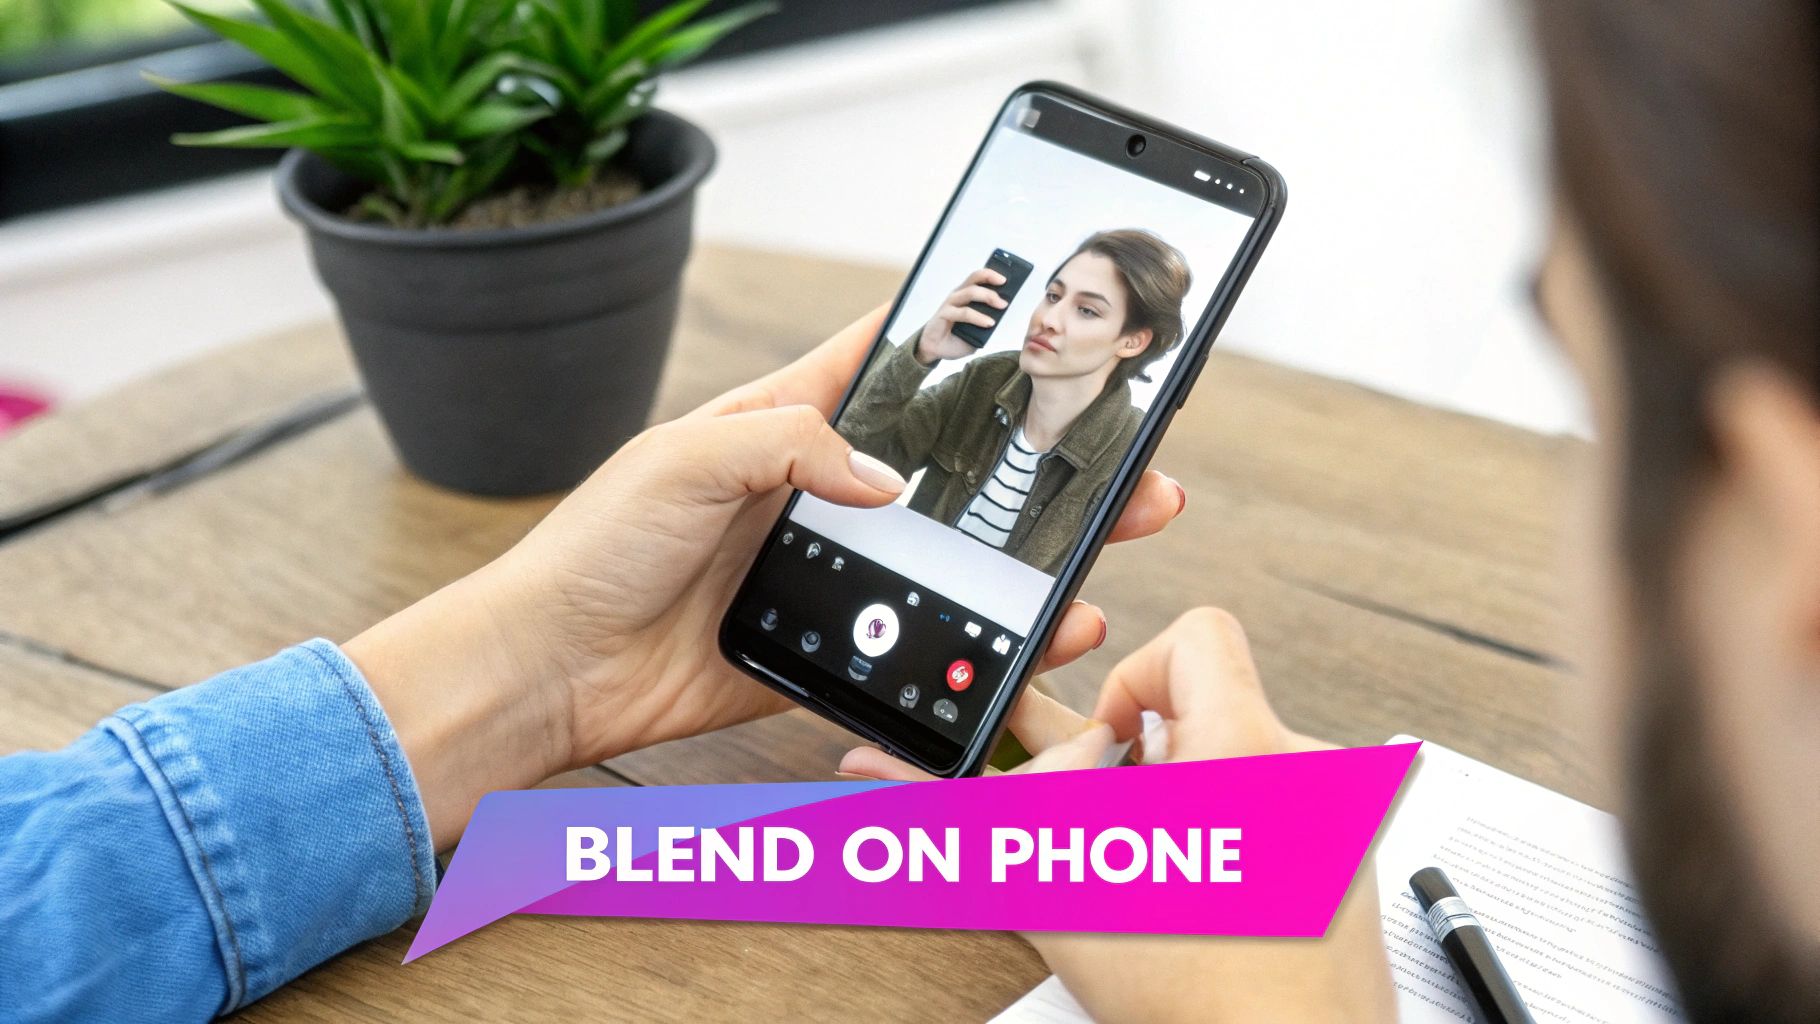
Blending Pictures on Your Phone with Mobile Apps
You don't need a beefy desktop setup to create incredible blended images. Some of the most powerful editing tools are sitting right in your pocket. The ability to edit on the fly is a massive advantage for creating social media content, knocking out a quick creative idea, or just touching up photos right after you take them.
For this walkthrough, we'll dive into creating a striking double exposure portrait. It's an artistic technique that merges a person's silhouette with a texture or scene—like a forest or a cityscape. It’s a perfect project for mobile because many apps, like Google's free Snapseed, have tools built specifically for this effect.
Creating a Double Exposure with Touch Controls
First things first, open your main portrait in an app like Snapseed. My best advice? Start with an image that has a clean, high-contrast background. A clear silhouette against a simple, bright sky works wonders, as it helps the app separate the subject from the background, which is key for a clean blend.
Once your portrait is loaded, find the "Double Exposure" tool. This is where all the action happens. Tapping it will let you add your second image—the texture or scene you want to layer on top.
With your second image selected (say, a forest), the app will overlay it onto your portrait. This is where mobile editing feels super intuitive. You can use pinch-to-zoom to resize the forest and drag it around with your finger until it sits perfectly over the silhouette.
The first overlay always looks a little messy. Don't sweat it. The real art is in refining the blend with opacity and blend modes to create a true fusion, not just two pictures slapped on top of each other.
Refining Your Mobile Blend
Most mobile apps give you a few simple but powerful controls to fine-tune how the layers interact. You'll usually find an opacity slider and a few blend mode options like "Lighten," "Darken," or "Overlay."
- Opacity Slider: This is your transparency control. Just slide it back and forth with your thumb to find that perfect balance where both images are visible and working together.
- Blend Modes: Experiment by tapping through the different blend modes. For this kind of double exposure, "Lighten" is often the go-to. It tends to blend the texture into the brighter parts of the portrait while keeping the dark silhouette solid.
After you've got the blend looking good, many apps also include a masking feature. This turns your fingertip into a brush, letting you "paint" to reveal or hide parts of the top layer. For example, you could use it to make sure the subject's face comes through clearly while letting the forest texture fill out the rest of their shape.
A final pro tip: unify the whole image with a filter. Applying a subtle color grade or even just a simple black-and-white filter can tie the two different photos together, making the final piece feel cohesive and intentional. In just a few minutes, you've learned how to blend 2 pictures together to create a stunning composite, all from your phone.
Key Blending Features Across Platforms
When choosing a tool, it helps to know what key features are available. While a desktop giant like Photoshop offers the most control, you might be surprised at what you can accomplish with free online and mobile options.
| Feature | Adobe Photoshop | Photopea (Online) | Snapseed (Mobile) |
|---|---|---|---|
| Layer Masks | Yes (Advanced) | Yes (Advanced) | Yes (Simplified Brushes) |
| Blend Modes | Yes (Extensive List) | Yes (Extensive List) | Yes (Limited selection) |
| Adjustment Layers | Yes | Yes | No (Filters applied directly) |
As you can see, you don't always need the most expensive software. Tools like Photopea offer a remarkable amount of power for free in a browser, while Snapseed packs the essentials into a streamlined mobile experience perfect for quick, creative edits.
Advanced Techniques for Seamless Composites
Moving beyond basic overlays is where the real magic happens. This is where you learn to blend two pictures so seamlessly that the final image feels professional and, more importantly, believable. The goal isn't just to make something that looks cool, but to create a composite that looks real.
This means mastering the subtle arts of masking, light matching, and shadow creation. You're essentially tricking the viewer’s eye into seeing a single, cohesive scene. When you nail these methods, your final image looks like it was captured in one perfect shot, not stitched together. It's the difference between a simple collage and a piece of digital art.
Mastering Intricate Selections with Advanced Masking
A standard soft-edged brush works for simple blends, but it just won't cut it when you're dealing with complex edges. Think about hair, fur, or the tiny branches of a tree against a bright sky. For these, you need to pull out the bigger guns.
Luminosity masks, for example, are an absolute game-changer. Instead of painting a selection by hand, these masks are generated based on the brightness values in your image. This lets you isolate and replace a sky behind a dense forest with incredible precision, capturing details you’d never, ever get with a manual brush.
Another must-know tool is the "Select and Mask" workspace in Photoshop (or similar features in other editors). This dedicated environment is built specifically for refining tricky selections.
- Refine Edge Brush: This tool is your best friend for hair and fuzzy textures. It intelligently analyzes the contrast between your subject and its background, cleaning up those messy edges like a pro.
- Color Decontamination: Ever notice how the original background color sometimes "bleeds" onto the edges of your cutout? This feature helps eliminate that color spill, which is a dead giveaway of a sloppy composite.
The Art of Matching Light and Color
One of the biggest red flags in a blended image is mismatched lighting. If the light in one photo is coming from the left and the other from the right, your brain will immediately sense that something is off. To create a believable composite, you have to become a bit of a light detective.
Before you even start blending, take a hard look at both source images. Ask yourself a few key questions:
- Where is the main light source coming from?
- Is the light hard (creating sharp, defined shadows) or soft (creating gradual, diffused shadows)?
- What’s the color temperature? Is it a warm, golden-hour glow or a cool, blueish light from an overcast day?
Once you've got your answers, use Adjustment Layers like Curves and Color Balance to unify the scene. Use Curves to precisely match the brightness and contrast levels. Then, use Color Balance to gently nudge the colors of one layer until it matches the other, ensuring the highlights, midtones, and shadows all share a similar color cast.
A seamless blend is a lie you tell the viewer's eye. The more consistent the details—especially light and shadow—the more believable the lie becomes.
Grounding Your Subjects with Realistic Shadows
Finally, nothing sells a composite like a well-crafted shadow. An object or person dropped into a scene without a shadow will look like they’re floating, instantly shattering the illusion.
But don't just create a black blob and lower the opacity. Real shadows are more complex than that. They're darkest where the object meets the surface and become softer and more transparent as they stretch further away.
A good way to do this is to create a new layer underneath your subject, use a soft black brush to paint in the basic shape, and then apply a Gaussian Blur filter to soften the edges. Really pay attention to how the shadow should wrap around the texture of the ground—that’s a pro move that adds a huge dose of realism.
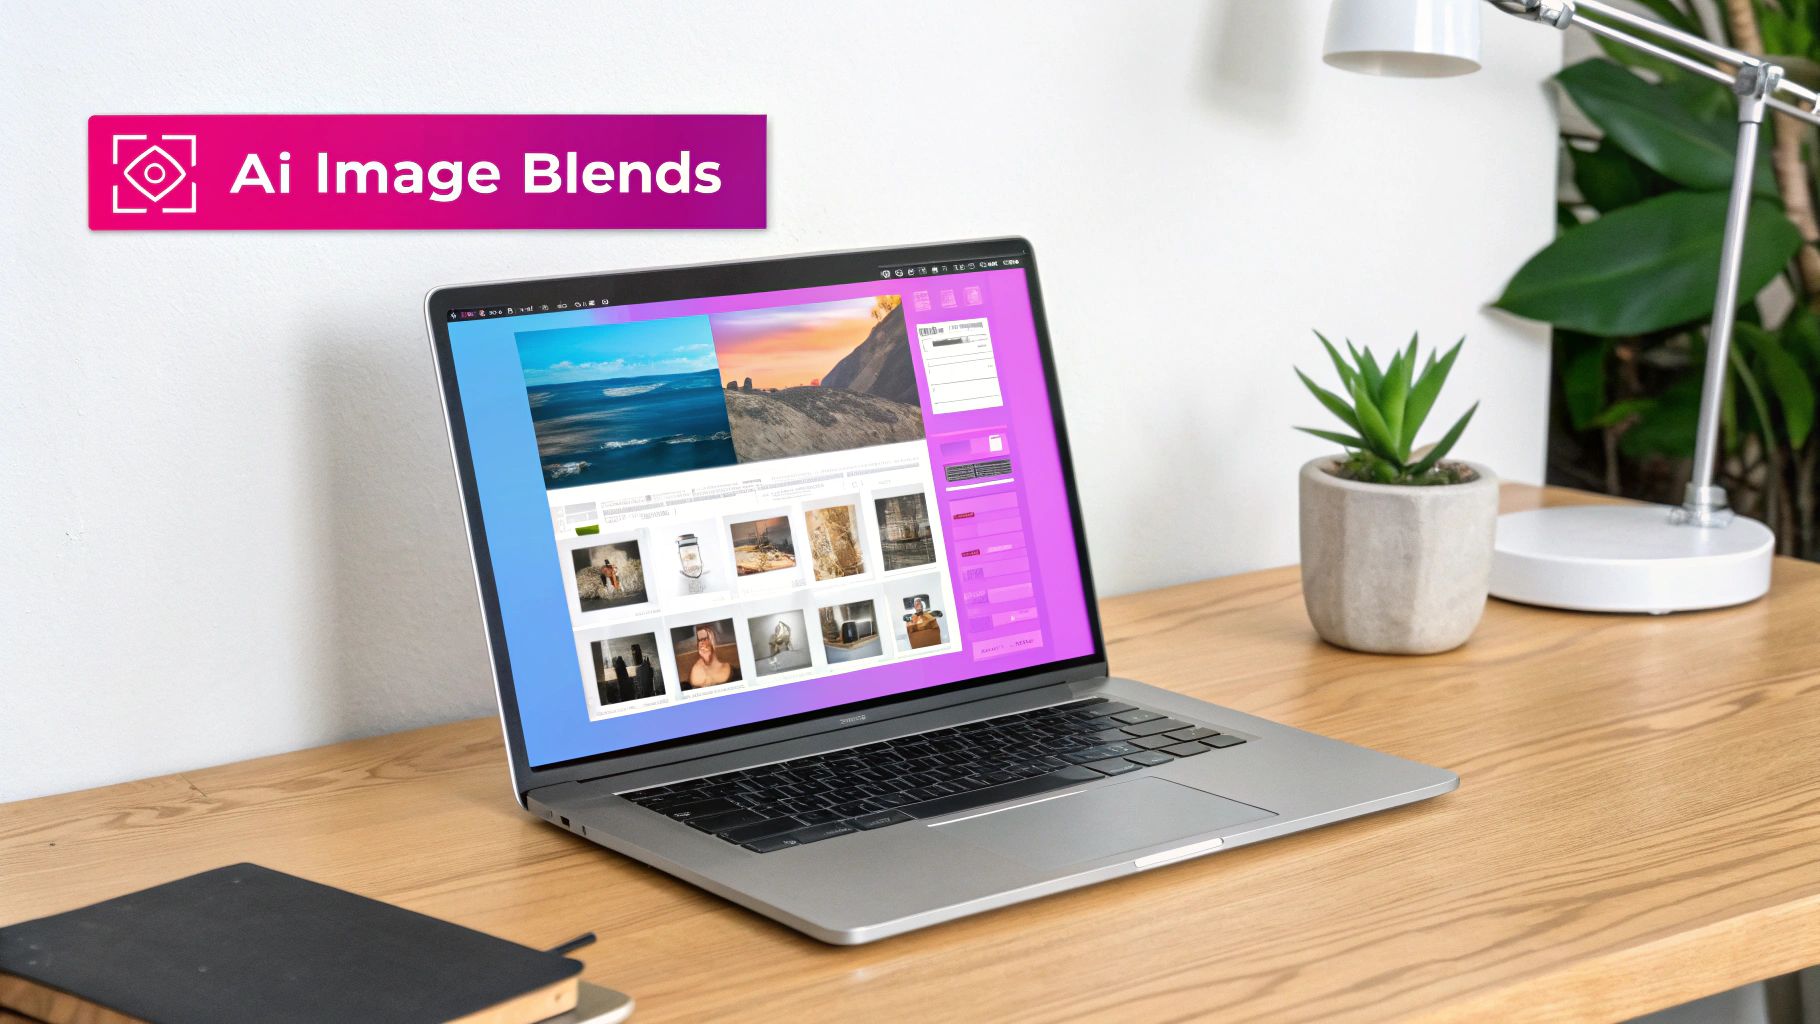
The Future of Image Blending with AI Tools
Artificial intelligence is completely reshaping how we approach creative work, and blending two pictures together is no different. We're way past simple filters now. Modern AI tools are packed with powerful features that automate the kind of complex, tedious tasks that used to eat up hours of manual effort.
Think about trying to place a person into a crowded street scene. Not long ago, that meant painstaking hours spent masking around hair and clothing. Now, AI can intelligently separate a subject from their background in seconds. Tools like Photoshop’s Generative Fill take it even further, creating brand-new elements from a simple text prompt to fill in gaps or add objects that perfectly match the scene’s lighting and perspective.
How AI Simplifies Creative Workflows
AI-powered image editors don't just make things faster; they open up entirely new ways to be creative. Instead of just mushing two photos together, you can now generate a third element out of thin air to tie them together. You can even ask the AI to suggest different blending options based on what it "sees" in your images.
This shift is already making waves. Surveys in 2023 showed that over 60% of professional photographers and designers are using AI tools for tasks like image blending, citing massive improvements in efficiency and creative freedom.
The real magic of AI in image blending is that it handles the boring technical stuff. This frees you up to focus purely on your artistic vision. It’s less of a tool and more of a creative partner.
Pros and Cons of AI Blending
While the speed is a huge plus, you have to go in knowing what these tools are good at—and what they're not.
- Pros:
- Incredible Speed: Complex jobs like background removal or selecting an object happen almost instantly.
- New Creative Ideas: Generative features can spark ideas and suggest elements you might never have thought of on your own.
- Cons:
- Less Control: Sometimes, the automated process lacks the pixel-perfect precision you get from doing it by hand.
- Artistic Vision Still Required: The AI is only as good as the creative direction you give it. It can't create a compelling image without your guidance.
To get a better sense of how AI is changing the game across the board, it's worth exploring the wide range of AI-powered content creation tools available. And if you really want to stay ahead of the curve, keep an eye on the emerging https://bulkimagegeneration.com/blog/en/tutorials/ai-image-generation-trends-2025-a-new-era-of-creativity to see what's coming next.
Getting Past Common Blending Hurdles
As you get the hang of blending images, you'll inevitably run into a few common roadblocks. Don't worry, everyone does. Let's tackle them head-on so you can skip the frustration and get to the good stuff faster.
Which Photos Should I Even Use?
This is probably the number one question I get. The answer really depends on what you're trying to create.
For something artistic like a double exposure, you need high contrast. Think of a silhouette or a well-lit portrait against a simple, bright background. Pair that with a texture-rich image—like a dense forest, a mountain range, or a city skyline—and you've got the magic ingredients for a killer blend.
But if you're aiming for a realistic composite, the game changes. Here, it’s all about matching the lighting. Before you even start, look closely at both photos. Where is the light coming from? Is it a soft, overcast day or harsh, direct sunlight? Getting this right is 90% of the battle.
Why Does My Blend Look So "Fake"?
You’ve blended the images, but something just feels… off. It doesn't look believable. Sound familiar? Nine times out of ten, the culprits are mismatched light and color.
This is where adjustment layers become your secret weapon. Tools like Color Balance and Curves are essential for making your layers look like they belong in the same scene. You can subtly tweak the brightness, contrast, and color tones of one layer without affecting the other, nudging them closer together until they click.
And here’s a pro tip: don't forget the shadows. Adding a soft, carefully placed shadow where your two images meet can instantly ground the composite and make it feel real.
If your composite feels unnatural, stop and just look at the light. Seriously. Ask yourself: where is the light source in each photo? If the light is coming from the left in one picture and the right in the other, your brain will immediately spot the fake. Match the light, and you’ll sell the illusion.
Is AI Going to Take Over This Skill?
It's a valid question. The rise of generative AI models like Stable Diffusion 3 is definitely changing the game. These tools are becoming incredibly powerful creative partners, capable of automating tricky selections or even generating new elements to seamlessly tie your composition together.
Instead of replacing the skill, think of AI as a massive accelerator—a way to explore ideas faster and push your creative boundaries further than ever before.
Ready to skip the manual work and generate entire scenes in seconds? With Bulk Image Generation, you can describe your vision and let our advanced AI create hundreds of unique, high-quality images for your projects instantly. Start creating with Bulk Image Generation today and scale your creative workflow.