AI Bulk Image Generation Getting Started Guides

Aarav Mehta • October 21, 2025
Unlock AI creativity with our getting started guides for bulk image generation. Learn how to create hundreds of stunning visuals at scale, from setup to export.
It can feel like you're staring down an impossible task: creating a flood of consistent, high-quality visuals for your brand. That's where a solid guide comes in, breaking down a seemingly complex process—like bulk image generation—into a simple, clear roadmap. This guide is built to do just that, taking you from the first click all the way to launching your first big batch of professional images.
Why Bulk Image Generation Is a Game Changer
Let's be honest, manually creating unique images for marketing campaigns, product listings, or your social feed is a massive time sink. Every single visual needs individual attention, from getting the composition right to the final edits. Bulk AI image generation completely flips this model on its head by automating the repetitive design work that eats up countless hours.
Picture this: you need 50 different lifestyle photos for a new product launch. Instead of trying to coordinate 50 different photoshoots (or spending days sifting through stock photos), you can write one powerful prompt and generate every single variation in minutes. This shift lets you focus on the big picture—strategy and creativity—instead of getting bogged down in tedious execution.
Unlocking Speed and Consistency
The real magic here is getting both speed and stylistic consistency at the same time. When every image is born from the same set of instructions, your brand’s visual identity stays perfectly cohesive across hundreds or even thousands of assets. Anyone who has tried to manage this with multiple designers or messy stock photo libraries knows how difficult that can be.
This kind of efficiency is a lifeline in today's market. With roughly 305 million new startups launching every year, standing out is non-negotiable. And when you consider that a staggering 90% of startups ultimately fail, any tool that saves precious time and money can be the difference-maker.
A New Creative Workflow
But this technology isn't just a time-saver; it unlocks creative strategies that were just too impractical before. Think about what you could do:
- A/B Testing: Generate dozens of ad creative variations in an afternoon to see which visuals actually connect with your audience.
- Personalization: Create custom images tailored to different customer segments without having to start from scratch each time.
- Content Calendars: Knock out an entire month's social media calendar with unique, on-brand visuals in a single session.
By mastering this process, you’re not just making images faster. You’re building a scalable system for visual content that can grow and adapt to whatever your brand needs.
We've designed this guide to give you the clear roadmap you need to make this happen. It’s all about transforming your workflow and giving you back your most valuable asset: time. To get a glimpse of where this is all going, you can also explore our article on AI image generation trends for 2025.
Your First Five Minutes Setting Up for Success
The best tools just click. They feel like they were built for how you think, and that all starts with a painless setup. Forget boring button-clicking guides. Let's walk through the quick decisions you'll make in the first five minutes that will set you up for a much smoother workflow later on.
First up is a simple account verification—the usual stuff. Once you're in, you’ll be asked to pick a plan. This choice is all about your creative output, since each plan comes with a different amount of image generation credits. Just think of credits as your fuel. A small one-off project might only need a basic plan, but if you're about to generate hundreds of product mockups, you'll want more in the tank.
Navigating Your Creative Command Center
After you've selected your plan, you'll land on the main dashboard. We designed this to be your central hub for everything, putting all the tools you need right at your fingertips. It might look like a lot at first, but don't get overwhelmed; everything is laid out logically.
This infographic shows just how fast the initial setup is. It's really just three simple steps.
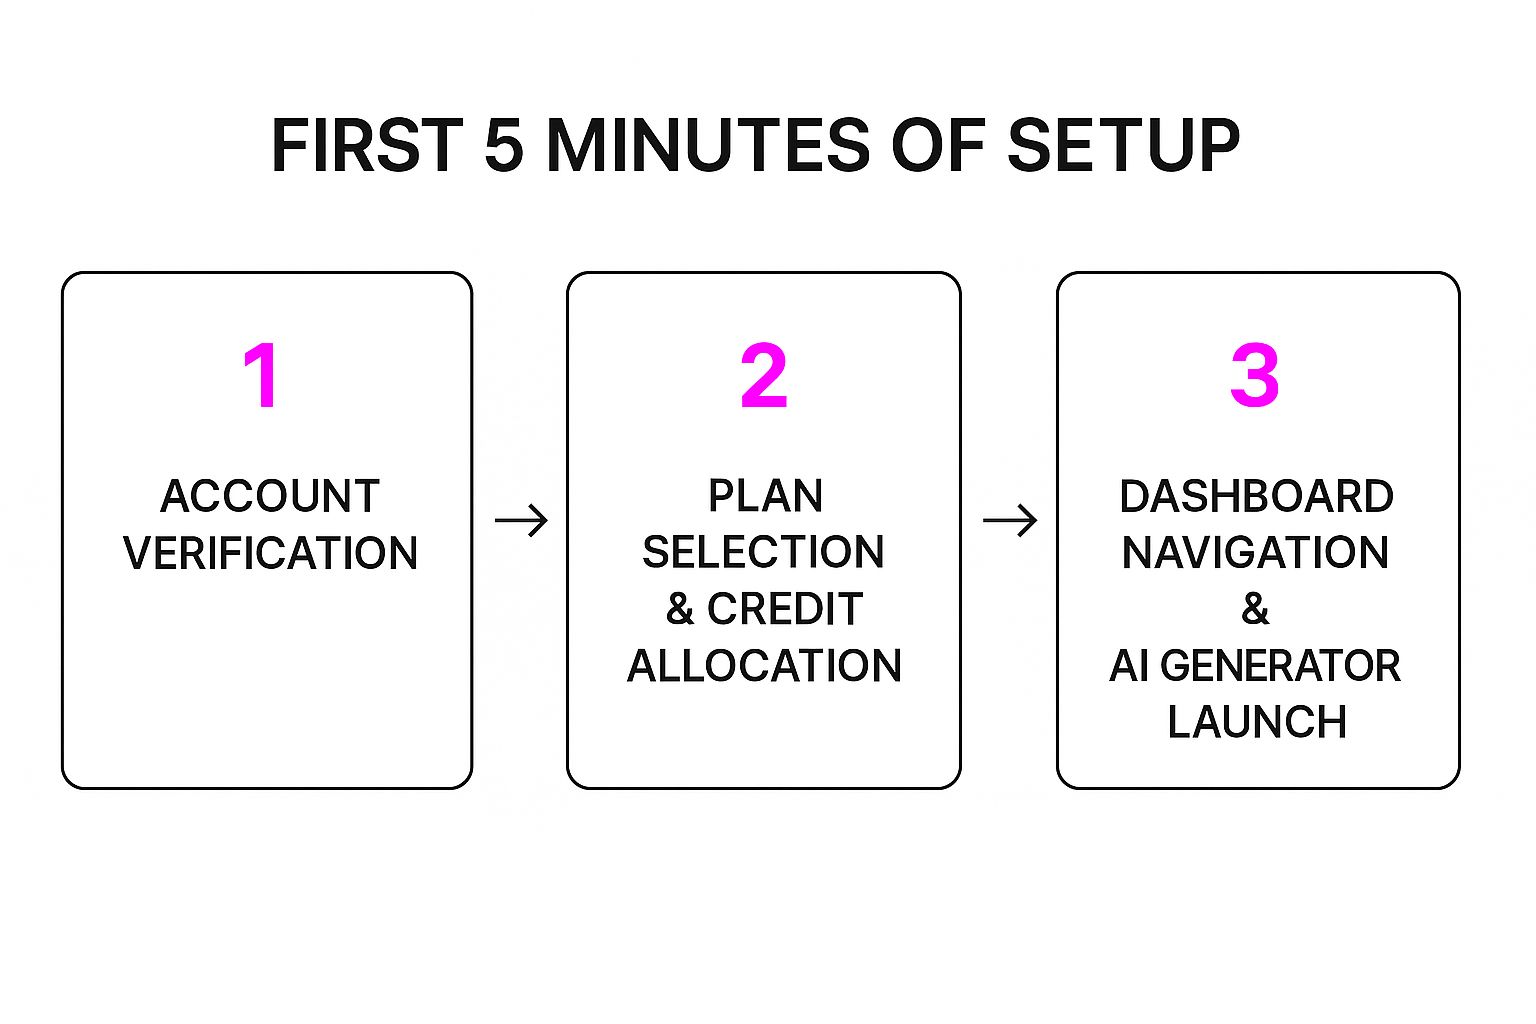
As you can see, you go from verifying your account to having full access to the AI generator in almost no time. That kind of speed is a huge deal, especially for new ventures. Just to give you an idea, the U.S. Census Bureau projected that 28,725 new businesses were on track to form in August 2025 alone. That's a 0.8% increase from the month before. With that much competition, tools that save you time from day one give you a real edge.
The goal here is to make a new interface feel like your space.
Your only job in these first few minutes is to feel in control. Take a second to familiarize yourself with the main navigation. Find your project library, see where the different AI models are listed, and spot the big 'Launch Generator' button.
Once you feel comfortable with the layout, you're ready to start creating. A great way to dive in is by just playing around with some prompts. If you need a little inspiration to get the ideas flowing, check out our free AI image prompt generator tool before you kick off your first real project. A quick tour like this is all it takes to turn a new dashboard into your personal creative command center.
Creating Your First Bulk Generation Project
Alright, with your account all set up, it’s time for the fun part. We're going to jump right in and build your first project, moving from theory to seeing this thing work in real-time. This is where you'll get that "aha!" moment and see just how powerful generating images at scale can be.
We'll work through a common, practical scenario: creating a bunch of product lifestyle images for a new e-commerce store.
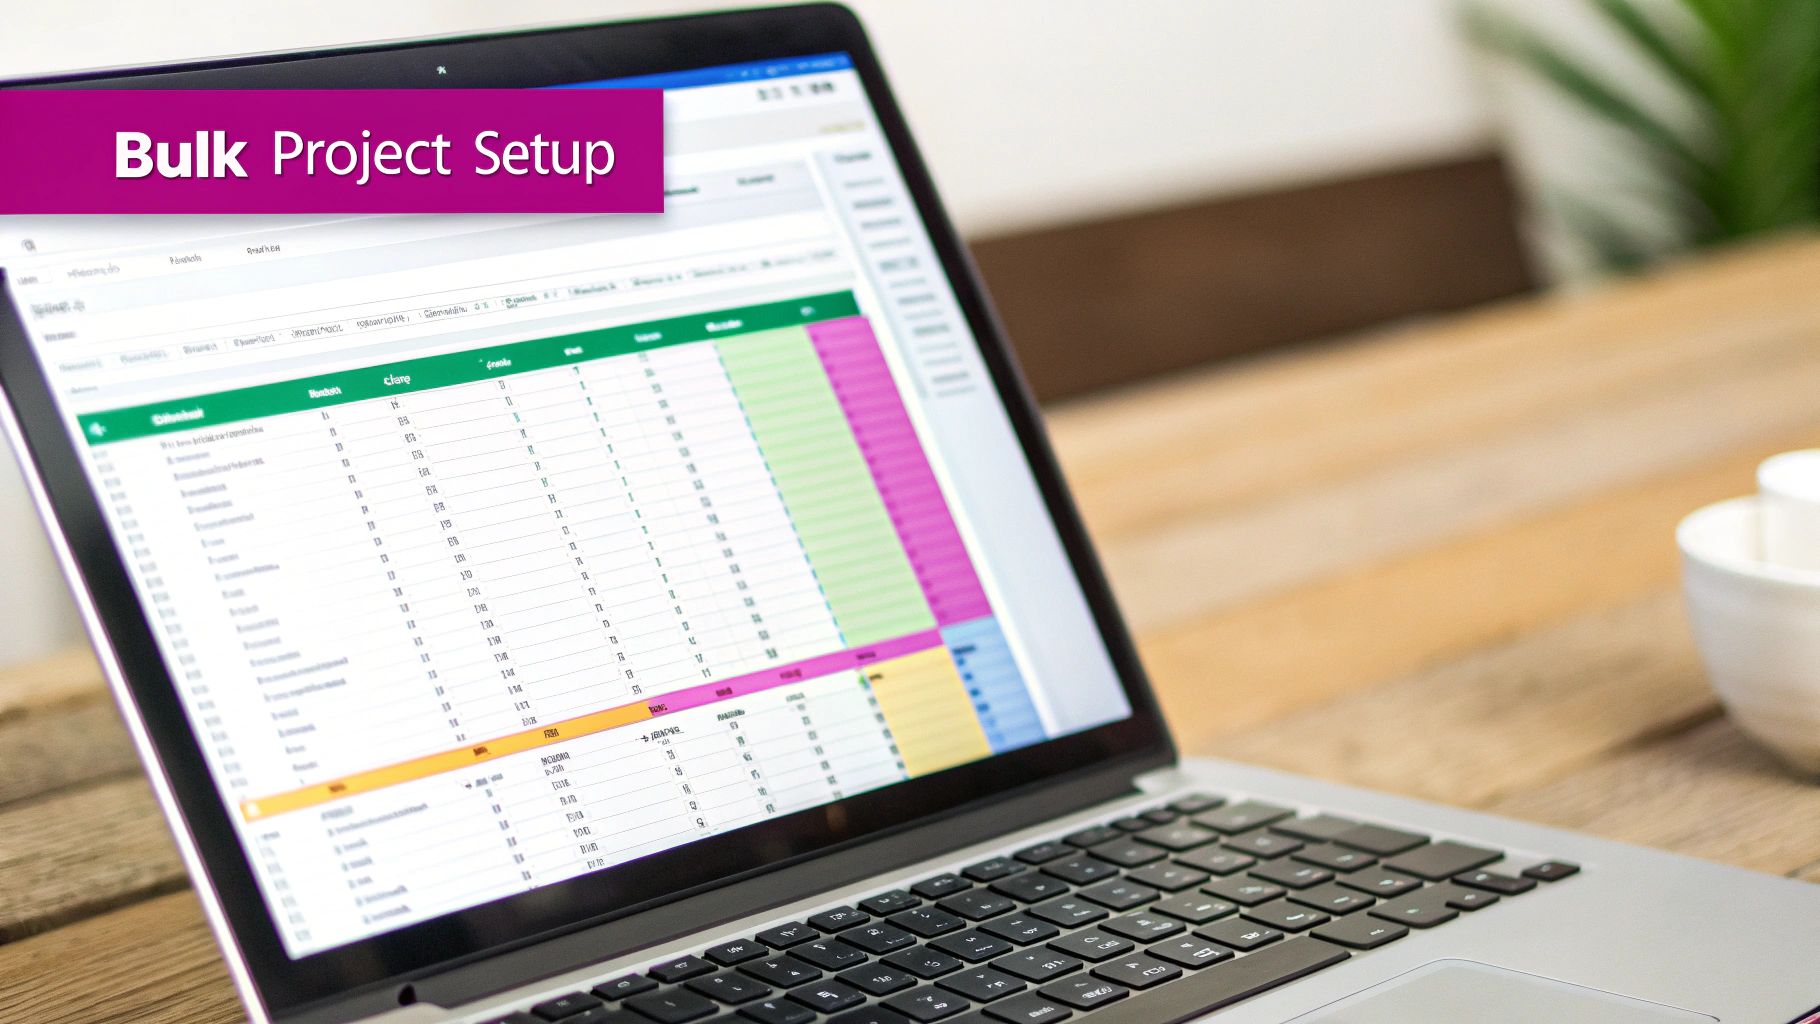
The entire process really just boils down to a simple spreadsheet. Think of it as the instruction manual you’re handing to the AI. Every row in that sheet will become one unique image, and each column gives you a piece of information you can swap out.
This data-first approach is what makes the whole system so incredibly efficient. You’re not just making images one by one; you're creating a smart template for the AI to follow, which guarantees every image is consistent in style but totally unique in its details.
Getting Your Input Data Structured
Let's stick with our e-commerce example. Imagine we're creating images for a new line of ceramic mugs. Your spreadsheet might have columns like product_color, background_setting, and prop_item. This is where you introduce what we call dynamic variables.
A dynamic variable is just a placeholder in your prompt—it looks like {{product_color}}—that tells the system to pull data straight from your spreadsheet.
So, one row might have "forest green" in the product_color column and "cozy cafe" in the background_setting column. The very next row could list "sky blue" and "modern office desk," and just like that, you've got a completely different scene without touching your core prompt.
This is how you generate hundreds of targeted visuals without rewriting anything. Getting this structure right from the start is absolutely fundamental because it creates a foundation you can scale up indefinitely. For a social media campaign, you could easily swap product details for different ad copy or audience segments. If you want to dive deeper, you can find specific templates in our guide on the bulk social media image generator.
Now, let's talk about the prompt itself.
Your base prompt acts as the creative director for the entire project. It sets the non-negotiable rules for style, lighting, and composition that the AI must follow for every single image.
A solid base prompt might be something like: "Photorealistic lifestyle shot of a {{product_color}} ceramic mug on a {{background_setting}} with a {{prop_item}} nearby, soft morning light, shallow depth of field."
The variables will change with each row, but that core aesthetic—the mood, the lighting, the quality—remains perfectly locked in.
Choosing the Right AI Model
Once your data and prompt are ready to go, the final big decision is picking an AI model. This is important. Different models are trained on different visual styles, so your choice directly shapes the final look and feel of your images. Think of it like a photographer choosing between camera lenses—each one is built for a specific kind of shot.
For someone just starting out, it can feel a bit overwhelming, but it's actually pretty straightforward. Here’s a quick guide to help you decide which model is right for your project.
AI Model Selection Guide For Beginners
This table breaks down the most common models to help you match your project's needs with the right visual style.
| AI Model | Best For | Key Characteristic |
|---|---|---|
| Photoreal Pro | E-commerce product shots, realistic lifestyle scenes | Creates images with lifelike textures and lighting. |
| Illustrator's Sketchpad | Branded icons, blog illustrations, concept art | Produces clean lines and stylized, non-photorealistic visuals. |
| Creative Abstract | Background patterns, unique social media graphics | Generates artistic and imaginative imagery. |
Choosing the right model is make-or-break for a project. For our ceramic mug example, Photoreal Pro is the clear winner. You need believable product photos that customers can actually imagine using. Making the wrong choice here would be like trying to shoot a corporate headshot with a fisheye lens—it just won't work.
This kind of strategic thinking is becoming more common as AI tools are adopted everywhere. The AI industry is projected to hit $243.7 billion by 2025, which shows just how fast businesses are integrating these tools into their workflows. As you get more comfortable, you'll find that making these smart, strategic choices becomes second nature.
So, with your spreadsheet uploaded, your base prompt perfected, and the ideal AI model selected, you're officially ready to launch.
Go ahead and hit that "Generate" button. This will kick off your first job, and in just a few moments, you'll have a full gallery of custom images waiting for you.
Reviewing and Refining Your Generated Images
Once the AI has done its part, your job as the creative director kicks in. This is where a good eye and a smart system can turn a massive batch of raw images into a polished, curated collection of assets. The trick is to move fast without letting quality slip.
Staring at a gallery full of hundreds of new visuals for the first time can feel overwhelming. But you don't need to inspect every pixel on the first pass. The initial goal is rapid triage—sorting the good from the bad and the maybe.
Your First Pass: The Quick Sort
Think of this first review as making quick, decisive calls. I usually run through a mental checklist: Does this image actually match the prompt? Is the composition any good? Does it feel right for our brand?
Use the platform's tagging or flagging features to sort images into three simple buckets:
- Keep: Looks great, ready to go.
- Edit: Has potential but needs a few tweaks.
- Discard: Not even close, delete it and move on.
Nailing this initial sort is probably the most important step in building an efficient workflow. Get this right, and you’ll avoid the quality control stage becoming a frustrating bottleneck.
Making Quick On-Platform Edits
Now, let's look at that "Edit" pile. Most of the time, these images just need a small push to get them over the finish line. Before you even think about firing up Photoshop, see what you can fix right inside the platform. You'd be surprised how many issues can be handled with the built-in tools.
Common quick fixes I use all the time include:
- Cropping: This is my go-to for fixing a slightly off-center composition or reframing an image for a specific format, like an Instagram Story or a website banner.
- Filtering: Applying a consistent filter or color grade across your "Keep" pile is a super-fast way to make sure everything has the same visual tone.
- Simple Adjustments: A little tweak to the brightness or contrast can often make an image pop, no external software needed.
The real secret to a fast workflow is doing as much post-production as possible without leaving the platform. It keeps the entire process, from idea to final polish, all in one place.
Let's say you generated 100 product shots, and about 15% of them are just a little off-center. Instead of tossing them, a quick crop can salvage those images. Just like that, you've increased your success rate without spending more credits. This is a fundamental tip you'll find in most professional getting started guides for creative production.
Developing Your Curation System
The more projects you run, the faster your eye will get. You'll start to spot what works and what doesn't almost instantly. It's like building a muscle—the more you do it, the quicker and more intuitive the process becomes.
It also helps to establish a clear set of brand standards for your AI visuals. What are the absolute must-haves? Maybe it's a specific color palette, a certain kind of lighting, or avoiding certain elements entirely. Writing these down helps keep everything consistent, especially if you're working with a team.
Ultimately, your review system is the final gatekeeper for quality. It’s what ensures every image you export is polished, on-brand, and ready to make an impact. By combining rapid sorting with smart, in-app edits, you create a scalable process that turns raw AI output into a real business asset.
Exporting Your Images for Real-World Use
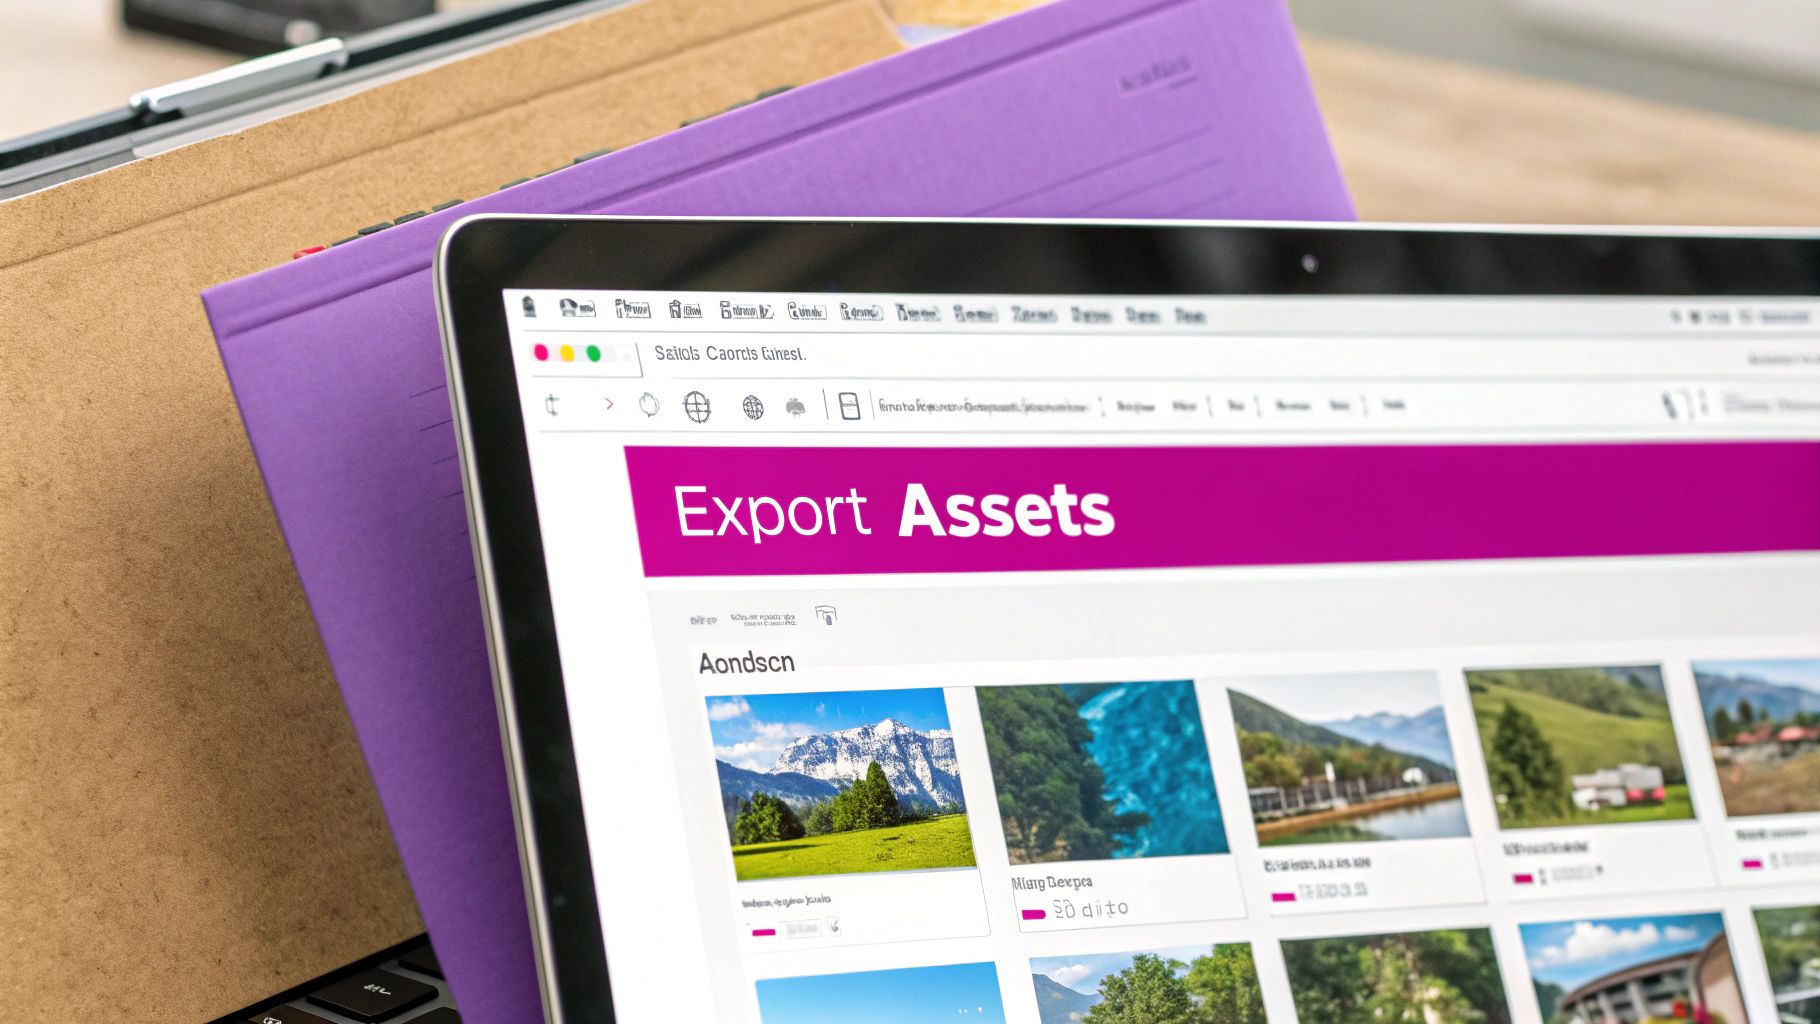
You’ve done the creative work—generating, sorting, and refining your visuals. Now it's time to get them out into the wild. Exporting your images correctly is that final, critical step that ensures they look fantastic and load quickly on your website, social media, and everywhere else they need to perform.
The game here is all about balance. A massive, uncompressed image might look incredible, but it'll absolutely tank your website's load speed. On the flip side, compressing an image too much saves space but leaves you with a pixelated mess that looks unprofessional.
This is where knowing your file formats and basic optimization comes in. It’s a fundamental skill for anyone creating digital content today.
Choosing the Right File Format
For most of what you'll do, the choice boils down to JPG or PNG. They each have their own job, and picking the right one is your first move toward a properly optimized image.
Here's a simple way to think about it:
- JPG (JPEG): This is your workhorse for photographs and complex images with lots of colors, like the ones you've been generating. It uses "lossy" compression, which cleverly reduces file size by removing a tiny bit of image data you'll likely never notice. For blog post images, product shots, and most web graphics, JPG is the way to go.
- PNG: Reach for PNG when you need transparency. Think logos, icons, or any graphic you need to place over different colored backgrounds without a white box around it. PNG uses "lossless" compression, keeping every pixel of data, which means perfect quality but a much larger file.
My rule of thumb is simple: If it's a photo, start with JPG. If it needs a transparent background, it has to be PNG. Making this one choice correctly from the start can have a huge impact on your page load times.
Once your images are generated, getting them ready for their final destination is crucial. For web use, this means paying close attention to optimization. You can learn more about finding that sweet spot between file size and quality by reading these tips on how to optimize images for web.
Bulk Exporting and Smart Organization
One of the best parts of using a bulk generation tool is the ability to export your entire curated set at once. Forget downloading images one by one. You can grab all of your "Keep" selections in a single, tidy ZIP file. It’s a massive time-saver.
Once you’ve downloaded that ZIP, resist the urge to just dump the files into a random folder. A clear naming and organization strategy is your best friend for long-term sanity.
I find a simple, tiered structure works wonders:
- Create a main project folder:
Q3-Social-Media-Campaign - Make subfolders for each platform:
Instagram-Posts,Facebook-Ads,Blog-Images - Use descriptive file names:
blue-ceramic-mug-on-desk.jpgis a million times better thanIMG_1234.jpg.
This isn't just about being tidy. This structure turns a folder of random images into a searchable, usable creative library. Weeks or months from now, you or your team will be able to find the exact asset you need in seconds, ready to deploy to any marketing channel you can throw at it.
Answering Your Top Questions About Bulk Image Generation
Even the best guides can leave you with a few lingering questions. That's totally normal when you're getting your hands dirty with a new tool for the first time. We've been there.
To help you hit the ground running, we've put together answers to the most common questions we hear from creators just like you. Think of this as your personal cheat sheet for sidestepping those early hurdles and keeping your creative flow uninterrupted.
What’s a Realistic Batch Size to Start With?
One of the first things everyone wants to know is, "How many images can I really make at once?" The answer boils down to your subscription plan. If you're on a free or entry-level tier, you'll likely be capped at around 10-20 images per project. This is perfect for getting a feel for the tool and running small tests.
Once you move to a paid plan, the game changes. You can often generate hundreds, sometimes thousands, of images in a single run.
My pro tip for massive projects? Break them down into smaller, more manageable batches of about 200-300 images. Trust me, reviewing and sorting in smaller chunks is far less overwhelming and makes the whole process feel much smoother.
How Do I Get Consistent-Looking Images?
Consistency across a huge batch of images all comes down to one thing: a well-structured prompt. The trick is to create a solid base prompt that locks in the core style, composition, and mood you're after. From there, you use dynamic variables like {{product_color}} or {{background_setting}} for the parts you want to change from image to image.
Your base prompt is your style guide. Keep its structure identical for every image and only alter the variables. This method trains the AI to maintain a cohesive aesthetic while still producing unique variations.
For example, a prompt like, "Photorealistic shot of a {{product_color}} mug on a {{background_setting}}," forces every single output to be photorealistic. Only the mug's color and its background will change based on the data in your spreadsheet. Simple, but incredibly effective.
Can I Use My Own Images as a Reference?
Absolutely, and this is where things get really powerful. Many modern platforms offer a feature often called "image-to-image" or "style reference," which lets you upload your own image to guide the AI. It's a game-changer for keeping everything perfectly on-brand.
Just look for an "Advanced Settings" or "Image Input" option in the tool. If you see it, you can upload a product photo or a branded graphic, and the AI will work to generate new visuals that match its style, color palette, and overall vibe.
Of course, when you're generating images in bulk, you might start thinking about how they're perceived. It's not uncommon to have questions about the accuracy of AI detectors and whether your content will be flagged.
How Can I Avoid Common Generation Errors?
Nine times out of ten, disappointing results come from a vague prompt. Specificity is your best friend here. If your outputs are missing the mark, here are a few things to try:
- Be Hyper-Descriptive: Don't just say "a person at a desk." Instead, try "a male graphic designer in his 20s, smiling, sketching in a notebook at a sunlit wooden desk." See the difference? You're painting a much clearer picture for the AI.
- Use Negative Prompts: Tell the AI what you don't want to see. Adding parameters like
--no textor--no blurry backgroundgives the AI firm boundaries and helps clean up the final image. - Always Run Small Tests: This is the most important tip I can give you. Before you launch a batch of 500 images, always run a tiny test with just 5-10 images. This quick check lets you spot-check your prompt and catch any weirdness before you burn through your credits. It's a small step that saves a massive amount of time.
Ready to stop creating images one by one and start producing stunning visuals at scale? Bulk Image Generation gives you the tools to automate your creative workflow. Start generating professional-quality images in minutes today!