black and white photos with color: AI Transformation Guide

Aarav Mehta • November 27, 2025
Create black and white photos with color using AI. Discover prompts, edits, and creative color splash ideas to transform your images.
The art of adding a pop of color to a black and white photo isn't just a gimmick—it's a powerful storytelling tool. This technique, often called selective color or color splash, is all about isolating one element in vibrant color while the rest of the image stays in monochrome. Done right, it transforms a simple picture into something compelling by telling the viewer exactly where to look. It's a fantastic way to inject a little drama and emotional weight into your work.
The Timeless Appeal of Selective Color
Mixing monochrome with a splash of color is more of a strategic move than just a stylistic choice. When you strip away all the other colors, you force the eye to appreciate the core elements of the photo: composition, light, and shadow. It gives the image a classic, almost nostalgic feel. Then, when you reintroduce a single, vibrant color, it creates a visual punch that’s impossible to ignore.
This is where you get to control the narrative. A red umbrella in a rainy, gray cityscape is no longer just an object; it’s the hero of the story. The technique elevates ordinary scenes into something more artistic by shining a spotlight on what truly matters.
Why This Style Endures
The staying power of selective color really comes down to emotion. Black and white photography already brings a certain gravity and nostalgia to the table, but that pop of color injects life and energy, setting a specific mood. This duality often makes the final image far more memorable than if it were fully colored or completely monochrome.
There are a few key reasons this technique has stuck around:
- Visual Hierarchy: It’s a dead-simple way to create a focal point. You’re literally telling the viewer’s eye where to go.
- Emotional Amplification: That isolated color can seriously dial up the feeling you're going for. Red for passion, blue for calm, yellow for energy—it becomes a shortcut to the heart.
- Artistic Expression: It gives you a creative license to reinterpret a scene, making it feel more dramatic and less like a literal snapshot of reality.
By removing the distraction of a full color palette, you force the viewer to see the world through your lens, focusing on the texture, form, and emotion you've chosen to highlight.
This kind of artistic control used to be reserved for people who were wizards in Photoshop. Now, AI has made creating black and white photos with color something anyone can do, which lines up perfectly with the broader AI image generation trends reshaping the creative world. To really appreciate the effect, it helps to see what pure monochrome can do on its own, like in these stunning AI-generated black and white portraits.
It's funny to think about photography's journey. For decades, monochrome was the only game in town. Until the mid-1940s, over 90% of photos were black and white. Today, with color as the default, choosing to go monochrome is a deliberate, artistic decision.
Writing AI Prompts That Get Color Right
Crafting the perfect prompt is the secret sauce to telling an AI exactly how to create stunning black and white photos with color. Your words are the direct instructions guiding the AI, determining whether you end up with a dreamy, vintage-toned image or a modern, dramatic color splash. Think of yourself as an art director—precision is everything.
You'll generally be taking one of two paths: full colorization or selective color. Each one needs a slightly different prompting strategy to get the AI to see what's in your head.
Crafting Prompts for Full Colorization
When your goal is to breathe new life into an entire black and white photograph, your prompt needs to be all about the overall mood, era, and color palette. If you’re vague, you'll get vague, generic results. You have to get specific about the atmosphere you're trying to build.
Here are a few formulas that have worked well for me:
- For a nostalgic, vintage feel: "Colorize this photo with a 1970s faded film aesthetic, warm yellows, soft oranges, and muted greens."
- For photorealistic results: "Apply hyperrealistic, natural colors to this image. Ensure skin tones are accurate and lighting appears authentic."
- For a surreal, artistic style: "Transform this black and white photo with a vibrant, dreamlike color palette, emphasizing magical blues and purples in the sky."
A well-crafted prompt doesn't just ask for color; it dictates a specific mood and style. The more descriptive you are about the feeling you want, the better the AI can interpret your vision and deliver something compelling.
If you ever get stuck spinning your wheels for ideas, using a specialized tool can be a lifesaver. You can find some great starting points and build out complex instructions with a good AI image prompt generator to really experiment with different styles.
Nailing the Selective Color Splash Effect
For that iconic color splash effect, your prompt has to be even more direct. Here, the goal is to tell the AI to isolate one specific object in color while rendering everything else in monochrome. This means you need to create a very clear subject-background distinction right in your prompt. A basic understanding of fundamental color theory can be a real game-changer here, helping you pick colors that truly pop.
Let's look at a few practical examples:
- For a portrait: "A black and white portrait of a woman, but her eyes are a striking, vibrant emerald green."
- For a landscape: "A dramatic black and white photo of a foggy forest, with a single bright yellow raincoat on a person walking down a path."
- For a still life: "A monochrome image of a coffee shop table, with only the deep red of a ceramic coffee mug in color."
See the pattern? The key is the structure. First, you define the monochrome scene, then you use a connector like "but" or "with" to introduce the one colored element. This simple, two-part instruction helps the AI understand the sharp contrast you're going for, giving you that eye-catching pop that makes selective color so powerful.
To make this even clearer, here's a quick breakdown of how to structure your prompts for different colorization effects.
AI Prompt Formulas for Colorization Effects
This table compares the prompt structures you'll want to use to achieve different styles with AI image generators.
| Desired Effect | Core Prompt Element | Example Prompt |
|---|---|---|
| Full Vintage Colorization | Describe an era, film type, or specific color palette. | Colorize this photo in the style of a 1960s Kodachrome slide, with saturated reds and deep blues. |
| Full Photorealistic Color | Use terms like "natural," "accurate," and "hyperrealistic." | Apply hyperrealistic, natural colors to this portrait, ensuring authentic skin tones and lighting. |
| Selective Color (Simple) | State the monochrome background first, then specify the colored object. | A black and white photo of a city street, but a single taxi is bright yellow. |
| Selective Color (Complex) | Detail the entire monochrome scene, then use a "with only..." structure for the colored detail. | A dramatic black and white landscape of a beach at dusk, with only the orange and pink hues of the sunset in color. |
Think of these as templates you can build on. The more you experiment with this basic formula—monochrome base + colored subject—the more intuitive it becomes to get exactly the look you're after.
A Practical Workflow for AI Colorization
Alright, let's move from theory to action—this is where the real fun begins. Now that you have a handle on crafting the right prompts, we can build a solid process for creating your own stunning black and white photos with color. I've designed this workflow to be super efficient, whether you're bringing a single family photo back to life or colorizing a whole batch of product shots.
The first part is simple. Just upload your original black-and-white image to the AI platform. This picture is the foundation the AI will build on. A quick tip from experience: the quality of this source file really matters. A clear, sharp photo with good contrast will almost always give you a much better final image.
With your photo uploaded, it's time to use the prompts we talked about. This is your moment to step into the director's chair and guide the AI toward what you're picturing in your head.
Starting with a Single Image
When you're working on just one photo, the process feels more like a creative back-and-forth. Upload your image and give it a very specific prompt. Something like: "A black and white photo of a classic car on a city street, but the car is a vibrant cherry red."
The AI will generate its first take. Now the fine-tuning starts. Maybe that red is a little too punchy, or the background feels a bit flat. This is where you'll want to play with settings like Image Guidance Strength, which is just a fancy way of saying you're telling the AI how closely to stick to your original photo.
- A lower guidance strength gives the AI more artistic license. It might change up shapes and textures for a more stylized result.
- A higher guidance strength makes the AI follow the source image almost exactly, which is perfect when you're aiming for realism.
Think of it like a negotiation. You and the AI go back and forth until you land on that perfect balance. This single-image approach is great for one-off projects or for just trying out a few color ideas before you commit to a bigger set.
This simple diagram shows the two main paths you can take with your prompts—coloring the entire scene or just making one specific element pop.
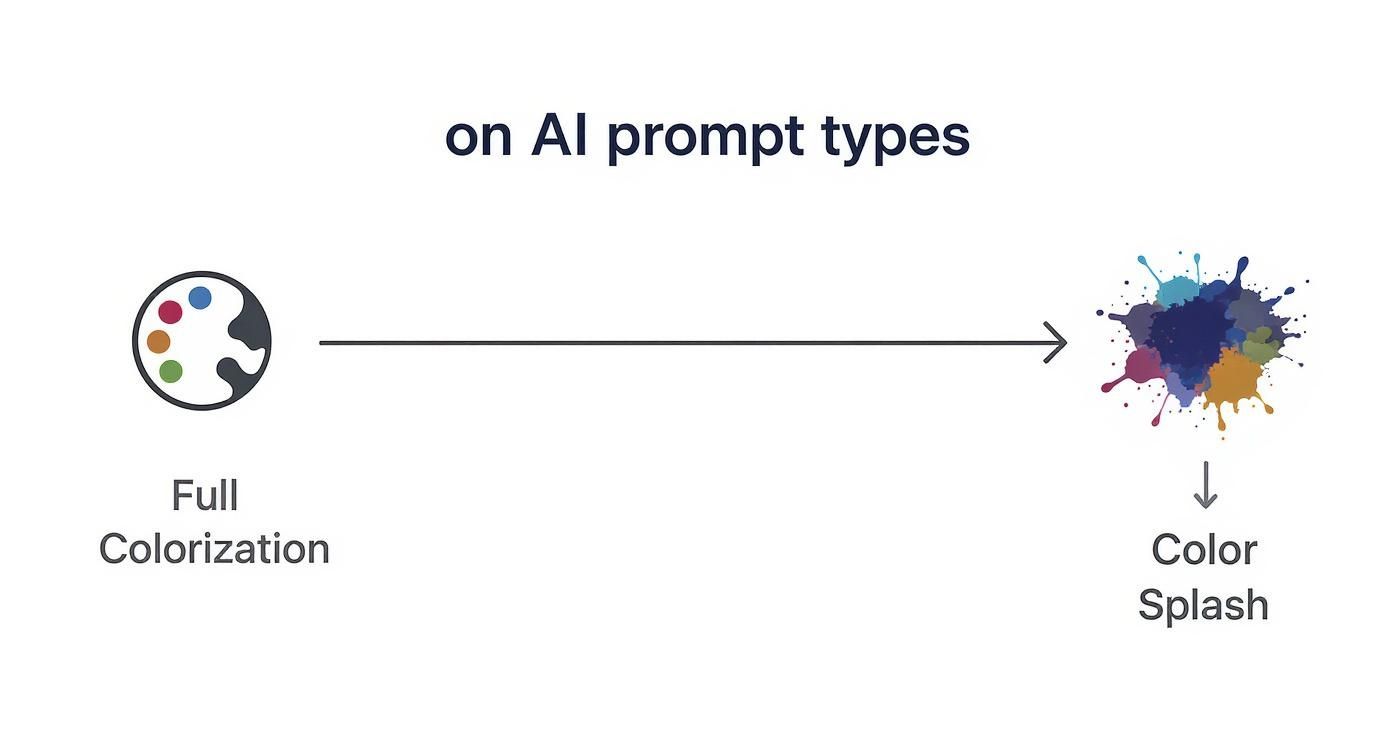
It really just boils down to choosing between a full-color treatment or a more focused color splash. Each one needs a slightly different prompting strategy to get it right.
Scaling Up with Bulk Processing
What if you need a consistent look across a bunch of photos? Maybe you have a product line where you want to highlight the same feature, or a wedding album that needs a cohesive vintage feel. Doing those one by one would be a nightmare.
This is where bulk processing becomes your best friend. You can apply a single, perfectly crafted prompt to an entire folder of images. Tools built for this kind of scale are invaluable here. Using a solid AI image generator for bulk tasks, you can upload dozens of photos and apply the same style to all of them at once.
The real power of bulk processing is getting things done fast without giving up creative control. You set the artistic direction once, and the tech handles the rest, making sure every image in your set looks professional and consistent.
Let's say you're running social media for a coffee brand. You could take 50 different black-and-white shots of your products and run them all with the prompt: "A dramatic black and white photo of a coffee cup, with only the rich brown coffee in color." In just a few minutes, you've got a month's worth of on-brand, eye-catching content. This doesn't just save you hours of manual editing; it helps build a strong, unified visual identity for your brand. It’s a seriously powerful way to make your vision scalable.
Giving Your AI Images a Human Touch
Getting an image from the AI is really just the starting point. That initial render can look great, but it’s the small, manual tweaks you make afterward that transform a cool AI concept into something truly professional. Think of the AI as your talented assistant—it does the heavy lifting, but you’re the one who needs to add the final polish and precision.
This is the stage where you take back full artistic control. Post-processing lets you fix the little mistakes, like color bleeding over an edge, or make deliberate stylistic choices the AI didn't quite nail. It's what makes the difference for creating believable black and white photos with color.
Clean Up Edges with Layer Masks
One of the most essential tools for this job is the layer mask. If you've ever used software like Photoshop or the free alternative GIMP, you know how powerful they are. Masks let you hide or reveal parts of a layer without permanently deleting anything, which is perfect for cleaning up the borders of your colorized subject.
Let's say the AI splashed a vibrant red onto a classic car but slopped a bit onto the gray asphalt below. Instead of trying to erase it and risking a mistake, you just add a layer mask. Paint with black on the mask, and you can hide that unwanted red spill with incredible precision. You're left with a razor-sharp line between the colored car and the monochrome background.
The best part about layer masks is that they're completely non-destructive. If you hide too much, just switch your brush to white and paint the color right back in. It gives you total freedom to experiment without that constant fear of messing up the original image.
This isn't just for fixing errors, either. You can use a soft-edged brush on the mask to gently fade the color into the monochrome parts of the image, creating a much more artistic transition than a hard, sterile line. It's a simple skill that gives you a massive amount of control over the final look.
Blend and Correct Your Colors
Getting the color to look like it belongs in the photo is the next big challenge. AI-generated colors can sometimes feel flat or way too saturated, looking like they're just sitting on top of the image instead of interacting with its light and shadows. To fix this, you’ll want to play with blending modes and color balance.
First, try changing the blending mode of your color layer. Modes like Overlay, Soft Light, or Color will help the new hues react more naturally to the highlights and shadows of the original black-and-white photo. This one tweak can be the difference between a color that looks slapped on and one that feels like it was there from the start.
From there, you'll need to fine-tune the color itself. Here are a few adjustments I always make:
- Hue/Saturation: The AI often goes a little overboard. Try dialing back the saturation just a touch—even a 5-10% reduction can make the color feel less digital and more integrated.
- Color Balance: Pay attention to the original photo's lighting. If the shadows have a cool, blueish tint, your added colors should reflect that. Adjusting the midtones, shadows, and highlights to match the scene is key.
- Levels/Curves: Use these to adjust the brightness and contrast of just the colored area, making sure it doesn't look artificially brighter or darker than the rest of the image.
The art of carefully colorizing photos has a rich history, and modern artists continue the tradition to bring the past to life. For instance, Danish artist Mads Madsen has famously colorized hundreds of historical portraits, doing extensive research to get every color just right for the time period. You can see some of his incredible historical colorizations and get a feel for what’s possible when you obsess over the details. That's the level of care that makes a colorized photo truly compelling, whether it’s done by hand or just polished up after the AI gives you a head start.
Creative Ideas for Your Colorized Photos
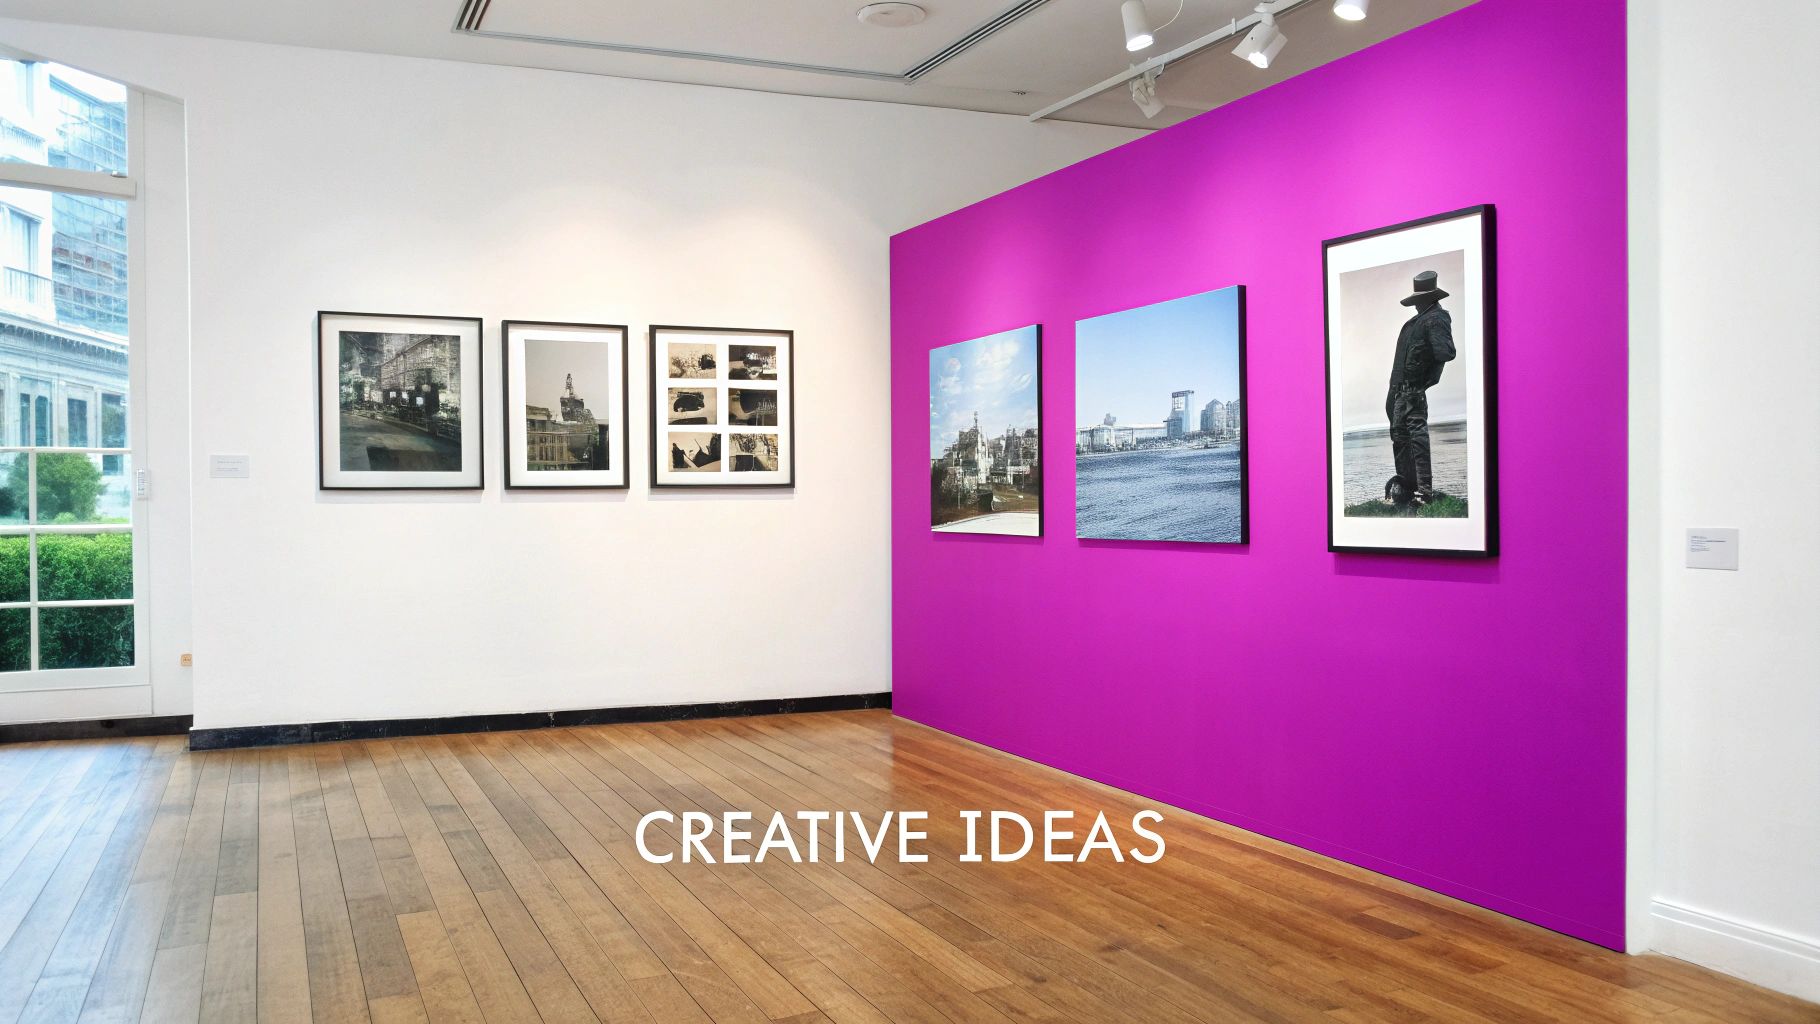
So, you've got the hang of the technique. Now for the fun part: putting it to work. Creating black and white photos with color isn't just a technical trick; it's a way to turn ordinary images into something powerful. The applications are surprisingly broad, working just as well for a brand's social feed as they do for deeply personal art projects.
Take social media, for instance. Your feed is a constant stream of vibrant, fully saturated images. A striking monochrome photo with a single pop of color immediately breaks that pattern. It’s a natural scroll-stopper, forcing the viewer's eye exactly where you want it to go.
Elevate Your E-commerce and Branding
In e-commerce, the name of the game is making your product the star. Picture a product line of designer handbags. Instead of just another standard shot, imagine placing one vibrant, colorized bag against a monochrome background of other accessories. Right away, you’ve told a story: this is the hero product.
This simple move creates a clear visual hierarchy and a feeling of luxury. It's a much more elegant way to guide a customer's focus than plastering your images with clunky arrows or text overlays.
- Product Catalogs: Use selective color to draw immediate attention to a new arrival or a best-seller.
- Branding Materials: Weave your brand’s primary color into lifestyle shots to build a stronger, more memorable visual identity.
- Ad Campaigns: A/B test a color-splash ad against a standard full-color version. You might be surprised which one drives more engagement and clicks.
Add a Personal Touch to Family History
This isn't just a tool for marketers. Colorization offers a genuinely profound way to connect with the past. Bringing color to old family portraits breathes new life into them, making people from another era feel more present and relatable. Adding soft, realistic color to a grandparent’s wedding photo transforms it from a historical document into a living memory.
Bringing color to a black and white photo isn’t about correcting the past; it's about building a stronger emotional bridge to it. It makes history feel personal and immediate.
This emotional pull is surprisingly widespread. A 2021 survey revealed that 78% of people found colorized historical images more engaging. What's really telling is that 85% of respondents under 30 preferred them for educational content, proving how color can make history feel more accessible. You can dig deeper into how color changes our view of black and white photography on Arts Help.
The same idea works beautifully for personal art. A monochrome landscape from a favorite vacation with just the sunset blazing in full color can become a stunning piece for your wall, making the memory feel that much more vivid.
Common Questions About AI Photo Colorization
Diving into AI colorization is exciting, but let's be real—it brings up a lot of questions. Getting a handle on what the AI can and can't do is the key to setting the right expectations and, ultimately, creating much better black and white photos with color.
This isn't about finding one "right" way to do things. It's about knowing the tools you have and when to use them. Whether you're chasing historical accuracy or just want something that looks cool, understanding these nuances will make all the difference.
Can AI Accurately Colorize Historical Photos?
This is the big one. While AI is ridiculously powerful, it doesn't actually "know" the original colors of an old photograph. It's making highly educated guesses based on the millions of images it was trained on. So, it knows that grass is usually green and skies are typically blue.
But when it comes to the specific shade of a vintage dress or the exact color of a WWI military uniform? The AI is essentially improvising.
For true historical authenticity, a human touch is non-negotiable. Use the AI's output as a fantastic starting point, but always be ready to do your own research and make manual corrections for the details that really matter.
What Kind of Photos Work Best?
The quality of the photo you start with makes a massive difference in the final result. If you want the best possible outcome, you'll need a source image that is:
- High-resolution and sharp: Clean lines and clear details give the AI a much easier time identifying objects and applying color where it's supposed to go.
- Well-lit with good contrast: A photo with a full range of tones, from deep blacks to bright whites, provides more information for the AI to work with.
Trying to colorize a low-resolution, blurry, or badly damaged photo can really confuse the AI. It might struggle to tell the subject apart from the background, which often leads to messy color spills and weird-looking results, especially when you’re trying to do selective color effects.
Is AI Better Than Manual Colorization?
Honestly, the "best" method really comes down to your goals. It’s a classic trade-off between speed and total control, and the most practical workflow usually lands somewhere in the middle.
Think of it like this: AI is completely unmatched when it comes to speed. If you need to colorize a hundred images for a project by tomorrow, it's a lifesaver. On the other hand, manual colorization in something like Photoshop gives you absolute, pixel-perfect control, which is essential for professional work that demands accuracy.
The smartest approach? Combine them. Use AI to get a high-quality base colorization in a matter of seconds. Then, pop that image into an editor for those final, human-touch refinements. It's the best of both worlds.
Ready to bring your own black and white photos with color? With Bulk Image Generation, you can upload your images and apply creative colorization prompts in seconds, streamlining your entire workflow. Start creating with Bulk Image Generation today!