
Master the 16 9 ratio in pixels: Quick Guide to Accurate Image Sizing

Aarav Mehta • December 18, 2025
Learn the 16 9 ratio in pixels with clear formulas and practical examples for precise image resizing. Quick, actionable tips to get flawless results.
Understanding 16 9 Ratio In Pixels
Think of the 16 9 ratio in pixels as the recipe that keeps every frame perfectly balanced. At its heart, this ratio equals 1.78:1, which is why a 1920×1080 canvas is exactly 16 units across for every nine units down. Stick to it, and your visuals stay crisp and distortion-free.
Calculating Pixel Dimensions
When you need to swap between width and height, the math is surprisingly simple—but crucial for pixel-perfect design:
Height = Width ÷ 16 × 9
Width = Height ÷ 9 × 16
- Prevents stretched or squashed images
- Ensures consistent display on TVs, monitors, and smartphones
- Streams seamlessly for banners, videos, and UI elements
For a media creator, using the 16 9 formula means fewer letterboxes, less cropping hassle, and a smoother playback experience across devices.

This graphic shows how 16 9 strikes a sweet spot between widescreen drama and universal compatibility.
Key 16 9 Resolutions
Below is a quick reference for the most common 16 9 resolutions, so you can plan projects without second-guessing your dimensions.
| Resolution Name | Width (px) | Height (px) |
|---|---|---|
| SD (720p) | 1280 | 720 |
| HD (1080p) | 1920 | 1080 |
| QHD (1440p) | 2560 | 1440 |
| 4K (2160p) | 3840 | 2160 |
Use this table as a foundation when mapping out video shoots, slide decks, or web graphics. It’s your go-to guide for nailing the 16 9 frame every time.
Next you’ll explore the history behind this frame.
Exploring the History and Evolution of Aspect Ratio
Imagine it’s 1984. In cluttered labs, engineers are hunched over satellite dishes, running tests for a “next-gen” television format.
Cables snake across the floor as some insist the picture looks too letterboxed, while others complain it feels pinched.
Everybody wants one unified ratio to bridge standard TV and widescreen cinema. Enter Kerns H. Powers.
He proposes a 16:9 ratio—wide enough to capture epic panoramas, yet compact enough for the old 4:3 tubes.
Key Milestones
- 1984: SMPTE Working Group hears the 16:9 proposal
- 1989: NHK begins daily Hi-Vision tests via satellite
- 2005: Global TV standards fully adopt 16:9
That neat compromise tamed the boxiness of TV and trimmed CinemaScope’s vast frame—balancing creative intent with the physics of tube displays.
Early Debates And Proposals
Within SMPTE, proponents pointed out that 16:9 sits exactly at the geometric mean of 4:3 and widescreen formats.
Cinematographers, however, grumbled that it felt like cropping decades of widescreen heritage.
“The shift felt like trimming our widescreen canvases,” recalled one veteran cinematographer.
Here’s how the contenders stacked up back then:
| Ratio | Main Use Case |
|---|---|
| 4:3 | NTSC legacy broadcasts |
| 15:9 | Early European flat-panel TV |
NHK Hi-Vision And Beyond
On June 3, 1989, NHK beamed one hour of Hi-Vision HDTV across satellite links. Viewers were stunned by the crisp details and fluid motion.
That experiment won over broadcasters and filmmakers. Suddenly, 16:9—about 1.78:1—was more than just math; it was the future of high-def.
For the full backstory, see the Wikipedia article on aspect ratio).
- Manufacturers slashed costs by standardizing on a single global frame
- Broadcasters, streamers, and audiences alike embraced the wider, more cinematic view
That same 16:9 foundation still shapes every HDTV, monitor, and smartphone screen in our hands today.
Mastering Pixel Math For 16 9 Ratio
Working with aspect ratios is like following a treasured family recipe: change one ingredient without adjusting the rest, and the dish falls flat. With the 16 9 ratio, your two “ingredients” are simply the numbers 16 and 9. Get those in balance, and every image will look just right.
To swap between width and height, remember:
- Height = Width ÷ 16 × 9
- Width = Height ÷ 9 × 16
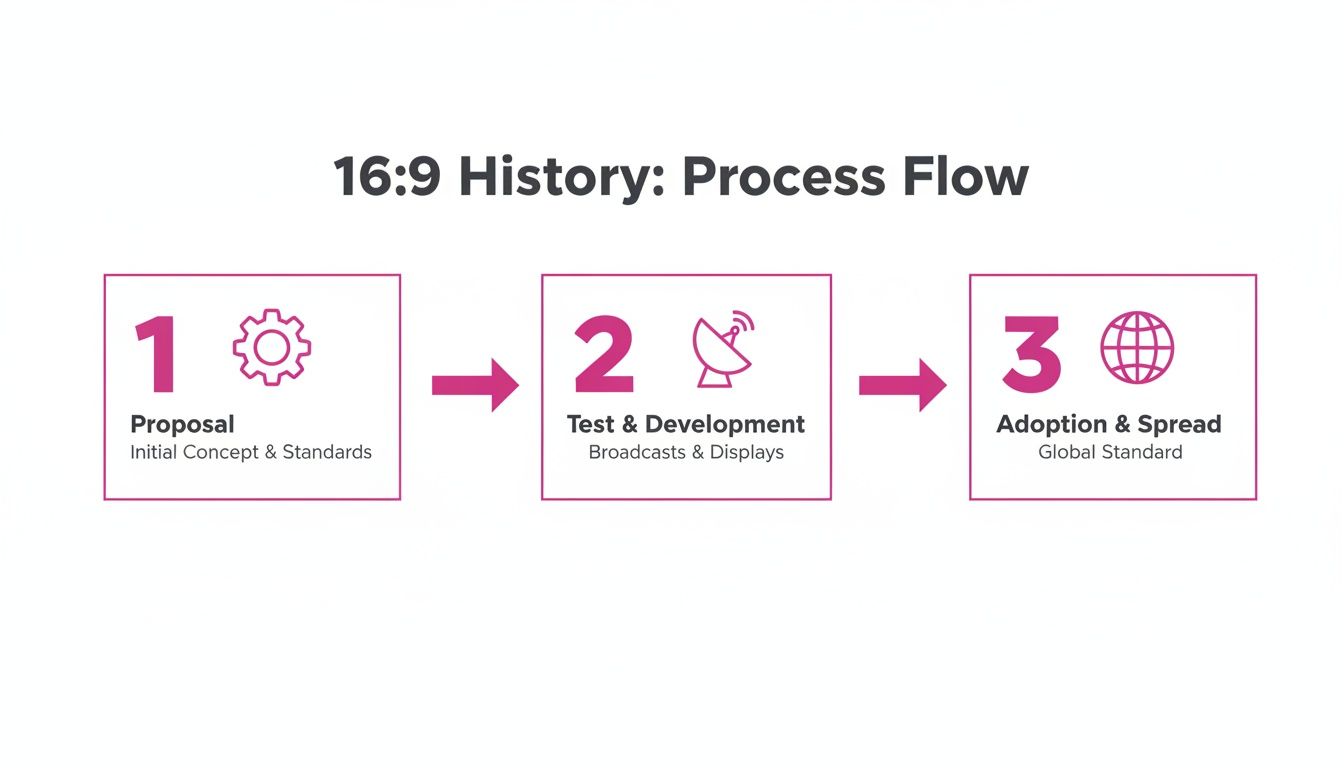
This graphic walks you through how the 16 9 frame went from engineers’ sketches to satellite tests, ultimately landing on screens everywhere.
Why This Math Matters
Pixel-perfect math keeps your visuals free from black bars or unwanted cropping. Even a one-pixel error can trigger extra drafts and wasted hours. Nail these calculations, and you’ll streamline your workflow from start to finish.
Step-By-Step Examples
Here are three quick scenarios:
-
Start with 1920px width:
Height = 1920 ÷ 16 × 9 = 1080px -
Flip it for height-first:
Given 720px height, Width = 720 ÷ 9 × 16 = 1280px -
Handle odd squares (e.g., 3500×3500):
Width ÷ 16 × 9 = 1968×1107 → round to 1968×1108
Rounding And Safe Areas
Always round to the nearest whole pixel to dodge those one-pixel glitches. Then add a 5% safe-area margin—think of it as a protective buffer to keep text and key visuals from bumping into the edges.
Quick Calculation Checklist
- Confirm your starting dimension (width or height)
- Plug it into the 16 9 formula
- Round both values to the nearest pixel
- Reserve a 5% safe-area margin around critical content
- Double-check dimensions in your design tool
Ready to automate? Try the aspect ratio calculator at Bulk Image Generation.
Comparing Common 16 9 Resolutions
Every project—from a quick YouTube clip to a cinematic 4K production—demands the right 16 9 pixel size. Picking the perfect resolution keeps files lean and ensures your content shines on every screen.
Below is a handy reference table you can scan at a glance.
Comparison Of Common 16 9 Resolutions
| Resolution | Width (px) | Height (px) | Use Case |
|---|---|---|---|
| 1280×720 | 1280 | 720 | Standard YouTube uploads |
| 1920×1080 | 1920 | 1080 | HDTV broadcasts and streaming |
| 2560×1440 | 2560 | 1440 | High-end gaming and digital design |
| 3840×2160 | 3840 | 2160 | 4K Ultra HD video and pro editing |
This side-by-side view highlights how each step up in pixels brings crisper detail—and larger file sizes.
Real World Video Scenario
Choosing the right resolution is like selecting the right lens for a camera: the wrong fit can cost you clarity or storage space.
- 1280×720 often wins on YouTube, balancing sharpness with quick uploads.
- 1920×1080 has been the streaming workhorse since 2005, and even today 67% of Steam users stick with it.
- 2560×1440 gives gamers that sweet spot of extra detail without tanking frame rates.
- 3840×2160 is the go-to for creators chasing true 4K—just be ready for big files.
For a deeper dive into this evolution, check out Timothy P. Brown’s blog.
Visual Reference
Here’s a snapshot showing how a 16 9 frame scales across TVs, monitors, and mobiles:
This illustration makes it clear: no matter the device, a 1.78:1 frame keeps your visuals consistent.
Quick Tips For Choosing A Resolution
- Confirm your target device first—phones, tablets, or big screens require different specs.
- Factor in upload bandwidth when deciding between HD and 4K.
- Remember that 4K files can be up to 4× larger than 1080p—plan storage accordingly.
- Always preview content on common devices before finalizing your project.
Resizing Images With Real Examples And Tips
When you need to take a 3840×2160 master file and shrink it to 1920×1080 for a crisp Full HD export, the process is surprisingly straightforward.
Start by applying the aspect ratio formula:
Height = Width ÷ 16 × 9.
So, 1920 ÷ 16 × 9 delivers 1080 pixels in height—perfectly matching the 16:9 ratio.
Always round to the nearest pixel to prevent off-by-one glitches.
Next, let’s target a 2560×1440 banner. You already know the drill: divide the width by 16, multiply by 9, then lock those proportions before you hit export.
Live Math Examples
Putting theory into practice often cements understanding.
- Convert a 3500px width:
Height = 3500 ÷ 16 × 9 ≈ 1968px.
Round and you’re set with a true 16:9 canvas.
Batch Resizing Workflows
When you’re juggling dozens—or even hundreds—of images, manual resizing becomes a chore. Automate with:
- Photoshop Actions or Figma plugins
- Batch scripts that carry over metadata and color profiles
And watch out for these common pitfalls:
- Cropping distortions from incorrect anchor points
- Unexpected letterboxing when aspect locks slip
- Off-by-one errors due to decimal rounding
In fact, by the early 2010s, 16:9 had overtaken 16:10 and 4:3 as the go-to display format. That shift was all about HD content and manufacturing efficiencies—read more on Wikipedia’s 16:9 Aspect Ratio page.
Preserving Quality
Even after you nail the dimensions, don’t forget the finishing touches:
- Embed an sRGB color profile for consistent web and print output
- Save original layers or include XMP metadata so you can revisit edits later
Quick Cheat Sheet
- Confirm your target width or height
- Use Width ÷ 16 × 9 (or Height ÷ 9 × 16)
- Round both values to the nearest pixel
- Reserve a 5% safe-area margin around key content
- For fast, bulk jobs, try the Bulk Image Resizer tool
- Test on your target devices before signing off
- Archive original masters to enable fresh 16:9 exports down the road
Keep this cheat sheet handy—and resizing will feel less like work and more like second nature.
Automating Aspect Ratio Workflows With Tools
Getting the 16:9 ratio right every time can feel like busy work. But once you bring the right utilities into your routine, resizing becomes almost effortless.
Online calculators, batch-resize apps, and APIs can handle conversions in seconds. They guarantee that every video thumbnail, banner, or presentation slide sticks to a consistent 16:9 frame.
Use these go-to solutions:
- Free Tool: Bulk Aspect Ratio Calculator for instant width-to-height conversions.
- Paid Option: ProBatch Resizer, which preserves advanced color profiles.
- API Access: Developer endpoints that process hundreds of images per minute.
The screenshot above highlights clean input fields, an auto-calculate button, and copy-to-clipboard feedback—all designed for speed.
Integration With Your Workflow
You don’t need to hop between tools. Embed these utilities into Photoshop Actions, Figma plugins, or command-line scripts. With a single click—or a short script—you trigger an entire resizing pipeline.
“Batch operations with preserved metadata maintain consistent branding across output.”
Follow these steps to keep color profiles and metadata intact:
- Embed sRGB color profiles for accurate rendering.
- Retain EXIF and XMP tags during bulk jobs.
- Validate a handful of samples before processing the full batch.
For a fully automated pixel-perfect process, explore the Bulk Image Generation image generator tools. They take all the guesswork out of your conversions.
Choosing The Right Tool
Here’s a quick reference to match your workflow with the best solution:
| Workflow Stage | Tool Type | Ideal For |
|---|---|---|
| Simple Width/Height | GUI Calculator | Designers |
| High-Volume Batches | API Integration | Developers |
| Mixed Projects | Desktop Utility | Creative Teams |
That table helps you narrow down the perfect fit without trial and error.
Automated aspect-ratio workflows free creative teams from manual resizing chores and eliminate pixel-perfect mismatches. Keep your toolkit up to date to benefit from performance boosts and new features. Start automating today and speed up your delivery cycles.
Frequently Asked Questions
What’s the Easiest Way to Calculate a 16 9 Resolution?
You don’t need to dread math—just pick the side you know (width or height) and plug it into the right formula:
- If you have the width: Height = (Width ÷ 16) × 9
- If you have the height: Width = (Height ÷ 9) × 16
Then round to the nearest pixel and tuck in a 5% safe-area buffer. Think of that extra margin as insurance against accidental cropping. For a deeper dive, check out the Mastering Pixel Math For 16 9 Ratio section.
Quick Steps:
- Start with your known pixel side.
- Apply the 16:9 formula.
- Round to a whole pixel.
- Add a 5% safe-area margin.
How Do I Resize Without Distortion?
Nothing ruins a design faster than stretched or squashed images. Locking your aspect ratio is the golden rule—it keeps width and height in perfect harmony.
- Enable the aspect-ratio lock in Photoshop or Figma.
- Choose a logical anchor point (center or corner) before scaling.
- Preview at various zoom levels to catch any sneaky distortion.
Can I Convert Other Aspect Ratios to 16 9?
Yes—and it’s simpler than you might think. First, note your original dimensions. Next, use the 16:9 formula on one side. Finally, decide between adding padding or using smart cropping so your subject stays centered and balanced. For real-world examples, see the Resizing Images section.
Conversion Tools
Which Tools Best Automate Bulk Conversions?
When you’ve got dozens (or hundreds) of images, manual edits add up—fast. Batch utilities and online calculators breeze through conversions in seconds.
- Try the Bulk Image Generation calculator for instant 16:9 resizing.
- Build Photoshop Actions or install a Figma plugin for hands-free workflows.
- Leverage the Bulk Image Generation API to process images at scale.
“Batch tools ensure consistent 16:9 outputs without pixel errors.”
Ready to supercharge your image workflow? Boost your productivity with Bulk Image Generation.