
How to Zoom Out a Photo and Expand Your Image

Aarav Mehta • August 19, 2025
Learn how to zoom out a photo with AI tools and Photoshop. This guide covers how to uncrop images, expand backgrounds, and get natural-looking results.
When you "zoom out" a photo, you’re not just shrinking the existing image—you're actually adding new visual information around the edges. This technique is a lifesaver for fixing tight framing or adapting an image for different layouts, like turning a vertical portrait into a wide banner for your website.
Why Zoom Out a Photo Beyond the Original Frame?
Ever taken a picture that felt just a little too cropped? Or maybe the subject is awkwardly pushed to the edge? Learning how to zoom out a photo is less about shrinking it and more about expanding your creative canvas. It’s an absolute game-changer for fixing those frustrating framing mistakes or repurposing a single shot for a dozen different formats.
While the core idea isn't new, modern tech has completely transformed how we do it. Early photographic techniques laid the groundwork, but today's AI-powered tools can intelligently generate new pixels to expand a scene with stunning realism.
This technique offers a ton of practical and creative advantages. For instance, adding a bit of negative space can completely change the composition, pulling the viewer's eye right where you want it. It's also how you get that clean background space for adding text overlays on marketing materials, turning a simple photo into a professional-looking graphic.
A big reason you might need to do this is to get your images ready for social media. Each platform wants a different size and shape. For a deep dive into getting those dimensions just right, check out this guide on the best image sizes for social media.
When Expanding Your Photo Makes Sense
Here are the most common reasons you might need to zoom out a photo, helping you identify the right solution for your specific project.
| Scenario | Creative Benefit | Practical Application |
|---|---|---|
| Fixing Awkward Framing | Corrects off-center subjects and creates breathing room. | Makes a hastily taken photo look balanced and professional. |
| Adapting for Different Formats | Turns a vertical shot into a horizontal banner without cropping. | Repurposes one image for Instagram posts, Stories, and website headers. |
| Adding Room for Text/Graphics | Generates clean background space for overlays. | Essential for creating ads, flyers, or social media announcements. |
| Creating an Artistic Effect | Produces a wider, more epic or panoramic feel. | Gives a standard photo a dramatic, cinematic quality for posters or art prints. |
Ultimately, having the ability to expand a photo gives you far more flexibility after the shot has been taken, allowing you to perfect its story and purpose.
Expand Images with Photoshop Generative Fill
When you need the absolute most control over every pixel, Adobe Photoshop is still the undisputed king. Its AI-powered Generative Fill feature has made zooming out a photo almost laughably easy, intelligently creating new details that blend right in with the original picture. We're not just talking about making an image bigger; this is about expanding the actual scene in a way that looks totally real and context-aware.
The whole process is surprisingly quick. You just give the canvas some more breathing room, make a quick selection, and let the AI do its thing with a simple prompt (or no prompt at all). If you're curious about the tech behind this magic, it's worth understanding how generative AI works in image processing.
Getting Started with the Crop Tool
First things first, you need to create some space to work with. Grab the Crop Tool (you can just hit "C" on your keyboard) and drag the handles outward to extend the canvas beyond your image. This creates that blank border, which is exactly where Generative Fill is going to work its magic.
Think about a portrait where the subject is just a little too close to the edge of the frame. By pulling the canvas out, you're essentially telling Photoshop, "I need more background right here to make this shot work."
The image below gives you a nice visual of this exact workflow.
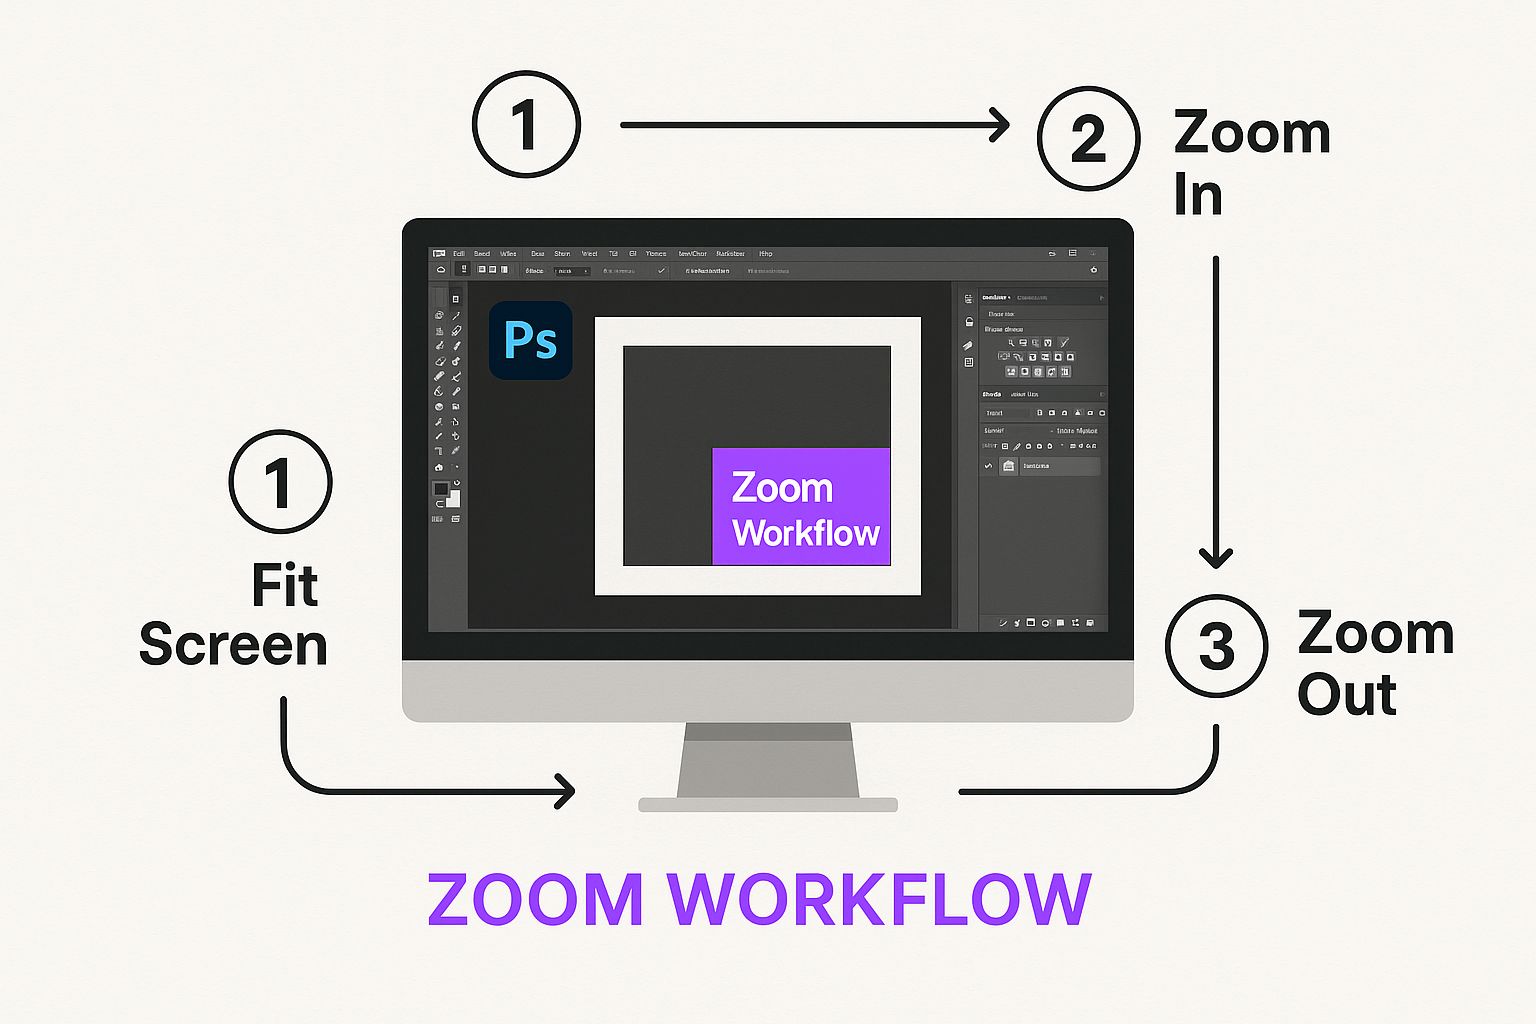 As you can see, it really is a simple jump from creating empty space to having the AI fill it in, bridging the gap between the original photo and the expanded version you had in your head.
Using AI to Fill the Space
Once you’ve extended the canvas, the fun part begins. Switch over to the Rectangular Marquee Tool and select the empty area you just made. Make sure to overlap your selection just a tiny bit with the original photo—this gives the AI some critical data to analyze for a seamless blend.
With the area selected, a contextual taskbar pops up with a Generative Fill button. Click it. For a natural extension of the background, you can just leave the prompt box empty and hit "Generate." Photoshop will then cook up three different variations for you to pick from. It's incredibly smart; if you're expanding a landscape with a dramatic sky, the AI will generate more clouds and sky that perfectly match the existing light and style.
Pro Tip: Generative Fill is a beast for complex scenes, but don't sleep on the classic Content-Aware Fill. For simpler backgrounds with repeating textures, like a grassy field or a clear blue sky, Content-Aware Fill can often give you a cleaner result, and it's usually faster.
This tool is an absolute lifesaver for photos that were cropped too tightly and would have been unusable otherwise. While Photoshop does require a subscription, the level of precision you get is second to none.
Of course, if you're starting from scratch or just want to brainstorm different concepts, an AI image generator can be an amazing place to start your creative projects. Using both tools in your workflow really opens up a world of possibilities.
Using Free AI Tools to Uncrop Photos Instantly
Not everyone has—or wants—a full Adobe subscription, and that's perfectly fine. You don't have to be left out of the AI photo expansion game.
In fact, some of the easiest tools to zoom out a photo are completely free and run right in your browser. They give you impressive results in just a few clicks, making them perfect for quick social media fixes, blog post images, or just playing around with new compositions without spending a dime.
Most of these tools, like Fotor's AI Image Extender, work in a refreshingly simple way. You just upload your image, then either pick a new aspect ratio or manually drag the frame to the size you want. The AI takes it from there, generating new pixels to seamlessly fill in the space around your original shot.
It’s pretty wild to think about how far we've come. The ability to fluidly zoom out a photo has evolved from clunky early software into the smooth, instant interfaces we have today. If you're curious, the history of photo editing software is a fascinating rabbit hole to go down.
The Trade-Offs with Free Tools
Of course, "free" usually comes with a few caveats. It’s good to know what to expect so you can pick the right tool for the job. While these platforms are incredibly useful, they often have limitations compared to paid software like Photoshop.
Here’s what you might run into:
- Watermarks: Some tools will add a small watermark to the final image you download.
- Resolution Caps: Your output resolution might be capped, which is fine for web use but not ideal for large-scale printing.
- Usage Limits: You might be limited to a certain number of free generations per day or per account.
Despite these potential drawbacks, free AI uncropping tools are a fantastic entry point. They make powerful editing capabilities accessible to everyone, allowing anyone to fix framing issues or creatively repurpose images without technical skills or a budget.
For the vast majority of everyday tasks—like turning a vertical photo horizontal for a Facebook banner or just adding a bit more sky to a landscape shot—these tools are more than enough. They offer a fast, effective solution that produces genuinely great results. You can take a tightly cropped image and turn it into a perfectly composed one in less than a minute.
How to Zoom Out Hundreds of Photos at Once
Let's be honest: manually expanding an entire album of photos is a surefire way to kill your creative drive. If you're a photographer delivering a client gallery or an e-commerce manager prepping hundreds of product shots, tackling them one by one just isn't realistic. This is where batch processing becomes your secret weapon, turning a mountain of work into a totally manageable task.
Specialized AI tools are built for exactly this kind of challenge. They let you zoom out a photo across an entire folder, applying the same expansion rules to every single image. The time savings are massive, but just as important is the perfect consistency you get across the entire project. No more worrying about slightly different crops or mismatched aspect ratios.
A Real-World Batch Expansion Workflow
Picture this: you're an e-commerce manager who just got 200 new product photos. They’re all shot in a vertical (portrait) orientation, but your website’s main banner needs a wide 16:9 landscape format. Firing up Photoshop to do this manually would take days of tedious, repetitive work.
With a batch AI editor, the entire workflow gets flipped on its head. You define your parameters just once and let the AI handle the rest.
- Upload the Entire Folder: Forget single files. You can just drag and drop the whole batch of 200 portrait images.
- Set a Universal Aspect Ratio: Next, you'll select the target format—in this case, a 16:9 aspect ratio.
- Define the AI Behavior: Here's the cool part. You can tell the AI to fill the new space with a background that perfectly matches the existing photo, making the final image look completely natural.
Once you hit go, the tool gets to work. It intelligently expands each of the 200 photos to the correct dimensions while generating a context-aware background for each one. What was once a mind-numbing, multi-day project becomes an automated task that you can just let run in the background. This is a fundamental concept in modern AI product photography.
The real magic of batch processing isn't just about speed; it's about consistency. When every single image on a product page or in a marketing campaign has the exact same dimensions and framing, it creates a polished, professional experience that builds serious brand trust.
This method is a game-changer for anyone dealing with high volumes of images. It lets you maintain an incredibly high standard of quality while freeing up hours of your time for more important, creative work.
Getting Natural Results with AI Photo Expansion
Let’s be honest, the whole point of using AI to zoom out a photo is to make the final image look like it was always meant to be that way. You want it to be so seamless that nobody would ever guess it was edited.
Getting that natural, convincing look comes down to developing an eye for detail. It’s about knowing where the AI might get a little tripped up and need some guidance to avoid that slightly off, computer-generated feel.
Start by looking at your original photo with a critical eye. Are there complex geometric patterns? Strong, directional shadows? Intricate textures? These are the kinds of things that can sometimes confuse an AI, leading to weirdly repetitive or distorted results. Spotting these potential problem areas ahead of time lets you step in and fix them before they happen.
Guiding the AI for Better Edits
Instead of just crossing your fingers and letting the AI guess, you can nudge it in the right direction with simple text prompts.
For example, if you’re expanding a beach scene, a quick prompt like "sandy beach with gentle waves" can make a world of difference, giving you a much more coherent and realistic result. Learning to use these little instructions is a huge part of creating truly great AI images. If you want to dive deeper, check out our guide on crafting stunning digital product image prompts.
Here's a tip from my own experience: The most convincing AI expansions often start with the simplest photos. Images with natural, less-defined edges—think landscapes with big open skies or portraits with soft, blurry backgrounds—are perfect candidates for a flawless AI zoom out.
This idea of expanding a scene actually mirrors a huge trend in photography. Most new smartphones now have ultra-wide lenses that let you zoom out to 0.5x, making these wider shots a normal part of how people capture the world. AI isn't just for expanding images, either; it can do some pretty incredible things, like using AI style transfer to turn photos into unique art.
Your Top Questions About Zooming Out Photos, Answered
Jumping into AI image editing always brings up a few questions. I get it. Before you dive in, let's clear up some of the most common things people ask when they're learning to zoom out of a photo.
Can I Really Zoom Out a Photo Without It Looking Blurry?
Absolutely, and this is where modern AI really shines. It's not just stretching your pixels thin. Instead, these tools perform what’s called “outpainting”—they intelligently generate brand-new pixels around the edges of your original image.
It’s like giving the AI your photo and asking it to imagine and paint the rest of the scene. The process adds new, high-quality content to the canvas, so the original part of your photo stays perfectly sharp. The result? A bigger picture, not a blurry mess.
What’s the Difference Between Zooming Out and Resizing?
This is a great question because the terms get mixed up all the time. Zooming out (or uncropping) is a creative act; it adds new visual information to expand the scene. You’re literally making the world of your photo bigger.
Resizing, on the other hand, just changes the dimensions of the image you already have. It makes the existing pixels bigger or smaller without adding any new content.
Think of it this way: zooming out extends the story of the photo, while resizing just changes its print size. That distinction is everything when it comes to creative control.
Do These AI-Generated Extensions Actually Look Realistic?
Honestly, the realism often depends on two things: the AI tool you're using and the photo you start with.
For images with natural, forgiving backgrounds—think skies, water, grass, or simple textures—the results are frequently so good you can’t tell it was edited. They blend seamlessly.
Where it can get a bit tricky is with photos that have really intricate patterns or a subject that's cut off sharply at the edge. In those cases, you might see some slight imperfections where the AI tries to guess the pattern. A little touch-up in your favorite editor is sometimes all it takes to get that perfect blend.
Ready to expand your images with unmatched speed and consistency? Bulk Image Generation lets you zoom out, edit, and enhance hundreds of photos at once with powerful AI. Give it a try and see how much time you can save.