
Zoom In On Pictures Without Losing Quality

Aarav Mehta • October 20, 2025
Tired of pixelated images? Discover how to zoom in on pictures using AI to enhance detail and preserve quality. Get pro results with our practical guide.
We’ve all been there. You try to zoom in on a picture, hoping to get a closer look at something interesting, only to be greeted by a blurry, pixelated mess. It’s a frustrating moment that can completely ruin an otherwise perfect shot. This happens because the standard digital zoom on your phone or camera is basically just stretching the pixels you already have, which inevitably tanks the quality.
Why Zooming In Wrecks Your Picture Quality
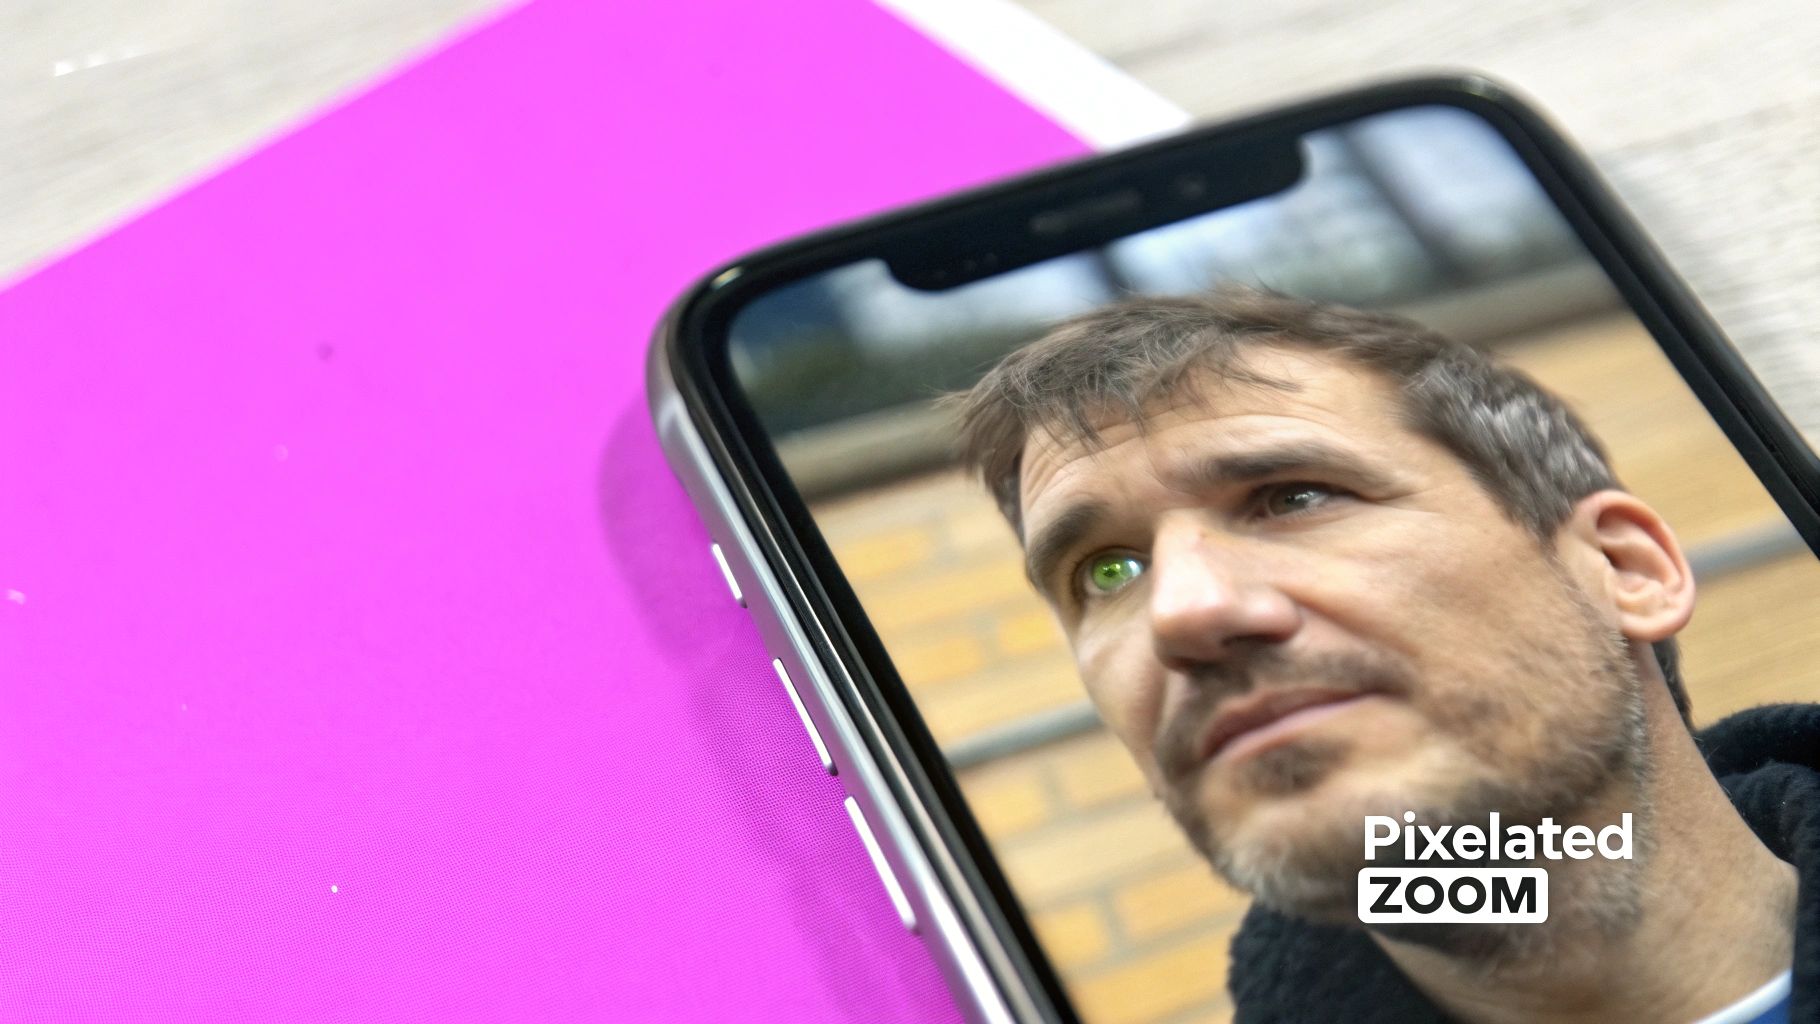
Think about a great group photo from a recent family get-together. Later on, you spot a relative in the background with a perfect, candid smile you’d love to crop in on. But as you zoom and magnify that small section, the image completely falls apart. That beautiful smile turns into a blocky grid, and all the details just melt away. This is the fundamental problem with traditional digital zoom.
The Problem With Stretching Pixels
Digital images are built from tiny squares called pixels, and each one holds a single color. When you use digital zoom, your device isn't actually capturing any more detail from the scene. It's just performing a trick called pixel interpolation.
In simple terms, it takes the original pixels and blows them up. Then, it has to guess what colors should fill the new, empty spaces it just created.
This process is really just an estimation. The software analyzes the neighboring pixels and averages their colors to create new ones. This might be fine for a tiny adjustment, but when you zoom in aggressively, the software has to make a lot of guesses. This leads to a few ugly outcomes:
- Blurriness: Sharp edges and fine lines become soft and indistinct.
- Pixelation: The individual square pixels become obvious, creating that classic blocky look.
- Artifacts: Strange patterns or colors pop up that weren't there in the original photo.
The bottom line is you get an image that lacks all the crispness and clarity of the original. You’re not adding new information; you’re just spreading the existing information thinner.
This limitation has been a thorn in the side of digital photography for decades. As camera sensors evolved, so did zoom capabilities. The early digital cameras of the mid-1990s used CCD sensors that offered basic digital zoom, but the quality loss was huge. By the early 2010s, CMOS sensors took over, boosting resolution but never really solving the core issue of digital zoom degradation. If you're curious, you can learn more about the milestones in sensor development.
Digital Zoom vs Optical Zoom vs AI Zoom
To really get why this matters, it helps to see how different zoom methods stack up against each other. Each one approaches magnification differently, leading to dramatically different results for your final picture.
This quick table breaks down the three primary ways to zoom in on your pictures.
| Zoom Method | How It Works | Resulting Image Quality |
|---|---|---|
| Digital Zoom | Stretches existing pixels and guesses new ones to fill the gaps. | Poor: Significant loss of detail, blurriness, and pixelation. |
| Optical Zoom | Physically moves the camera lens elements to magnify the scene before the image is captured. | Excellent: Preserves full image quality and resolution. |
| AI Zoom | Uses trained algorithms to analyze the image and generate new, realistic pixels to add detail. | Very Good: Intelligently reconstructs the image for a sharp, clear result. |
Looking at this comparison, it’s easy to see why just pinching to zoom often leads to disappointment. It sets the stage for a much smarter approach—one that doesn't just stretch pixels but intelligently rebuilds them.
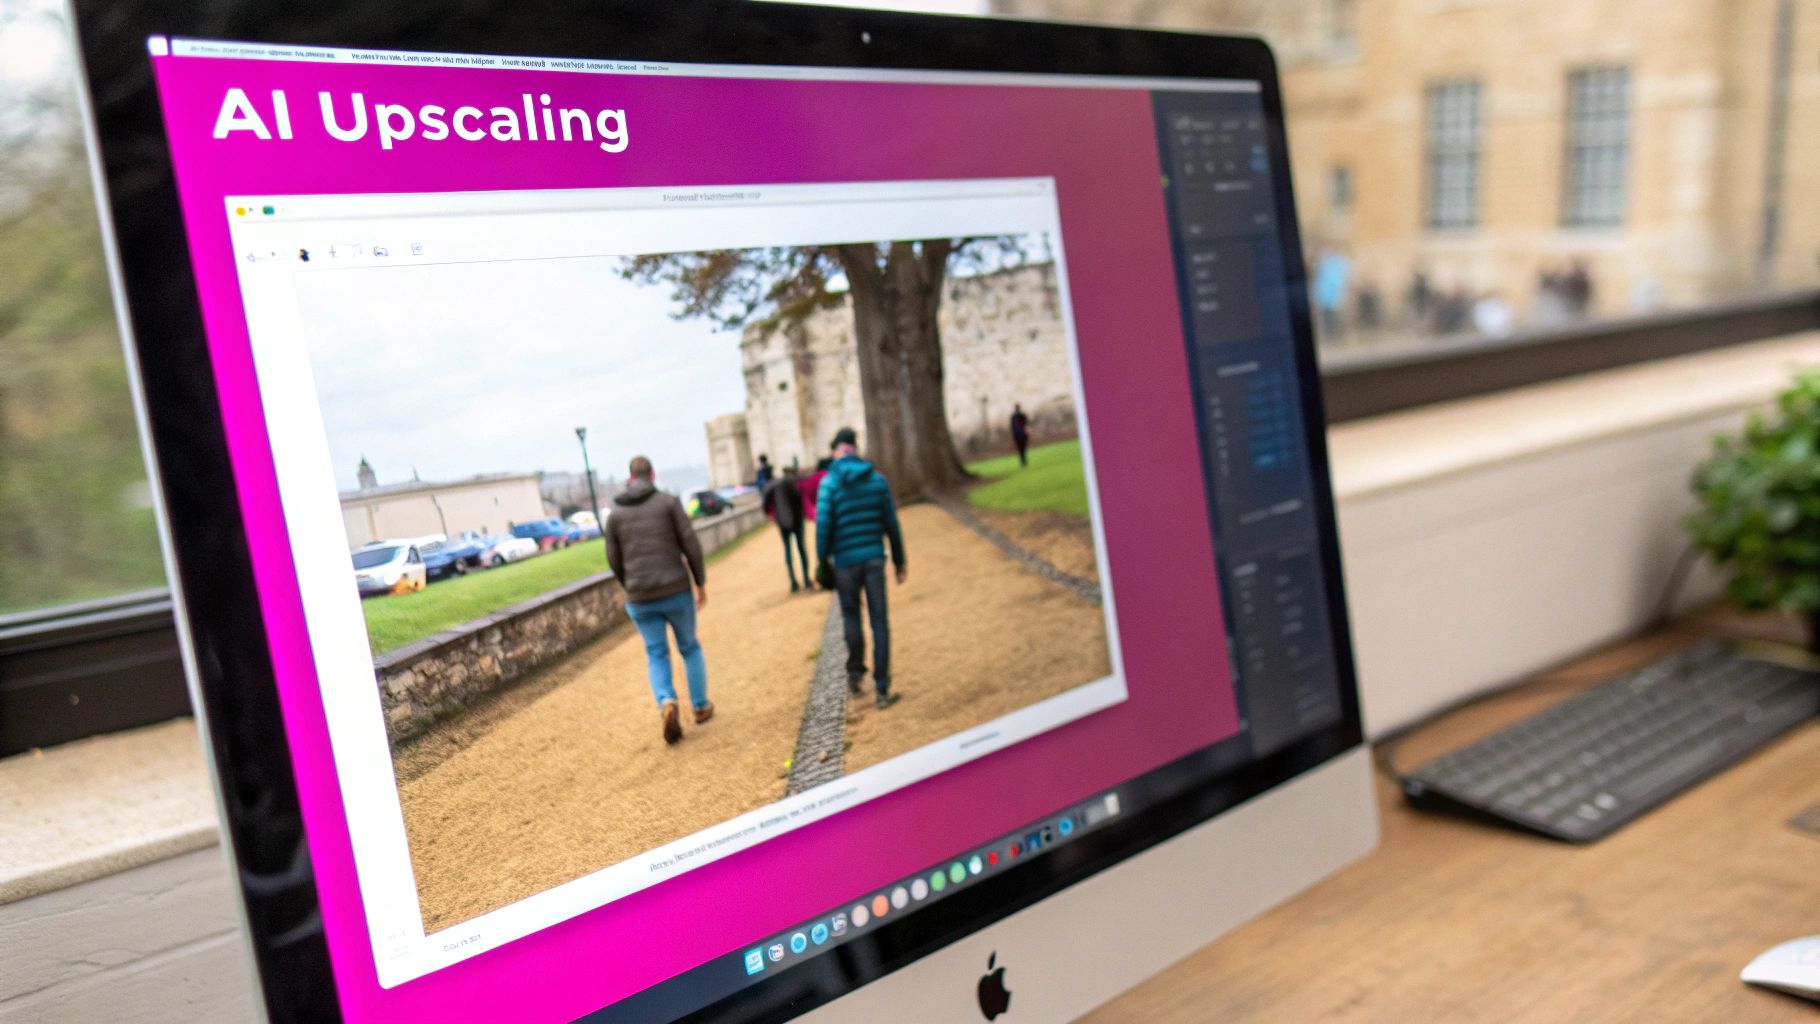
How AI Intelligently Rebuilds Your Images
When you try to enlarge a regular picture, it just stretches the existing pixels, which is why you end up with a blurry, blocky mess. AI upscaling is a completely different ballgame. It doesn't just stretch; it intelligently rebuilds your image from the ground up, adding new, believable detail where there was none. This whole process hinges on some seriously complex models, most notably Generative Adversarial Networks (GANs), to pull off results that honestly feel like a bit of magic.
I like to think of it like an expert art restorer working on a faded, centuries-old painting. They don't just smear the old paint around to fill in a crack. They use their deep knowledge of the original artist's techniques—the brushstrokes, the color palette, the way light hits a certain fabric—to paint in new details that are historically and artistically perfect. AI models do something very similar, but their "knowledge" comes from being trained on a massive library of millions of diverse images.
The AI Training Process
During its training phase, the AI essentially goes to art school. It learns the fundamental patterns of our world. It studies the rough texture of tree bark, the subtle gradients on a human face, and the crisp, clean lines of modern architecture. This massive visual encyclopedia allows it to make incredibly accurate predictions when it sees a low-resolution image that needs help.
So, when you ask an AI tool to zoom in on pictures, it’s not just guessing. It analyzes the pixels you gave it and uses its training to generate brand-new pixels that fit the context perfectly. It’s reconstruction, not just resizing.
This is a pretty good high-level look at how it works—the AI isn't just making the image bigger; it's actively creating new data to make it sharper.

The image is actively processed and enhanced, not just magnified. It’s a key distinction. For anyone who wants to go a bit deeper down the rabbit hole of the tech behind this, it's worth understanding the core differences between deep learning and machine learning.
A Real-World Example
Let's get practical. Say you have a tiny, low-resolution digital photo of your grandparents from 20 years ago. It’s a cherished memory, but the file is small, and zooming in turns their faces into a pixelated soup. This is the perfect job for an AI upscaler.
Once you upload that photo, the AI kicks into gear.
- It Recognizes Faces: The model identifies that it's looking at human faces and immediately taps into its training data from thousands of portraits. It uses this knowledge to realistically reconstruct eyes, add believable skin texture, and define strands of hair.
- It Cleans Up the Noise: Old digital photos are often grainy. The AI smooths out that digital "noise," giving the whole image a much cleaner, more professional look.
- It Generates New Detail: The AI doesn't stop at the faces. It sharpens the background, clarifies the pattern on a shirt, and brings definition back to the entire scene.
The final result isn't just a larger image; it's a fundamentally clearer and more detailed photo than the one you started with. The AI has effectively filled in the blanks, turning a fuzzy memory into a portrait you can actually print and frame.
This isn't just a neat tech trick; it's a powerful way to bring old and important images back to life. While the technology is complex, plenty of tools have made it incredibly easy for anyone to use. If you want to see this in action, playing around with a modern AI image generator that uses these principles is a great way to start. You’ll be surprised at what you can rescue.
Using AI Tools To Zoom In On Your Pictures
Alright, we've covered the "why" behind AI's knack for rebuilding images. Now for the fun part: getting your hands dirty. The best news is you don’t need a computer science degree for this. Modern AI tools are built to be dead simple, turning a wildly complex process into just a few clicks.
At the heart of it all are powerful AI Image Enlarger platforms. These tools use deep learning to intelligently guess what pixels are missing and restore lost detail. They don't just stretch your image; they rebuild it at a higher resolution, letting you zoom in on pictures with clarity you didn't think was possible.
Getting Started With The Upscaling Process
Let’s run through a common scenario. Say you have a folder full of product photos for your e-commerce store. They look okay, but on a big, high-resolution monitor, they're just a little fuzzy. Going through them one by one would be a nightmare. This is where bulk processing is a total game-changer.
Most AI upscalers are designed for this exact problem. You can typically drag and drop your entire folder of images right into the tool. Once they're uploaded, you'll see a control panel with all your settings. This is where you’ll make the important calls that define how your final images turn out.
Dialing in Your Upscale Strength
The first and most obvious setting you'll see is the upscale factor. It's usually presented as a simple multiplier, like 2x, 4x, or 8x. Picking the right one really just depends on your starting image and what you need it for.
- 2x Upscale: This is your go-to for images that are already pretty good but just need a little bump in resolution. Think of a solid photo from your phone that you want to print a bit larger without it looking soft.
- 4x Upscale: I find this is the sweet spot for most jobs. It’s perfect for taking standard web images, old digital camera photos, or a cropped section of a bigger picture and making them sharp and usable.
- 8x Upscale: You'll want to save this for really small, low-res source files. Be careful, though—using 8x on a decent quality image can sometimes create weird, unnatural-looking artifacts because the AI is having to invent a massive amount of new detail from scratch.
Pro Tip: Before you batch-process a folder of 100 images, do a quick test run. Grab 3-5 representative photos and process them at both 2x and 4x. This little bit of prep work will show you which setting gives you the best balance of sharpness and natural-looking texture for your specific project.
Fine-Tuning With Specialized AI Models
Beyond just making things bigger, the really good tools offer specialized models that are trained for specific kinds of images. Think of these as your secret weapons for getting truly professional results. You'll often find options like:
- Face Enhancement: This model is a lifesaver for portraits. It's been trained specifically to recognize and reconstruct faces—sharpening eyes, defining hair, and adding realistic skin texture without that creepy "plastic" look.
- Noise Reduction: Got a photo that was taken in low light and looks grainy? This feature cleans it right up. The AI is smart enough to tell the difference between unwanted digital noise and desirable details like fabric texture.
- Text & Detail Enhancement: This one is a must for graphic designers working with logos or images that have text in them. It keeps the edges of letters and graphics clean and sharp, which is often the first thing to get mushy when you enlarge an image.
By picking the right model, you’re essentially telling the AI where to focus its energy. It’s a much smarter approach than a generic, one-size-fits-all enlargement.
If you’re constantly dealing with large volumes of images, a dedicated bulk image resizer can automate this whole workflow, literally saving you hours of manual work. Once your settings are locked in, you just hit "Process," and the AI does the heavy lifting, giving you a folder of crisp, high-resolution images ready to go.
Real-World Wins: Where Flawless Image Zooming Shines
The theory is cool, but let's be honest—it’s seeing how this AI magic works in the real world that makes it click. The ability to flawlessly zoom in on pictures isn't just a party trick; it solves expensive, time-sucking problems for everyone from creative agencies to e-commerce store owners.
I’ve seen this save the day countless times. Imagine you’re a photographer who nailed a once-in-a-lifetime wildlife shot. Back on your computer, you realize the perfect composition is a tiny crop of the original frame. Cropping that aggressively would normally leave you with a pixelated mess. Not anymore. AI upscaling lets you crop without fear, then rebuild the photo's resolution to rescue the shot.
Suddenly, you have way more creative freedom long after you've packed up your gear.
A Game-Changer for E-commerce Product Photos
If you're running an online store, you know that your product images are your business. But often, you're stuck with whatever standard, medium-resolution photos your supplier sent over. On a modern 4K screen, they just look… meh.
This is where an AI upscaler becomes your secret weapon. You can take those generic shots and instantly make them look premium. A 4x upscale can turn a basic 1080px image into something that looks like a crisp 4K photo, perfect for those "zoom in" features on your product pages. This lets customers get up close with the fabric texture or the fine details of the craftsmanship, which builds trust and directly boosts sales. Our guide on AI for product photography dives even deeper into this.
This is huge. You can create a high-end shopping experience without spending a dime on a new photoshoot. The AI is literally adding the detail that was never there to begin with.
Breathing New Life into Old or Low-Quality Assets
Every designer and marketer I know has a folder of shame: old, pixelated logos, grainy photos from a decade-old campaign, you name it. Recreating them from scratch is a pain and can get expensive fast.
AI gives you a much better option. You can finally revive that old content.
- Logo Restoration: That blurry JPEG logo a client sent you? It can be upscaled and sharpened until it’s crisp enough to print on a massive banner. No more excuses.
- Archival Photos: Historical images for a presentation that look like they were taken with a potato can be cleaned up. AI models trained on face enhancement can restore shocking amounts of clarity.
- Digital Art: Artists I've worked with use this to upscale smaller digital sketches or textures, letting them use those assets in much larger compositions without the usual blurriness you get from old-school resizing.
This whole idea of zooming in to see things more clearly has been around forever, even before digital photos. Think about how video conferencing evolved. When Zoom came on the scene in 2013, its ability to let you cleanly zoom in on a shared screen changed remote work. It was all about getting a clearer look at the details. That same human desire for clarity is what’s driving the incredible advances we're seeing in AI image enhancement today.
Pro Tips for Getting the Best AI Upscale Results
Pushing a button to zoom in on pictures is just the start. If you really want incredible, professional-grade results, you have to think like an editor and give the AI a little guidance.
It all boils down to one simple, fundamental rule: always, always start with the best possible source file you have.
The old "garbage in, garbage out" mantra has never been more true than with AI. An AI model can pull off some amazing feats, but its performance skyrockets when it has more original data to work with. A 1MB JPEG will give you a far better upscale than a heavily compressed 100KB version of the same shot. Why? The larger file has all the subtle details the AI needs to intelligently rebuild the image.
Choosing the Right AI Model for the Job
Not all upscaling jobs are created equal, and using a specialized AI model can be a complete game-changer. Think of it like using the right wrench for a specific bolt—a generic model is a great all-rounder, but a purpose-built tool delivers cleaner, more precise results.
- Standard Models: These are your workhorses. Perfect for general landscapes, objects, and most everyday photos where you just need a clean resolution bump.
- Architectural Models: Got a picture of a building? Use one of these. They're specifically trained to recognize and preserve straight lines and fine geometric patterns, stopping that weird warping you can sometimes see on buildings.
- Face Enhancement Models: This is a big one. When you're upscaling portraits, a face-specific model is non-negotiable if it's available. It knows how to reconstruct eyes, skin texture, and hair with a realism that generic models just can't match.
Using the wrong model can lead to some... interesting artifacts. Slapping a creative or artistic model on a technical product photo might add textures you never wanted. Always try to match the model to your subject matter for the most natural-looking enlargement.
The goal is to enhance, not to create something that screams "AI-generated." Learn to spot the little things—like waxy-looking skin or slightly distorted patterns—and don't be afraid to try a different AI model. That's the key to mastering this.
What to Do with Super Tiny Images: Upscale Chaining
Okay, but what if your starting image is really small? I'm talking about an old web icon or a tiny thumbnail from a decade ago.
Jumping straight to an 8x upscale can overwhelm the AI. It's forced to invent too much detail all at once, and you often end up with a blurry, messy result.
A much better approach is a technique I call "upscale chaining." Instead of making one massive leap, you do it in smaller, sequential steps.
Run a 2x upscale first. Save that new, bigger image. Then, take that result and run it through another 2x upscale. This step-by-step process gives the AI a much better foundation to build upon at each stage, leading to a final image that's cleaner and far more coherent. It's a little extra work, but the payoff from a very low-quality source is huge.
Common Questions About AI Image Zooming
When you first dip your toes into AI-powered tools, a few questions always seem to surface. Let's walk through some of the most common ones I hear, just to clear the air and get you comfortable with the tech.
Is The AI Just Making Things Up?
That's a great question, and the short answer is no—not in the way you might think, anyway. AI upscalers aren’t just hallucinating pixels out of thin air. They lean on their training from millions upon millions of real-world images to make highly educated guesses about what details should be in the bigger version.
Think of it less as "making things up" and more like an "intelligent reconstruction." The AI spots patterns in your low-res image—say, the texture of a brick wall or the glint in an eye—and fills in the blanks based on everything it's learned. It's definitely a predictive process, but one that's grounded in a massive library of visual data.
How Is This Different From Photoshop?
Adobe Photoshop is an absolute beast of an editor, no doubt. But its classic resizing tools, like "Bicubic Smoother," work on a principle similar to your camera's digital zoom. They basically average the colors of nearby pixels to create new ones, which often leads to that dreaded blurry look.
While Photoshop has added AI features like "Super Resolution," the core difference often comes down to specialization. Many dedicated AI upscalers, especially bulk tools, use models trained for very specific tasks—like restoring old family photos or enhancing architectural details. That laser focus is what allows them to generate such natural and detailed results when you zoom in on pictures.
Are There Any Good Free Tools?
Absolutely. There are tons of free and "freemium" options out there, and they're a perfect way to experiment without pulling out your wallet. But, as with most things, they usually have a few strings attached.
Free tools will often cap how many images you can process per month, limit the final resolution, or slap a watermark on your finished product. You also might not get access to the more advanced, specialized models that paid platforms offer.
Can The AI Get The Details Wrong?
Oh, for sure. AI is incredibly powerful, but it's not foolproof. Sometimes, a model might misinterpret a weird pattern and generate a funky texture, a slightly distorted face, or that "waxy" look you sometimes see, especially if the starting image is really poor quality. These little mistakes are often called "AI artifacts."
The best way to deal with this is simply to play around with the settings. Try a different AI model (for instance, switching from a "Standard" to a "Creative" model) or just dial back the upscale strength a bit. More often than not, a small tweak is all it takes to get a much cleaner, more accurate result.
Ready to see the difference for yourself? Bulk Image Generation makes it ridiculously easy to upscale, enhance, and transform your entire image library in just a few clicks. Stop settling for blurry photos and start creating stunning, high-resolution visuals today.