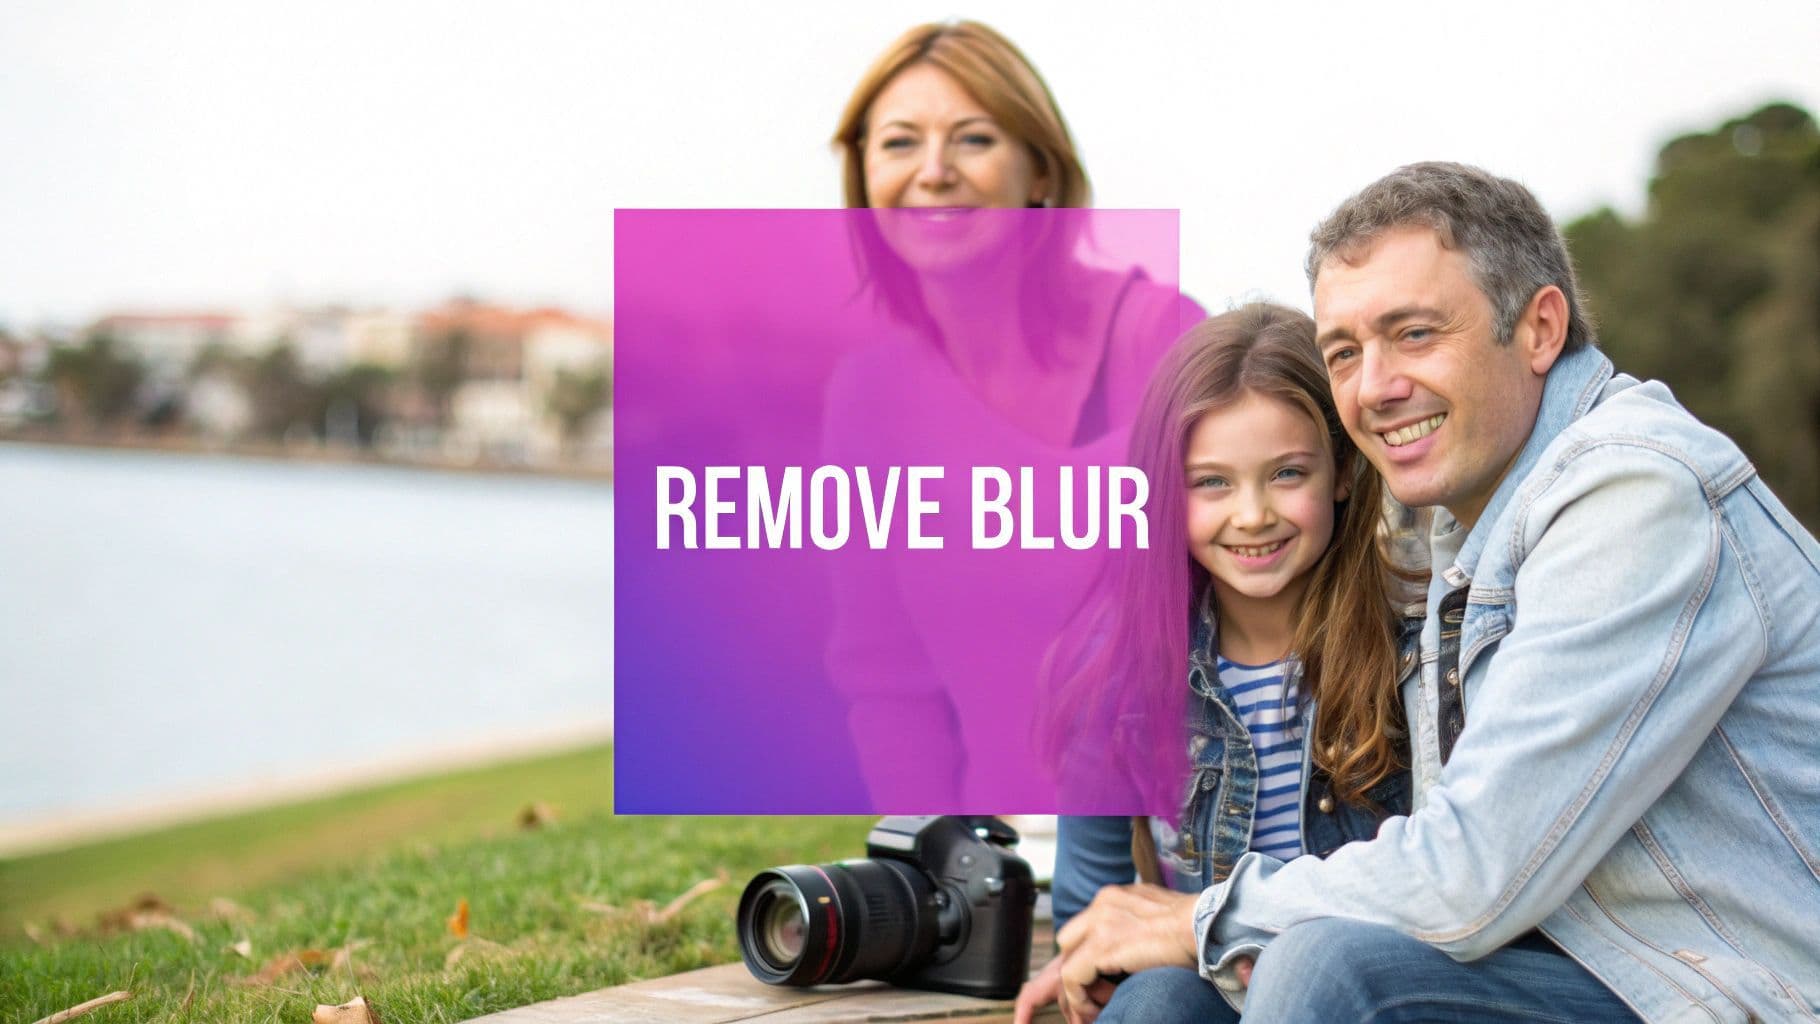
How to Remove Blur from a Picture: Simple Tips & Tools

Aarav Mehta • September 19, 2025
Learn how to remove blur from a picture with easy AI, Photoshop, and mobile apps. Get sharp, clear photos in minutes—click to discover how!
You've snapped a picture, but it's blurry. Now what? The good news is, you can often fix it. Many times, AI-powered tools can work wonders by analyzing and rebuilding the fuzzy details. Other times, a manual touch in editing software like Photoshop gives you the control you need.
The best method really comes down to the type and severity of the blur. AI is fantastic for quick, almost automatic fixes, while manual editing is your go-to for more precise control.
Understanding Why Your Pictures Are Blurry
Before you can jump in and start sharpening, you have to play detective. What actually caused the blur? A blurry photo isn't a single problem; it's a symptom that can point to a few different issues. Getting to the root cause is the first and most important step in choosing the right way to fix it.
Think of it this way: you wouldn't use a hammer to fix a stripped screw. Each type of blur has its own unique signature and needs a specific tool or technique to correct it effectively.
Common Culprits Behind Blurry Photos
Most fuzzy images fall into one of three common buckets. Figure out which one you’re dealing with, and you’ll save yourself a ton of time and frustration down the line.
- Motion Blur: This is what happens when your subject—like a running dog or a passing car—moves while the shutter is open. You'll see streaks or a ghostly trail following the direction of the movement.
- Out-of-Focus Blur: A classic mistake. This happens when the camera’s lens just didn't lock onto your subject correctly. The main subject will look soft and fuzzy, while other parts of the photo might actually be sharp.
- Camera Shake: This one is incredibly common, especially when you're shooting in low light with a slower shutter speed. Even the tiniest twitch of your hands can introduce a subtle, all-over blurriness to the entire image.
Key Takeaway: Not all blur is created equal. Pinpointing whether you're dealing with motion blur, an out-of-focus shot, or camera shake is the key to picking the right deblurring method.
This handy decision tree can help you visualize the process of choosing the right fix.
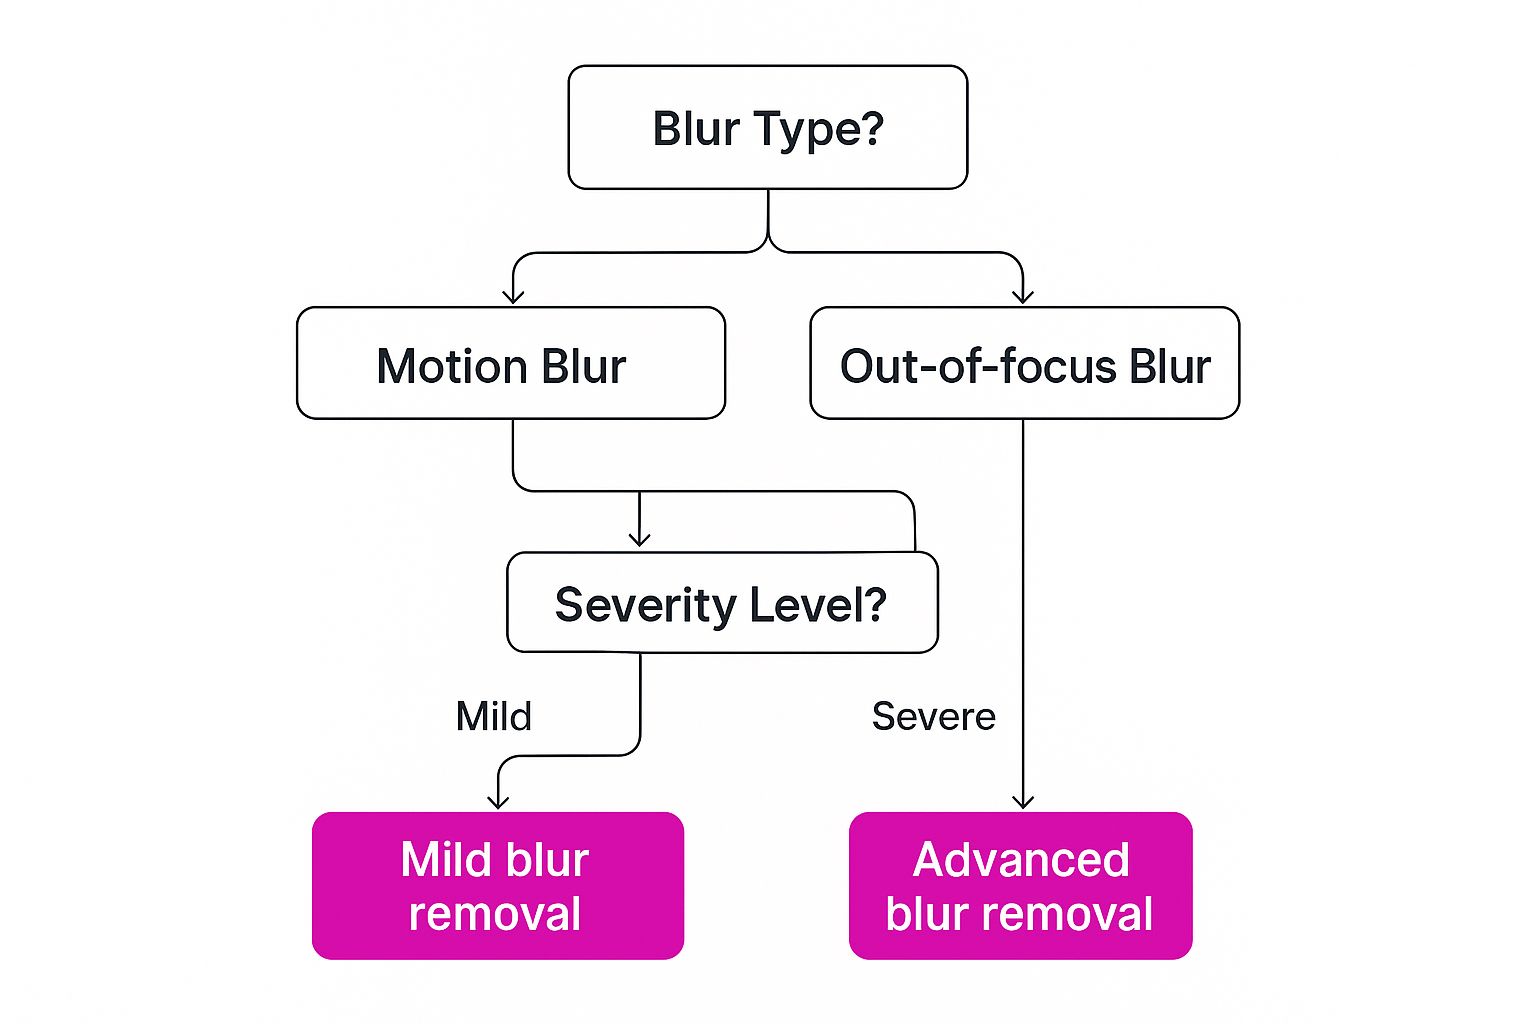
As you can see, the path to a clear image always starts with a proper diagnosis. Once you know the problem, you can confidently pick the right tool for the job.
Quick Guide to Identifying and Fixing Photo Blur
To make it even simpler, here's a quick reference table. Use it to diagnose the blur in your photo and find the most effective solution we'll cover in this article.
| Type of Blur | Common Cause | Best Tool/Method |
|---|---|---|
| Motion Blur | Subject or camera moved during the shot. | AI unblur tools, specialized sharpening filters. |
| Out-of-Focus | Lens failed to focus on the intended subject. | AI focus correction, manual sharpening masks. |
| Camera Shake | Slight hand movements with a slow shutter speed. | AI shake reduction, Photoshop's Shake Reduction filter. |
This table should get you pointed in the right direction. By matching the symptom to the cause, you're already halfway to a sharper image.
The challenge of fixing blurry photos isn’t new, but the demand for good solutions has exploded with digital photography. Billions of photos are taken every day, and some estimates suggest that motion blur alone contributes to 20-30% of poor-quality complaints from photographers.
This is especially critical for businesses where clear images are absolutely non-negotiable. If you're creating visuals for products, you can explore how to keep things crisp from the start in our guide to AI product photography. Knowing what causes blur is the first step to avoiding it, ensuring every shot you take is perfect.
Using AI Tools for Effortless Photo Sharpening
If you need to fix a blurry picture without spending hours in a manual editing marathon, AI-powered tools are your new best friend. These platforms aren't just applying a simple filter; they've been trained on millions of images, learning how to intelligently analyze a blurry photo, figure out what went wrong, and reconstruct the missing details with incredible accuracy.
It's a world away from the early days of trying to fix blurry photos. The whole scientific challenge really started getting attention back in the 1970s, with foundational math models proposed as early as 1972. Those early methods were the building blocks for today, but they were slow and involved a ton of guesswork. Modern AI has turned that complex history into a few simple clicks.
How AI Deblurring Works in Practice
Modern AI tools don't just sharpen edges. They rebuild textures, bring back clarity to facial features, and can correct for all sorts of blur—from a slight camera shake to a completely missed focus.
Let’s take a common scenario. You’ve got a precious family photo where the moment is perfect, but the focus is just a little soft. It's a great shot, but the lack of sharpness is a real letdown. Instead of wrestling with complicated software, an AI tool can often fix it in seconds.
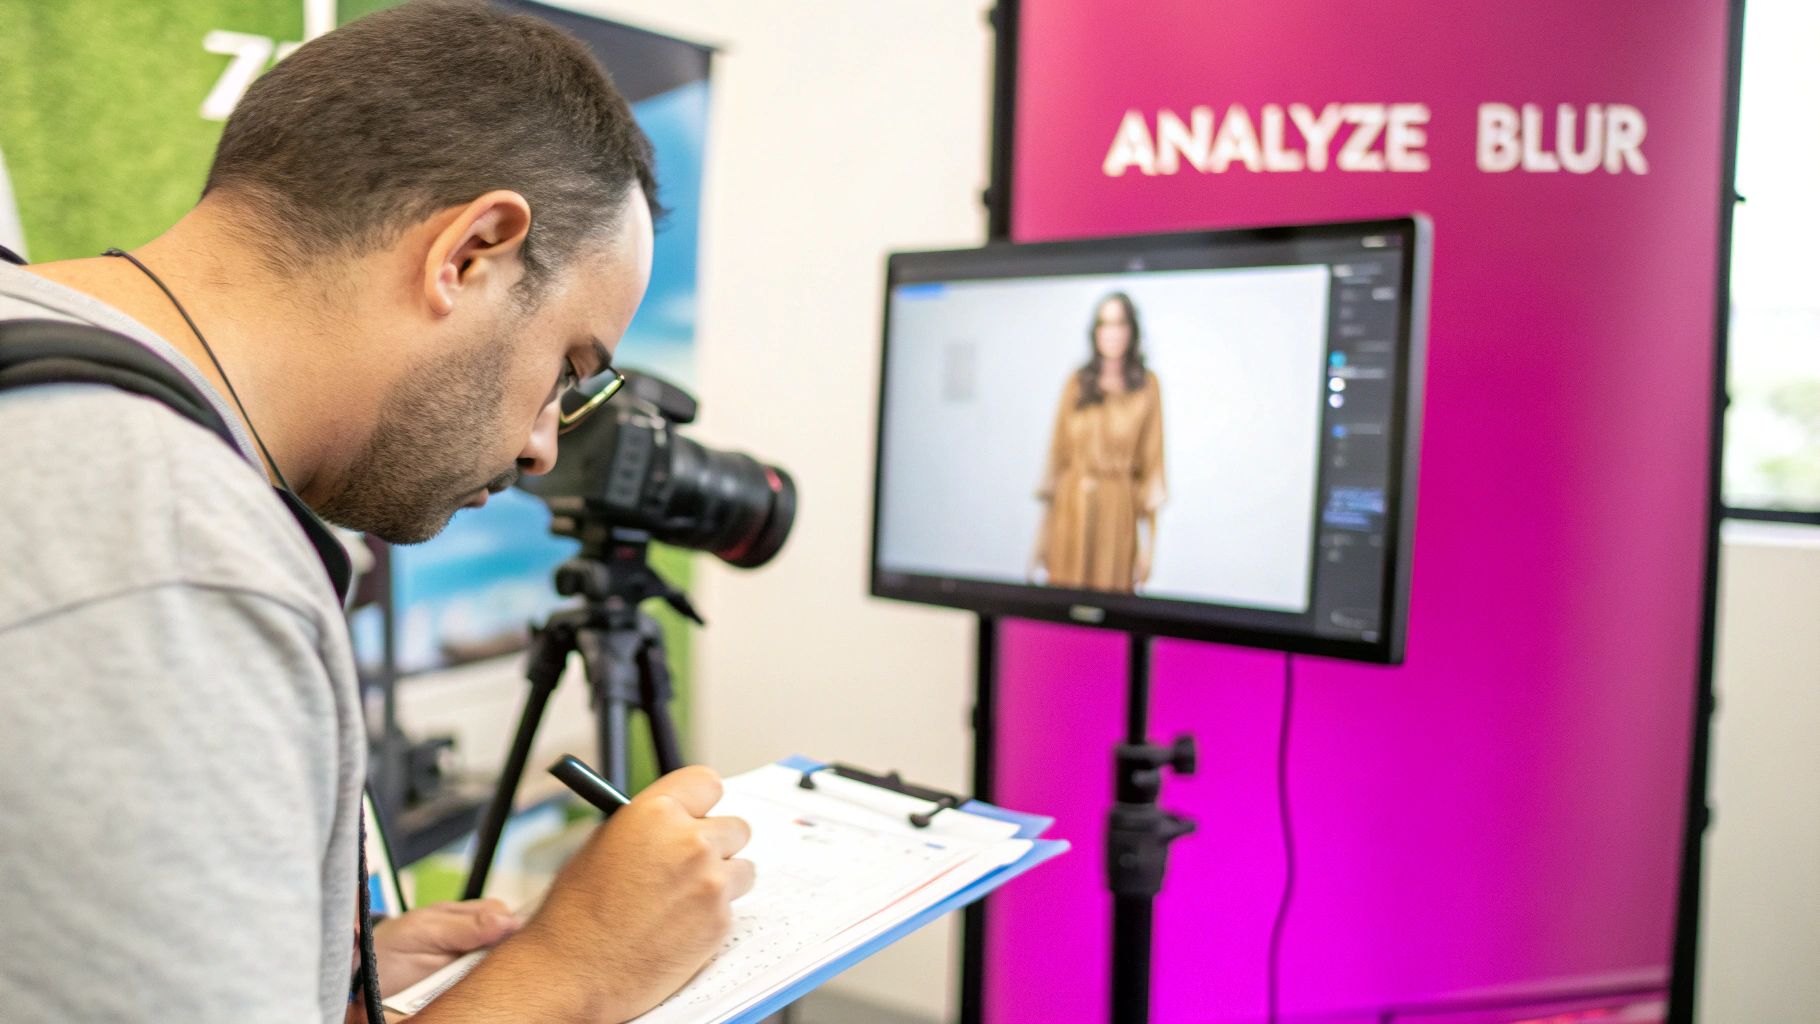
Most of these tools are designed to be incredibly straightforward, like this example from an online image sharpener.
You get a clear before-and-after comparison right away, so you can instantly see the dramatic improvement in detail and clarity.
What to Expect from an AI Sharpener
When you upload your image, the AI gets to work. The algorithm detects the specific pattern of the blur and computationally works to reverse it. It’s pretty clever.
- For Motion Blur: The AI will analyze the direction of the streaks and attempt to realign the pixels back into place.
- For Out-of-Focus Blur: It will reconstruct those soft edges and recreate lost details, like individual strands of hair or the texture in a piece of fabric.
The final result is a downloadable, high-resolution image that looks like it was captured perfectly from the start. You'll often find a handy slider to compare the original with the enhanced version, making the difference crystal clear.
Pro Tip: For the absolute best results, start with the highest quality version of the blurry image you have. AI can work wonders, but it performs best when it has more original data to analyze. If you can, avoid using heavily compressed JPEGs.
This whole process is a fantastic example of how artificial intelligence is making photo editing accessible to everyone. To get a bigger picture of how these technologies can rescue your images, it's worth exploring the various advanced AI photo editing tools available. They showcase just how powerful these solutions have become for both everyday users and seasoned pros.
Manual Deblurring with Photoshop and GIMP
AI tools are fantastic for speed, but sometimes you just need to get your hands dirty. For those moments when you need absolute precision, nothing beats industry-standard software like Adobe Photoshop or its powerful free alternative, GIMP. These programs put you in the driver's seat, letting you fine-tune every pixel for a truly professional finish.
The secret to getting natural results is moving beyond a simple "sharpen" button. We’ve all seen it before: a photo that’s been sharpened so much it looks crunchy and fake. That’s a common pitfall that creates harsh, ugly edges and a ton of digital noise. Instead, we'll dive into a couple of more advanced techniques that give you far more control.
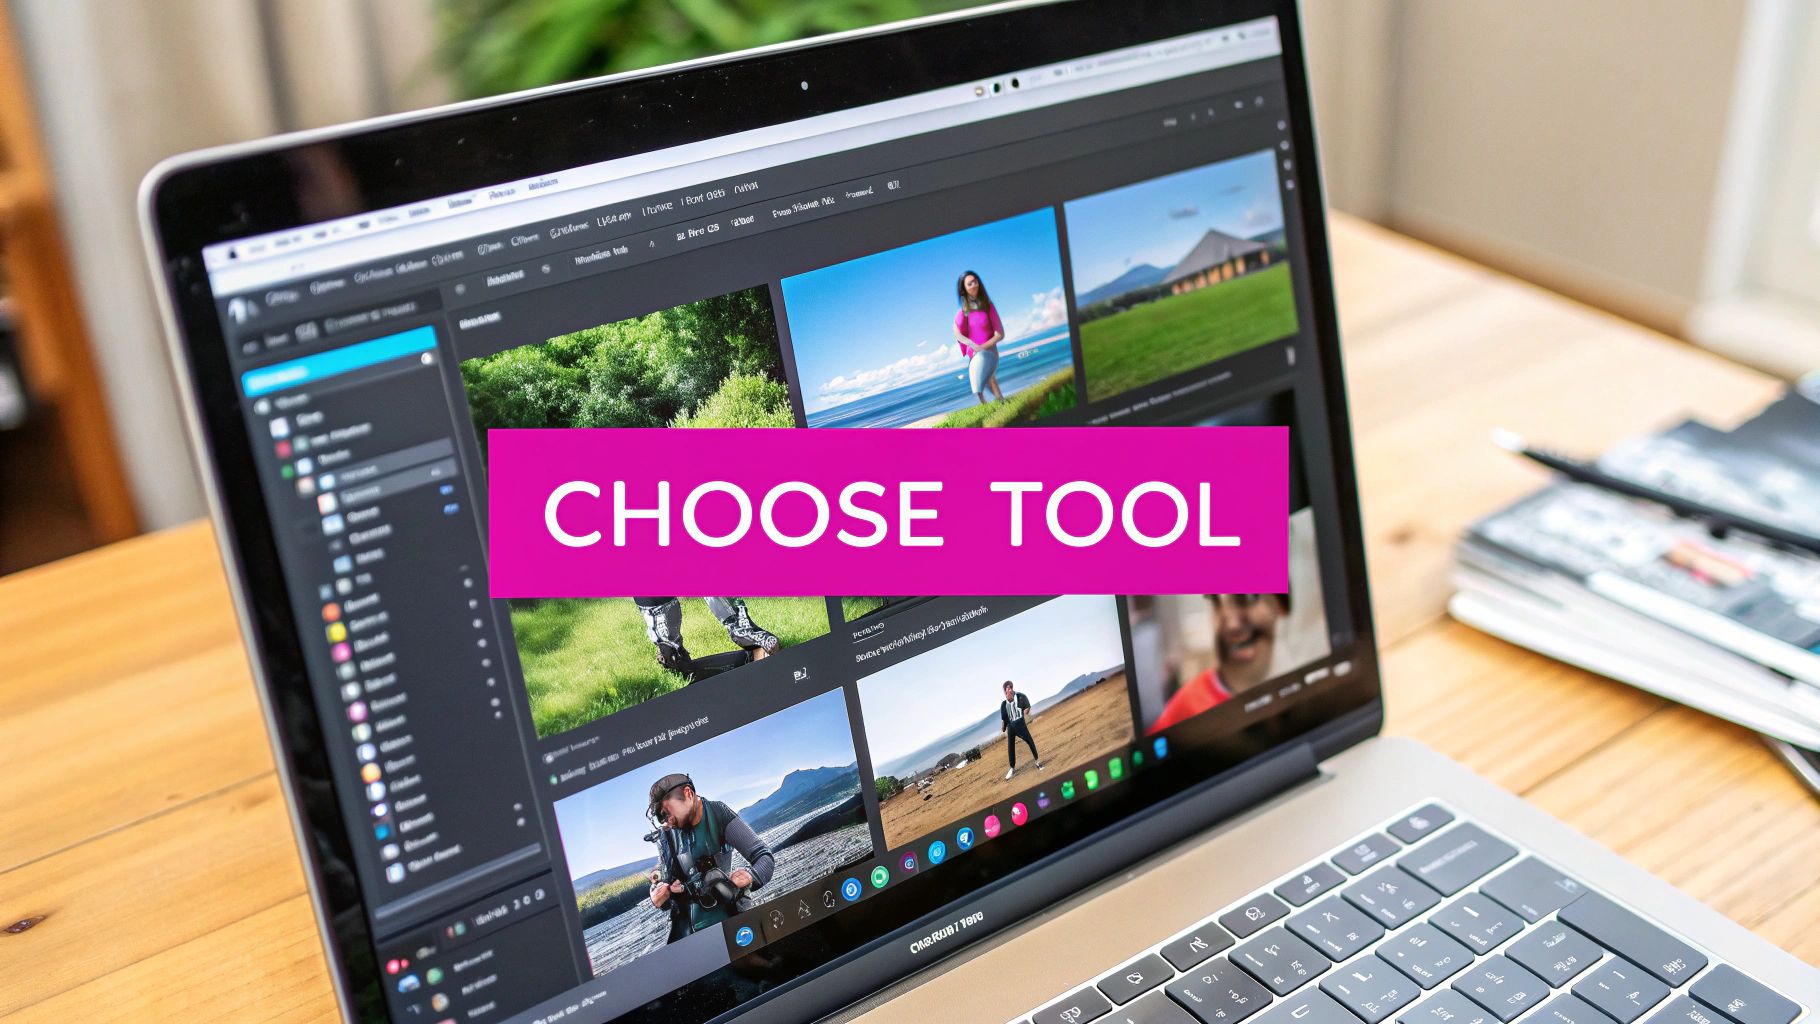
Here’s a peek at the kind of detailed interface you’ll find in Adobe Photoshop, which is built for this kind of granular image correction.
The workspace might look complex with all its layers, tools, and adjustment panels, but that complexity is what gives you the power for precise manual deblurring.
Mastering the Unsharp Mask Filter
Don't let the name throw you off; the Unsharp Mask is a classic and surprisingly effective sharpening tool found in both Photoshop and GIMP. It works by finding the edges in your image—areas with high contrast—and then boosting that contrast to create the illusion of sharpness. It’s all controlled by three simple sliders:
- Amount: This is the overall strength of the sharpening. Think of it as a volume knob. A setting between 50% and 150% is usually a safe place to start.
- Radius: This determines how large of an area around the edges gets sharpened. For images with fine details, like a portrait, keep the radius small (around 0.5 to 1.5 pixels). For something with broader edges, like a landscape, you can push it a bit higher.
- Threshold: This is your safety net. It tells the filter to ignore minor tonal changes, which keeps it from sharpening unwanted noise or film grain. A threshold between 2 and 10 is great for protecting smooth areas like skin or a clear blue sky.
Practical Tip: When you're sharpening a portrait, always zoom in to 100% and focus on the eyes. Tweak the Unsharp Mask settings until the irises look crisp and clear, but be careful that the skin texture doesn't start to look artificial or harsh.
When to Use Smart Sharpen in Photoshop
If you're a Photoshop user, the Smart Sharpen filter is a significant step up from the Unsharp Mask. Its killer feature is the "Remove" dropdown menu, which lets you tell Photoshop exactly what kind of blur you're fixing: Gaussian Blur, Lens Blur, or Motion Blur.
This is a game-changer. By choosing the right type of blur, you allow Photoshop's algorithm to apply a much more targeted and effective correction. For instance, if you have a photo with a slight blur from a shaky hand or a slow shutter speed, selecting "Motion Blur" and adjusting the angle can give you incredibly better results than any generic sharpening filter ever could.
Photoshop vs GIMP Deblurring Tools
While Photoshop is the industry giant and comes with a subscription, GIMP offers an amazing set of tools completely for free. Deciding between them often comes down to budget and how much specific control you really need.
Here’s a quick rundown of how their main sharpening features stack up.
| Feature/Tool | Adobe Photoshop | GIMP (Free Alternative) |
|---|---|---|
| Primary Tool | Smart Sharpen | Unsharp Mask |
| Blur Targeting | Yes (Lens, Motion, Gaussian) | No (General purpose) |
| Noise Reduction | Built-in to Smart Sharpen | Separate filters required |
| Ease of Use | More advanced but intuitive | Simple and effective for basics |
Ultimately, both programs are more than capable of rescuing a blurry photo if you know how to use them. The key is to always make small, subtle adjustments and check your work by zooming in frequently. Your goal should always be a natural enhancement, not a photo that screams "I've been over-edited!" This hands-on approach is the best way to save your favorite shots while preserving their quality.
Sharpening Photos on Your Phone with Mobile Apps
You don't always need a full-blown desktop setup to fix a blurry picture. That powerful little computer you carry around in your pocket is more than capable, especially with the incredible editing apps available today. These tools put professional-grade sharpening features right at your fingertips, making them perfect for quick, on-the-go corrections.
I know tons of photographers and social media managers who live by these apps. In just a few taps, you can rescue a portrait that’s just a little soft or add some serious crispness to a landscape shot. Honestly, they're a must-have for anyone who takes a lot of photos with their phone. The trick is just knowing which app to reach for and where to find the right controls.
Top Mobile Apps for Deblurring
The app store is absolutely flooded with photo editors, but a few really rise above the rest for their powerful, user-friendly features. Each one has a slightly different way of tackling blur, so it's good to know your options.
- Snapseed: This is a free and surprisingly powerful editor from Google. Its "Details" tool, with the Structure and Sharpening sliders, gives you fantastic manual control for bringing out textures.
- Adobe Lightroom Mobile: Basically the mobile version of the industry-standard desktop software. Its "Detail" panel is packed with Sharpening, Radius, Detail, and Masking sliders for incredibly precise, professional-level adjustments.
- Remini: This app is pure AI magic. It's less about fiddling with sliders and more about letting an algorithm analyze and completely reconstruct details, especially in faces. It's my go-to for trying to save old, low-quality, or really blurry portraits.
For anyone just starting out, Snapseed is a great place to begin. Its interface is clean and doesn't throw a million options at you at once, but the tools themselves are incredibly deep.
This simple layout helps you find what you need—like the "Details" tool—without getting overwhelmed.
Practical Tips for Mobile Editing
Editing on a smaller screen definitely has its own set of challenges. The biggest mistake I see people make is over-sharpening, simply because it's hard to judge subtle changes. To get around this, always pinch to zoom in to 100% on a critical part of the photo, like the eyes in a portrait, while you're making your adjustments.
Here's another pro tip: learn to use selective adjustments. Both Snapseed and Lightroom Mobile let you "paint" sharpening onto specific parts of an image. This is an absolute game-changer. You can sharpen just your main subject and leave the background soft, which immediately makes the photo look more professional and natural. This targeted approach stops you from adding ugly digital noise to smooth areas like skies or skin.
Key Insight: Mobile editing is all about precision, not just raw power. Use selective tools to apply sharpening only where it’s actually needed. This is how you avoid that crunchy, over-edited look that screams "amateur."
Finally, don’t forget about preparation. Sometimes, the quality of your image can be affected before you even start editing, especially if you're resizing photos. If you're managing a bunch of images for a blog or social media, using a reliable bulk image resizer first can make sure your photos are properly optimized without losing crucial detail. It's a simple step, but it can make a huge difference in your final results.
Advanced Techniques for Seriously Blurry Images
Sometimes, a simple sharpening filter just won’t cut it. You’re staring at a photo that’s not just slightly soft, but genuinely out of focus or smeared with motion blur. This is where most standard editing tools throw up their hands. To have any hope of saving the shot, you need to pull out the heavy hitters.
When a picture is extremely blurry, the image data isn't just fuzzy—it's been fundamentally scrambled. Fixing it requires a method that can essentially work backward to unscramble everything. This is where a far more complex process called deconvolution filtering comes into the picture. It’s a computational technique that analyzes the specific pattern of the blur and tries to reverse-engineer it, almost like solving a mathematical puzzle to put the original scene back together.
So, What Is Deconvolution Sharpening?
Think of a blur as smeared paint on a canvas. A basic sharpening tool just paints thin black lines next to the smeared edges to create the illusion of a sharper edge. It doesn't actually fix the smear.
Deconvolution, on the other hand, is much smarter. It tries to figure out exactly how the paint was smeared—the direction, the speed, the intensity—and then computationally pushes that paint back to where it was supposed to be.
This approach relies on specialized software that can analyze something called the Point Spread Function (PSF). The PSF is basically the unique fingerprint of the blur in your photo. By identifying this fingerprint, the software can deconstruct and reverse the damage. As you can imagine, this is far more intensive than a simple one-click filter.
Keep Your Expectations Realistic: It's important to know that even these advanced methods have their limits. Deconvolution can work miracles on photos that are moderately to severely blurred, but it can't create detail that was never captured in the first place. If your subject is just an unrecognizable smudge, the final result will be a best-guess reconstruction, not a crystal-clear restoration.
When to Bring in the Big Guns
You wouldn’t use these powerful tools on a slightly soft portrait—it’s overkill. They’re really meant for specific, challenging situations where every other technique has already failed.
- Saving Irreplaceable Photos: This is the go-to for that once-in-a-lifetime shot. Maybe it's a blurry photo of a rare bird in flight or the only picture you have from a cherished family event.
- Forensic or Technical Work: In professional fields, these methods are used all the time to clarify crucial details in security footage or scientific images where precision is everything.
- Fixing Nasty Motion Blur: When you can clearly see the direction of movement in a photo, certain tools can work wonders by specifically targeting that linear blur pattern.
For most of us, the easiest way to tap into this level of image restoration is through modern AI tools. Many of them have deconvolution principles baked right into their algorithms, wrapping all that complexity into a simple, user-friendly interface. In fact, many of the tools in our AI-powered image generator use similar principles to construct sharp, detailed visuals from just a text description. It just goes to show how far this technology has come in its ability to build—and rebuild—image data from the ground up.
Common Questions About Fixing Blurry Pictures

When you're trying to figure out how to unblur a picture, a few questions pop up time and time again. Getting these sorted out first can save you a ton of headaches and help you know what to expect from your photo restoration projects. Let's dig into some of the most common ones.
The big one I always hear is, "Can this super blurry photo actually be saved?" While the tools we have now are incredibly powerful, they're not miracle workers. If a photo is so far gone that you can't make out the main features of the subject, a perfect fix is probably off the table.
AI does a fantastic job of guessing what the details should look like based on all the images it's been trained on, but it's still just an educated guess. It's better to think of the process as restoration, not resurrection.
Sharpening Versus Deblurring
It's also really important to get the difference between "sharpening" and "deblurring." They sound like they do the same thing, but they tackle very different problems.
- Sharpening: This is all about increasing the contrast along the edges in your photo. It’s perfect for giving an already decent picture a little extra pop and definition.
- Deblurring: This is a much more sophisticated process. It actually tries to reverse what caused the blur in the first place—whether it was motion, a shaky hand, or just missing the focus.
So, sharpening just enhances the details you can already see. Deblurring, on the other hand, tries to bring back details that were lost entirely. Most AI deblurring tools are smart enough to analyze the image, figure out why it’s blurry, and then apply a specific algorithm to fix it. It's a far more targeted approach.
Key Takeaway: Be careful not to over-sharpen your images. It’s a classic mistake that can completely ruin a photo by adding nasty digital artifacts and halos around edges, making everything look harsh and fake. Always apply sharpening in small increments and zoom in to 100% to make sure the results still look clean and natural.
Why Do My Images Look Blurry Online?
Ever had a photo that looks perfectly crisp on your computer, but turns into a blurry mess the second you upload it to your website or social media? This is a common issue, and it often has nothing to do with the quality of your original image.
For instance, certain website themes or plugins will automatically apply effects to your images. A frequent culprit in WordPress is a theme that adds a gradient mask or a slight blur effect to images with captions, just to make the text easier to read.
You might notice the bottom half of your photo looks blurry even though the file you uploaded was tack sharp. This isn't something you can fix with a deblurring tool; it’s a website setting you’ll need to track down and change in the site's code or theme options.
Ready to skip the manual tweaks and let AI do the heavy lifting? With Bulk Image Generation, you can enhance your photos and create incredible new visuals in seconds. Our suite of AI tools makes getting professional-quality results easy for everyone. Start creating sharper images today.