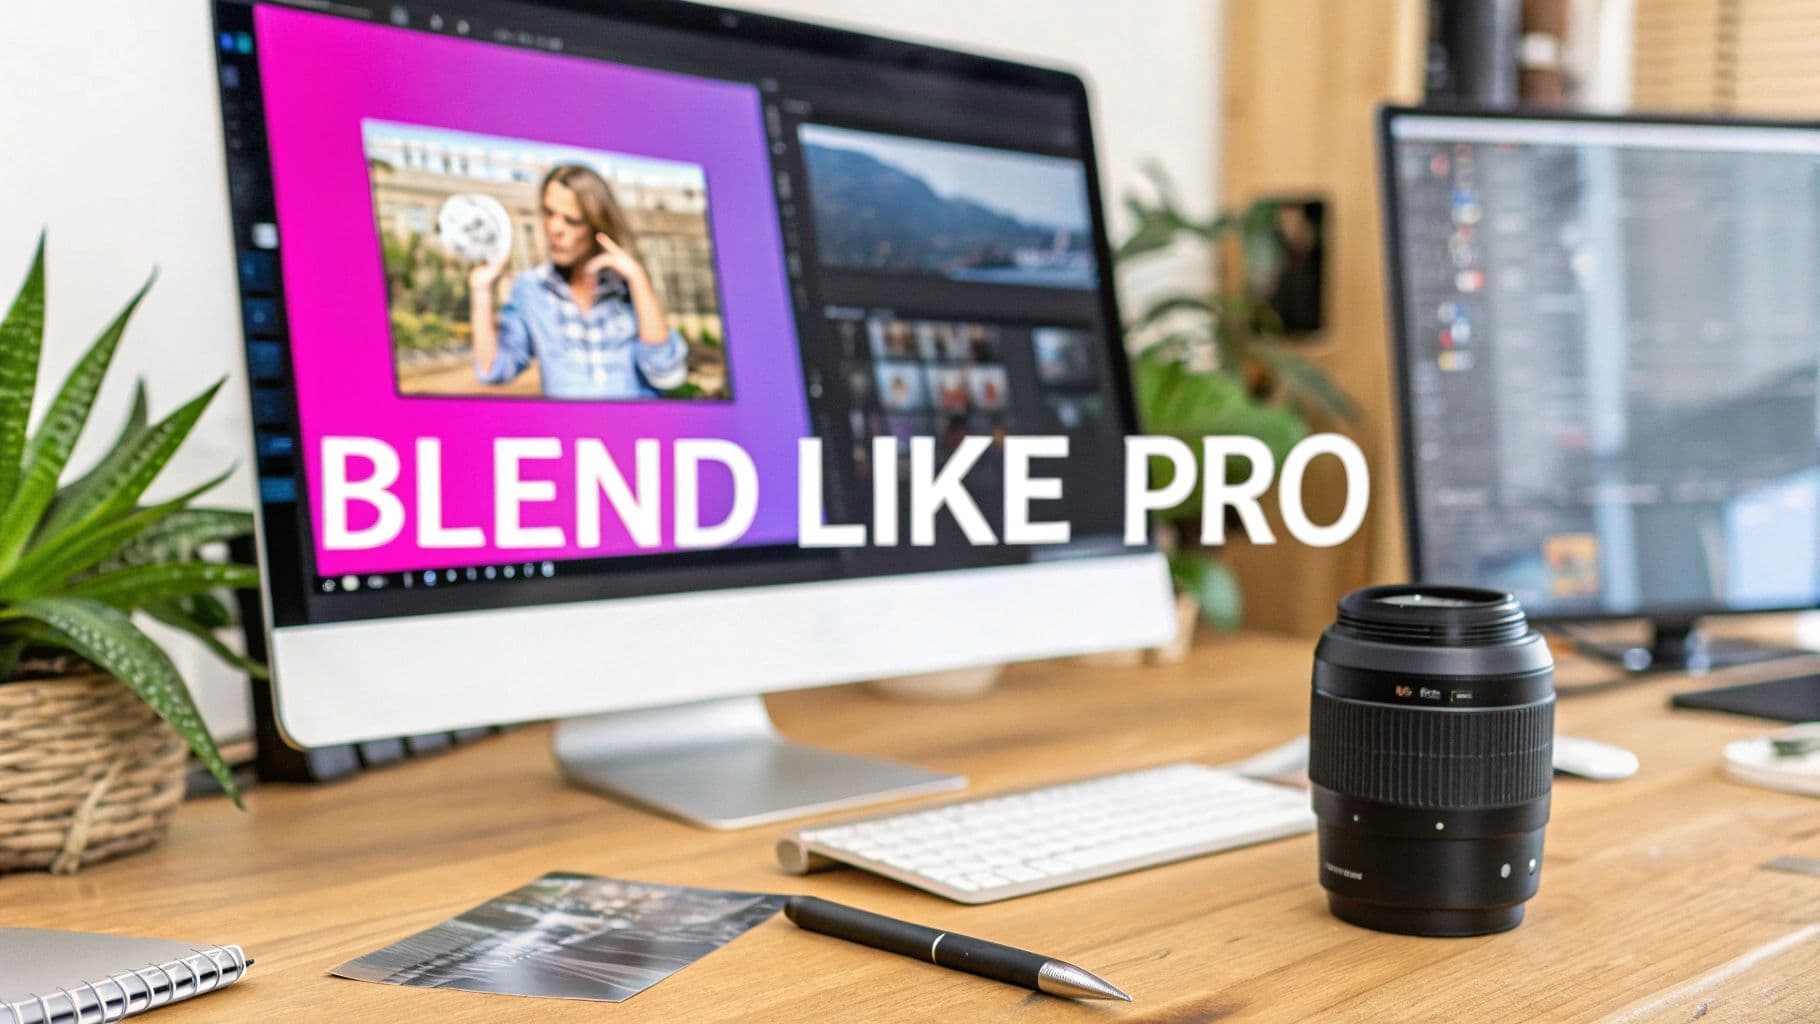
How to Blend Two Images Together Like a Pro

Aarav Mehta • August 2, 2025
Learn how to blend two images together seamlessly with Photoshop or AI tools. This guide covers manual and automated techniques for stunning results.
Ever wonder how artists create those stunning images where a portrait seems to melt into a landscape? That’s the magic of image blending, and it's more accessible than you think. This guide breaks down exactly how to blend two images together, whether you're using traditional editing software or powerful new AI tools to merge your photos into a single, seamless composition.
The Art of Seamless Image Blending
Blending images isn't just about stacking pictures on top of each other. It's a creative technique used to combine multiple photos into a single, cohesive piece of art. The real goal is to create a composite that feels intentional and believable—whether you're aiming for a dramatic double exposure, a surreal scene, or a practical image for marketing.
At its core, successful blending relies on a few key concepts. I've found that truly understanding these fundamentals is crucial, no matter if you're using old-school Photoshop or modern AI generators.
Foundational Blending Concepts
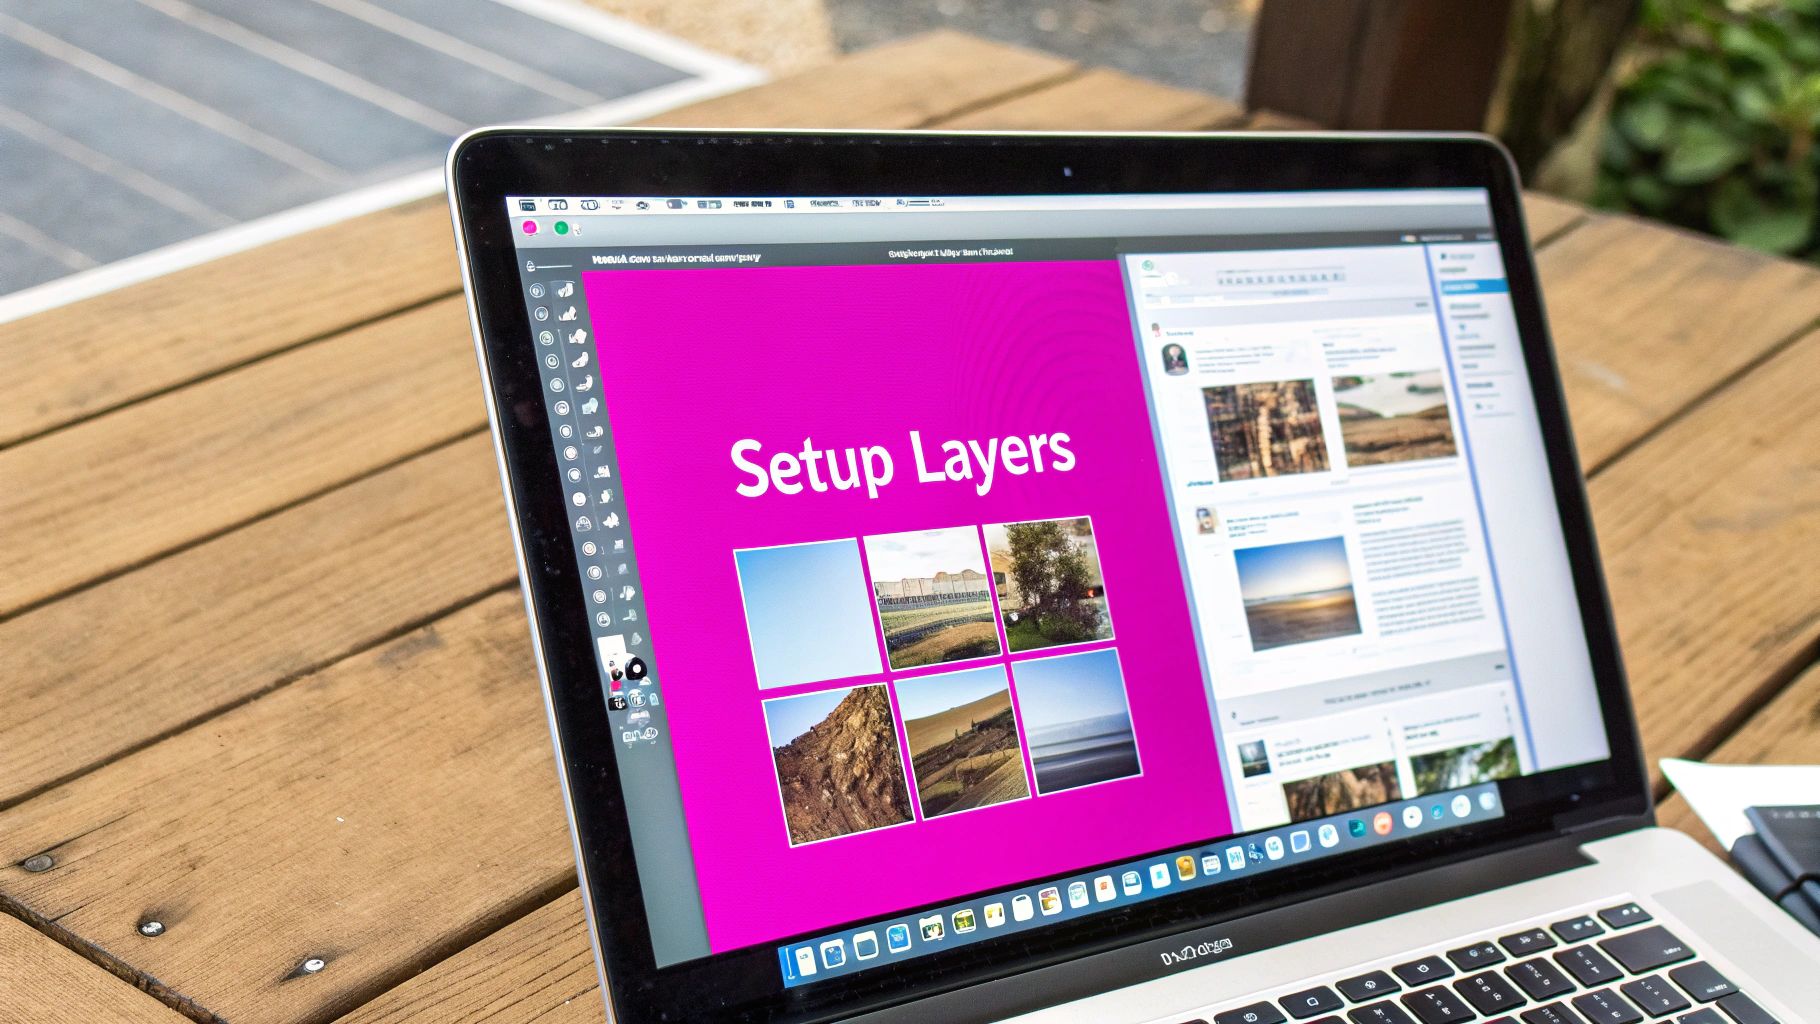
- Layers: Think of layers as transparent sheets stacked on top of one another. Each of your images gets its own layer, which lets you edit one without messing up the other. This is the basic structure for any blend you'll ever do.
- Opacity: This is simply how see-through a layer is. At 100% opacity, a layer is fully visible. At 0%, it's completely invisible. Playing with opacity is the easiest way to start mixing two images.
- Masks: Layer masks are the real powerhouse here. A mask gives you pinpoint control to hide or reveal parts of a layer. By painting on the mask with black (which hides) or white (which reveals), you can create intricate, natural-looking transitions that make your final image pop.
A great blend is more than just a technical exercise; it's about telling a visual story. The techniques you use should serve the final image's mood and message, guiding the viewer's eye through your combined creation.
This idea of combining photographic elements isn't new. It actually has roots in early experimental photography. For instance, Josef H. Neumann's "Chemograms" in 1974 merged chemical painting with photographic paper, hinting at the fusion we now achieve digitally. The game truly changed when Adobe launched Photoshop in 1988, introducing the digital layers and masks that are now central to knowing how to blend two images together. You can dive deeper into the historical evolution of photography technology for more context.
From astrophotographers merging a blue-hour foreground with a starry sky to graphic designers creating compelling ads, blending is an incredibly versatile skill. By getting these core principles down, you can move beyond simple overlays and start creating visuals that are truly imaginative and impactful.
Choosing Your Image Blending Toolkit
Before you can stitch two images together, you have to pick the right tool for the job. This is half the battle, honestly. The software you choose directly shapes your workflow, how much control you have, and ultimately, what your final blended image looks like.
This isn't just about picking a program; it's about matching the software to what you're trying to create. The world of image editing gives you two main paths: the meticulous, hands-on control of traditional editors or the lightning-fast creativity of modern AI tools.
Traditional Editors for Precision Control
For projects demanding pixel-perfect results, nothing beats the classics. Software like Adobe Photoshop or the fantastic free alternative, GIMP, are the undisputed workhorses for detailed image blending. They put you in complete manual control of every single detail.
These programs are built on a foundation of layers, masks, and ultra-precise selection tools. This architecture is what allows you to create truly seamless transitions. If you're matching complex edges—like wisps of hair against a totally new background—or need to perfectly balance color and light, a traditional editor is your best bet.
AI Blenders for Speed and Inspiration
On the other side of the coin, you have the new wave of AI tools. These platforms can take a complex, multi-step process and boil it down to a few clicks or a simple text prompt. It’s a game-changer. Instead of painstakingly painting masks, an AI can analyze both of your images and generate a completely new blend based on your instructions.
For anyone who needs a fast, innovative way to produce stunning visuals, our own AI image generator is a great place to dive in and see what’s possible.
The best tool isn't always the one with the most features. It's the one that fits your project's needs and your own skill level. Don't be afraid to experiment with both traditional and AI methods to see which workflow just clicks for you.
To give you a better idea of which path to take, here's a quick comparison:
Comparison of Image Blending Tools
| Tool Type | Best For | Skill Level | Cost | Key Feature |
|---|---|---|---|---|
| Traditional Editors | Photographers, designers needing pixel-perfect control, complex composites. | Intermediate to Advanced | Subscription or one-time fee (free options available). | Manual control over layers, masks, and color grading. |
| AI Tools | Marketers, content creators, quick conceptual art, experimental blends. | Beginner to Intermediate | Often subscription-based or pay-per-use (free trials common). | Speed, ease of use, and generating unique, unexpected results. |
This table should help you figure out where to start. A professional photographer creating a composite for a client will almost certainly reach for Photoshop, while a social media manager needing a cool graphic for a post tomorrow might get exactly what they need from an AI tool in minutes.
Digitally blending images has become a cornerstone of the $50+ billion global photo editing industry. It’s no surprise when you see that 74% of graphic designers and 59% of social media creators use these tools on a regular basis for everything from artistic double exposures to commercial ads.
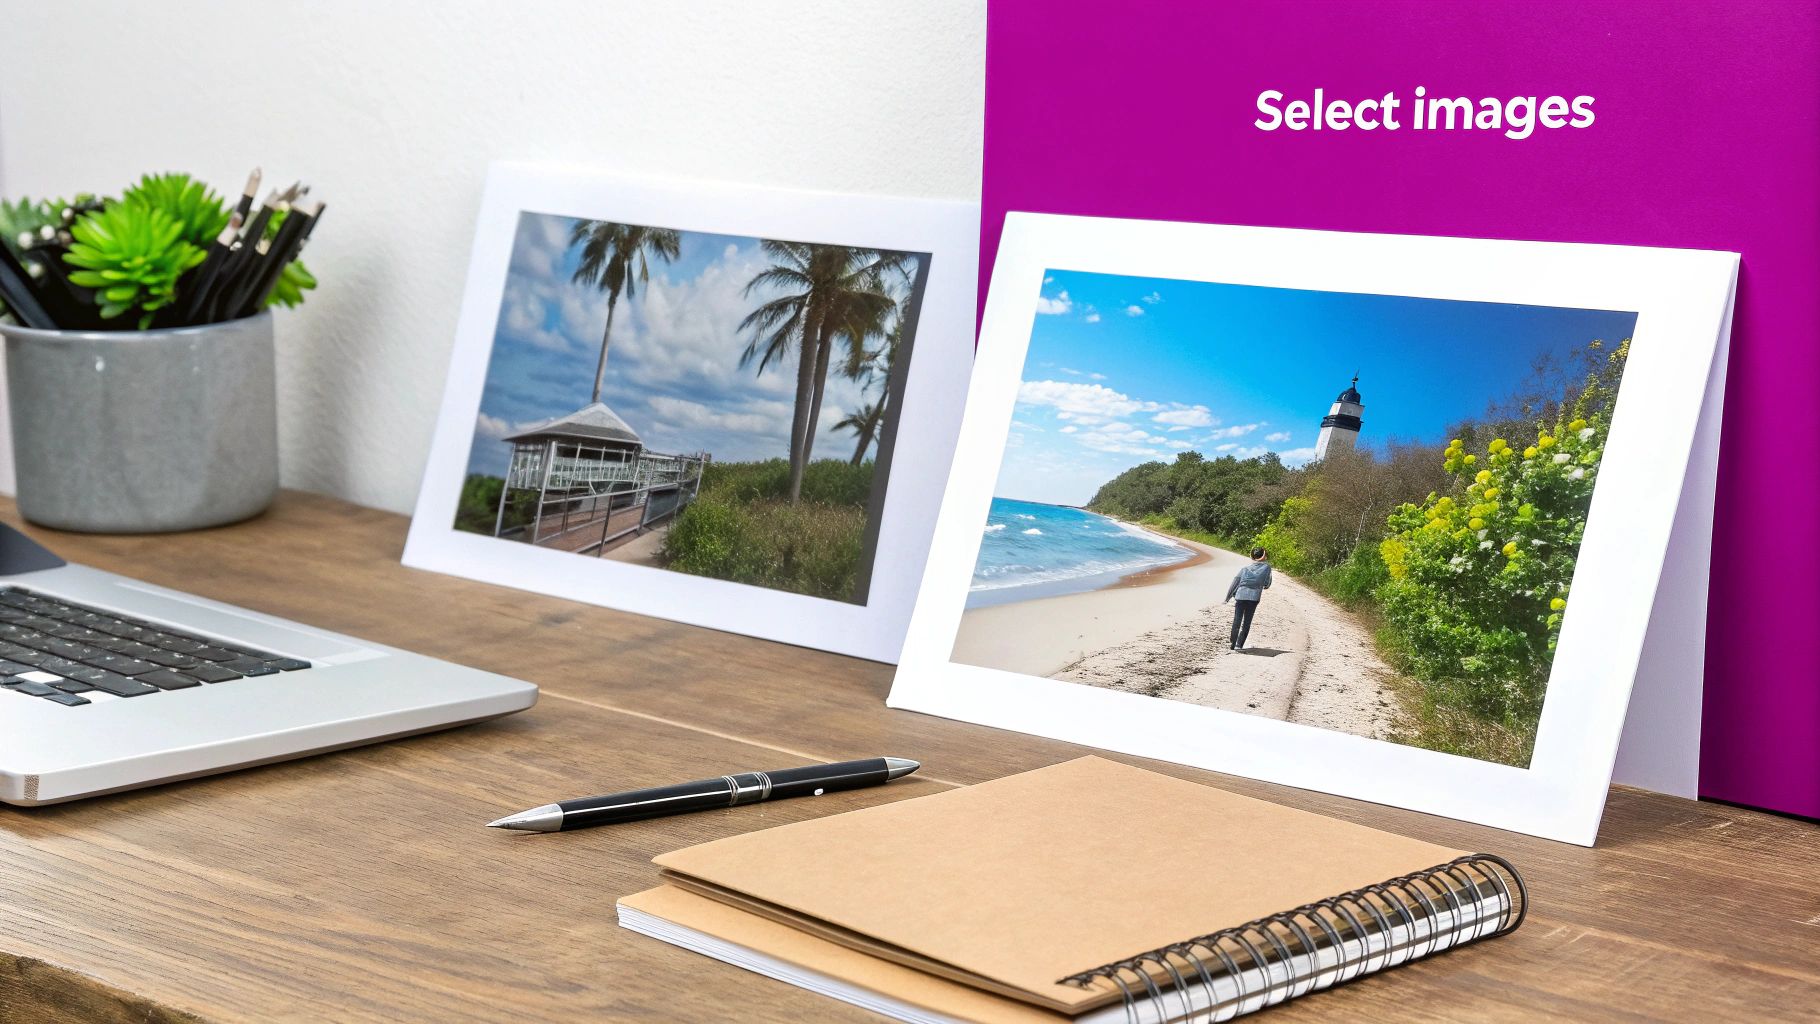
Of course, no matter which tool you choose, you need high-quality source images to start with. If you plan on using assets from social media, knowing the right way for downloading photos from Instagram can make a huge difference in your final quality. Choosing your toolkit wisely from the start sets the stage for a smooth, successful, and much more enjoyable creative process.
The Classic Method Using Photoshop Layers
When you absolutely, positively need total control over every pixel, it's time to fire up Adobe Photoshop. While the new AI tools are mind-blowingly fast, there's a reason Photoshop has been the industry standard for decades.
Learning to blend images manually with layers gives you a rock-solid foundation. This control is indispensable for professional results, especially when you're doing something precise, like merging a dramatic cityscape into a portrait's silhouette.
We're going to get into the "why" behind each move, not just a list of steps. The real art isn't about clicking a specific button; it's about understanding how layers, masks, and blend modes all dance together. These three pillars are the heart and soul of nearly every manual image blend you'll ever create.
The concept is pretty straightforward. You'll place one image (like our cityscape) on a layer right on top of another (the portrait). From there, a layer mask becomes your best friend, letting you control exactly which parts of the cityscape show through. You're essentially "painting" it into the shape of the portrait's silhouette.
Your Secret Weapon: Layer Masks
The most powerful tool for this job, without a doubt, is the layer mask. Think of it as a smart stencil that you attach to your top layer.
Here’s the simple breakdown:
- Painting with white on the mask reveals that layer's content.
- Painting with black on the mask hides it.
- Using shades of gray will partially reveal the layer, giving you semi-transparent effects.
This entire process is completely non-destructive. What does that mean? You're never actually erasing or permanently damaging your original images. If you mess up, you just flip your brush color from black back to white and paint the details right back in. This flexibility is what separates amateur edits from professional composites.
My goal is always to make the blend feel organic. I usually start with a big, soft-edged brush set to a low opacity—around 20-30%—to rough in the main shape. After that, I’ll switch to a smaller, harder brush to dial in the details and clean up the edges.
Finding the Perfect Blend Mode
Once you've got a decent mask in place, it's time to play with blend modes. Blend modes are just mathematical formulas that tell the pixels on one layer how to interact with the pixels on the layer underneath. A simple click can completely transform the mood and feel of your final image.
A few of my go-to modes for blending are:
- Overlay: This is great for adding textures. It mixes the colors while preserving the highlights and shadows of the base layer, creating a really rich effect.
- Soft Light: Think of this as Overlay's more subtle cousin. It creates a much gentler, more diffused blend that often looks more natural and less "edited."
- Screen: This one is perfect for combining light elements. If you want to add stars to a night sky or pop some light flares onto a portrait, Screen is your mode.
This infographic neatly summarizes the core workflow for blending two images together in Photoshop.
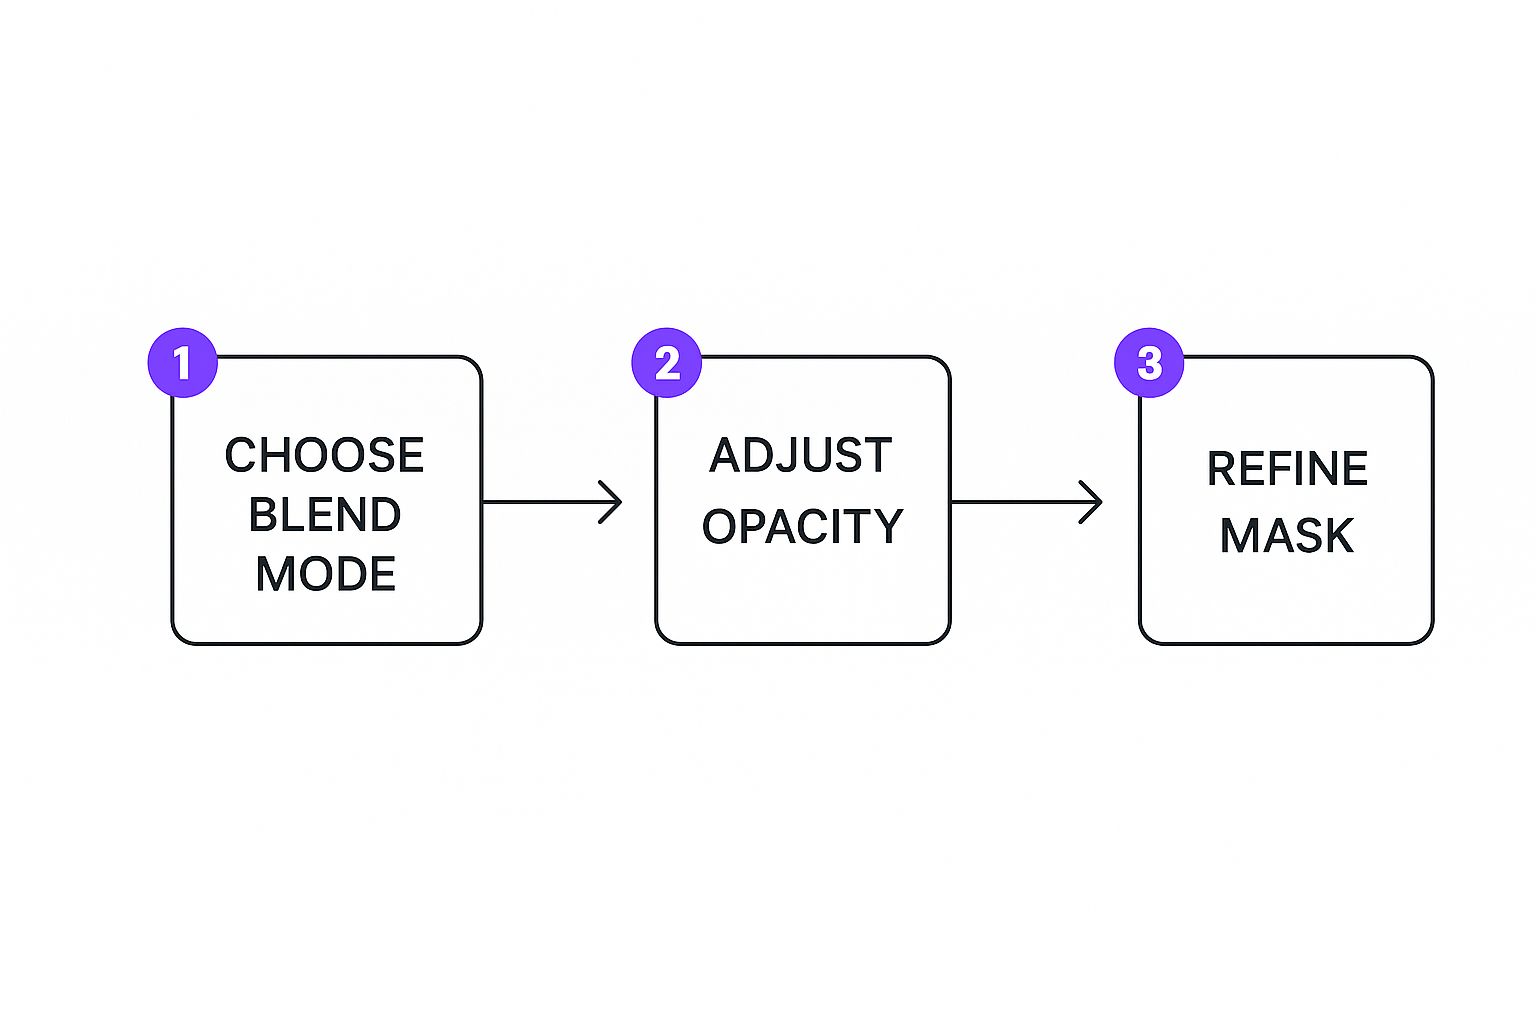
As the graphic shows, it's a simple but effective loop: pick a blend mode, fine-tune its intensity with the opacity slider, and then perfect the transition with your layer mask.
These digital tools are built on a long and fascinating history. Before Photoshop, blending was a painstaking analog art form done in darkrooms. The digital age brought us pixels encoded with RGBA values, where that 'A'—the alpha channel—defines transparency. This innovation allowed for the kind of precise, mathematical blending we use today. If you're a history nerd, you can dive into the deep technical history of video and image preservation to see just how far we've come.
Mastering these classic Photoshop skills gives you a level of creative authority that no automated tool can fully replicate. It's an invaluable skill for any serious project.
The AI Approach to Blending Images
If you've ever found yourself lost in the weeds of Photoshop, meticulously painting masks and tweaking layers for hours, you'll appreciate this. The AI approach to blending images is a completely different ballgame—it’s wildly creative, ridiculously fast, and frankly, a lot more fun.
Instead of all that manual labor, you can now use simple text prompts to get incredible results in seconds. It’s a total shift in how we think about photo manipulation.
How Does AI Actually Blend Images?
The process is surprisingly straightforward. Forget complex tools and endless menus. AI tools, especially those with image-to-image or inpainting features, let you direct the show with just your words.
You start by giving the AI a base image. From there, you can upload a second image to serve as inspiration or use a brush to highlight an area you want to transform. Then, your text prompt takes over and does all the hard work.
Let's say you have a portrait and a cool picture of a galaxy. You could just type: "Double exposure effect, blend the nebula image into the man's silhouette, cinematic, moody lighting." The AI takes your instructions, looks at both images, and generates a brand-new, seamlessly blended composite.
The real magic here is that AI isn't just cutting and pasting. It’s creating something entirely new from your inputs. It can produce mind-bendingly realistic results or surreal, dreamlike art with the same level of ease.
Real-World Scenarios and Prompting Tips
The possibilities are endless. An e-commerce brand could drop a single product into dozens of different photorealistic settings without ever booking a photoshoot. Imagine a prompt like: "Place the uploaded handbag on a marble table next to a coffee cup, sunlit cafe background." This is a perfect use case, and you can dive deeper into creating stunning AI-generated digital product images to see just how powerful it is.
Or think about a fantasy artist who wants to combine a photo of a castle with a dragon illustration. Their prompt might be: "A dramatic scene where the dragon is perched on the castle tower, seamlessly blended, stormy sky, epic fantasy art style." The efficiency is incredible. It’s no surprise that so many businesses are now turning to powerful image automation to scale up their visual content creation.
To get the best results, here are a few quick tips for writing prompts that work:
- Get Specific with Style: Don't just ask for a blend. Use keywords like "photorealistic," "oil painting," "double exposure," or "vintage photo" to guide the final look.
- Describe the Blend: Tell the AI exactly how the images should merge. Try phrases like "blended into," "superimposed over," or "fused with."
- Set the Mood: Words matter. Add terms like "dramatic lighting," "soft and dreamy," "vibrant and colorful," or "dark and moody" to control the overall tone.
Using AI to blend images throws the doors wide open for creativity, giving everyone access to techniques once reserved for seasoned photo editors. It's a fast, intuitive, and often surprising way to bring your wildest ideas to life with just a few words.
Pro Tips for a Believable Blend
Once you've got the basic tools down, it's the small, thoughtful details that truly sell the final image. Knowing how to blend two images is one thing, but making that blend believable is where the real artistry kicks in. The secret is convincing the viewer’s eye that both photos belong in the same world.
The most common giveaway of a fake composite is mismatched lighting. It’s an instant red flag. If one photo was shot in the harsh midday sun and the other during the soft glow of sunset, simply layering them will look jarring and unnatural. Your mission is to make the light and shadows consistent across every element in your scene.
Unifying Light and Color
A simple yet incredibly powerful technique is to use adjustment layers in a traditional editor like Photoshop. By adding a “Color Balance” or “Curves” adjustment layer that sits on top of all your other layers, you can apply a consistent color grade to the entire image. This one move instantly makes two separate photos feel like they were captured with the same camera at the same time.
From there, you need to analyze the direction of the light in your base image. If the light is coming from the top left, the shadows on the element you're adding must also fall to the bottom right. You can use tools like “Dodge” (to lighten) and “Burn” (to darken) to manually paint in highlights and shadows, further integrating your subject into its new home.
Advanced Techniques for Manual and AI Blending
Beyond basic color correction, a few more tricks can elevate your work from good to great. Manually creating a classic double exposure effect, where a portrait and a landscape merge, often requires desaturating the portrait and switching its blend mode to “Screen” or “Lighten.” This simple change allows the brighter parts of the landscape to fill the silhouette in a really beautiful, artistic way.
For those of us working with AI, prompting is your most powerful tool. Getting that perfect blend often takes a bit of iteration and learning how the model "thinks."
Here are a couple of things I do all the time:
- Use Negative Prompts: Tell the AI what you don't want. Using negative prompts (like
--no blurry edges, unrealistic lighting) helps clean up the results and steers the AI toward a much more realistic composite. - Iterate and Refine: Don't expect perfection on the first try. Take your best result and feed it back to the AI as a new image input, but this time, refine your prompt. For example: "Refine this image, make the lighting on the subject match the soft sunset background."
A truly great blend respects the physics of the real world—even in a fantasy image. Consistent lighting, color temperature, and shadow direction are the invisible threads that tie your composite together.
This principle is even more critical in specialized fields like e-commerce, where product realism is everything. For a deeper dive, our guide on AI product photography shows how these advanced blending concepts can create incredibly lifelike results for online stores. Mastering these finer points is what separates a quick mashup from a compelling work of art.
Of course. Here is the rewritten section, designed to sound like an experienced human expert while maintaining all original content and formatting requirements.
Common Questions About Blending Images
As you start blending images, you're going to hit a few snags. It's just part of the creative process. Every pair of photos brings its own little quirks to the table, so let's walk through some of the most common questions I hear from both new and seasoned editors.
What Is the Best Blend Mode to Use?
Honestly, there’s no single “best” blend mode—it all hinges on what you’re trying to achieve. But a few are always my first stop. For adding a subtle, textured feel, Overlay and Soft Light are fantastic. They do a great job of mixing colors while keeping the highlights and shadows of your base image, which creates a really rich, cohesive effect.
If you're working with bright elements, like dropping stars into a night sky or putting text on a light background, Screen is your best friend. It essentially tells the program to ignore dark pixels and only add the light ones. On the flip side, for darkening an image or painting in shadows, Multiply is the perfect tool. The real magic, though, comes from just trying them out. Cycle through the modes and see what each one does to your specific images.
My personal workflow? I'll quickly flick through several blend modes just to see what sparks an idea. I often find the most compelling results by duplicating a layer, trying a different blend mode on each copy, and then using layer masks to paint in the best parts from both.
Why Do My Blended Colors Look Mismatched?
This is probably the most common issue. Mismatched colors happen all the time, especially when you're combining photos shot under different lighting conditions or at different times of day. A picture taken under warm indoor lights is naturally going to clash with one shot on a gray, overcast day.
The solution is to get the color palettes in sync. In a program like Photoshop, you can do this easily with adjustment layers.
- Photo Filter: This is the quickest fix. Just adding a single warming or cooling filter over your entire project can instantly make the two photos feel like they belong in the same world.
- Color Balance: For finer control, the Color Balance adjustment layer lets you individually tweak the cyans, magentas, and yellows in your shadows, midtones, and highlights. You can clip this layer directly to one of your images to perfectly match its color to the other.
How Can I Make Blended Edges Look Natural?
Those hard, "cutout" edges are a dead giveaway that an image has been composited. To get that seamless, professional look, the secret is a soft-edged brush with low hardness (somewhere between 0-20%) when you’re painting on your layer mask.
I always start with a larger, soft brush at a low opacity—maybe 20-30%—to gently block in the general shape of the blend. This creates a soft, gradual transition instead of a harsh line. After that, you can zoom in and switch to a smaller brush to work on the tiny details along the edges, making it look like your subject is truly melting into its new background.
And for really tricky edges like hair or the branches of a tree, don't be afraid to use more advanced tools. Photoshop’s “Select and Mask” workspace, for example, has refinement options built specifically to handle those nightmarish selections.
Ready to skip the manual adjustments and create stunning, unique visuals in seconds? With Bulk Image Generation, you can use advanced AI to blend, create, and edit images effortlessly. Describe your vision in plain language and let our platform generate hundreds of professional-quality options for your next project. Try Bulk Image Generation for free and scale your creative workflow today.