How to Blend 2 Images Together Like a Pro

Aarav Mehta • October 11, 2025
Learn how to blend 2 images together seamlessly. This guide covers easy AI tools and expert Photoshop techniques for professional-quality results.
Learning how to blend 2 images together is pretty straightforward: you can use fast, automated AI tools for quick results or dive into manual software like Photoshop for total creative control. The best method really just depends on what you're trying to create, whether it's a simple graphic for social media or a complex piece of digital art.
The Art of Blending Images: A Practical Introduction

Welcome to the creative world of image blending. Think of this less as a technical skill and more as an artistic method for merging ideas, building surreal scenes, or just giving your everyday photos an extra punch. By combining elements from different pictures, you can craft visual stories that a single photo could never quite capture on its own.
This guide will walk you through the two main ways to get this done. We'll show you how modern tools have made this once-tricky task accessible to pretty much anyone, no matter your experience level.
Understanding Your Blending Options
Picking the right approach from the get-go is the first real step toward a blend you'll be proud of. Your decision will likely come down to balancing speed against control, all while keeping your project's specific needs in mind.
Here are the main paths you can take:
- AI-Powered Tools: These platforms are all about speed and simplicity. You can merge photos with simple text prompts or a few clicks, making them perfect for quick social media posts or just brainstorming a few ideas.
- Manual Software (Photoshop, GIMP): For those of us who need complete artistic control, traditional editors are still king. They offer sophisticated tools like layer masks and blending modes that allow for precise, pixel-perfect adjustments.
Deciding between these two paths is the first, and most important, choice you'll make. To help you figure out what's best for your project, here’s a quick breakdown.
Choosing Your Blending Method: AI vs. Manual
This table offers a quick comparison to help you decide which image blending technique is best for your specific needs, comparing speed, control, the learning curve, and typical use cases.
| Feature | AI-Powered Tools | Manual Software (e.g., Photoshop) |
|---|---|---|
| Speed | Very Fast. Often produces results in seconds. | Slower. Requires hands-on work and adjustments. |
| Control | Limited. You guide the AI, but it makes the final call. | Total Control. Every pixel can be adjusted manually. |
| Learning Curve | Low. Usually intuitive, with text prompts or simple UI. | High. Steeper learning curve with complex tools and layers. |
| Use Cases | Quick mockups, social media graphics, creative brainstorming. | Professional photo composites, digital art, detailed edits. |
Ultimately, there's no single "best" method—just the one that fits your current project and skill level. If you're new to this, an AI tool is a great way to get your feet wet. If you're a seasoned pro aiming for a masterpiece, you'll probably feel more at home in Photoshop.
This desire to combine visuals isn't new, by the way. The concept of blending images has roots in early photography. Back in the late 19th and early 20th centuries, photographers used multiple exposures and layering tricks to merge images long before digital tools were a thing. For example, George Eastman's 1888 Kodak camera actually made these creative effects easier by allowing multiple exposures on the same roll of film. You can learn more about this from the Photographic Resource Center at Boston University.
Key Takeaway: Image blending is a powerful storytelling tool. Whether you opt for the efficiency of AI or the precision of manual editing, the goal is always to create a final image that feels cohesive and believable.
How to Prepare Your Images for a Perfect Blend
Before you even think about opening an app or a piece of software, your blend's success is pretty much decided by the images you pick. Getting this part right is where the real magic happens, and it'll save you from hours of headaches and frustrating tweaks down the line.
Think of it like cooking. You wouldn't throw clashing ingredients into a pot and expect a masterpiece. The same goes for images. The goal is to find two photos that speak a similar visual language, so the final composite feels intentional, not like a forced, awkward mashup. A little bit of foresight here goes a very, very long way.
Match Your Lighting and Perspective
Nothing screams "fake" faster than mismatched lighting. If one photo has harsh sunlight blasting in from the right, and the other has soft, moody light coming from the left, they’re never going to look right together. It’s a dead giveaway. You need to hunt for photos where the light source, its direction, and its quality are all playing nicely.
Perspective is just as critical. You can't convincingly merge a photo shot from a worm's-eye view with another taken from a drone. It just creates a bizarre, unbelievable scene. Look for images that share a similar camera angle and feel like they were captured with a similar lens. This alignment is the foundation your entire composite will be built on.
Align Color Tones and Resolution
Beyond the light, the color palettes have to vibe. An image drenched in warm, golden-hour tones is going to fight tooth and nail against one with cool, blueish undertones. Sure, you can wrestle with color grading later, but starting with photos that are already in the same color family makes the job about 90% easier.
And then there's resolution—this one's a deal-breaker. Always, always start with high-quality images. If you try to blend a tack-sharp, high-res photo with a blurry, pixelated one, the result will only ever be as good as your worst image. Ensuring both are crisp is non-negotiable for a professional look. If you're working with a bunch of files, using a good bulk image resizer can help get all your assets consistent before you start.
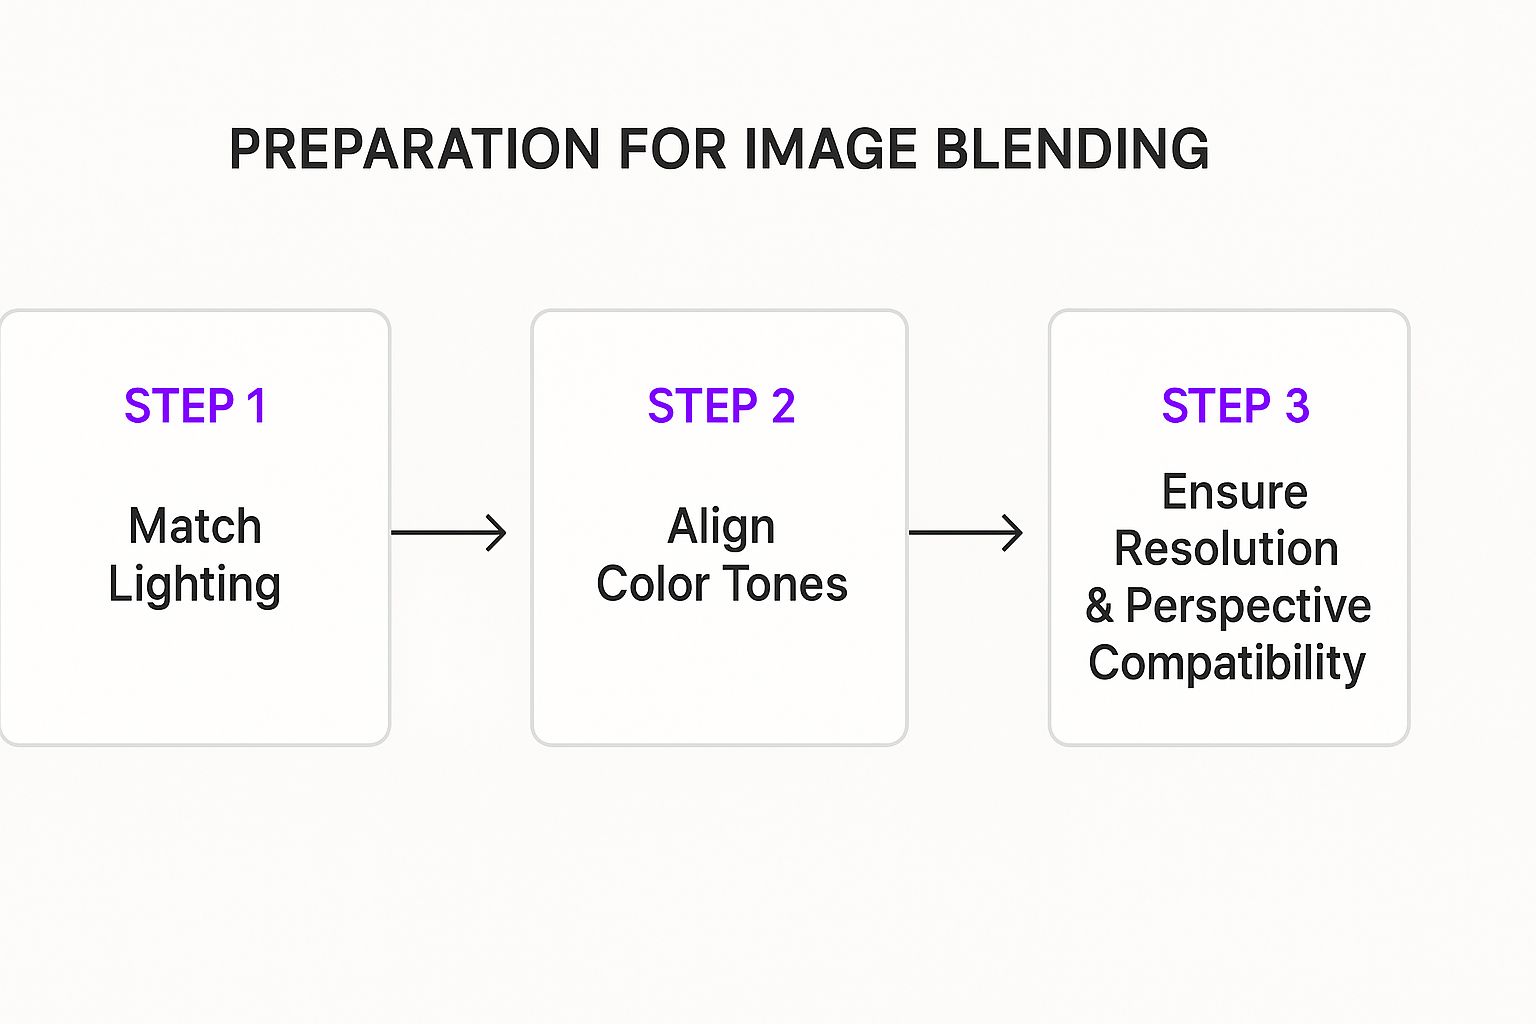
This infographic breaks down the key prep steps for a killer image blend.

As you can see, it all comes back to matching those core elements—lighting, color, resolution, and perspective. Nail this, and you're setting yourself up for a smooth, seamless merge.
When you dedicate time to finding the right images, you're not just preparing; you're designing. The choices you make at this stage are just as creatively vital as any brush stroke or filter you'll apply later on.
Finally, think about the subjects themselves. The perfect pair of images often has a clear foreground subject in one and a compatible background in the other. A portrait with a clean silhouette against a simple sky, for instance, is way easier to blend than trying to meticulously cut out someone from a busy, cluttered scene. Taking those few extra minutes to choose the right photos is the single best investment you can make in your project.
Using AI Tools for Effortless Image Blending

Manual software gives you incredible precision, sure, but what if you just need to blend a couple of images fast without spending hours watching tutorials? This is exactly where modern AI tools come into their own. They do the heavy lifting for you, letting you stay focused on the creative side of things. Forget about meticulously tracing subjects or fiddling with layers; you can often get stunning results with a few simple words.
This whole approach has completely lowered the barrier to entry for creative editing. With over 6 billion smartphone users worldwide, almost everyone has access to powerful editing tools right in their pocket. It's no surprise that around 75% of digital marketers now use composite images to make their campaigns pop—a trend that's exploded thanks to these accessible AI tools.
A Practical Walkthrough with AI
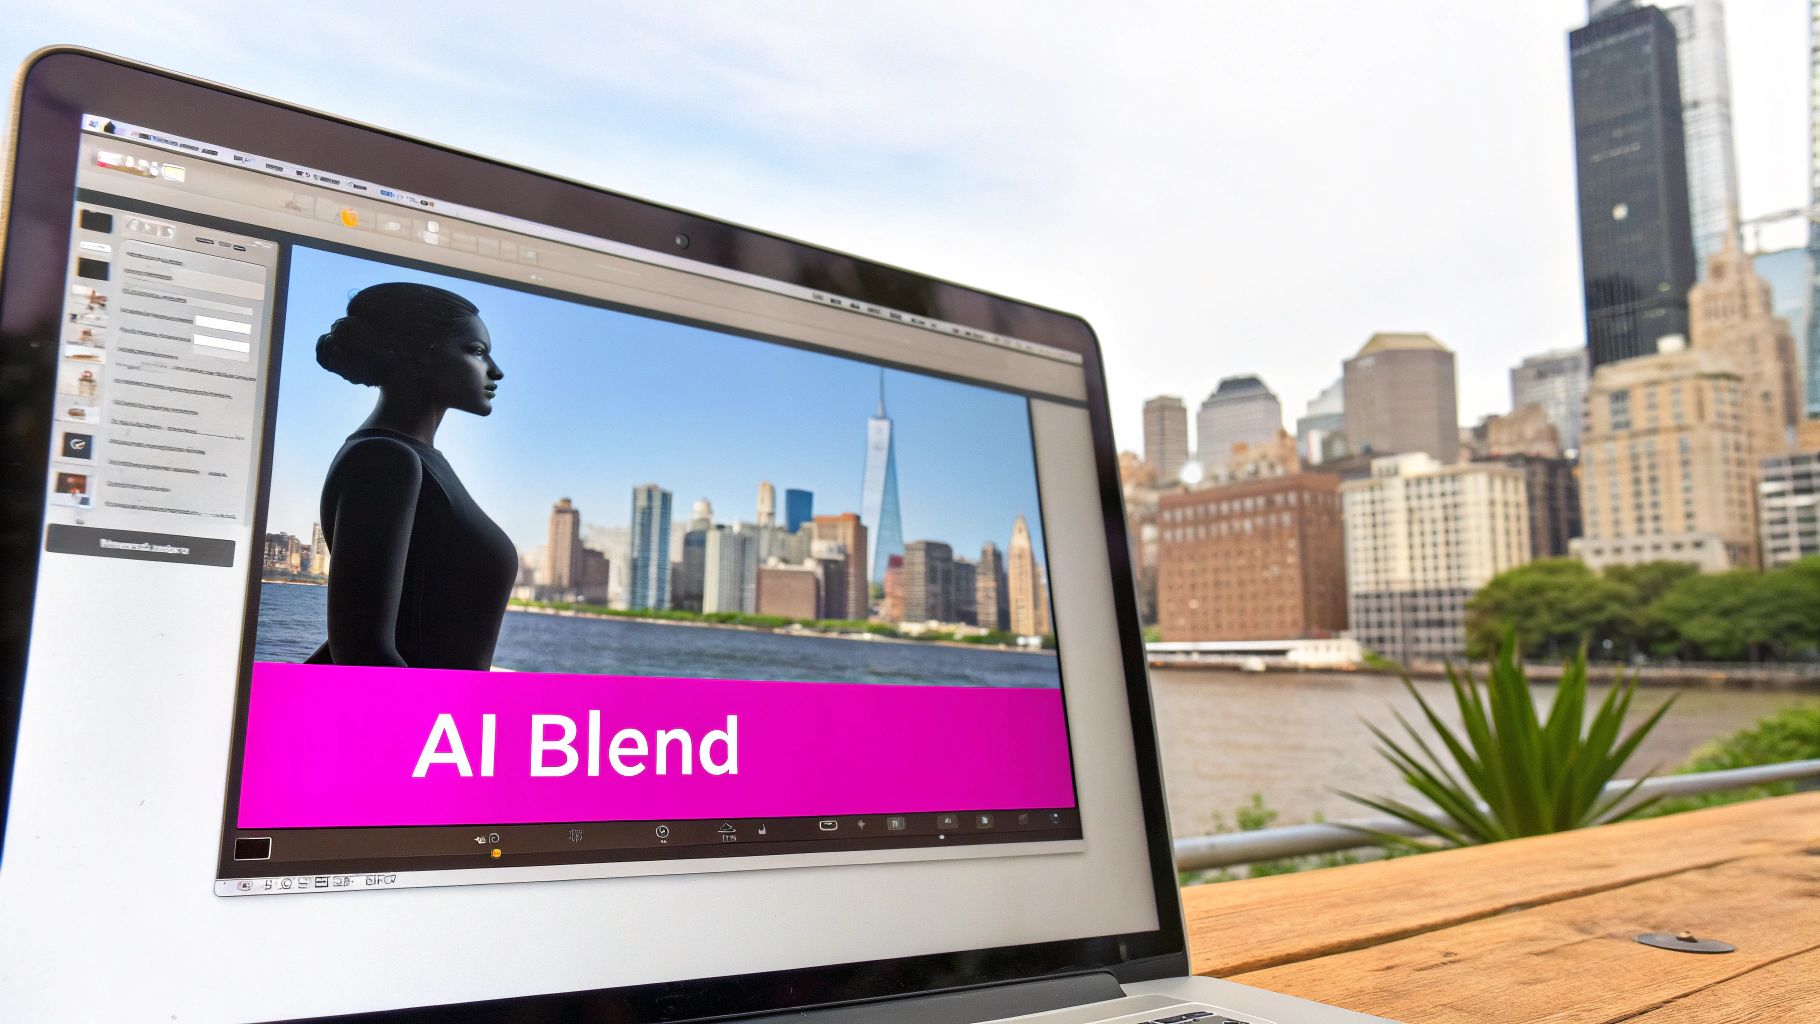
Let's walk through a real-world scenario. You want to create a classic double-exposure effect, blending a portrait with a dramatic cityscape. In a program like Photoshop, this means careful masking, layer adjustments, and a good bit of patience. With a modern AI tool, the whole process is flipped on its head.
First, you'd typically upload your base image—in this case, the cityscape. Then, you'd bring in the portrait, often using a specific "blend," "merge," or "remix" feature. From here, the AI takes over, usually identifying the main subject in the portrait automatically.
Key Takeaway: The real power of AI is its knack for understanding context. It doesn't just see a grid of pixels; it recognizes people, objects, and backgrounds. That's what makes the blending process so much smarter and faster.
But the real magic kicks in when you start writing prompts. Instead of just clicking buttons and moving sliders, you get to direct the AI with simple instructions.
Prompting for the Perfect Blend
Think of your prompt as your creative brief to the AI. For our portrait-and-cityscape blend, you could try prompts like these:
- "Blend the portrait into the cityscape with a double exposure effect."
- "Merge these images so the woman's silhouette is transparent and filled with the city lights."
- "Create a seamless blend where the buildings form the contours of her face."
The AI will interpret these instructions and give you a result. This is where it becomes a bit of a back-and-forth. Your first go might be 90% there, but you can refine it with follow-up prompts. Try something like, "Soften the transition around the edges," or "Make the city lights more visible." If you're stuck for ideas, checking out a collection of AI prompts for image blending can spark some serious inspiration.
AI-powered blending isn't just a lazy one-click solution; it's more like a conversation between you and the software. You bring the vision, and the AI handles the technical execution, turning what used to be a complex edit into a simple, prompt-driven workflow. Many of the same concepts are at play in sophisticated tools like this https://bulkimagegeneration.com/tools/image-generator, which can create incredible visuals entirely from scratch.
Getting Your Hands Dirty: Manual Blending in Photoshop

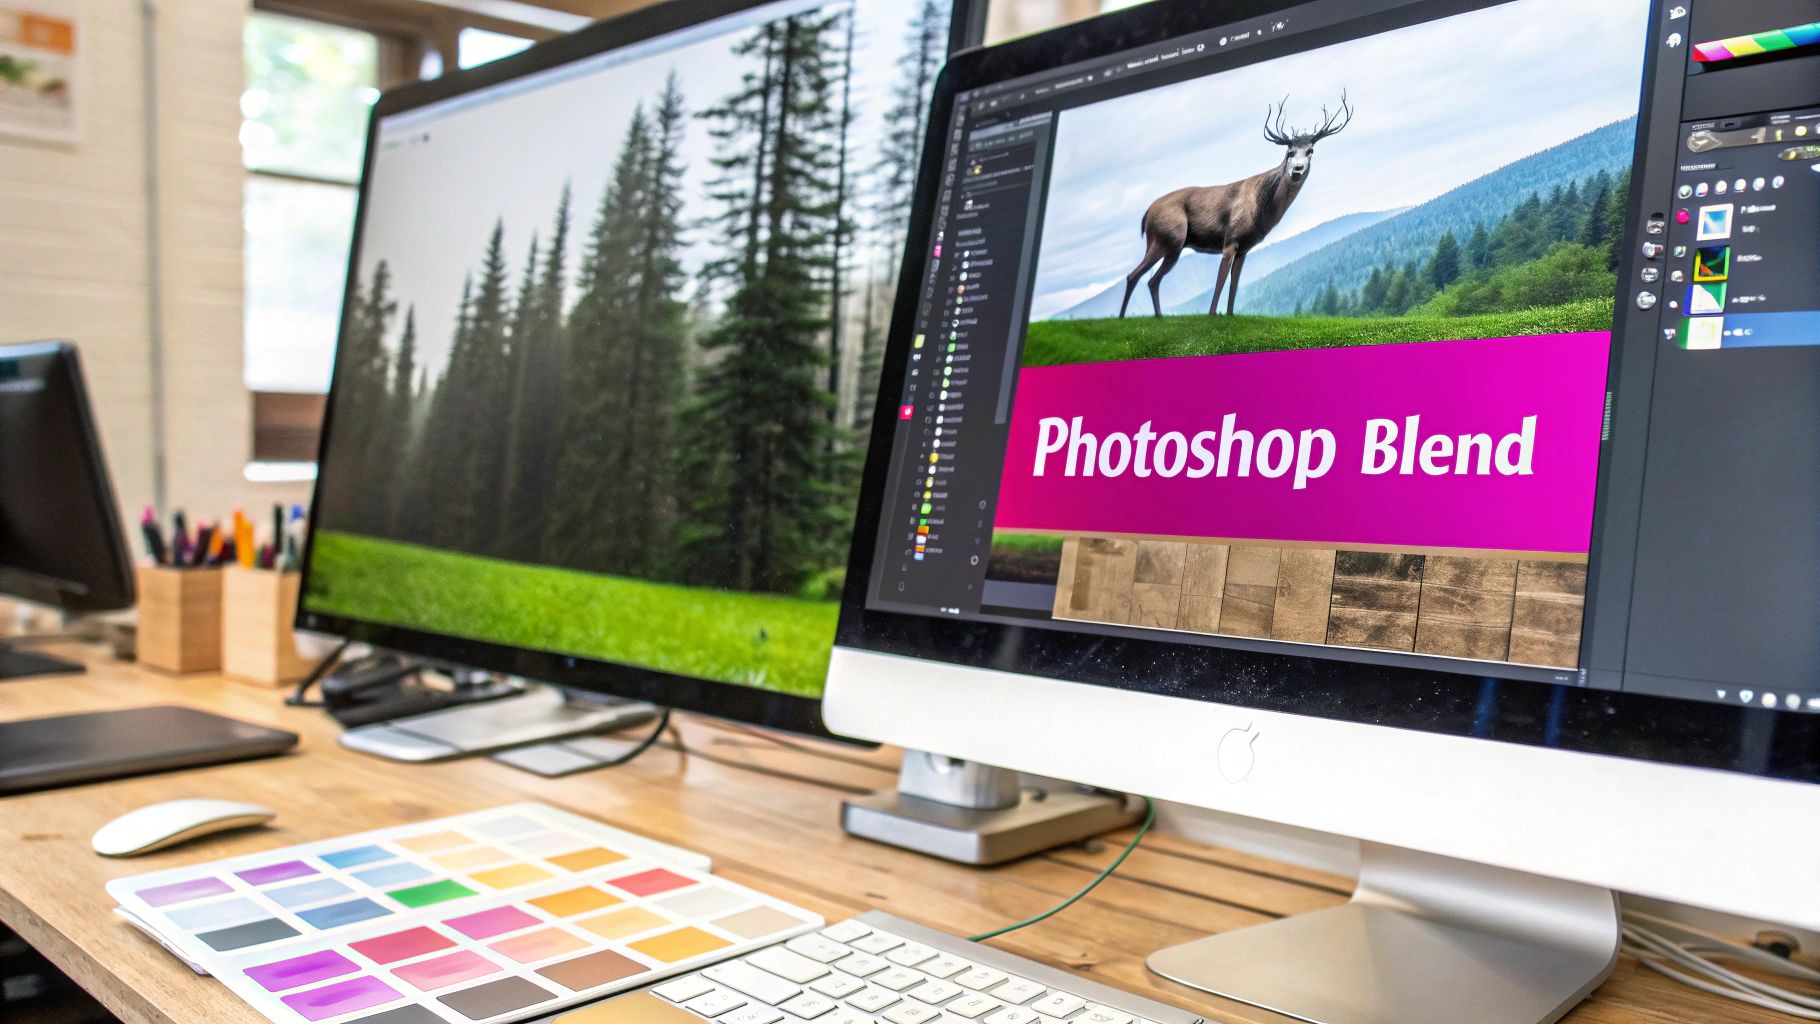
While AI tools are fantastic for speed, there are times you need total creative authority. That's when you jump into Adobe Photoshop. This is where you go from being a director to an artist, with precise, pixel-level control over your entire composition.
Learning to blend images manually isn't about memorizing shortcuts. It's about truly understanding the core tools that make seamless composites possible.
The entire foundation of a professional blend in Photoshop rests on two simple but powerful features: Layers and Layer Masks. Think of layers like clear sheets of acetate stacked on top of each other. Your base image is the bottom sheet, and the image you want to blend in sits on a new sheet right above it.
A layer mask acts as a stencil for that top layer, letting you control exactly which parts are visible and which are hidden. This is a non-destructive workflow, meaning you never permanently erase any part of your image—you can always go back and tweak the mask.
The Magic of Layer Masks
First, get both of your images open in Photoshop, placing them on separate layers within the same project file. Click on your top image layer to select it, then find the "Add Layer Mask" icon at the bottom of the Layers panel (it looks like a rectangle with a circle inside). You’ll see a white thumbnail pop up right next to your image's thumbnail.
The rule for masks is wonderfully simple:
- Painting with black on the mask hides that part of the layer.
- Painting with white on the mask brings it back.
- Using shades of gray creates partial transparency—perfect for soft, gradual transitions.
Grab a soft-edged brush from your tool panel and set your color to black. Now, just start painting over the parts of your top image you want to disappear. You'll see it fade away, revealing the image on the layer underneath. This is exactly how the pros create those impossibly smooth transitions that make two separate photos feel like they belong together.
This level of precision is something we take for granted today. Back in the late 1980s and early 1990s, the introduction of layers and masks in Photoshop was revolutionary. It moved digital artists beyond simple multiple exposures into an era of detailed, pixel-perfect control. By the late '90s, Photoshop had captured over 90% of the professional market.
Finding the Right Blending Mode
Blending modes are your next essential tool. These are powerful presets that tell Photoshop how the pixels on your top layer should interact with the pixels on the layer below it. You'll find them in a dropdown menu at the top of the Layers panel, usually set to "Normal" by default.
Instead of just clicking around randomly, here’s a quick rundown of the modes you'll use most often:
- Multiply: This mode is all about darkening. It’s fantastic for adding shadows, deepening colors, or combining textures.
- Screen: The exact opposite of Multiply, this mode brightens everything up. It’s my go-to for creating light effects like glows, sparks, or lens flares.
- Overlay: This one is a smart combination of Multiply and Screen. It boosts contrast by making light areas lighter and dark areas darker, which is perfect for adding texture and depth.
- Soft Light: Think of this as a much gentler version of Overlay. It creates a more subtle effect, making it ideal for delicate color adjustments or soft highlights.
Pro Tip: Don't be afraid to experiment. Cycle through the different blending modes with your arrow keys and watch how they affect your image in real-time. You'll often stumble upon an unexpected effect that takes your project in a cool new direction. Getting the edges right is also critical. For a deeper dive, check out this guide to making seamless textures; it covers manual and AI techniques that are super helpful.
Pro Tips for a Flawless Finish
Once you've done the heavy lifting of merging layers and masking the edges, you're about 90% of the way there. But that last 10% is what separates a decent composite from a truly believable one. These finishing touches are often subtle, but they're critical for tricking the viewer's eye.
The goal now is to unify all the separate pieces into a single, cohesive image. No matter how perfectly you match your source photos, there will always be tiny giveaways. The final step is applying global adjustments that tie everything together.
Create a Unifying Color Grade
The single most effective trick to make two different images feel like they belong together is to apply a unifying color grade over the whole thing. This acts like a "glue," forcing every element to share the same lighting and color story.
Think of it like putting a colored filter over your camera lens—everything you shoot instantly shares a common tint. In Photoshop, you can get this effect with a "Color Lookup" table (LUT) or a "Gradient Map" adjustment layer. Even a simple "Photo Filter" layer can wash a subtle warm or cool tone across the image, making the blend feel much more intentional.
Expert Insight: Start with a very low opacity on your color grading layer—somewhere around 15-25%. You'd be surprised how little it takes. The goal is to gently influence the colors, not obliterate them. Slowly dial up the strength until it just feels right.
Add Realistic Shadows and Highlights
The seam where your two images meet is make-or-break. To really sell the illusion, you need to paint in shadows and highlights that show how these objects interact with their new environment. A person standing in a forest isn't just in the forest; they cast a shadow on the ground and catch light dappling through the leaves.
It's actually pretty straightforward. Create a new layer and set its blending mode to Multiply to paint in soft shadows where your subject meets the new background. Then, make another new layer and set it to Screen or Soft Light to paint in subtle highlights where the new light source would hit. This one detail will dramatically boost the realism.
Integrate Textures and Grain
Finally, a classic trick for hiding imperfections is to add a subtle texture or film grain overlay across the entire image. If one of your photos is slightly sharper or has more digital noise than the other, a light grain overlay can smooth over those differences beautifully. It forces every single pixel to share a common surface texture.
You can find tons of free grain or dust textures online. Just drop one onto a new layer at the very top of your project, set its blend mode to Soft Light or Overlay, and pull the opacity way down until you can barely see it. This is also a great time to see how an AI texture generator can create custom overlays that perfectly match the mood you're going for. This final step can elevate your composite from a simple blend to a piece of art.
Common Questions About Blending Images
Even with the best tools, you're going to hit a few snags when you're learning how to blend two images. It just comes with the territory. This section is here to tackle the most common questions and frustrations I see all the time.
Think of it as your go-to guide for those moments when an edit just isn't working out. Let's get into the specifics so you can spend less time troubleshooting and more time creating.
What Is the Best Software to Blend Two Images?
Honestly, the "best" software is whichever one gets your job done right. There's no single perfect tool, because the answer depends entirely on whether you need speed, total control, or something in between.
Your choice really comes down to the project's needs:
- For quick, almost effortless results: AI tools like Adobe Firefly or Canva's Magic Edit are incredible. They're perfect if you're a beginner or just need a fast composite for a social media post or a quick concept.
- For maximum creative control: Nothing beats Adobe Photoshop. It remains the undisputed industry standard for a reason. Its layer masks, adjustment layers, and powerful blending modes give you the pixel-perfect precision that professional work demands.
- For a free, powerful alternative: If you're on a budget but refuse to compromise on features, GIMP is an excellent open-source choice. It offers a layer-based workflow very similar to Photoshop's, but without the subscription.
Ultimately, the best tool is the one you feel comfortable with. I know plenty of artists who start with an AI generator to get a base image and then jump into Photoshop to nail the final details.
How Do I Make My Blended Image Look More Natural?
This is the big one. Getting a blend to look natural—not like a cheap cut-and-paste job—is the ultimate goal. If the final image screams "edited," it completely pulls the viewer out of the moment.
The secret isn't some complicated trick; it's about matching the fundamentals. Always start with source images that have similar lighting and color temperatures. That’s non-negotiable. A photo shot in the warm, golden light of sunset will never look right when blended with another taken under cool, sterile office lights, at least not without a ton of color correction work.
Key Takeaway: The most critical step happens before you even open your editor. Choosing photos with matching light and perspective solves 90% of your blending problems right from the start.
Once you're editing, use a soft-edged brush on your layer mask. This creates a gradual, seamless transition between the images, avoiding a hard, artificial-looking line. When you're done, apply a single color grade or a subtle photo filter over the entire image. This final step is like the glue that holds everything together, making sure all the elements feel like they belong in the same scene.
Why Does My Final Image Look Blurry or Low Quality?
This is a super common and frustrating problem, but the cause is almost always the same: a mismatch in resolution.
If you try to blend a sharp, high-resolution photo with a small, low-res one, the final image quality will inevitably be dragged down by the weaker of the two. Think of it like a chain—your composite is only as strong as its weakest link.
To avoid this headache, make sure you start with two high-resolution images that are roughly the same size and sharpness. It's also a good idea not to go overboard with blur effects or use a brush that's too soft on your layer mask. Doing so can smudge important details right where the two images meet, killing the sharpness you worked so hard to preserve.
At Bulk Image Generation, we build AI tools that turn complex editing tasks into simple, creative workflows. See how our platform can help you create stunning visuals in seconds at https://bulkimagegeneration.com.