
How to Flawlessly Blend In Photos with AI Tools

Aarav Mehta • October 5, 2025
Learn how to blend in photos using AI for seamless, professional results. This guide offers practical tips for combining images like a pro.
Ever wondered how creators make those impossibly perfect images? The secret is often photo blending, a technique that combines multiple photos into a single, cohesive picture. And no, it's not just for Photoshop wizards anymore. Modern AI tools now make it surprisingly simple for anyone to blend in photos like a pro.
Why Photo Blending Is Your New Creative Superpower
The ability to blend images convincingly is a genuine game-changer. For marketers, it means dropping a product into any lifestyle scene without needing a pricey photoshoot. For artists and photographers, it opens up a world of surreal creativity by merging completely unexpected elements.
Not long ago, this skill required hours of meticulous work in complex software—fiddling with layers, masks, and endless adjustments. Today, AI has completely leveled the playing field, letting anyone get believable results without that steep learning curve.
A Once-Exclusive Skill, Now for Everyone
What used to be a specialized skill for designers is now accessible to all of us. The idea is simple: take a subject from one photo and place it seamlessly into another. AI-powered tools handle the most tedious parts, like cutting out a subject or matching the colors and lighting between two different images.
This shift is part of a bigger movement in visual media. The global photographic services market is projected to grow from USD 37.96 billion in 2025 to USD 64.68 billion by 2034, and a huge part of that growth is driven by AI that's changing how we create and edit.
It's More Than Just a Cut-and-Paste Job
Real photo blending isn't just about pasting one image on top of another. It's about creating a final piece that feels completely cohesive and believable. The latest AI tools are brilliant at this because they nail the key details that trick the human eye.
- Light Harmonization: The AI analyzes the light source in the background image and automatically adjusts your subject’s brightness and shadows to match.
- Color Matching: It also adjusts the color temperature and saturation, so your subject fits naturally into its new environment instead of looking out of place.
- Edge Refinement: Instead of a harsh, "cut-out" look, the AI softens the edges for a smoother, more integrated appearance.
The real goal is to make the final image look like it was captured in a single, perfect shot. The best photo blends are the ones you don't even notice.
In this guide, I'll walk you through the practical steps, sharing the same techniques professionals use. Once you get these fundamentals down, you'll be ready to explore the even more exciting possibilities we cover in our article on AI image generation trends for 2025.
Choosing the Right Images for a Perfect Blend
A great image blend starts long before you even open an AI tool. The real magic is in picking source photos that already play well together. I've seen it a hundred times: trying to force a subject shot in harsh noon sun into a soft, golden-hour landscape is just a recipe for a fake-looking, frustrating result.
To pull off a composite that actually looks believable, you have to think like a photographer first. Pay close attention to three key elements in your source images. Nailing these gives the AI a solid foundation to work from, making that final blend look effortless and natural.
Match the Lighting Direction and Quality
This is the big one. If the light in your photos is coming from different directions or has a different feel, the final image will always scream "fake." Before you even think about how to blend in photos, take a hard look at your source files.
Ask yourself a couple of simple questions:
- Where's the light coming from? If the sun is hitting the landscape from the left, your subject needs to be lit from the left, too. No exceptions.
- Is the light hard or soft? A subject with sharp, defined shadows from direct sunlight will never look right in a background shot on an overcast day, which creates soft, diffused light.
For instance, a portrait taken inside with soft window light will drop beautifully into an outdoor scene on a cloudy day. But that same portrait will look completely out of place on a bright, sunny beach.
Pro Tip: If your lighting is almost there but not perfect, do a quick exposure and contrast tweak in any photo editor before uploading. This little prep step can make a massive difference in how well the AI can harmonize the images.
Align Perspective and Camera Angle
Perspective is the next piece of the puzzle you can't ignore. An image of a person shot from a low angle will look bizarre when plopped into a landscape photographed from a high vantage point. The horizons won't line up, and the whole thing will feel off.
Your goal should be to find photos taken from a similar eye level. For example, if you're placing a product on a tabletop, make sure both the product shot and the table scene were captured from a similar height and angle.
This kind of consistency is everything, especially if you're diving into AI product photography, where believability is the name of the game. A mismatched perspective is one of the quickest ways to shatter the illusion.
Your Workflow for AI-Powered Photo Blending
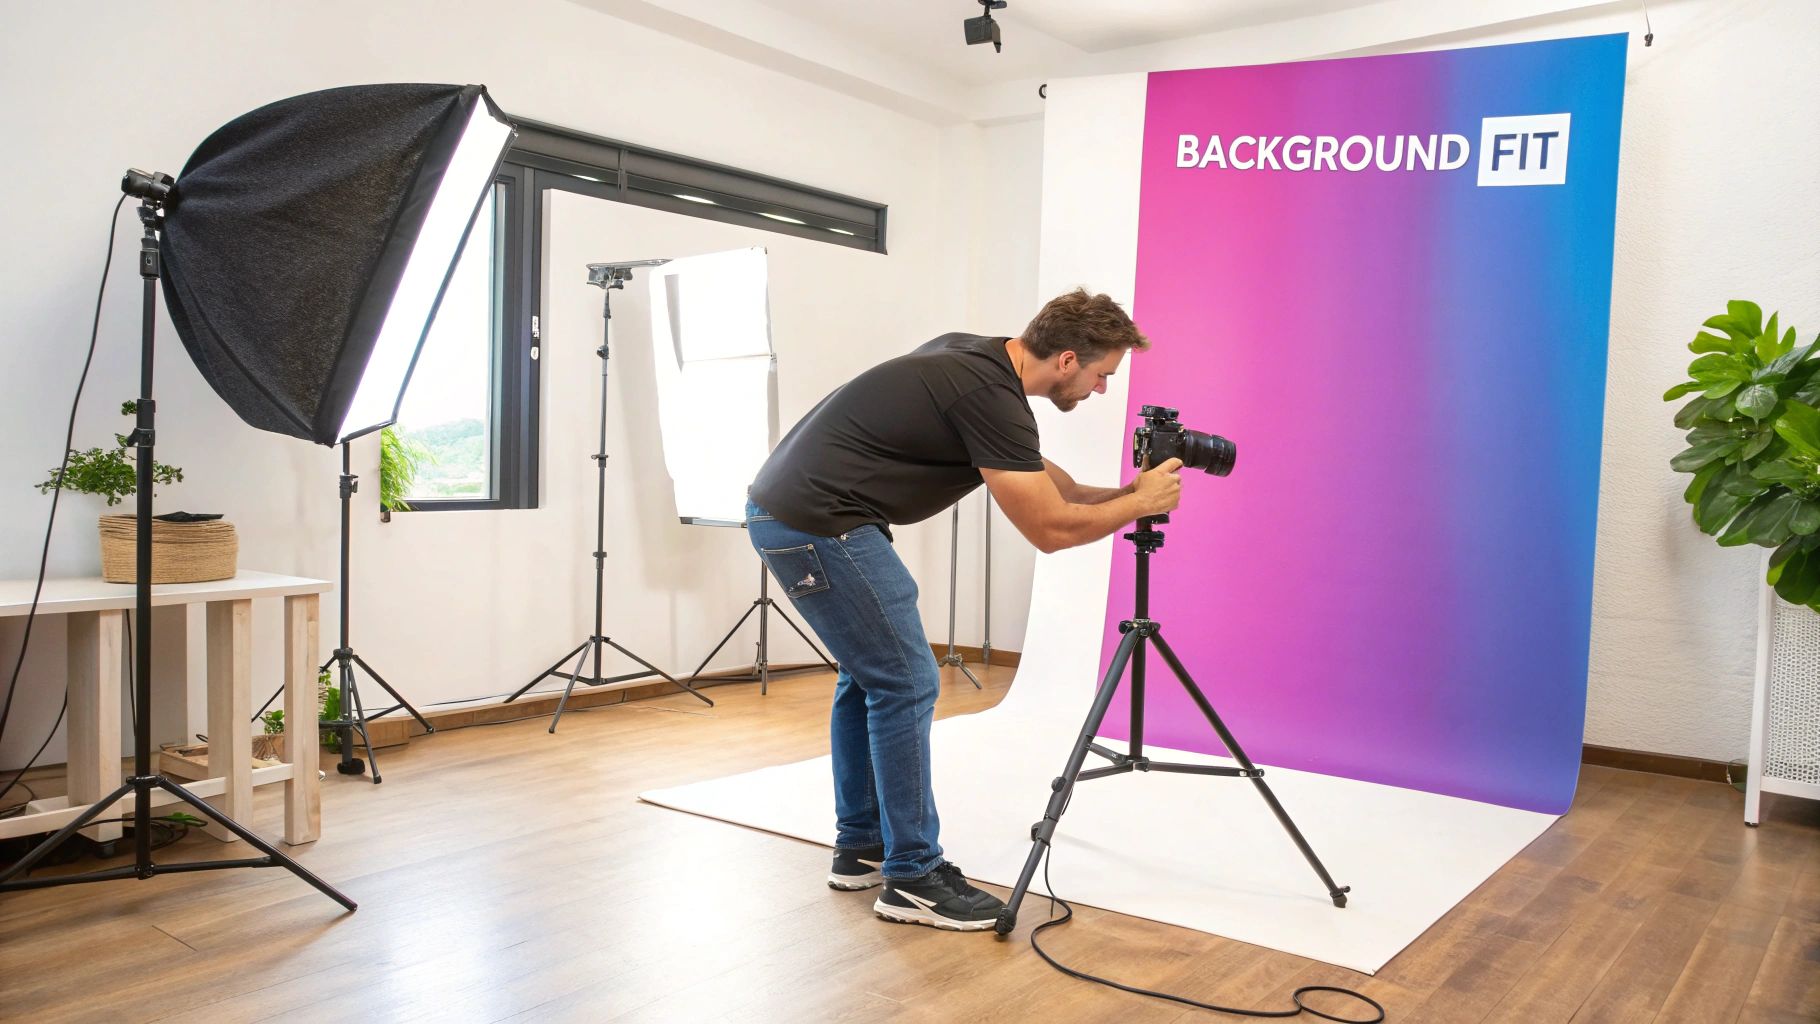
Alright, let's get into the fun part—the actual workflow. Using modern AI tools to blend in photos isn't about tedious pixel-pushing anymore. It’s more about being the creative director and guiding the AI to bring your vision to life. The whole process is surprisingly simple, really. You just need two things to start: your background image and your subject.
First up, you’ll upload both your main background photo and the picture of your subject into the editor. This gives the AI all the raw material it needs to work its magic. And that magic starts with isolating your subject from its original scene.
Gone are the days of painstakingly tracing around an object with a lasso tool. I remember spending hours on that stuff. Now, the best AI editors have one-click masking tools that intelligently figure out what your subject is and select it with frankly stunning accuracy. In an instant, the old background is gone, leaving you with a perfect cutout ready for its new home.
Composing Your Scene with AI Assistance
With your subject cleanly isolated, it's time to place it into the new background. This is where your creative eye really comes into play. Just drag and drop the subject where it feels right in the composition. You'll want to think about realistic scale and placement here—a person shouldn't be towering over a building in the distance, for example.
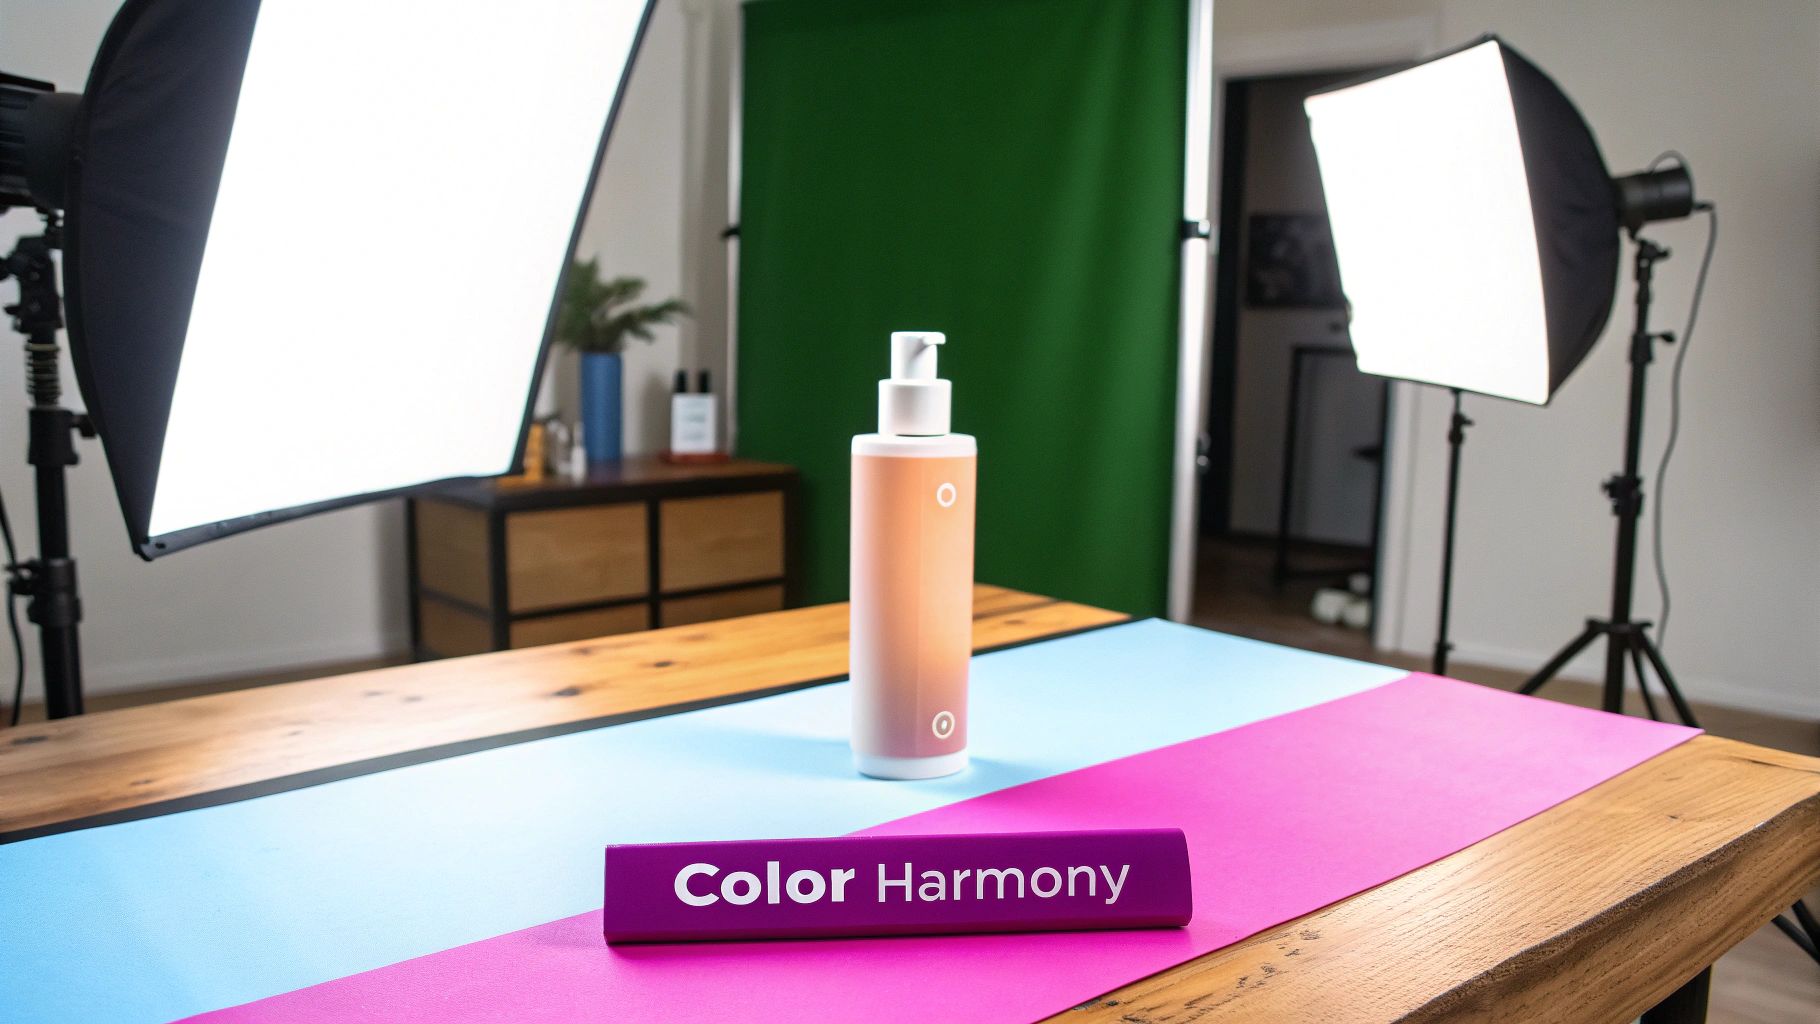
Once the subject is positioned, you can bring in the AI's real heavy hitters: Color Harmonization and Light Matching. These aren't just basic filters; they're smart algorithms that analyze both of your images to make the blend look seamless.
- Color Harmonization: This tool looks at the color palette of your background—say, the warm oranges of a sunset or the cool blues of a city night—and tweaks your subject's colors to fit right in.
- Light Matching: The AI finds the main light source in your background and automatically adjusts the highlights and shadows on your subject so it looks like it's actually lit by that same source.
Honestly, these two features are the secret sauce. They take what would otherwise be an obvious cutout and make it look like a believable part of the scene, as if the final image was captured in a single, perfect shot.
Adding Realistic Shadows
The infographic below really drives home how critical natural-looking shadows are for a believable final image.
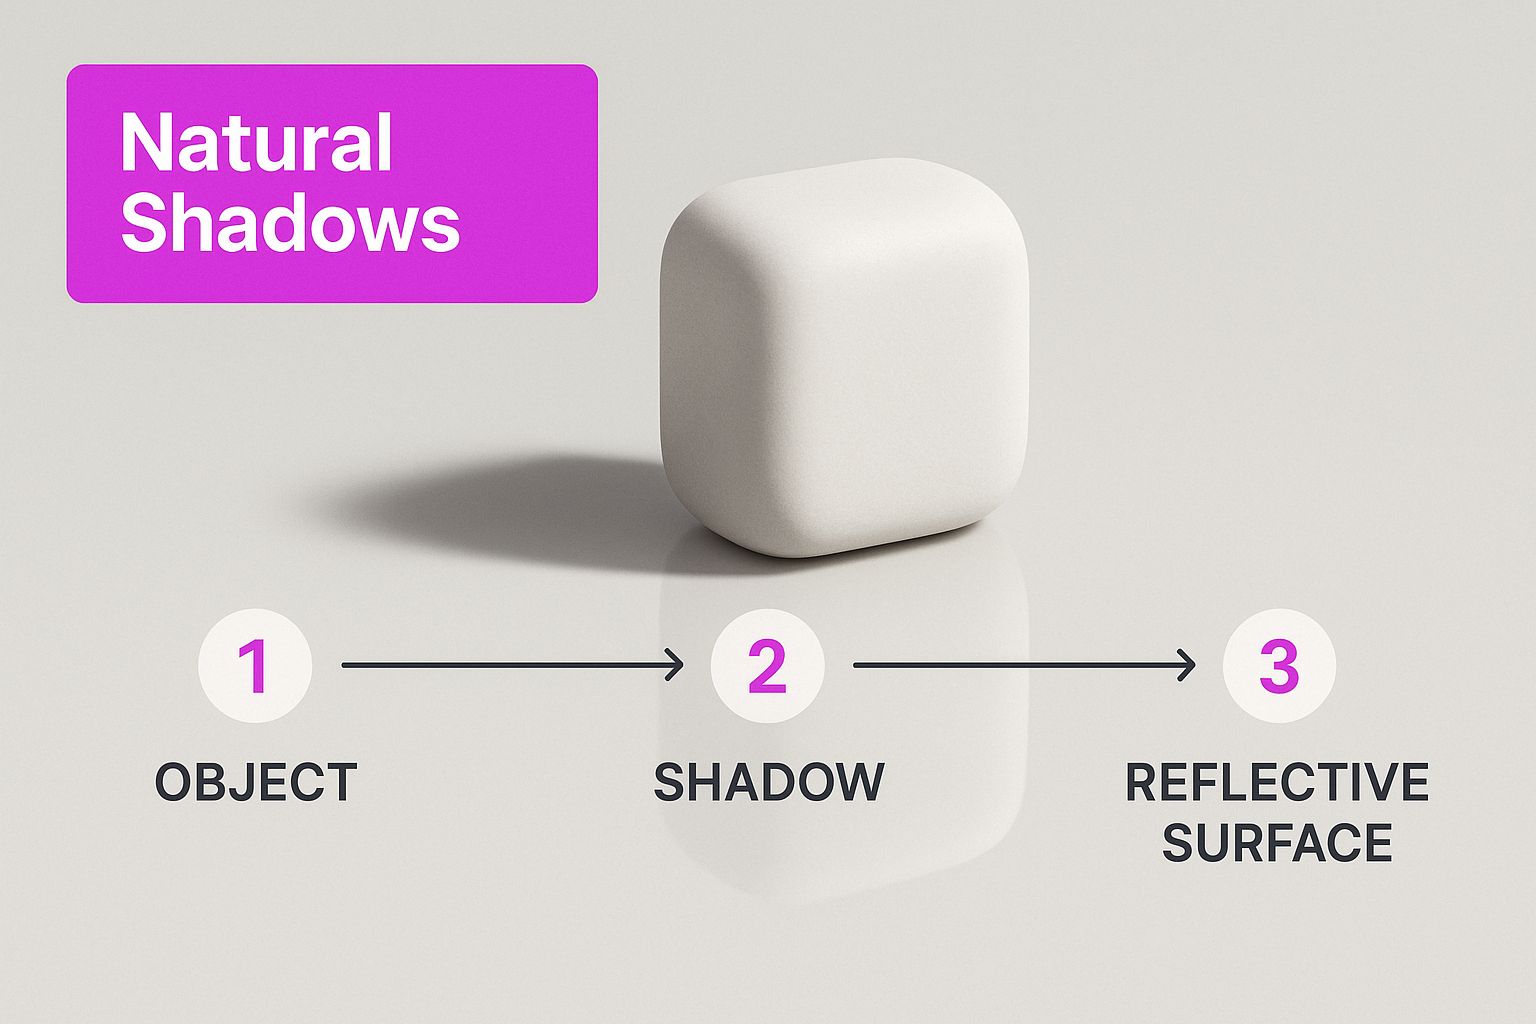
Without a decent shadow, your subject just looks like it's floating awkwardly in space. The best AI tools now have features that generate realistic shadows that actually respect the scene’s lighting. It’s a small detail that makes a massive difference.
If you're interested in going beyond blending and want to create entirely new scenes from scratch, you can play around with Bulk Image Generation's AI-powered image generator.
And when you're managing a lot of these complex visuals, using powerful image automation tools can be a total game-changer for your workflow. It just simplifies the whole process of churning out high volumes of quality images.
Adding the Final Touches for Unbelievable Realism
The AI gets you 90% of the way there, but that last 10% is all you. This is where your artistic eye comes in, making the tiny refinements that sell the whole illusion. It’s what separates a pretty good composite from one that’s genuinely convincing.
First thing to eyeball? The edges. Nothing screams "pasted on" like a razor-sharp outline around your subject. While most AI tools do a decent job, you’ll often need to go in and slightly soften or feather the mask’s edge. This one small tweak helps the subject settle into the scene and look like it actually belongs there, making your effort to blend in photos pay off.
Creating Believable Shadows and Depth
If there’s one dead giveaway, it's a bad shadow. Or no shadow at all. A missing shadow makes your subject look like it’s floating in space, completely disconnected from the environment.
A convincing shadow has to match the main light source in your background photo. Pay attention to both its direction and how soft it is. If the sun is high and to the right, the shadow needs to be short and cast to the left. Simple as that.
- Direction: The shadow always needs to fall away from the main light source.
- Softness: Is the light harsh and direct? You'll get sharp-edged shadows. Is it an overcast day or diffused light? The shadows will be soft and blurry.
- Opacity: Shadows are never pure black. Make them semi-transparent so you can still see some of the background texture through them.
The goal is to make the shadow look like a natural result of the light that’s already in the scene. A well-placed shadow is what grounds your subject, giving it weight and instantly making the whole image more realistic.
This is absolutely crucial in commercial work like stock photography, where images have to look authentic to catch a user's eye. The demand for high-quality, believable images is huge—the North American stock photos market hit around USD 1,370.08 million in 2024. You can learn more about the growth of the stock photo market and see why getting these details right matters.
Unifying the Image with Final Adjustments
Finally, a little color grading goes a long way. Applying a subtle filter or tweaking the overall color temperature can tie everything together beautifully. It makes the subject and the background feel like they were shot with the same camera, at the same time, under the same light.
Want to take it one step further for a truly seamless look? Try adding a very light touch of film grain over the entire final image. It’s a simple trick, but that uniform texture helps fool the eye into seeing the composite as a single, cohesive photograph. These are the little details that make your blended images truly stand out.
So, What Can You Do With Your New Blending Skills?
Okay, now that you've got the basics down, this is where the fun really starts. Being able to seamlessly blend in photos isn't just a neat trick—it’s a powerful way to tell stories, make incredible art, and even solve some common photo frustrations.
For anyone in marketing, this is a game-changer. Forget expensive photoshoots. You can now drop your product into literally any lifestyle scene you can imagine. Think about placing a new hiking boot on a rugged mountaintop or a sleek coffee maker into a bright, modern kitchen—all without leaving your desk. It’s all about creating the perfect context to help your audience connect with your product.
From Personal Fixes to Professional Art
For the artists out there, the possibilities are pretty much endless. You could create surreal portraits by merging a person with elements from nature or build out breathtaking fantasy landscapes by combining different environments. If you can dream it up, you can probably build it.
And on a more personal level, you can finally fix those little photo annoyances. Ever wish you could add a family member who missed the big group photo? Or maybe combine your favorite moments from a vacation into one epic shot? This technique makes all of that possible.
The real magic of blending photos is turning a simple "what if" idea into a stunning visual reality. You can create images that would be completely impossible or way too expensive to capture in a single shot.
This skill also translates perfectly to other projects, like creating an eye-catching Pinterest collage. With over 92.5% of all photos now taken on smartphones, anyone can now create professional-looking composites without needing high-end camera gear.
Choosing Your Blending Technique
To help you figure out the best way to tackle your next project, I've put together a quick table matching common goals with the right AI approach. Think of it as a cheat sheet for getting the best results.
| Project Goal | Best Blending Approach | Key AI Tool Feature |
|---|---|---|
| Product Marketing | Place a product into a lifestyle background | Color Harmonization |
| Surreal Art | Combine two unrelated images creatively | AI-Generated Masking |
| Personal Photos | Add a person to an existing group shot | Light & Shadow Matching |
Matching the tool to the task is key. For a product shot, you need perfect color blending, but for adding a person to a family photo, realistic lighting and shadows are what will make or break the final image. Pick your approach wisely
Got Questions About Blending Photos with AI?
Once you start blending photos, you'll probably hit a few of the same hurdles everyone else does. It's totally normal. Most of the time, the fixes are pretty simple and will help you get much more believable results from your AI editor. Let's walk through some of the questions that pop up most often.
One of the first headaches is dealing with really tricky subjects—think fine hair, wispy fur, or things you can see through, like a glass. AI masking is incredibly smart, but even it can get tripped up on those complicated edges sometimes. When that happens, don't be afraid to jump in and do a little manual cleanup. Most tools will let you refine the mask, so you can gently brush in or erase parts of the selection to get a much cleaner, more natural-looking edge.
What If My Lighting Just Won’t Match?
You've been there. You have the perfect subject and the perfect background, but the lighting is completely off. One shot is from harsh midday sun, and the other is a soft indoor scene. While AI light matching does a great job, it can't always work miracles.
When the lighting is fundamentally different between your two images, the easiest path is often to just find a different background or subject photo. It’s way less frustrating to start with compatible images than to try and force a blend that's never going to look right.
But, if you're really set on using those specific images, try converting both to black and white first. When you strip out the color, those lighting inconsistencies become a lot less jarring. After you've blended the monochrome versions, you can apply a single, unified color grade over the whole composite to tie everything together.
How Can I Get More Creative With My Blends?
Okay, so you've nailed the realistic stuff. Now for the fun part. The real magic begins when you start using these skills to create compositions that are more artistic and imaginative.
- Play with Scale: Why not throw realism out the window? Mismatching the scale of your subject and background can create some seriously surreal and eye-catching art. Think of a tiny person standing on a giant flower.
- Mix Unexpected Textures: Try applying the pattern of one object onto another. You could take the intricate design from a butterfly's wings and map it onto a piece of clothing for a unique fashion concept.
- Build Impossible Scenes: This is where you can really let your imagination run wild. Blend elements that could never exist together in the real world. You could place a boat in the middle of a desert or an astronaut exploring an underwater city.
These techniques push way beyond what traditional photo editing could easily do, turning a simple tool into a canvas for whatever you can dream up.
Ready to stop troubleshooting and start creating? Bulk Image Generation gives you powerful but simple tools to blend photos seamlessly, generate entirely new visuals, and make your whole creative process faster. Start creating for free today at bulkimagegeneration.com.