
A Guide to Batch Editing Photos with AI Tools

Aarav Mehta • August 13, 2025
Learn how to batch editing photos efficiently with AI. This guide covers setting up workflows, choosing tools, and advanced tips for pro-level results.
When you hear "batch photo editing," it might sound like some technical jargon reserved for pro photographers. But in reality, it's the simplest, most powerful secret for anyone who needs to edit more than one photo at a time.
At its core, batch editing is just applying a single set of adjustments—like color correction, resizing, or a specific filter—to a whole group of images all at once. It’s how you transform a slow, repetitive editing slog into a fast, efficient workflow. This saves professionals countless hours and, just as importantly, keeps their brand looking sharp and consistent.
The Power of Batch Editing for Modern Workflows
Imagine you just wrapped up a real estate photoshoot. You've got 200 great images, but they all need a little love. Editing them one by one means repeating the same tweaks to brightness, contrast, and color balance 200 different times. It’s not just painstakingly slow; it's a surefire way to get inconsistent results and a massive headache.
Batch editing completely flips that script. You perfect the edits on one representative photo, then—with a click—apply those exact settings to the entire album. This turns a multi-day chore into a task you can knock out in minutes.
The result? Every single photo shares the same professional look and feel. That's absolutely critical whether you're building a cohesive brand identity, a uniform product catalog, or a stylistically consistent wedding album.
Why Speed and Consistency Matter
The demand for visual content today is relentless. Marketers, e-commerce managers, and photographers are all under constant pressure to pump out tons of high-quality images, and fast. The old-school, one-at-a-time approach just doesn't cut it anymore.
Here’s why shifting to a batch process is a game-changer:
- Massive Time Savings: You slash your post-production time, freeing you up for more creative work or strategic planning.
- Rock-Solid Brand Consistency: All your visuals, from social media posts to website banners, will have a unified, professional aesthetic.
- Fewer Mistakes: Automating repetitive tasks minimizes the risk of human error that creeps in during tedious manual adjustments.
- Higher Output: You can take on larger projects and deliver work to clients or your team in a fraction of the time.
This need for efficiency is driving major growth in the industry. The global market for photo editing software is projected to hit USD 44.24 billion by 2030, fueled in large part by the demand for powerful batch processing tools. Professionals everywhere are leaning on these features to keep up.
To put the difference into perspective, here’s a quick breakdown of a typical project.
Manual vs. Batch Photo Editing At a Glance
| Metric | Manual Editing (Per Photo) | Batch Editing (100 Photos) | Key Benefit |
|---|---|---|---|
| Time Investment | 3-5 minutes | 5-10 minutes (total) | Efficiency |
| Consistency | Varies by photo | 100% consistent | Brand Integrity |
| Scalability | Low (bottlenecks quickly) | High (handles thousands) | Growth |
The table makes it clear: batch editing isn't just a minor improvement—it's a fundamental shift in how you operate.
The real win with batch editing isn't just about going faster—it's about gaining control. It gives you a reliable system for producing predictable, high-quality results at scale, which is the bedrock of any successful visual content strategy.
Batch editing is also a cornerstone of smart content creation. It lets you quickly prep visuals for different platforms, which is essential for effective content repurposing strategies. By automating the resizing and reformatting, you can adapt a single photoshoot for a blog post, an Instagram story, and a Facebook ad without breaking a sweat.
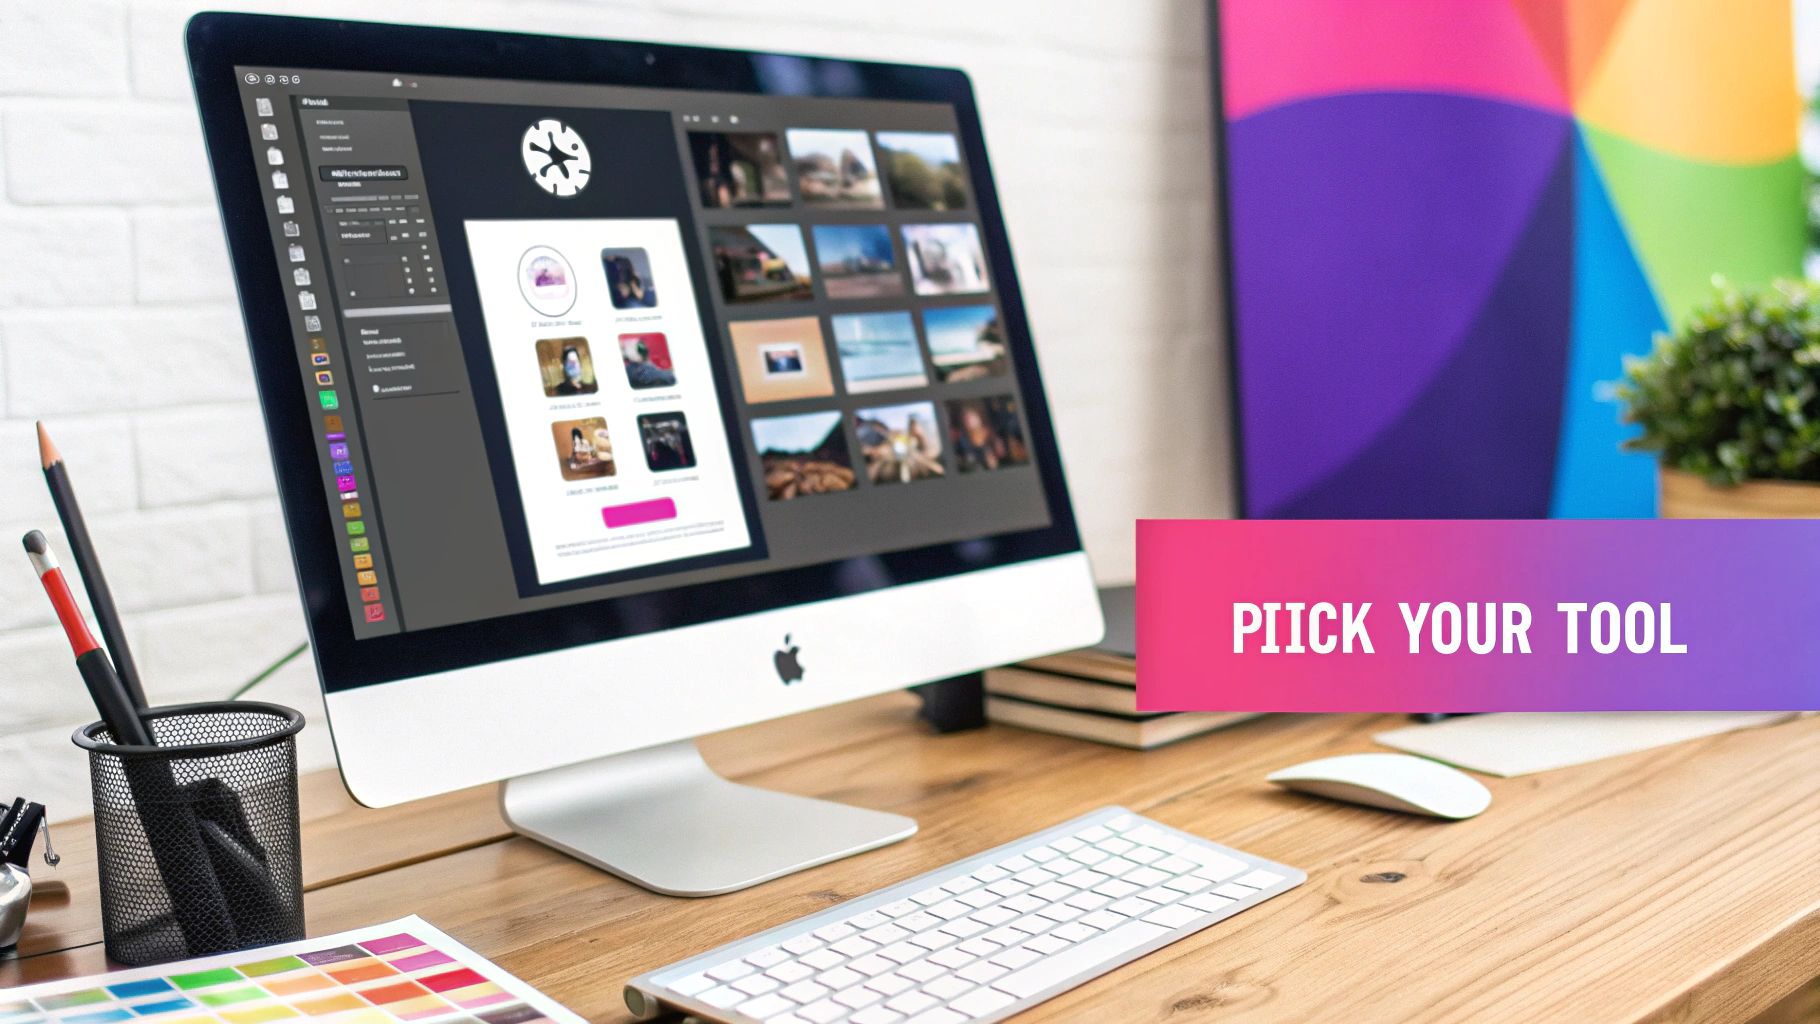
Picking the Right AI Tool for Batch Editing Photos
 Choosing your software is probably the single biggest decision you'll make when you start to batch edit photos. The market is flooded with options—from old-school desktop giants and slick cloud platforms to hyper-focused AI tools. The goal isn't finding the one "best" tool, but finding the best tool for you.
After all, what a wedding photographer needs to edit 600 unique images is a world away from what an e-commerce brand needs to process 10,000 product shots. It all comes down to matching the software's strengths to your everyday grind.
First, What Do You Actually Need to Do?
Before you get dazzled by feature lists, take a minute to think about what you’re really trying to achieve. Are your edits basic and repetitive, or are they complex and creative? This is the most important filter you can apply.
A real estate photographer, for example, might just need to apply consistent brightness, sharpness, and lens corrections across a whole gallery. In that case, a classic workhorse like Adobe Lightroom is a no-brainer. Its power lies in syncing edits and managing presets, which it handles beautifully.
But what if you're an e-commerce manager with a non-negotiable task: removing the background from thousands of product photos? A general-purpose editor is the wrong tool for the job. You'd be far better off with a specialized AI tool like PhotoRoom or our own Bulk Image Generation platform, which is built for that exact kind of high-volume, specific task.
So, ask yourself these questions:
- How complex are my edits? Are we talking simple exposure and color tweaks, or do you need advanced AI features like sky replacement, object removal, or detailed skin retouching?
- What file types am I using? If you’re a pro shooting in RAW, you need software that can handle those massive, data-rich files. If you're working with JPEGs from a phone or stock site, your options are much wider.
- How does this fit my workflow? Does the tool play nice with your other software? Think about plugins or easy export options for your website's CMS or your social media scheduler.
Comparing the Different Kinds of Tools
The software for batch editing photos generally falls into a few camps. Each has its pros and cons depending on what you’re up against.
| Tool Type | Best For | Key Strengths | Potential Drawbacks |
|---|---|---|---|
| Desktop Software | Photographers, designers | Deep feature sets, RAW support, offline access | Steeper learning curve, higher upfront cost |
| Cloud-Based Platforms | Teams, marketers | Collaboration, accessibility, easy sharing | Subscription fees, requires internet, may have fewer features |
| Specialized AI Tools | E-commerce, specific tasks | Incredible speed, task-specific accuracy | Limited to one function (e.g., background removal only) |
A classic mistake I see people make is paying for a massive software suite when they only use a fraction of its features. If all you need is batch resizing and watermarking, something like Lightroom is total overkill. A simpler tool will save you both money and headaches.
It's also interesting to see how different parts of the world adopt these tools. The United States leads with a 22.1% market share, while Germany holds 8.7% and Japan is at 9.5% revenue share. This tells us a lot about how established creative industries prioritize these advanced workflows. Meanwhile, India’s 10.4% market share shows how the explosion of smartphone use is driving demand for more accessible batch editing tools. You can explore more about these global software trends and see where you fit in.
Match the Tool to the Job: Real-World Scenarios
Theory is great, but let's make this practical. The right choice becomes obvious when you look at it through the lens of a real job.
Scenario 1: The Wedding Photographer They shoot in all sorts of lighting, from a dark church to a sunny outdoor reception. The main goal is to get a consistent, signature color grade across hundreds of photos while still being able to tweak individual shots.
- Ideal Tool: Adobe Lightroom Classic or Capture One.
- Why it Works: These programs are masters of RAW file editing and sophisticated preset creation. The ability to sync edits across a batch and then fine-tune exposure or white balance on a single image is absolutely essential. Plus, their organizational features are built for managing huge client projects.
Scenario 2: The E-commerce Store Owner They've got 50 new products to list, each with 5 photos. That's 250 images that all need a pure white background, a perfect square crop, and web-optimized compression.
- Ideal Tool: A specialized AI platform like Bulk Image Generation.
- Why it Works: Here, speed and consistency are everything. A dedicated tool can knock out hundreds of background removals in minutes—a job that would take a human hours in traditional software. The goal is pure uniformity, not artistic flair, making automation the clear winner.
Ultimately, picking the right tool for batch editing photos isn't about chasing the fanciest features. It's about taking a hard look at your biggest, most repetitive problem and finding the sharpest tool to solve it. That's the real secret to an efficient workflow.
Prepping Your Images for a Flawless Batch Edit
 Jumping straight into editing a massive folder of photos is a classic rookie mistake. It’s a surefire way to get frustrated and end up with inconsistent results. The real secret to a successful batch edit isn't the final click of a button—it's the prep work you do before you even think about sliders and presets.
Think of it like this: you wouldn't just start throwing ingredients in a pot to cook for a dinner party. You'd prep your station, chop your veggies, and measure everything out first. It's the same logic with batch editing photos. A little groundwork makes the whole process smoother and the final product much better.
Cull Like You Mean It
First things first, you have to be ruthless. Why on earth would you waste time and processing power on images that are destined for the digital trash can? Culling—the simple act of reviewing and ditching subpar shots—is your single biggest time-saver.
Go through your entire shoot and get rid of anything that's out of focus, poorly composed, or captures a blink or an unflattering expression. This move alone drastically cuts down your workload, letting you pour all your energy into the photos that actually matter.
After a typical event shoot, I’ll often eliminate 30-40% of the photos before a single edit is made. This isn't just about deleting the "bad" ones; it's about curating a powerful visual story with only your best work.
Get Your Folders in Order
Once you've trimmed the fat, you need to get organized. A single folder with hundreds of files named _DSC1234.jpg is a recipe for a headache. A bit of structure here will save you so much pain later.
I rely on a simple, foolproof folder system. You can adapt it, but here's a great starting point:
- Originals: This is your vault. All untouched RAW or JPEG files from your camera live here, safe and sound.
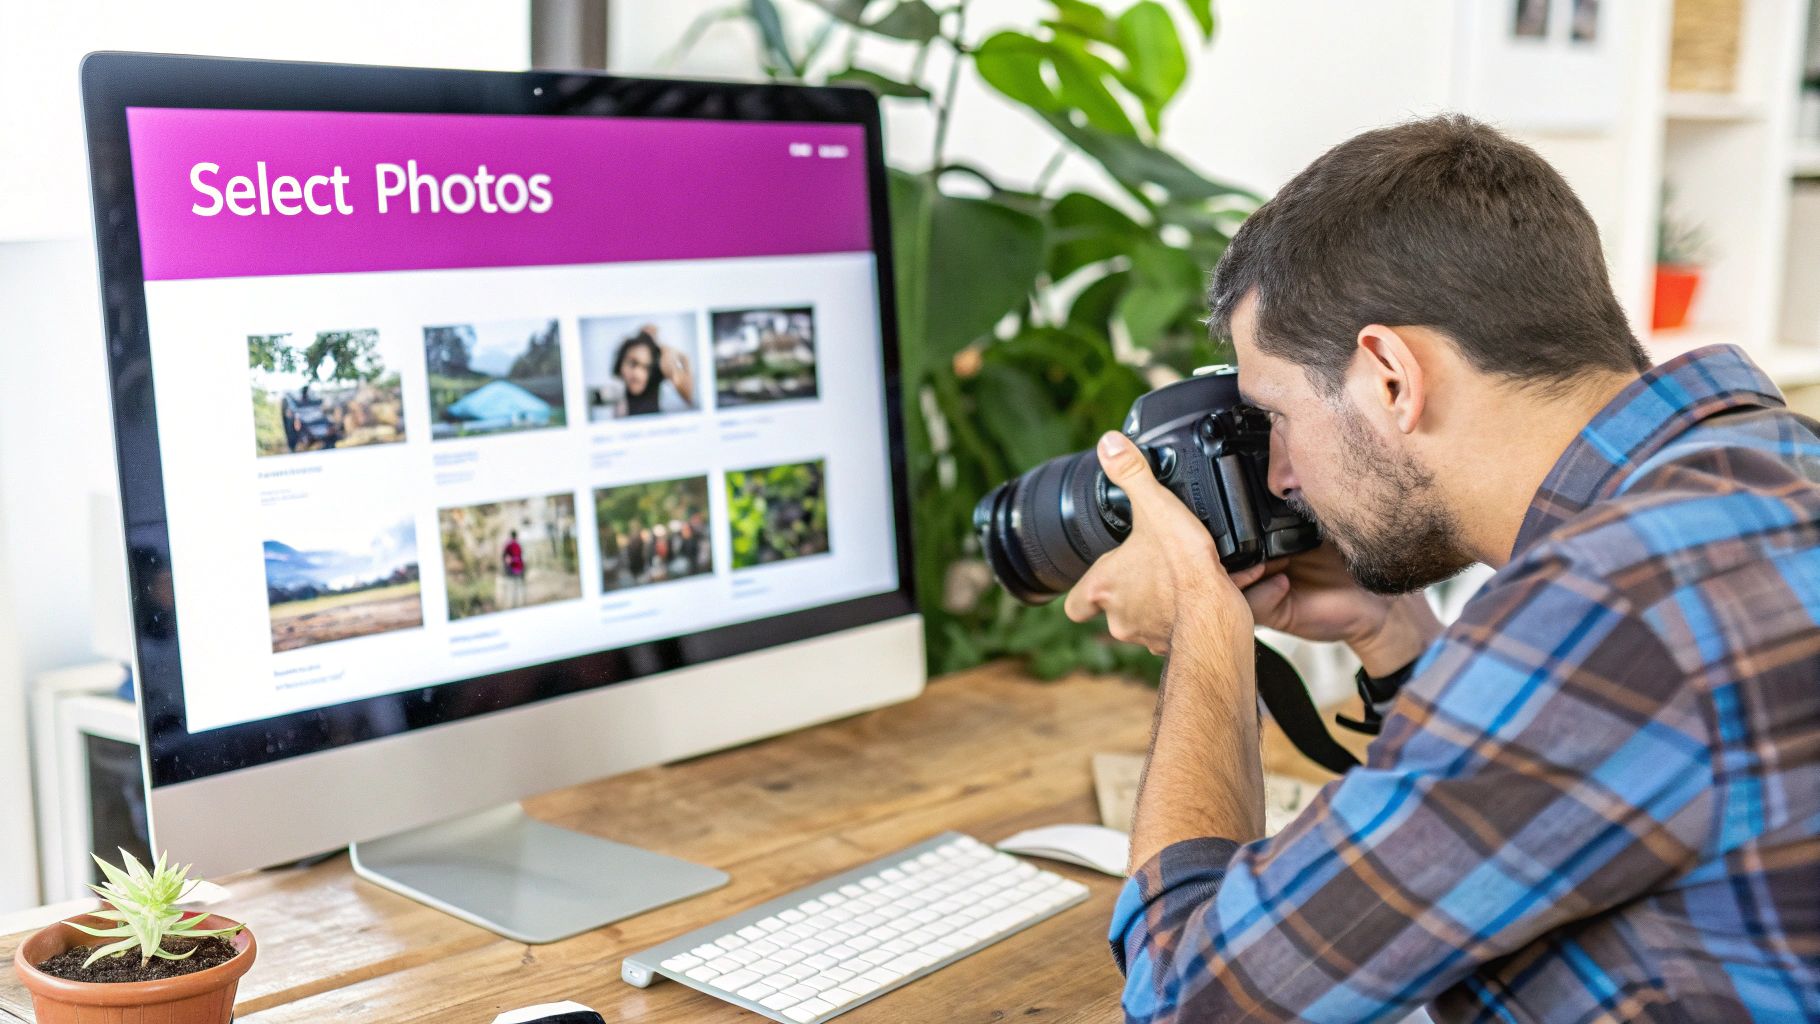
- Selects: These are your heroes—the curated, culled images you're actually going to edit.
- Rejects: The photos that didn't make the cut. Keep them here until the project is delivered, just in case.
- Final Edits: Your exported, client-ready images.
This setup keeps your project clean and, most importantly, prevents you from accidentally overwriting your original files. You always know where everything is.
A pro tip I swear by: Before making any adjustments, I find one photo that perfectly represents the lighting and mood of a specific scene (like all the indoor ceremony shots). This becomes my 'anchor' image. By perfecting this one photo first, I create a reliable baseline I can sync across all the other similar shots.
Nail the Foundational Fixes First
With your keepers neatly organized, it's time for a couple of quick technical corrections before you get into the creative side of things. Applying these fixes across the board creates a uniform foundation.
Lens Corrections Almost every modern lens introduces some kind of distortion, vignetting, or chromatic aberration (that annoying purple or green fringing). Tools like Adobe Lightroom or Capture One have built-in profiles that fix these issues with one click. Applying this to all your "Selects" at once is a fantastic first step.
White Balance Consistency If you shot in changing light—moving from shade into direct sun, for instance—your white balance will be all over the place. Your goal here isn't to style the image yet, but to neutralize the color.
Adjust the white balance on your anchor image until the whites look pure white and skin tones look natural. When you apply this corrected white balance to the rest of the set, you bring a much-needed consistency that makes your final color grade look polished and professional. Get these basics right, and your main AI-powered batch edit will be far more accurate and deliver stunning results.
Executing Your First Batch Edit: A Practical Walkthrough
Alright, this is where the prep work really starts to shine. Moving from planning to actually doing can feel like a big leap, but your first batch edit is surprisingly simple once you've got a solid game plan.
Let's ground this in a real-world scenario. Imagine you're a real estate photographer who just wrapped up a property shoot. You've got a folder with 50 of your best shots, and the goal is to make every single one look bright, sharp, and inviting. You need a consistent, high-end look across the whole gallery before you can send it off to the client.
We'll talk about concepts common in tools like Adobe Lightroom, but the core ideas here apply to pretty much any professional photo editor.
Selecting and Polishing Your Reference Image
First things first: you need to pick your "hero" photo. This is the one image that best represents the entire set. Look for a shot with decent lighting that contains all the key elements you want to nail—in this case, bright interiors, clear views out the windows, and true-to-life colors. This will be your reference image.
Now, open that single photo in your editor. For a moment, forget about batching. Your only job is to perfect this one image. You're essentially creating the "master recipe" that all the other photos will inherit.
For a real estate shot, you'd typically focus on these adjustments:
- Exposure and Contrast: Give the exposure a little nudge to make the room feel bright and airy. A touch of contrast will make the details pop without losing the information in the shadows.
- Highlights and Shadows: This is a classic real estate move. Pull down the highlights to recover the detail in bright windows (no more blown-out white blobs!). Then, lift the shadows to reveal what's hiding in the darker corners. The result is a much more balanced, professional-looking image.
- Color Correction: Get that white balance right. White walls should look white, not yellow or blue. You might also add a little vibrance to make the colors richer, but be careful not to oversaturate things into a cartoon.
- Sharpening and Clarity: Apply a sensible amount of sharpening to make textures like wood grain and fabrics look crisp. A small bump in clarity can add a nice bit of punch to the mid-tones.
This flowchart breaks down the basic stages of any batch editing workflow.
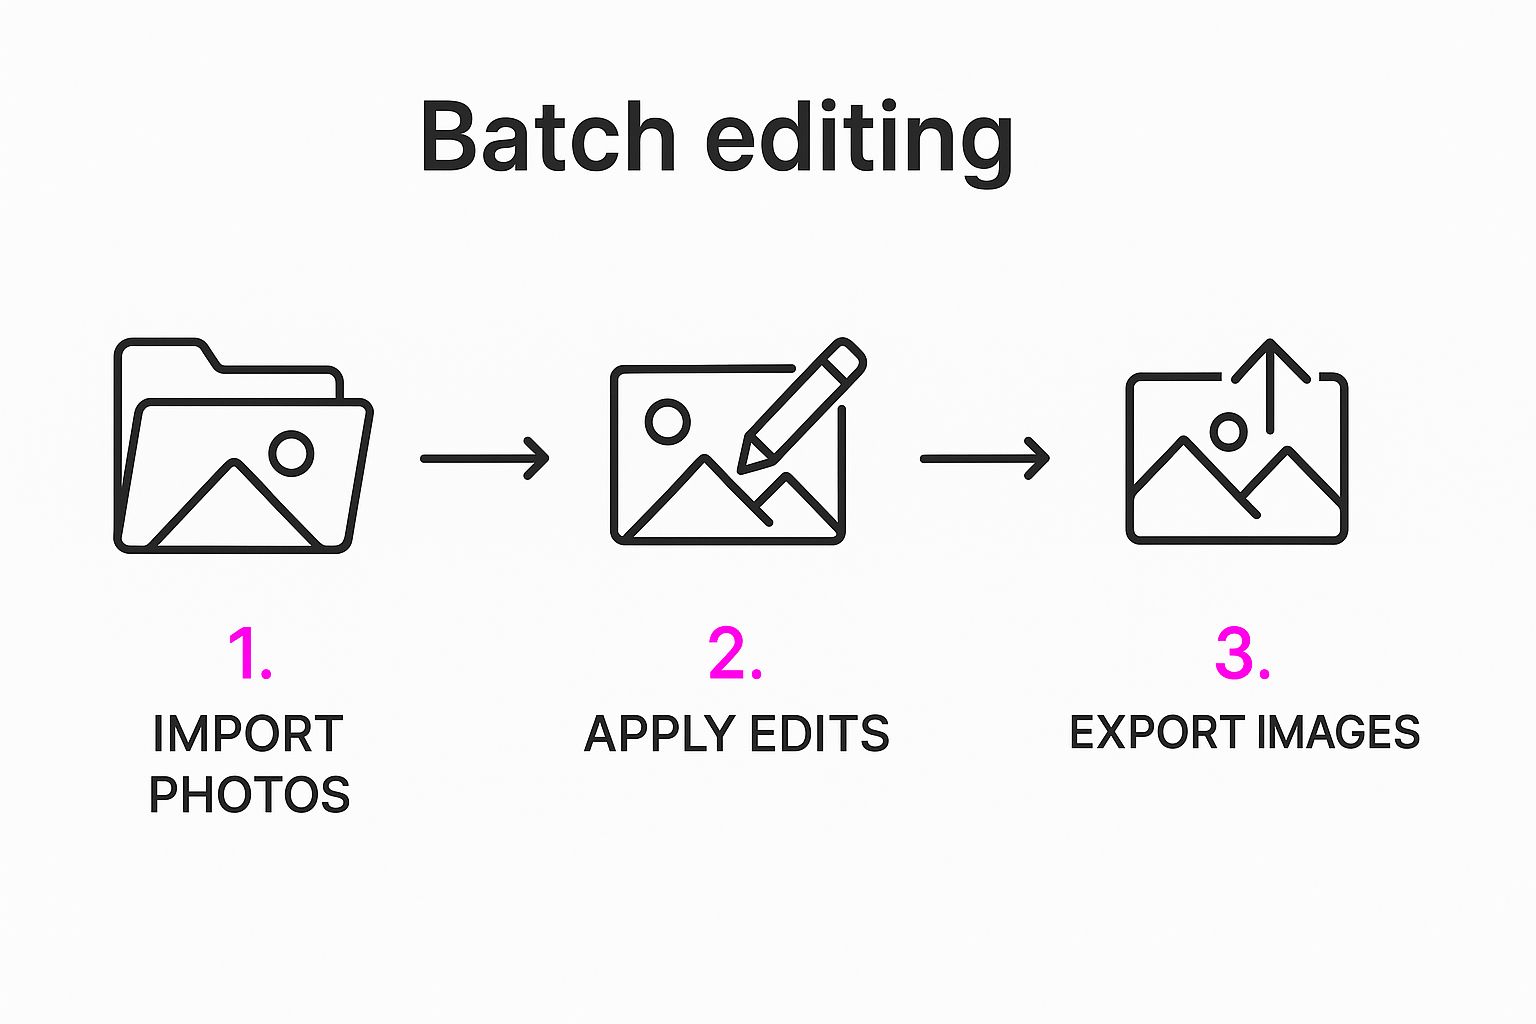
As you can see, the process is pretty straightforward. You get images in, you apply your changes, and you get them out. We're currently in that "Apply Edits" stage, where all the real magic happens.
Syncing Edits Across Your Image Set
Once your reference photo is looking perfect, it’s time for the main event. In your editing software, make sure your perfected reference image is selected. Then, simply select all the other photos in the gallery that need the same treatment.
In Lightroom, this feature is called Sync Settings. In other apps, it might be called "Copy and Paste Adjustments" or "Apply Edit." The name doesn't matter; the function is the same. A dialog box will pop up, asking you which specific adjustments you want to copy over.
This level of control is incredibly powerful. For our real estate example, you’d want to sync most of your global adjustments—like exposure, contrast, and color—but you would almost certainly uncheck things like cropping or local adjustments (like a brush stroke on a specific window), because those need to be tailored to each individual photo.
Click "Synchronize," and watch as your entire gallery transforms in a matter of seconds.
Creating and Saving a Custom Preset
You've just run a successful batch edit. Huge win. But there's one final step that’s absolutely critical for long-term speed: saving those settings as a custom preset. This is the real foundation of an efficient workflow.
By saving your perfected edits as a preset—let's call it "Bright & Airy Interior"—you can apply that exact same look to your next property shoot with a single click. You've just turned a 15-minute editing job into a 15-second one.
In most editors, creating a preset is dead simple:
- With your perfected reference image still selected, look for an option to "Create Preset."
- Give it a descriptive name you’ll actually remember.
- Choose which settings to include (it's often the same dialog box as the sync settings).
- Save it.
That preset is now a permanent part of your editing toolkit. It’s how you ensure your brand maintains a consistent, professional look across every single project.
Finally, most workflows end with exporting the finished images. This often means resizing them for a website, social media, or the MLS. If you want to dive deeper into that final step, check out our guide on using a bulk image resizer to get your photos ready for delivery. When you combine batch editing with batch exporting, you’ve effectively automated the vast majority of your post-production.
Go Beyond Basic Syncing: Advanced AI Batch Editing Techniques
Okay, so you've got the hang of syncing basic edits. Now it's time for the really cool stuff. This is where modern AI photo editing moves beyond simple, one-size-fits-all adjustments and starts doing the heavy lifting for you—applying smart, targeted edits across hundreds of images in minutes.
We're moving past just making things consistent. The goal now is intelligent, adaptive editing that actually understands what’s in your photos. This level of precision used to mean hours of tedious, manual work, photo by photo. Not anymore.
Let AI Do the Masking for You
The single biggest leap in batch editing has to be AI-powered masking. Instead of dragging a gradient over the sky and hoping for the best, these tools can instantly identify specific parts of your image—a person, the background, the sky, you name it—and apply your edits only to that selection.
Imagine you just shot 100 outdoor portraits on an overcast day. The thought of manually selecting the sky in every single photo just to make it a richer blue is enough to make anyone want to quit. It’s a total nightmare.
With AI masking, you just tell your software to "select sky" on one photo and bump the saturation. When you sync that edit, the AI is smart enough to find the sky in all the other images and do the exact same thing, even if the composition is different.
This opens up a ton of possibilities for getting high-quality results, fast:
- Bring Skies to Life: Instantly brighten and add color to dull, gray skies across an entire real estate gallery.
- Make Your Subject Pop: Subtly increase the exposure and sharpness on the main person in every portrait.
- Clean Up Backgrounds: Desaturate or slightly darken the background in a series of product shots to make the product the hero.
This is a total game-changer because the AI gets the context. It knows a tree isn't a person, and a face isn't a building. This lets you make incredibly precise edits that feel custom-tailored for each photo, even when you're applying them to a batch of a thousand.
Use Conditional Edits for Tricky Lighting
Another powerful tool for your arsenal is conditional editing. This is where you set up logic-based rules that adapt to what each photo actually needs. This is an absolute lifesaver for anyone shooting in changing environments, like at a wedding or an all-day event.
Instead of one rigid preset, you create adaptive settings. For example, you can build an edit that says, "If this image is underexposed, boost the exposure by one stop, but if it's already bright enough, leave it alone." This is how you avoid accidentally blowing out the highlights on your good shots while trying to fix the dark ones.
This smarter way of working lets the software make intelligent calls based on the rules you set, ensuring your batch edits are actually helping, not hurting. If you're intrigued by this kind of AI intelligence, you can see how similar principles are used to create visuals from scratch by checking out how to create stunning digital product images using AI generators.
Streamline Your Final Delivery
Advanced batching isn't just about how your photos look; it's also about automating the boring final steps of getting them ready for your client or your website. This goes way beyond just clicking "Export."
Smart Renaming and Organization
Let's be honest, a folder full of files named IMG_7891.JPG isn't helping anyone. Modern export tools let you create custom naming formulas on the fly. You can automatically rename entire batches of files based on their metadata:
ClientName_Event_SequenceNumber.jpg(e.g., SmithWedding_Ceremony_001.jpg)Date_CameraModel_OriginalFileName.jpg(e.g., 2024-10-26_SonyA7IV_DSC5567.jpg)
One-Click, Multi-Platform Exports
These days, you rarely need just one version of an image. You need the full-resolution file for print, a smaller, compressed version for your website, and maybe a square crop for Instagram.
Instead of running three separate export jobs, you can set up a single batch process that creates all of these versions at once. In one click, you can export your entire shoot into neatly organized folders, with each set of images perfectly formatted for its destination. This workflow alone is the secret to getting hours of your life back.
FAQ About Batch Editing Photos
When you first start batch editing photos, a few questions always pop up. It's totally normal. Whether you're trying to figure out a specific problem or just want to make sure you’re doing things right, getting good answers is key to building a workflow that actually saves you time.
Here are the most common questions we get, with straight-to-the-point answers.
Can I Batch Edit Photos on My Phone?
Yes, you absolutely can. It's not just a desktop thing anymore. Powerful mobile apps like Adobe Lightroom Mobile have robust batch editing features that sync across your devices.
The process is pretty much the same as on a computer. You nail the edit on one photo, then just copy and paste those exact settings onto a whole group of other images. It's a lifesaver for keeping a social media feed looking consistent or for making quick, solid edits when you're traveling.
Sure, a phone screen isn't ideal for super-detailed, professional color grading, but for applying your favorite presets and tweaking the basics on a bunch of photos at once? The convenience is unbeatable.
What Is the Difference Between Batch Editing and Using Presets?
This is a great question because they're two sides of the same coin, and people often use the terms interchangeably.
- A preset is just a saved recipe of editing settings. Think of it as a template for a specific "look" you like.
- Batch editing is the action of applying those settings—or any set of edits—to multiple photos at the same time.
You can batch edit without a preset by just editing one photo and then syncing those changes to others. But the real magic happens when you combine them. You create a preset from an edit you love, which then lets you apply that same signature style to completely different photoshoots with a single click.
The real power comes from turning a successful batch edit into a reusable preset. It’s how you build a library of signature styles that ensures brand consistency and saves you countless hours on future projects. This is the cornerstone of a truly scalable editing process.
Will Batch Editing Reduce the Quality of My Photos?
Nope, not on its own. The act of batch editing itself doesn't degrade your photos, as long as you're following good practices. The final quality of your image comes down to two things: the edits you apply and your export settings—not the method you use to apply them.
If you're using non-destructive editors like Lightroom and working with RAW files, your original image data is never touched. The edits are just a layer of instructions. Quality loss usually sneaks in from other places:
- Going too far with edits: Pushing sliders like sharpening or noise reduction to the absolute max can create weird digital artifacts.
- Poor export settings: Saving your final image with heavy compression (like a low-quality JPEG) or at a very low resolution will obviously hurt its quality.
- Re-editing JPEGs: Every time you save a JPEG, it gets re-compressed. If you keep opening, editing, and re-saving the same JPEG file, you'll see a gradual loss in quality.
Batch editing is just the vehicle for your settings; it doesn’t add any extra compression or damage to the process.
Is Batch Editing Only for Basic Adjustments?
Not anymore. While it's fantastic for syncing basic exposure and color corrections, today's software—especially tools with AI—can handle some incredibly complex batch edits.
For example, you could use AI to automatically detect the main subject in 100 different portraits and apply sharpening only to them, leaving the backgrounds soft. This used to be painstaking manual work. To see just how far this technology has come, check out our guide on AI product photography, which dives into similar intelligent editing concepts.
Ready to stop editing photos one by one and get your time back? Bulk Image Generation uses powerful AI to handle complex batch tasks like background removal and image enhancement in seconds. Get started for free today and see how much faster your workflow can be.