
A Pro Guide to Tiling an Image with AI

Aarav Mehta • September 11, 2025
Learn how to master tiling an image with AI for perfect seamless patterns. Our guide covers Midjourney prompts, Photoshop fixes, and pro export settings.
Tiling is one of those simple concepts with a massive impact. At its core, it's just repeating a single, smaller image across a bigger canvas to create a seamless pattern. This is the secret sauce behind everything from website backgrounds and video game textures to unique fabric designs.
When you get it right, there are no visible breaks or seams. Just a perfect, continuous flow.
Why Seamless Patterns Are a Design Superpower
Before we jump into the how, it’s worth taking a moment to appreciate the why. A single, well-crafted tile is like a design superpower—it can cover huge digital or physical spaces with a polished, professional look. The efficiency here is a total game-changer.
Think about a website background. Instead of forcing a visitor to download a massive, high-resolution image that slows everything down, a tiny, lightweight tile can do the same job perfectly. You get a faster, more responsive user experience without ever sacrificing visual quality.
From Old-School Photos to Modern AI
Believe it or not, this idea isn't new. It actually has roots in early photography, where photographers had to assemble smaller images to capture scenes bigger than a single photographic plate could handle. Back in 1841, pioneers like William Henry Fox Talbot were already developing processes to combine multiple images into a larger composite. It's the same fundamental concept we use today.
If you're a history buff, you can dig deeper into this at Harvard's photography preservation program.
Fast forward to today, and AI tools have completely transformed this manual craft. Now, we can generate incredibly complex and beautiful patterns just by typing a few words. This blend of old-school technique and new-school tech opens up a wild world of creative possibilities.
Key Takeaway: The whole point of tiling is to blend efficiency with aesthetics. A great tile gives you an infinitely scalable pattern that keeps file sizes small and creates a flawless look for any project.
Understanding this context really gives you an appreciation for the skill. It’s not just about repeating a picture; it’s about crafting a harmonious, unbroken visual flow. With that in mind, you’re ready to start making your own.
Generating Your Perfect Base Tile in Midjourney
Alright, let's get into the fun part: creating that perfect base tile in Midjourney. The absolute, non-negotiable part of your prompt is the --tile parameter. Seriously, without it, you're just making a regular image. This little command is what tells Midjourney to work its magic and create an image that can be repeated forever without any ugly, obvious seams.
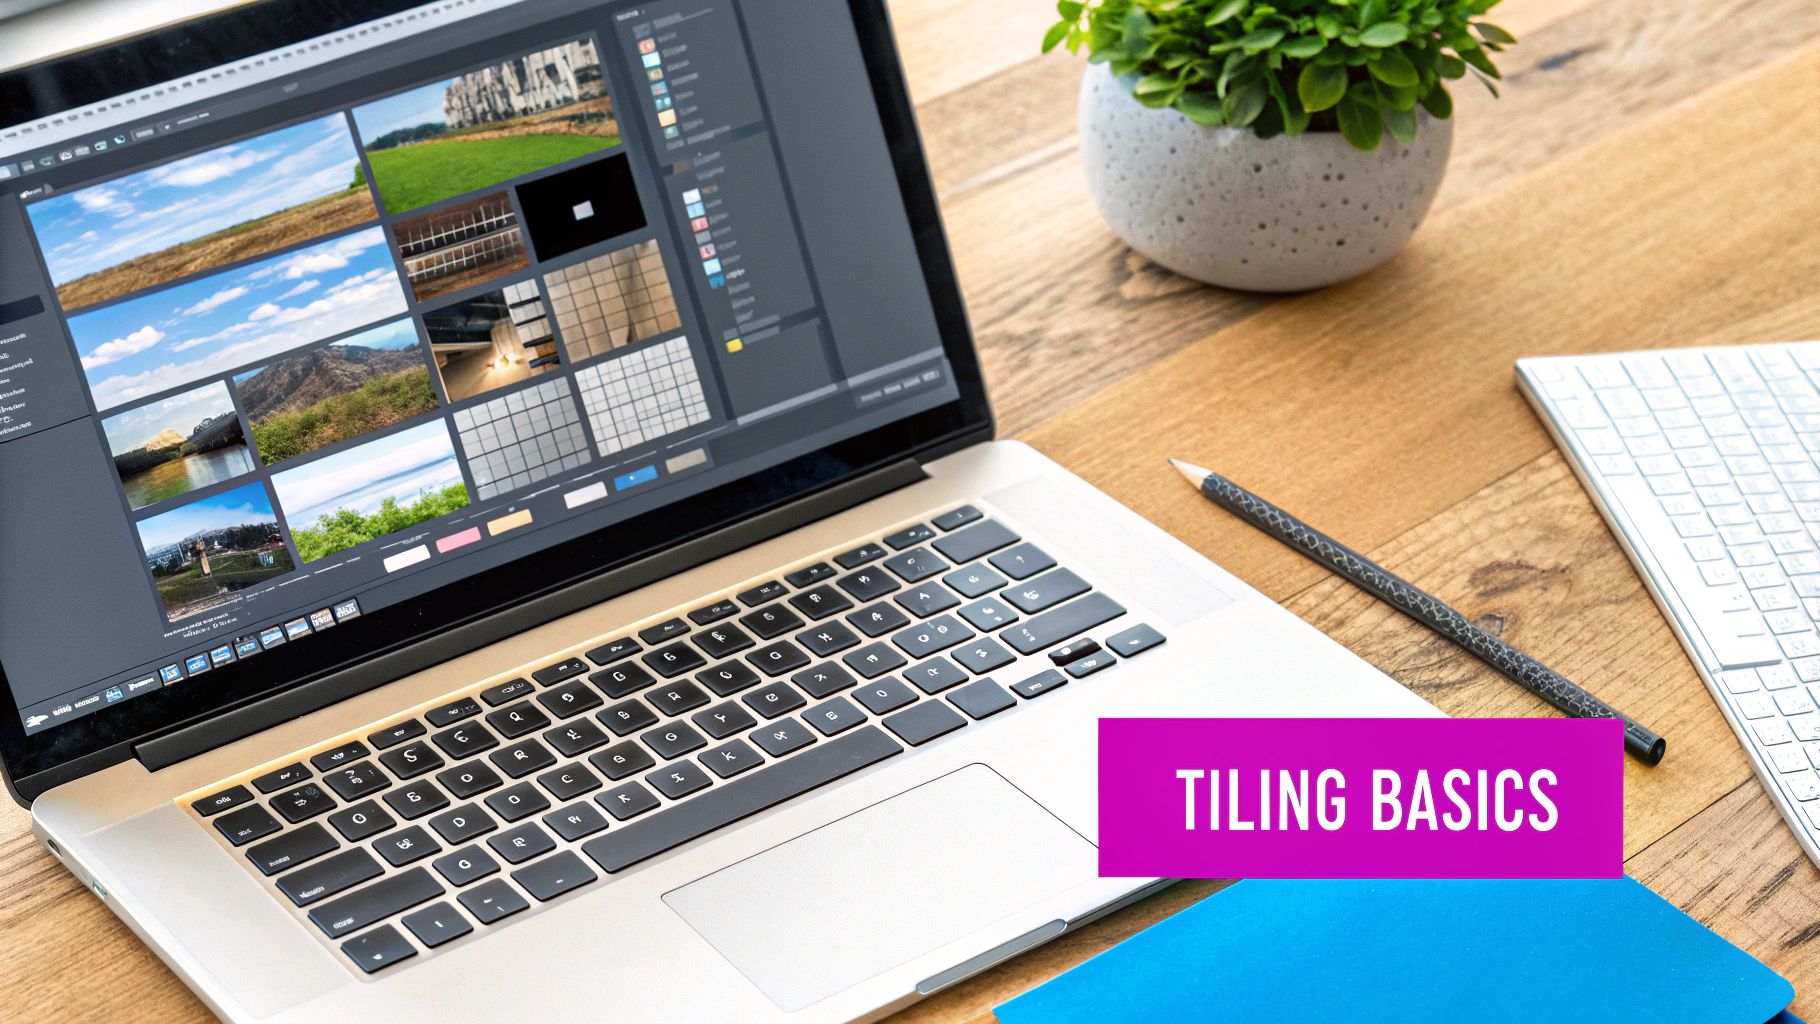
You'll be typing your prompts directly into the Midjourney interface, which looks something like this.
As you can see from the gallery, the visual quality you can get is pretty incredible.
Crafting the Ideal Prompt
Here’s where a little experience goes a long way. For seamless tiles, you need to think less about complex scenes and more about textures and repeating elements. A huge mistake I see people make is trying to tile a single, centered object. That’s a recipe for disaster, as you’ll get awkward cut-offs at the edges every time.
Instead, your prompts should focus on things that naturally scatter or form a pattern. If you want to get a better sense of how this fits into the bigger picture of AI-powered creation, it's worth understanding what AI-generated content truly is.
Let me show you what I mean with a quick comparison:
- Bad Prompt:
A single perfect rose on a white background --tile- What you'll get: An image with a rose chopped in half at the borders. The tiling will be jarring and look completely amateur.
- Good Prompt:
Scattered rose petals, photorealistic, macro details, soft lighting --tile- What you'll get: A beautiful, continuous pattern where petals seem to float across the canvas, making it almost impossible to see where one tile ends and the next one starts.
If you're ever stuck for ideas, don't sweat it. A free AI image prompt generator can be a goldmine for sparking new concepts, especially for patterns.
Here's a pro tip: the best prompts for tiling often feel a bit more abstract. Think in terms of "dense jungle foliage," "intricate Moroccan geometric patterns," or "spilled ink watercolor splotches" instead of "a cat sitting on a mat."
Fine-Tuning Your Generation
Once you have your core prompt, a few other parameters can help you dial in the exact look you want. The --tile command handles the seamless part, but you're still in full control of the style and composition.
When you're starting out, it helps to have a quick cheat sheet for the most important Midjourney parameters that will affect your patterns.
Key Midjourney Parameters for Tiling Images
This table is a quick reference guide to the essential settings I use all the time to influence the outcome of my seamless patterns.
| Parameter | Function | Example Usage |
|---|---|---|
Stylize (--s) | Controls how "artistic" or opinionated Midjourney gets with your prompt. | Use a low value like --s 50 for simple, uniform textures. Crank it up to --s 750 for more creative and varied results. |
Chaos (--c) | Introduces randomness and variation between the initial four images in your grid. | Use this one sparingly for patterns. A low value like --c 10 can add interesting, subtle differences. High values will likely break the pattern's flow. |
Aspect Ratio (--ar) | Sets the dimensions of your image. Tiling works best with squares. | The default is 1:1, which is perfect. You could use --ar 1:1 if you want to be explicit, but it’s not usually necessary for tiling. |
Getting a feel for these parameters is really what separates good results from great ones.
My advice? Start simple. Nail down your basic prompt with just the --tile command. Once you have a result you like, start a new generation and begin layering in these other parameters one by one. This iterative process is hands-down the fastest way to get a professional-looking base tile that's ready to go.
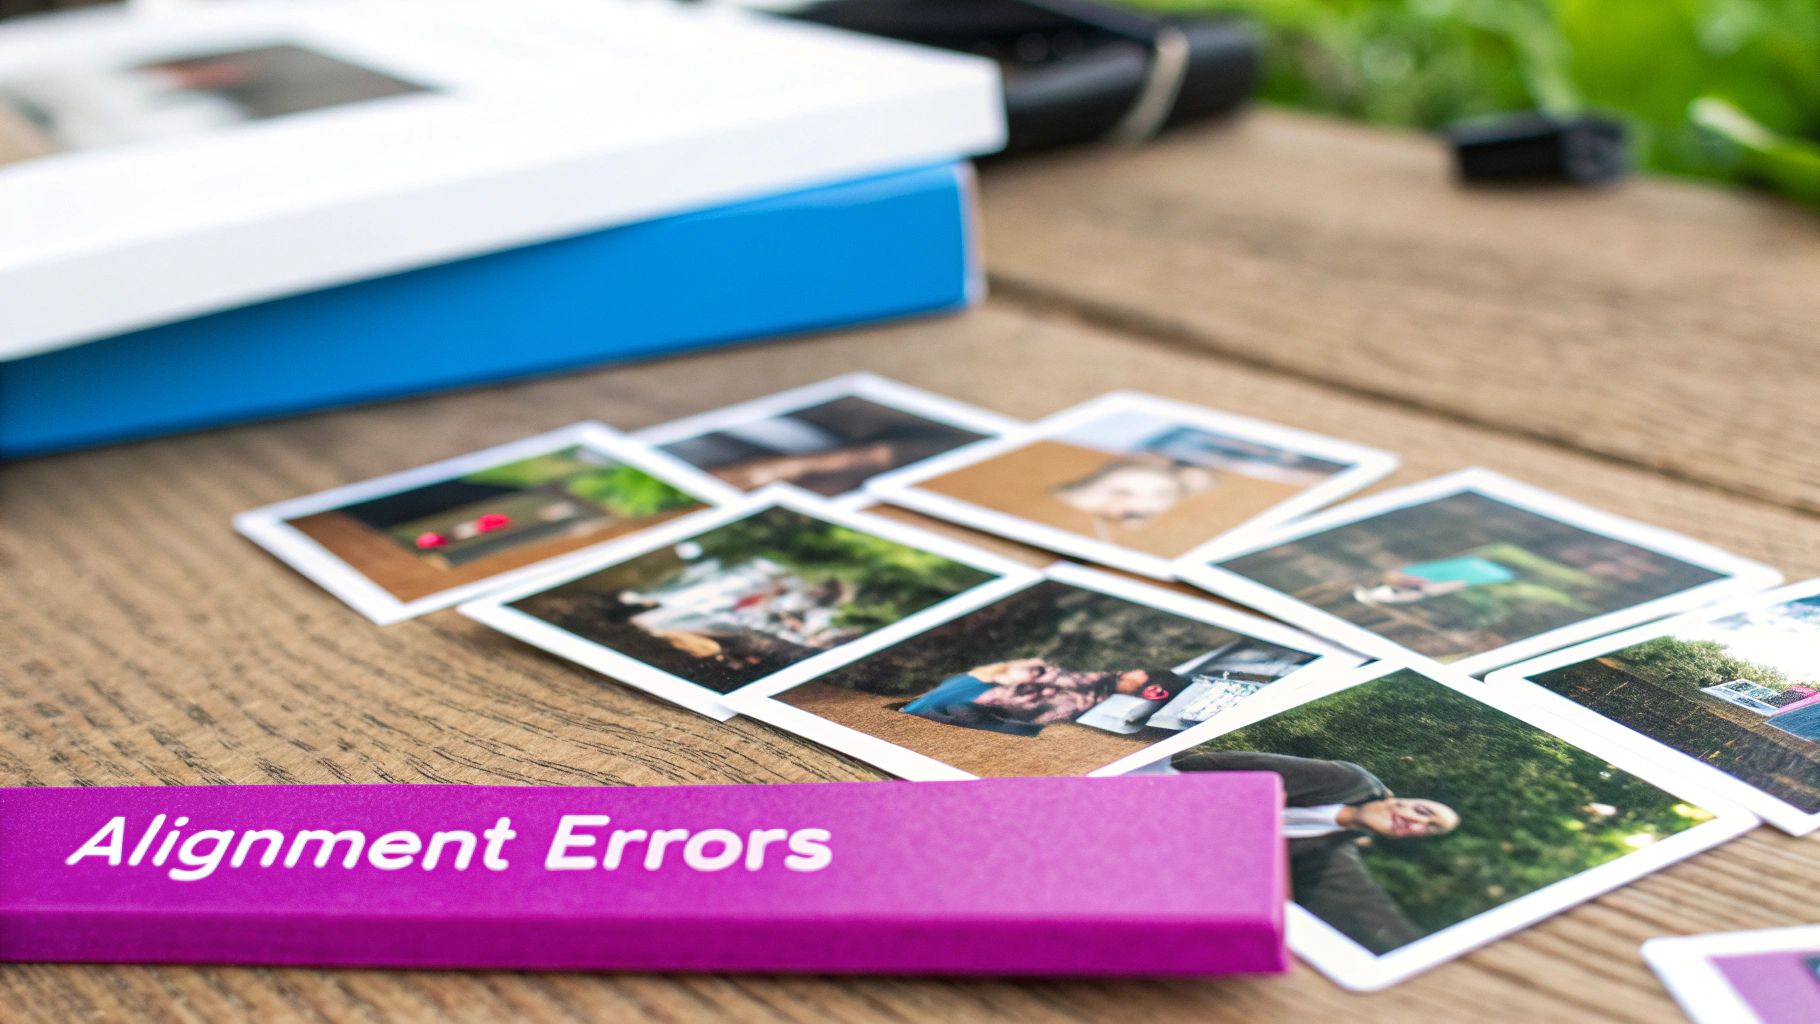
How to Test and Fix Your Seamless Tile
Just because your prompt included --tile doesn't mean the job is done. I've learned this the hard way. Minor misalignments or jarring elements can still sneak in right at the edges, completely shattering the seamless illusion. Your first move after generating any tile should always be to verify it.
For a quick check, I usually start with a free online pattern checker. These sites are lifesavers. You just upload your image, and they instantly show you what it looks like tiled across a large area. It's the fastest way to spot obvious flaws without firing up any heavy-duty software.
The Professional Photoshop Workflow
When you need more control and have to actually fix the problems you find, Adobe Photoshop is the way to go. The absolute key here is the Offset filter.
This filter is brilliant. It essentially wraps your image around, moving the outer edges to the dead center of your canvas. Any hard lines or weird artifacts that were hiding at the seams become impossible to miss.
To get there, navigate to Filter > Other > Offset. A good rule of thumb is to offset the image by exactly half its dimensions. For a 1024x1024 pixel image, you’d pop 512 into both the horizontal and vertical fields. Just make sure the "Wrap Around" option is checked.
After offsetting, what was once the edge of your image is now the center. This is your chance to play surgeon and seamlessly blend any imperfections, turning a good tile into a flawless one.
Fixing Seams with Precision Tools
Once you've used the Offset filter to expose the seams, it's time to make them vanish. Photoshop gives you two incredible tools for this cleanup job:
- Clone Stamp Tool: This is your workhorse for covering up hard seams. It lets you copy pixels from one part of your image and paint them over another. I use it all the time to duplicate textures and patterns perfectly. Just hold Alt/Option to pick a source area, then paint over the problem spot.
- Healing Brush Tool: This one is a bit more magical. Like the Clone Stamp, it copies pixels, but it also intelligently blends the texture, lighting, and shading of your source area with the destination. It’s my go-to for fixing more organic textures like wood grain or stone where a simple copy-paste would look obvious.
By carefully using these tools on the seams revealed by the Offset filter, you can meticulously craft a truly seamless pattern. Once you’re happy with the result, your tile is ready for anything.
Upscaling and Exporting for Professional Results
Alright, you've nailed the perfect tile. The final hurdle is getting it ready for the real world. A low-resolution image might look decent on your monitor, but it'll turn into a blurry, unprofessional mess when printed on fabric or used in a high-def project. This is where upscaling becomes your best friend.
Midjourney has some built-in upscalers that can get the job done for quick web use. But if you’re aiming for truly professional results—especially for patterns with fine textures or sharp lines—you’ll want to look at dedicated third-party AI upscalers. These specialized tools are trained to enlarge images while intelligently adding detail, avoiding the pixelated look you get from standard resizing. If you really want to level up, exploring AI-driven upscaling and enhancement techniques can make a world of difference.
Choosing Your Export Format and Resolution
Figuring out the right export settings is critical for making your tile work properly. The decision comes down to one simple question: where is this pattern going to live?
This whole idea of optimizing images for their final destination isn't new. Back in 1902, early telephotography had to break down photos into smaller pieces just to send them over a wire. We’re doing the same thing today, just with pixels and file formats.
Here’s a quick cheat sheet for making the right call:
- Web Backgrounds: Go with a JPEG at 72 DPI. JPEGs compress beautifully, meaning your website won't slow to a crawl while it loads.
- Digital Art or Products: Use a PNG file. PNGs are lossless and support transparency, so every single detail is preserved exactly as you created it. No weird compression artifacts here.
- Professional Printing: This is non-negotiable. Export at 300 DPI or higher. It’s the industry standard for everything from textiles to posters, and it’s the only way to ensure your design looks sharp and vibrant in print.
Bottom line: Match your upscaling method and export settings to your final goal. Do that, and your seamless pattern will look incredible everywhere—from a fast-loading website background to a high-quality fabric print.
As you start creating more patterns, keeping them all organized can become a real headache. If you're building out a library of tiles for various products, you might find our guide on how to create stunning digital product images using AI helpful for streamlining your workflow.
So, What Can You Do With Your Tiled Images?
You've got a perfectly seamless pattern—now for the fun part. What you do next is really only limited by your imagination. A good tile is a surprisingly versatile creative asset.
One of the most common and effective uses is for custom website backgrounds. A subtle, branded pattern can instantly elevate a site’s design from feeling generic to looking completely bespoke. It’s a simple touch that reinforces your brand identity without yelling at your visitors or getting in the way of your content.
From Digital Canvas to Physical Products
But your designs don't have to live exclusively on a screen. With the explosion of print-on-demand services, you can easily bring your patterns into the real world. Think about putting your custom tile on:
- Fabric: Imagine creating truly unique clothing, scarves, or throw pillows that nobody else has.
- Stationery: You could design one-of-a-kind wrapping paper, journal covers, or even phone cases.
- Home Decor: Want to take it a step further? Custom wallpaper or unique decorative prints can add a deeply personal touch to any space.
This idea of tiling images actually has a pretty strong consumer history. Take modern photo tiles, for example. What started as a niche technical process has ballooned into a $200 million+ global industry for personalized wall art. It's amazing how a simple concept can scale. You can read more about how this niche grew into a commercial success.
Game developers and 3D artists are also huge consumers of tiled images. They rely on them for everything from texturing brick walls and sprawling landscapes to creating the intricate scales on a dragon.
Your single tile becomes an infinitely scalable asset, ready for just about any project you can dream up. If you're looking for more inspiration, it's always a good idea to check out the latest AI image generation trends for 2025.
A Few Common Tiling Questions
Even with the best AI tools, you're going to hit a few snags when you first start making tiled images. It’s just part of the process. Getting a feel for it involves a little bit of troubleshooting, so let's walk through some of the questions I hear all the time.
Why Does My AI Tile Still Have Visible Seams?
This is, without a doubt, the most common issue. Seams usually pop up because the AI struggles to perfectly align complex or really distinct shapes right at the image borders. Even when you nail the --tile parameter, some elements just don't want to play nice.
The best strategy I've found is to go in expecting minor flaws and just plan for a quick cleanup.
My most reliable workflow is to assume the AI generation gets me 95% of the way there. I use Photoshop's 'Offset' filter to pop those hidden seams right to the center, then blend them perfectly with the Clone Stamp and Healing Brush. That final manual touch is what separates an okay pattern from a professional-grade one.
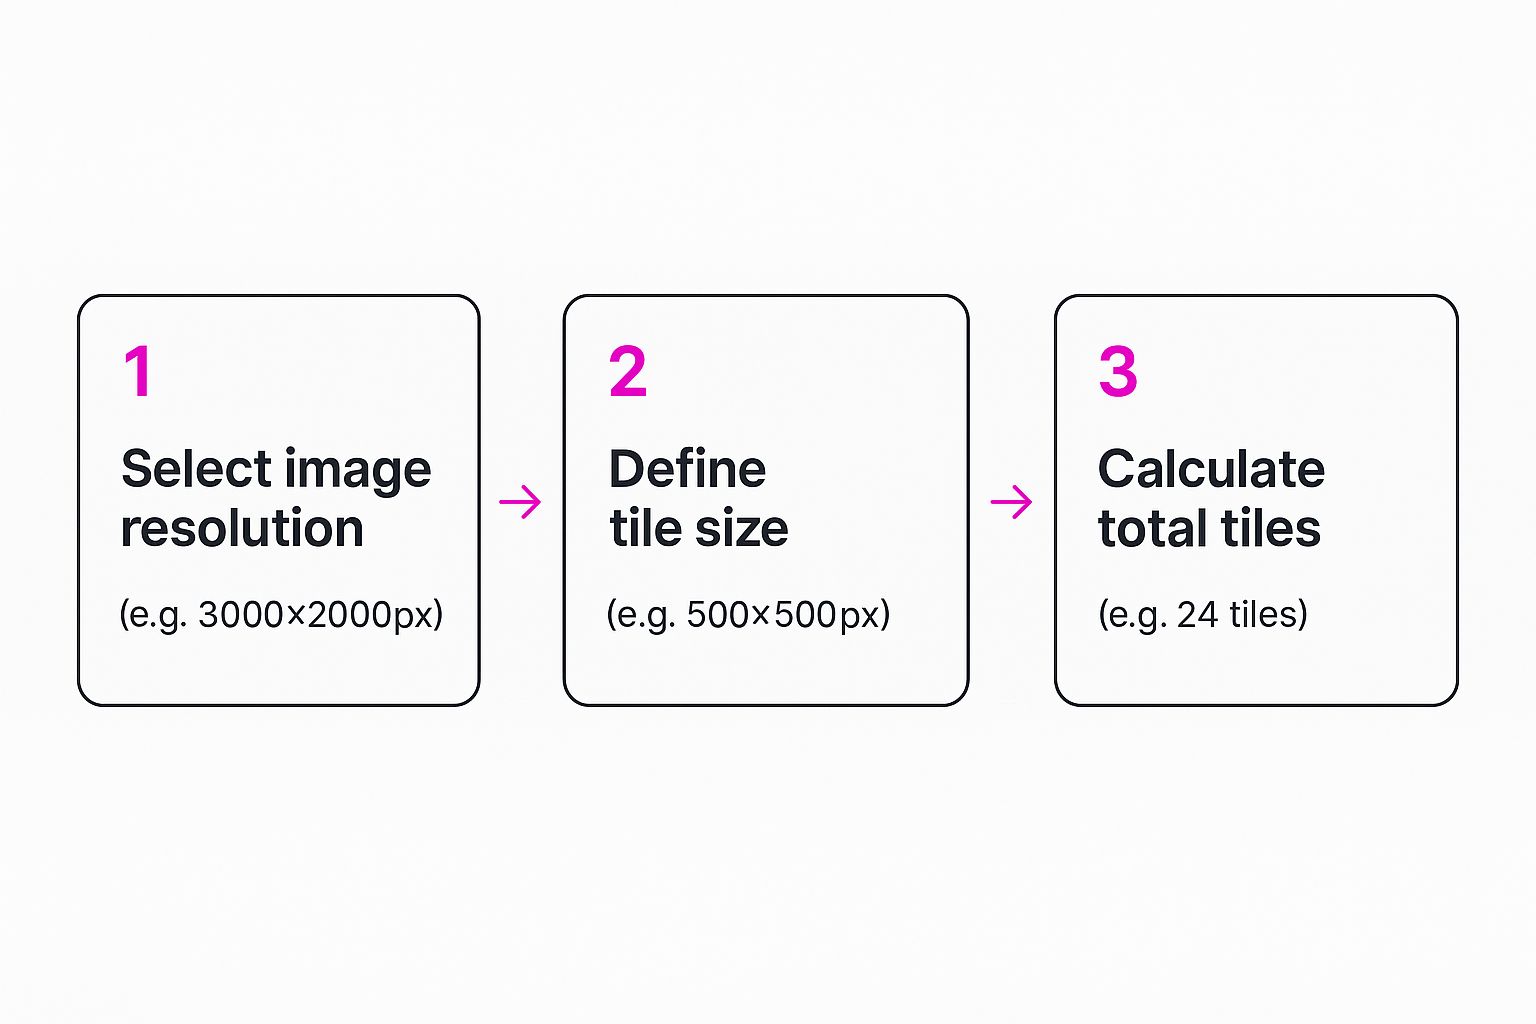
What Is the Best Resolution for a Tiled Image?
The right resolution depends entirely on where you're going to use the final image. There's no single "best" size; it's all about matching the specs to the final medium.
- For web backgrounds, a 1024x1024 pixel tile at 72 DPI is a fantastic starting point. It's efficient, keeps page load times snappy, and looks crisp on most screens.
- For professional printing (think fabric or wallpaper), you absolutely need high resolution. Start with the largest tile your AI tool can generate, then use a quality upscaler to hit 300 DPI at the final print dimensions.
Can I Turn a Regular Photo into a Seamless Pattern?
Yep, but it's a hands-on job that requires an image editor like Photoshop or GIMP. You can't just toss a photo at an AI with a tiling prompt and expect magic. The process involves using the Offset filter to bring the hard, mismatched edges of the original photo into view.
From there, it’s all about meticulous blending with tools like the Clone Stamp, Healing Brush, and Content-Aware Fill to make those seams disappear. While AI is brilliant for generating new patterns from scratch, converting existing photos is still a task for a human artist.
And once you've built up a library of beautiful tiled images, keeping them organized is crucial. Take a look at these digital asset management best practices to keep your creative workflow from getting chaotic.
Ready to create hundreds of unique, high-quality images in seconds? Bulk Image Generation uses advanced AI to turn your ideas into stunning visuals, streamlining everything from prompt creation to final edits. Start generating with Bulk Image Generation today!