
Image Resolution Print: Tips for Perfect High-Quality Prints

Aarav Mehta • August 17, 2025
Learn how to optimize image resolution print for stunning, professional prints. Avoid pixelation and get crisp results every time.
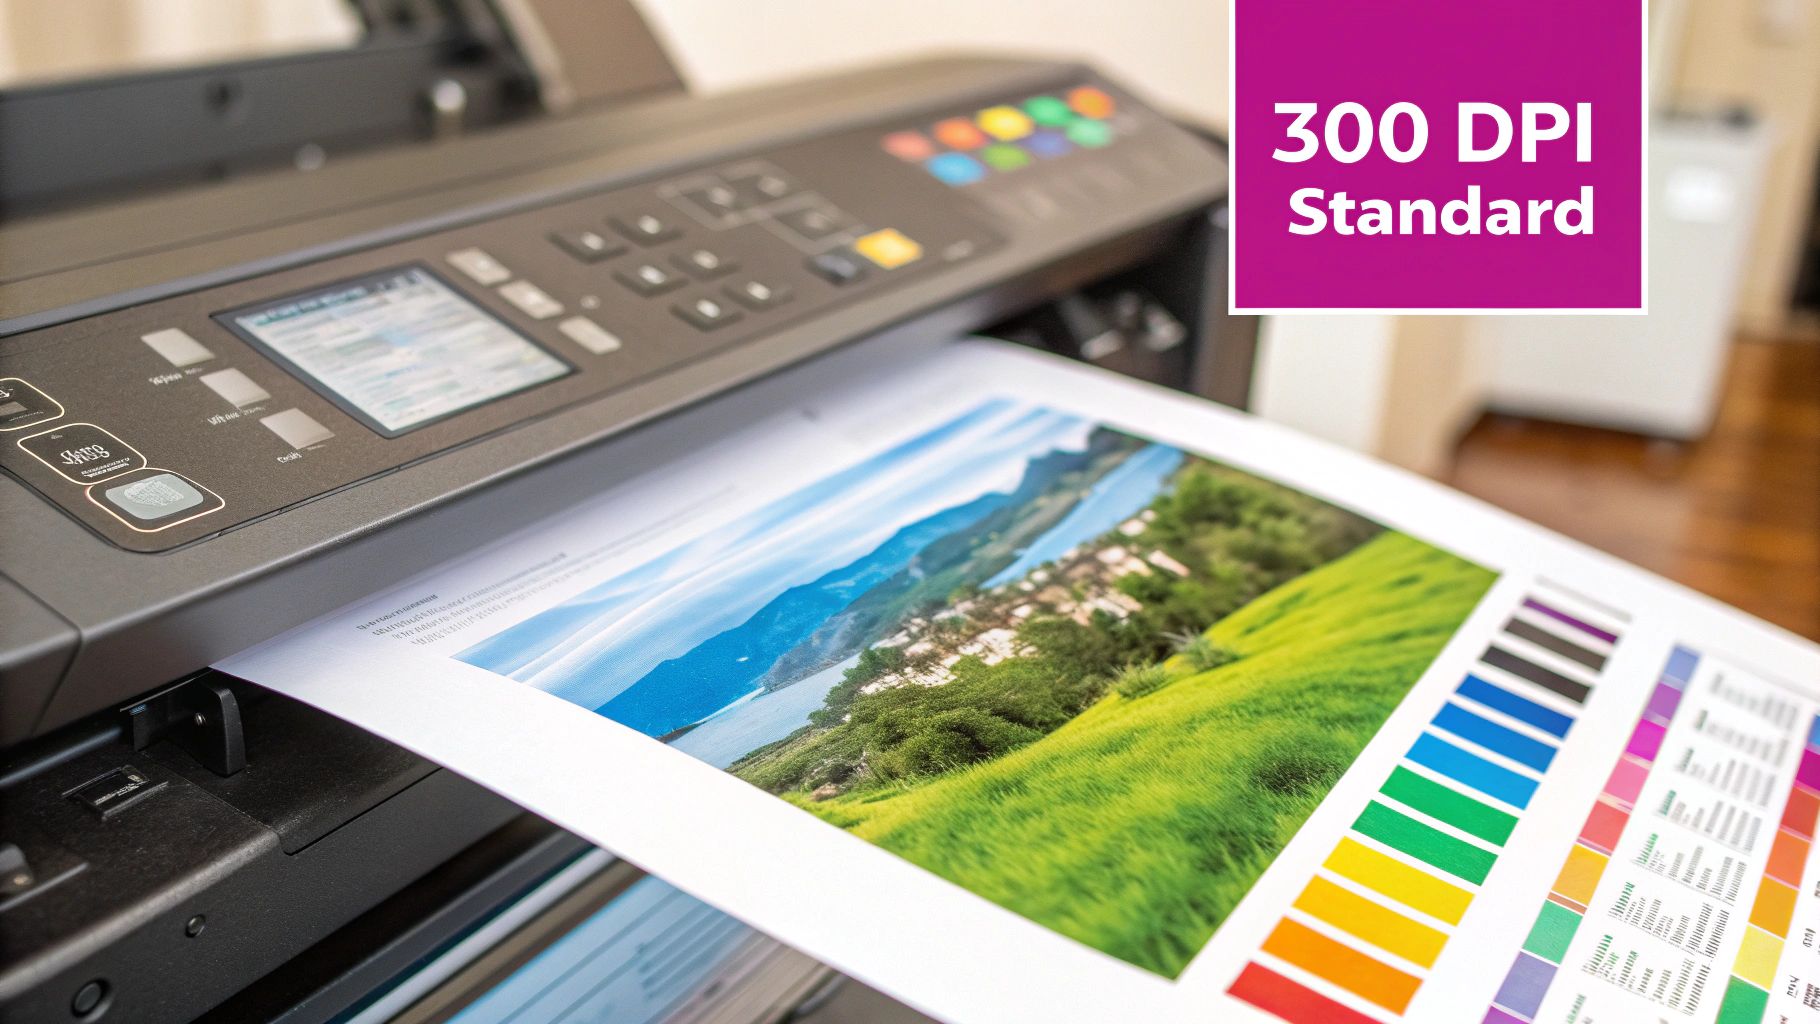
For prints that look absolutely perfect, you need to aim for 300 Dots Per Inch (DPI) at the final size. This is the industry gold standard, and hitting it is the key to making sure your printed photos and graphics look sharp, clear, and professional. It’s the difference between a pro-level finish and the blurry, pixelated mess you often get when trying to print something saved from the web.
Why Image Resolution Is Critical For Printing
Ever printed a photo that looked amazing on your screen, only for it to come out blurry and disappointing on paper? It’s a super common frustration, and it all comes down to a fundamental difference between how digital displays and physical printers work. The heart of the problem is the gap between Pixels Per Inch (PPI) for screens and Dots Per Inch (DPI) for printers.
Pixels Vs. Dots: The Digital-To-Physical Gap
Digital images are built from pixels—those tiny squares of light that make up everything you see on a monitor. An image at 72 PPI looks just fine on your screen because the display is literally emitting light, which tricks our eyes into seeing a clear picture even with relatively few pixels.
But a printer has a much tougher job. It has to physically place tiny dots of ink onto paper to recreate that same image. To pull off a sharp, detailed result that doesn't look like a fuzzy memory, it needs way more information packed into every inch. That's why print resolution has to be so much higher.
The gold standard for professional printing is 300 DPI. At this density, the individual ink dots are so close together that the human eye can't pick them out from a normal viewing distance. The result? A smooth, crisp, continuous-tone image that looks just right.
To help you get your bearings, here's a quick rundown of the DPI you should be targeting for different kinds of print jobs.
Quick Guide to Print Resolution Standards
| Print Type | Standard DPI | Best For |
|---|---|---|
| High-Quality Photos & Art Prints | 300 DPI | Professional photography, gallery prints, and high-end marketing materials where detail is crucial. |
| Magazines & Brochures | 300 DPI | Standard for most commercial offset printing to ensure sharp text and vibrant images. |
| Business Cards & Flyers | 300 DPI | Guarantees that small text and logos are perfectly legible and crisp. |
| Newspapers | 150-200 DPI | The paper is more absorbent and the viewing distance is different, so a lower DPI is acceptable. |
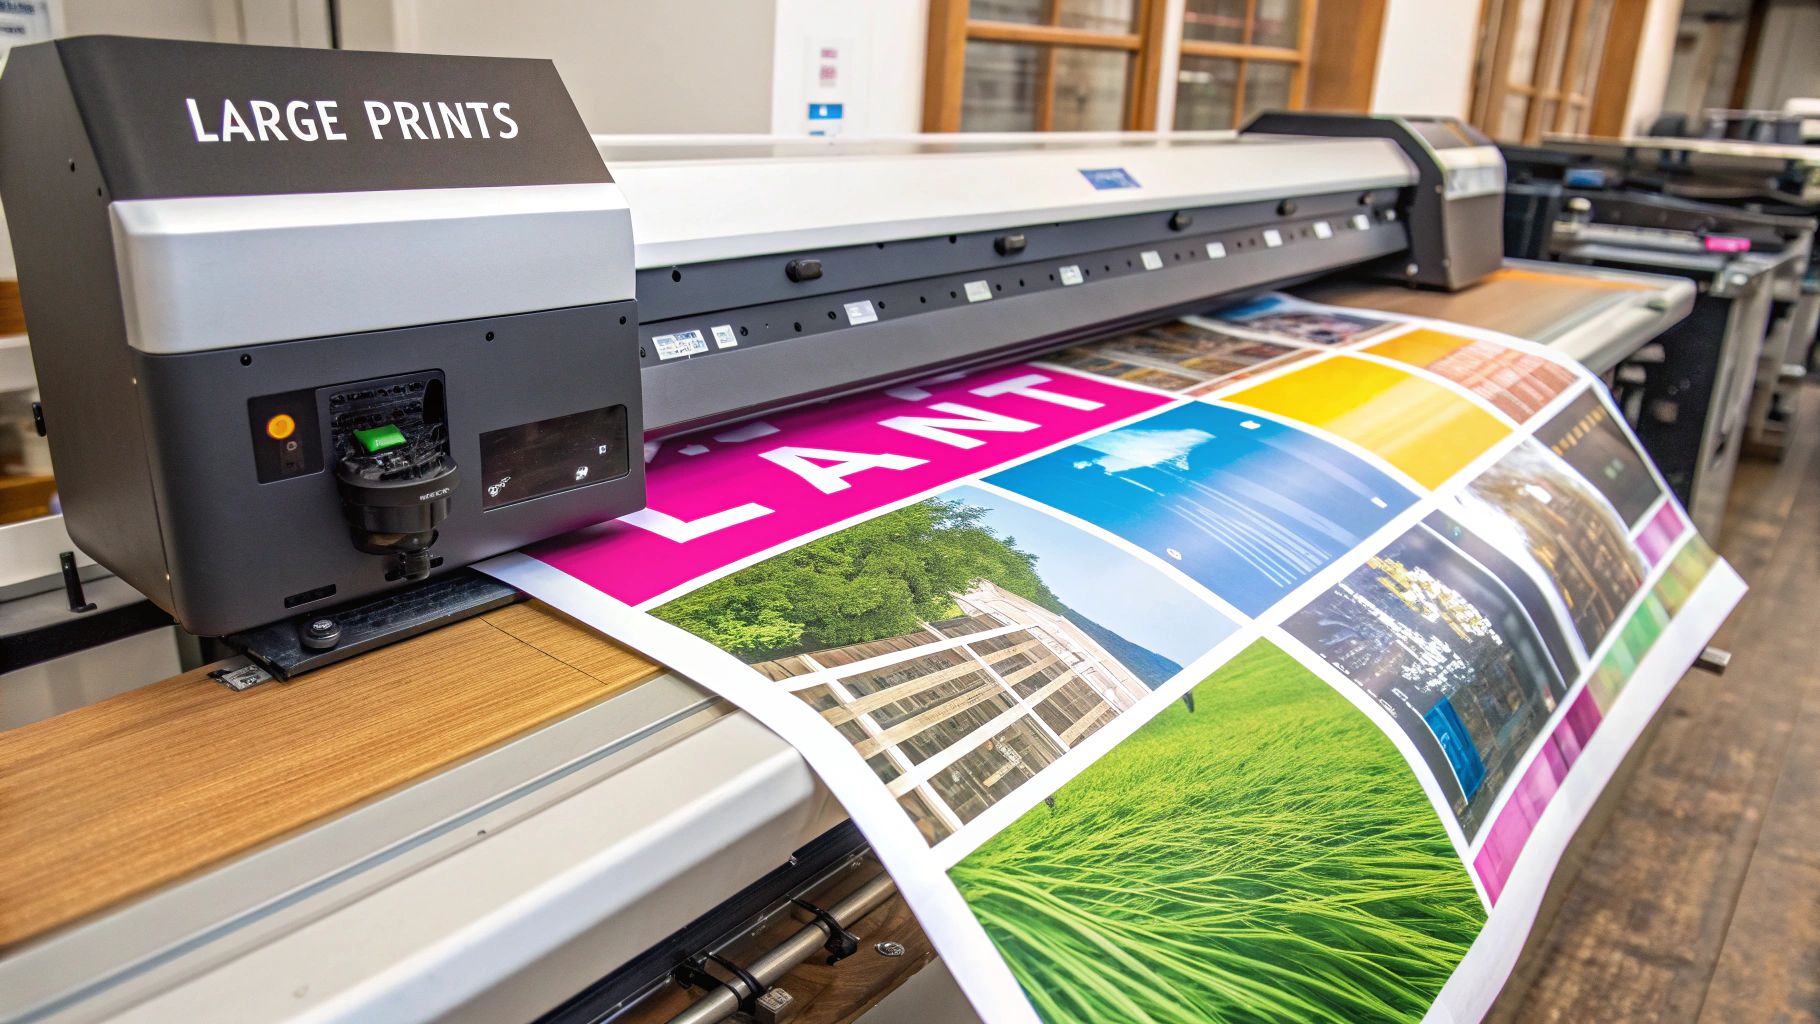
| Large Banners & Billboards | 20-75 DPI | Since they're viewed from far away, the DPI can be much lower without appearing pixelated. |
As you can see, 300 DPI is the magic number for most things you'll be printing up close.
From Film Grain To AI Pixels
This obsession with source quality isn't anything new. Back in the days of film photography, the sharpness of a print was directly tied to the quality of the film, which was measured in line pairs per millimeter (lp/mm). Film with a higher lp/mm could capture finer details, which meant you could make larger, sharper prints without losing quality. You can actually see some great examples of how historical photo quality was measured over on hubicka.blogspot.com.
Today, the core principle is exactly the same. It doesn't matter if you're working with a high-res scan of an old negative or a stunning image created with a powerful AI image generator. Your final print quality is always capped by the resolution of your source file.
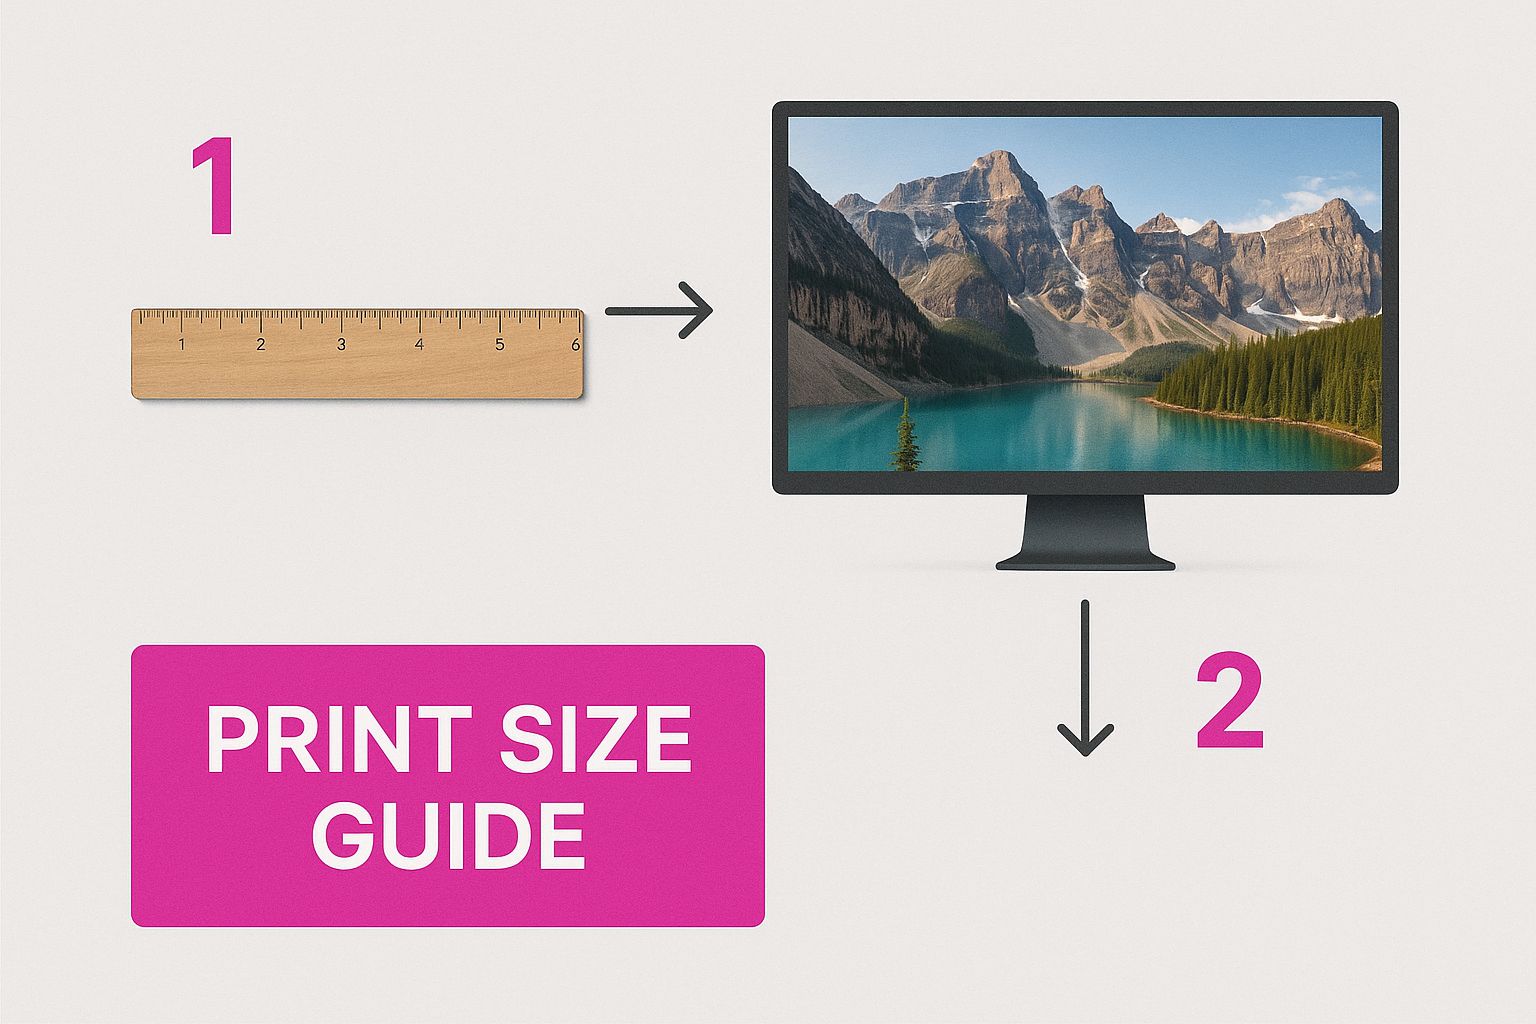
Calculating The Ideal Resolution For Your Print Size
Figuring out the right image resolution can feel a bit technical, but it really just boils down to a simple bit of math. At the end of the day, you just need to make sure your digital image has enough pixels to fill the physical space of your print without looking fuzzy or pixelated.
The golden rule here is to multiply your desired print dimensions (in inches) by your target DPI. For pretty much any high-quality print job, that magic number is 300 DPI. This quick calculation gives you the minimum pixel dimensions your file needs.
Here’s the formula in action:
- (Print Width in Inches x 300 DPI) = Required Pixel Width
- (Print Height in Inches x 300 DPI) = Required Pixel Height
This logic holds true whether you're printing a tiny sticker or a massive banner.
From Small Photos To Large Posters
Let's put this into practice with a couple of common scenarios. Say you want to print a standard 8x10 inch photo.
- 8 inches x 300 DPI = 2400 pixels wide
- 10 inches x 300 DPI = 3000 pixels high
Easy enough. Your source image needs to be at least 2400x3000 pixels to look sharp.
Now, what about something bigger, like a 24x36 inch poster? The numbers scale up fast: 7200x10800 pixels. You can see how the pixel requirements jump as the print size increases.
It's also worth remembering that the final application matters. Getting a great print isn't just about DPI. For something like apparel, you also need to think about optimizing graphic size and resolution for t-shirt prints, where the texture of the fabric itself can change how an image looks.
A Word of Warning: You can't just take a small, low-resolution image and stretch it out in Photoshop. This process, known as interpolation, forces the software to guess what the missing pixels should look like. The result is always a blurry, artifact-filled mess. Always, always start with an original image that meets or exceeds the pixel dimensions you calculated.
How to Set DPI Without Messing Up Your Image
Changing an image's DPI sounds like one of those scary, technical steps that could ruin your picture. But honestly? It's surprisingly simple and totally safe—if you know what you’re doing.
The whole secret comes down to one thing: understanding the difference between changing the DPI metadata versus resampling the image. One is just a harmless note for the printer; the other permanently messes with your pixels.
If you've ever poked around the image size settings in a program like Adobe Photoshop, you’ve probably seen a little checkbox labeled “Resample.” This box is everything. When it's checked, the software will literally add or delete pixels to change the image's size, which almost always leaves you with a softer, lower-quality result. Don't do it.
Instead, you want to uncheck that “Resample” box. This simple action locks in all your original pixel data. Now, when you change the DPI value, you’re only adjusting the physical print dimensions, not the image itself. For example, if you have a 3000x2400 pixel image and change its setting from 72 DPI to 300 DPI, you’re just telling the printer to make it a sharp 10x8 inches instead of a blurry, massive 41.6x33.3 inches. The number of pixels stays exactly the same.
Metadata vs. Resampling: Here’s the Deal
Think of it like this: changing the DPI without resampling is like giving your GPS a destination. You're not changing the car you're driving (your pixels), you're just giving it the right instructions on where to go and how big the final destination is.
Resampling, on the other hand, is like trying to build a new car from spare parts while you're already on the highway. It’s never going to end well.
This is how you send the printer the maximum amount of original data. It lets the printer use every single pixel you gave it to create the sharpest possible image for the size you need. That's the key to getting professional-looking results.
If you're looking for a simple way to get your image dimensions and DPI set correctly without diving into complex software, a good online image resizer can handle all of this for you.
The push for a standard like 300 DPI isn't new; it has deep roots in the history of photography. Back in 1996, the evolution of film formats, like Kodak’s Advanced Photo System, gave people more control over print sizes, which helped solidify the need for consistent resolution standards we still rely on today.
Matching Resolution to Different Print Projects
Not every print job is created equal, and your image resolution has to change with the project. It’s all about context. A glossy magazine photo held just inches from your face requires a ton of detail, while a massive billboard you see from the highway needs far less.
Getting a feel for this relationship—the one between viewing distance and necessary detail—is the secret to making great prints without creating ridiculously huge files.
The gold standard for high-quality, close-up viewing is 300 DPI. This is the magic number for things like brochures, professional photos, and art prints where you want the ink dots to be completely invisible. For serious archival work, like museum-quality reproductions, you might even see that pushed to 600 DPI to capture every last detail.
But sticking to 300 DPI for absolutely everything is overkill. As your viewer gets farther away from the print, the required DPI can drop dramatically.
Finding the Sweet Spot for Your Medium
Think about a big poster that’s going to hang on a wall. From a few feet away, the human eye simply can’t process the same fine detail it can up close. For something like that, 150-200 DPI is often more than enough to look sharp.
This idea gets even more extreme with really big prints:
- Posters (viewed from 3-5 feet): 150 DPI is a great target.
- Banners (viewed from 10+ feet): 100 DPI usually works just fine.
- Billboards (viewed from 50+ feet): The resolution can go as low as 20-50 DPI.
You can see below how pixel density really impacts the perceived quality when an image is scaled up.
The visual makes it pretty clear: a low-res image just falls apart and looks blocky, but a file with enough resolution holds its own.
Don't forget the material you're printing on. A textured canvas, for instance, is way more forgiving than a high-gloss photo paper that shows every single flaw. That canvas texture breaks up the image just enough to hide any minor pixelation.
Trying to get these settings right for a whole batch of images can be a real headache. If you're prepping photos for several different print projects at once, a tool like a bulk image resizer is a lifesaver. You can apply the right resolution settings to all your files in one go, making sure every single image is perfectly optimized for its final destination.
Common Print Resolution Mistakes to Avoid
We’ve all been there. You find the perfect image online, maybe on a social media feed or a website, and you think it’ll look great printed on a flyer or poster. This is probably the single most common mistake I see people make.
That image you grabbed was almost certainly saved at 72 PPI (Pixels Per Inch) so it would load lightning-fast on a screen. But for a crisp, professional-looking print, you need a file that’s at least 300 DPI (Dots Per Inch). The difference is massive, and trying to print a 72 PPI image will leave you with a blurry, pixelated mess. It just doesn’t scale up.
Another trap is getting over-enthusiastic with AI upscaling tools. While modern AI can work wonders on enlarging images, it's not magic. It can’t invent fine details that were never in the original file to begin with.
Think of it this way: AI can clean up and enhance a decent sketch, but it can’t turn that sketch into a detailed photograph. Trying to blow up a tiny thumbnail into a poster will almost always result in a soft, artificial, or "waxy" look. If you're using AI generators, getting your prompts right from the start is half the battle—something we cover in our guide on how to create stunning digital product images using AI generators.
Saving in the Wrong Format
Finally, after all that hard work, you can ruin everything with one wrong click: saving in the wrong file format. Using a highly compressed JPEG, for example, can introduce ugly artifacts and banding, completely wrecking the quality you worked so hard to achieve.
Pro Tip: For print, always save your final files in a lossless format. TIFF is the industry standard for a reason, but a high-quality PNG will also do the job beautifully. These formats keep all your original image data intact, ensuring the file you send to the printer is identical to what you see on your screen.
Many of these issues are easy to sidestep once you know what to look for. To get ahead of any potential issues, it's worth learning how to troubleshoot the most common print quality problems before they happen.
Answering Your Top Print Resolution Questions
Let's dive into some of the questions I hear all the time when someone's trying to get an image ready for print. Getting this stuff right from the start will save you a world of headaches—and money.
Can I Just Fix a Low-Resolution Photo?
I wish I could say yes, but the honest answer is no, not really. You can’t add detail that wasn’t there to begin with.
While some of the new AI upscaling tools are pretty impressive—they can intelligently enlarge an image and smooth out the worst of the pixelation—they're essentially making educated guesses. They can’t magically invent the fine threads in a piece of fabric or the tiny specks in someone's eye if the original photo was a blurry mess.
For a truly professional image resolution print, your best bet is always, always to start with a high-resolution source file. There's just no substitute.
What's the Real Difference Between DPI and PPI?
This is a big one, and it trips up a lot of people. Think of it this way: PPI (Pixels Per Inch) is for screens, and DPI (Dots Per Inch) is for paper.
Your monitor only needs 72 PPI to display a sharp, clear image because it's projecting light. But a printer has to physically lay down tiny dots of ink. To make those dots so small and close together that they're invisible to the naked eye, you need a much higher density—the industry standard is 300 DPI. That’s the magic number for a crisp, high-quality print.
Is My Smartphone Camera Good Enough for Big Prints?
Honestly, modern smartphones are incredible. The cameras in the latest models can capture images over 4000 pixels wide, which is more than enough for a beautiful 8x10 or even a sharp 11x14 print. I’ve seen some stunning results.
Where you might run into trouble is with posters or really large-scale prints. The physical sensor size in a phone is still much smaller than in a dedicated DSLR or mirrorless camera. For those massive projects, that smaller sensor can become a limitation. The best rule of thumb? Always check your pixel dimensions before you dream too big.
What File Format Should I Use for Printing?
For the final print file, you want to go lossless. Period.
- TIFF: This is the undisputed king in the professional printing world. It's a beast of a file, but it preserves every single bit of image data without any compression.
- PNG: A high-quality PNG is also an excellent choice, especially if you need transparency. It's lossless, so you won't sacrifice quality.
The one to avoid? JPEG. JPEGs use compression to keep file sizes small, which is great for the web but terrible for print. Each time you save a JPEG, it throws away a little more data, which can lead to ugly artifacts and a noticeable drop in quality on the final printed piece.
Ready to create stunning, print-ready visuals without the guesswork? Bulk Image Generation uses powerful AI to generate hundreds of high-resolution images perfectly optimized for your projects. Stop worrying about pixels and start creating at https://bulkimagegeneration.com.