
How to Change Photo Background to White Instantly

Aarav Mehta • September 18, 2025
Learn how to change photo background to white using powerful AI tools. Get pro-level product shots and portraits in seconds with this practical guide.
Changing a photo background to white is way easier than you might think, especially with today's AI tools. It’s pretty much a three-click process: upload your picture, let the AI zap the background away, and then fill that new empty space with solid white. You can get it done in seconds, no Photoshop degree required.
Why a White Background Is Your Secret Weapon
Before we get into the nuts and bolts, let's talk about why this matters so much. A clean white background isn’t just a style choice; it’s a powerful strategy that completely changes how people see your subject. If you're selling anything online, this simple tweak can be the difference between a cluttered, amateur photo and a product shot that actually converts.
This one change does a few critical things for you:
- It Kills Distractions. A white backdrop erases all the visual noise, forcing everyone’s eyes right where you want them: on your product, your portrait, or your graphic. It makes your subject the undeniable star of the show.
- It Builds Brand Cohesion. When you use a consistent white background across your website, social media, and marketplaces like Amazon, you create a polished and professional look. Everything just feels clean, organized, and intentional.
- It Checks the Box for Marketplaces. Big retailers like Amazon and Walmart often have strict rules that your main product photos must have a pure white background. If you want your listings approved, this is non-negotiable.
The Growing Demand for Clean Visuals
The need for this skill is exploding. The global market for image background removers is already valued at around $500 million and is expected to rocket to nearly $1.8 billion by 2033. This huge jump is all thanks to the non-stop demand from e-commerce and digital marketing for those perfect, consistent visuals.
The real magic of a white background is its neutrality. It acts like a blank canvas that makes your product's colors pop, brings out the finer details, and makes the whole image feel more professional and trustworthy to a potential buyer.
Ultimately, knowing how to change a photo's background to white is a core skill for anyone making visual content today. It turns so-so shots into assets that actually drive engagement and sales. For anyone in e-commerce, digging into the world of AI product photography is a fantastic next step to really sharpen your brand's online presence.
Choosing the Right AI Tool for the Job
Let's be honest, not all AI background removers are built the same. You've probably seen it yourself—the difference between a crisp, clean cutout and a messy, amateur edit often comes down to the AI engine humming away behind the scenes. Picking the right one saves you from the soul-crushing task of manually fixing jagged edges or blurry bits.
It wasn't that long ago that this was painstaking work, something designers spent hours on in complex software for a single image. Today’s tools have completely flipped the script, cutting that time down to just a few seconds.
Key Features That Actually Matter
When you're comparing tools, it's easy to get lost in a sea of features. My advice? Focus on what directly impacts your final image quality and your own efficiency. A great tool should feel intuitive, almost like it knows what you need before you do.
Here’s what I consider non-negotiable:
- Automatic Edge Detection: This is the heart of the tool. The AI needs to be smart enough to identify the subject’s boundaries, especially around tricky areas like hair, fur, or fine fabrics, without chopping off the good stuff.
- Batch Processing: If you're editing more than a handful of photos, this is a lifesaver. It lets you upload an entire folder and strip the backgrounds all at once, which can literally save you hours of tedious clicking.
- High-Resolution Output: This one’s a big deal. A lot of free tools will secretly shrink your image when you export it, leaving you with a pixelated mess. Always, always check that the tool supports exporting at the original resolution.
The best tools strike a perfect balance between power and simplicity. You shouldn't need a graphic design degree to get a professional result. The goal is to find software that handles the heavy lifting but still gives you the final say.
Comparing AI Background Remover Features
To make things clearer, here’s a breakdown of what separates the good from the great in modern AI background removal tools.
| Feature | What to Look For | Why It Matters |
|---|---|---|
| Edge Refinement | Manual touch-up brushes (erase/restore), feathering options, and AI-powered halo removal. | Even the best AI makes mistakes. Having fine-tuning controls lets you perfect tricky edges around hair or transparent objects. |
| Output Formats | Support for PNG (for transparency), JPG, and ideally WebP for web optimization. | The right format ensures your image works for its intended purpose, whether it's for print, a website, or an e-commerce platform. |
| Integration/API Access | Can it connect with other apps like Photoshop, Figma, or e-commerce platforms? | For high-volume workflows, an API or plugin can automate the entire process, saving an incredible amount of time. |
| Color Handling | The ability to add solid color backgrounds (especially white or custom hex codes). | This is essential for creating clean, consistent product shots for marketplaces like Amazon or Shopify. |
Ultimately, a tool's value comes down to how well it fits into your workflow. Look for one that not only removes backgrounds cleanly but also speeds up your process from start to finish.
If you want to dig deeper, exploring guides on the best AI image generators can be super helpful, as they often review features that are crucial for precise image editing. And for those who need to create visuals from scratch, having a powerful AI image generator in your back pocket is always a good move.
Your Workflow for a Perfect White Background
Alright, let's get into the fun part—actually seeing the magic happen. Changing a photo background to white with a good AI tool is surprisingly straightforward. It’s less about tedious, pixel-by-pixel editing and more about a quick three-step flow: upload, process, and finalize.
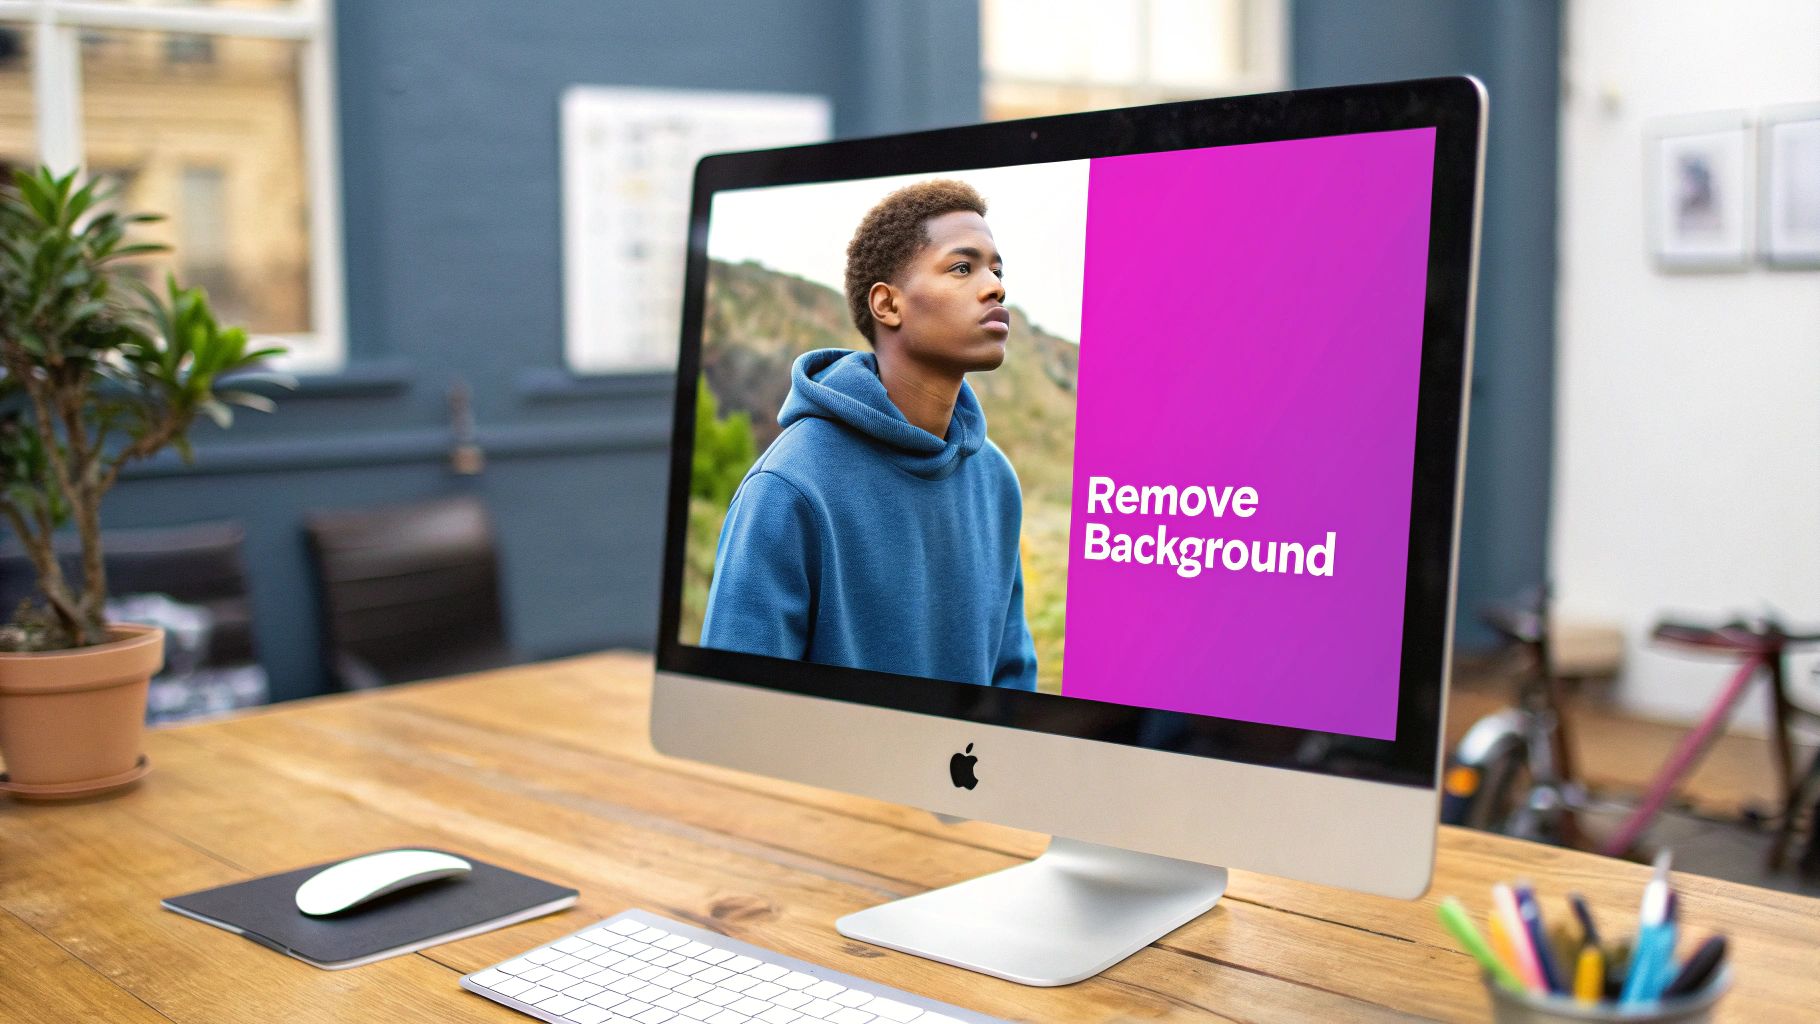
Think of it like this: you have a great shot of a product, say a handbag with tricky shadows, or a portrait where flyaway hair is causing chaos. Your only job is to get that image into the tool. No manual tracing, no finicky selection tools. Just upload the file. The AI immediately gets to work, analyzing every pixel to figure out exactly what your subject is and where the background begins.
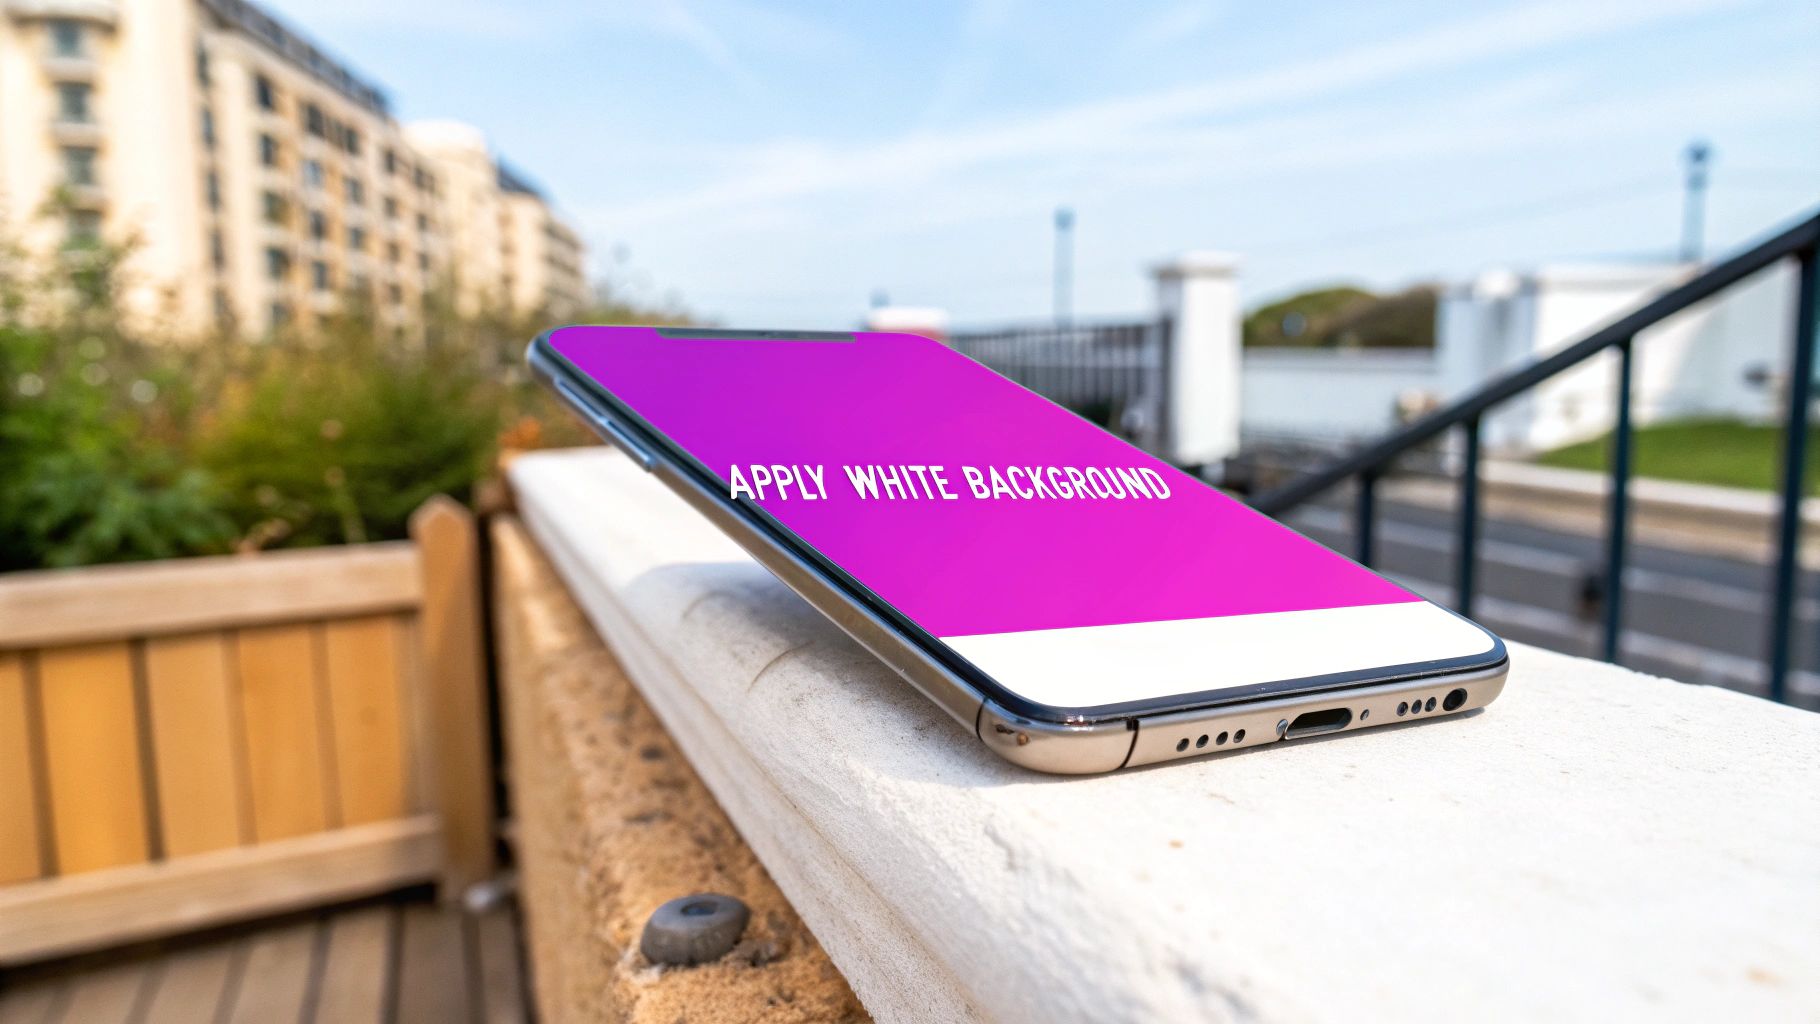
In just a few seconds, the old background is gone, leaving you with a perfectly clean cutout. From here, you’re usually just one click away from the finish line. You’ll find a color fill option, select pure white (that's #FFFFFF for those who speak in hex codes), and apply it. Instantly, your image gets that crisp, professional look you see on major e-commerce sites.
The Core Process Visualized
To give you a better idea of what’s happening behind the scenes, this visual breaks down how the AI isolates your subject before you even think about adding that white background.
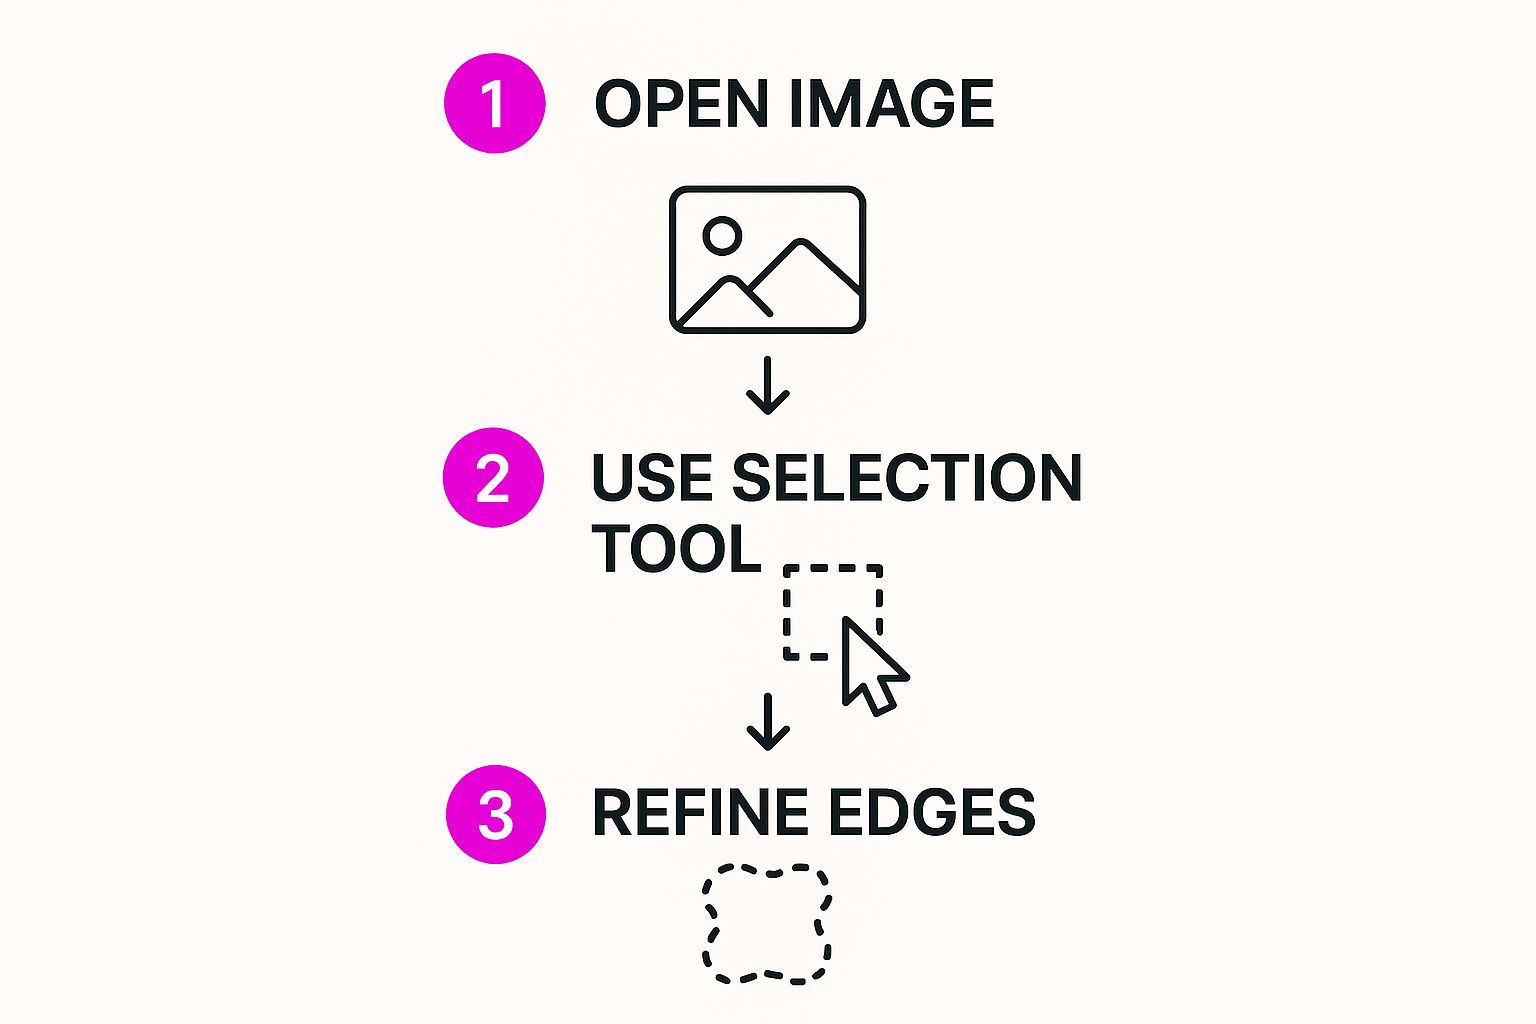
As you can see, modern tools are smart. They intelligently select the subject and refine the edges, which is the really hard part. Getting that right is what makes the final background swap look seamless instead of sloppy.
Optimizing Your Editing Time
This whole process is a massive time-saver, especially if you’re dealing with a batch of images. If you're processing photos regularly, getting the hang of automating repetitive tasks can completely change your workflow.
The goal is to get into a rhythm where you can fly through images with almost zero friction. This turns what used to be a mind-numbing task into something you can knock out in minutes, freeing you up to focus on the more creative or strategic parts of your work.
Let the technology do the heavy lifting. While we'll get into manual touch-ups for those rare tricky images, this core process handles 90% of the work automatically. Just stick to this simple upload-and-click method, and you'll be cranking out high-quality images with perfect white backgrounds every time.
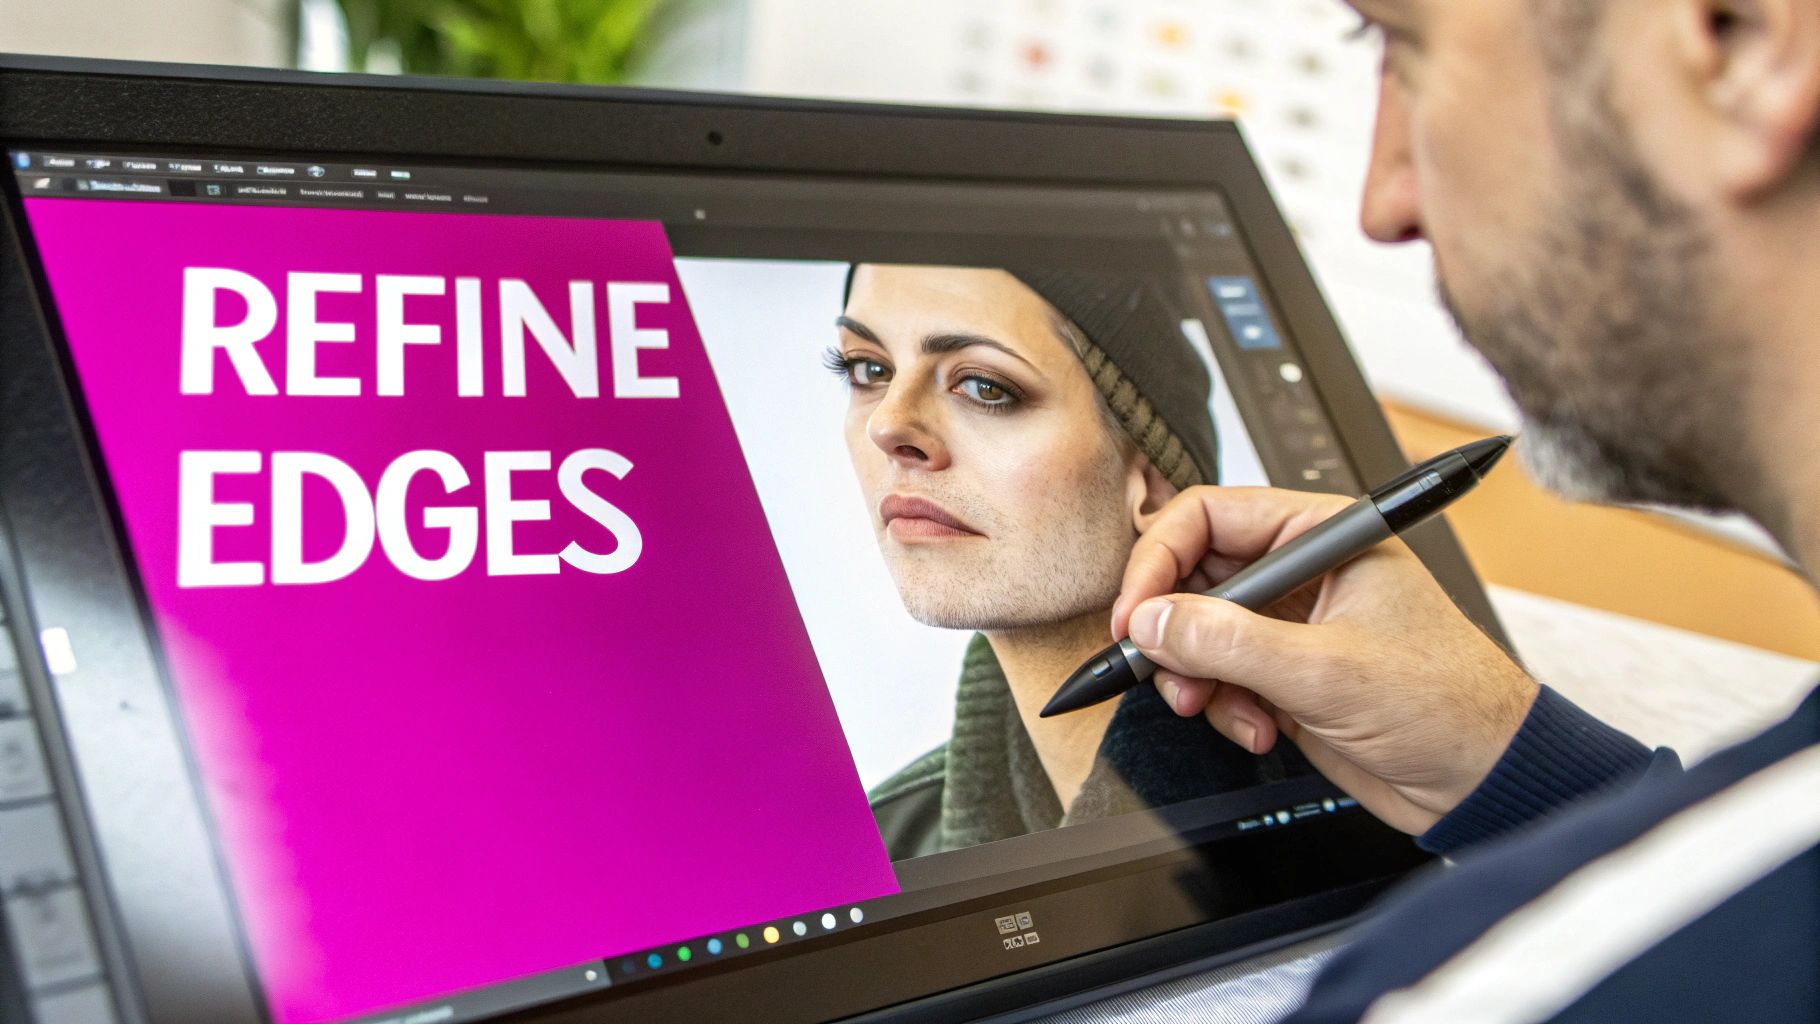
Refining Edges for a Truly Professional Look
An AI tool can get you 90% of the way to a perfect cutout in seconds. But that last 10%? That's where the real magic happens. It’s what separates a decent, obviously-edited image from something that looks genuinely professional.
This final touch-up is absolutely critical when you're swapping a busy background for a clean white one. Why? Because any little imperfection—a stray halo, a jagged edge—screams out against a crisp, solid backdrop.
The biggest challenge always comes down to tricky textures. Think about the fuzzy edges of a knit sweater, wispy flyaway hairs, or the transparent edge of a wine glass. AI is smart, no doubt, but these are the spots where it can sometimes struggle, leaving behind subtle but noticeable flaws.
This is where a little human intervention turns a good result into a great one. You're transforming a picture that looks "edited" into one that looks like it was shot in a high-end studio from the start.
Mastering the Final Touches
Don't worry, you don't need to be a Photoshop wizard to nail this. Most modern photo editors, including the AI-powered ones, have built-in tools that are simple but incredibly effective for this exact task. It’s all about knowing what you’re looking for and applying a gentle touch.
For the most part, you’ll be reaching for two main tools:
- The Refine Edge Brush: This is your best friend for tricky spots. You just paint over a problem area—like hair or fuzzy fabric—and it tells the AI to take another, more detailed look. It’s perfect for restoring fine details that got lost or softening an edge that looks too sharp.
- Feathering or Softening: This is usually a simple slider. By adding a tiny bit of feathering, just a pixel or two, you can slightly blur the very edge of your cutout. This creates a much more natural transition between your subject and its new white background, eliminating that "cut-out" look.
The real secret here is subtlety. You aren't making massive changes. You're applying tiny, almost invisible tweaks that trick the eye into seeing a perfect, seamless image. When it comes to edge refinement, less is almost always more.
For instance, if a product's edge seems too harsh and digital, a touch of feathering will blend it in beautifully. If a portrait has hair that looks like it was cut out with scissors, the refine edge brush will bring back those delicate, realistic strands. These small adjustments make a world of difference and elevate the final image from amateur to pro.
Getting Your Final Image Out the Door
You've put in the work—uploading, editing, and refining your image until it’s perfect. Don't stumble at the final hurdle: saving and exporting. This last step is what locks in the quality, determining how crisp your image looks and how fast it loads for your customers.
Your first big decision is the file format. For almost any e-commerce platform or website, a high-quality JPG is your best bet. It hits that sweet spot between sharp detail and a small file size, which is exactly what you need to keep your product pages zipping along.
The only time you'd really reach for a PNG is if you need a transparent background. Since we’ve created a solid white one, sticking with JPG is the smart move. It’ll save you from dealing with chunky files that slow down your site.
Nailing the Export Settings
When you’re ready to save, you'll see a few options pop up for quality and compression. Don't just click "save" on the default settings—a little tweaking here goes a long way.
- Quality: I always aim for a setting between 80% and 90%. In my experience, this range keeps all the important visual details looking great without making the file massive.
- Resolution: Stick to web-friendly resolutions. A width somewhere between 1500 to 2500 pixels is the sweet spot for product images. It's plenty of detail for zoom features without being overkill.
Getting these settings right turns your image from just a picture into a real asset. A crisp, fast-loading photo keeps shoppers engaged and makes your whole site feel more professional.
If you find yourself doing this for dozens of photos, you can automate the whole thing. Using a bulk image resizer can be a massive time-saver, letting you apply your favorite export settings to an entire batch of images in one go. Consistency and efficiency—you can't beat it.
Common Questions About Changing Backgrounds
Even with tools that make background removal feel like magic, a few questions always pop up when you're swapping a busy scene for a clean white slate. Let's run through the most common ones I hear.
Can I Do This on My Phone
You bet. Many of the best AI background removers are available as surprisingly powerful mobile apps, and plenty work right inside your phone's web browser. The process is exactly the same: upload your shot, let the AI do its thing, and pick white as the new background.
These are perfect for editing on the move, whether you're prepping a quick social media post or updating a product photo for your online store from a coffee shop. You definitely don't need a clunky desktop setup for pro results anymore.
Does AI Lower My Image Quality
This is a really common and totally valid concern. Any reputable AI editor is designed to keep the quality of your main subject intact. Where you might see a difference, however, is in the export settings.
Always hunt for an option to download in ‘high resolution’ or ‘original size.’ Keep in mind, some free versions might cap your output quality, so grabbing a paid plan is often worth it if crisp, high-res images are a non-negotiable for your work.
The whole point is to isolate your subject cleanly, not to degrade its quality. A good tool respects every pixel of your original photo.
What Is the Best File Format
For just about any online use case—e-commerce product pages, blog posts, social media—a JPG (or JPEG) is your best friend. It hits that perfect sweet spot between great image quality and a small file size, which is a huge deal for keeping your website loading fast.
The only time you'd really need a PNG is if you wanted to keep the background transparent. Since our goal here is a crisp white background, JPG is the most efficient and universally supported format for the job.
Ready to create stunning, professional-quality images in seconds? With Bulk Image Generation, you can remove backgrounds, resize, and enhance entire batches of photos at once. Try our powerful AI tools for free and see how easy it is to elevate your visuals at https://bulkimagegeneration.com.