
Add Your Face to Photos with AI Artistry

Aarav Mehta • September 9, 2025
Discover how to add your face to photos using powerful AI tools. Our guide offers practical tips for creating seamless, realistic images in just a few clicks.
Ever wondered how you could realistically drop your face into a movie poster or an old historical portrait? It used to be a clumsy cut-and-paste job, but modern AI tools have completely changed the game. They use some seriously smart algorithms to blend your face into any image with a realism that's almost startling.
So, How Does This AI Wizardry Actually Work?
The idea of a digital face swap isn't new, but the tech behind it is on another level now. Before, you needed some serious Photoshop skills, and even then, the results often looked awkward, with mismatched lighting and obvious edits. Today, generative AI does all the heavy lifting for you.
These intelligent systems don't just crop and paste. They analyze the key elements of both your photo and the target image, interpreting and adapting to create a seamless merge.
- Lighting and Shadows: The AI matches the direction, intensity, and color of the light in the target photo, casting realistic shadows and highlights across your face.
- Texture and Grain: It mimics the original image's texture. So, whether it's a grainy old photograph or a crisp, high-def shot, your face won't look out of place.
- Facial Structure: The more advanced models even understand 3D facial geometry, adjusting your features to fit the angle and perspective of the new scene naturally.
Why Is Everyone Talking About This?
The accessibility of these tools is fueling a massive surge in their use, for everything from professional projects to just having a bit of fun. This isn't just a niche trend; it's part of a much bigger picture. The global facial recognition market is expected to hit around USD 8.5 billion in 2025 and is projected to climb to USD 14.55 billion by 2031. That explosion shows just how deeply facial analysis is being integrated into modern tech.
This shift means that anyone, regardless of their technical skill, can now create high-quality, believable images. You can craft hilarious memes, design a unique digital avatar, or even see what you'd look like with a new hairstyle without ever opening complex software.
If you're looking to get a real handle on digital imagery and its impact, diving into a comprehensive guide to visual content creation can give you some great foundational insights. It breaks down the technology in a straightforward way, showing you the incredible creative freedom now at your fingertips.
How to Prepare Your Photos for a Perfect AI Blend
The secret to a jaw-droppingly good result isn't just about the AI—it's about the photos you feed it. When you're adding your face to a picture, think of it like this: garbage in, garbage out. The quality of your starting images directly shapes how believable the final edit will look.
It’s pretty simple, really. A crisp, well-lit portrait of your face is always going to crush a blurry, shadowy selfie you snapped in a dark room. The AI needs clean data to map your facial features, understand the structure of your face, and get the skin tone just right. That means high-resolution photos without any heavy filters or wild effects are your best friends here. You want to give the AI the purest, most direct look at your face possible.
And this isn't just about your portrait. The same rule applies to the target photo—the scene you’re dropping your face into. A pixelated, low-quality background will always lead to a messy, unconvincing final image, no matter how perfect your face photo is.
Matching the Vibe Is Everything
Beyond just the resolution, the two things that will make or break your image are the lighting and the camera angle. An AI is smart, but it's not a miracle worker. If you give it two photos with completely different lighting and perspectives, it’s going to struggle to bridge that gap. Mismatched lighting is the #1 dead giveaway of a fake photo.
Before you start, take a second to check for these things:
- Lighting Direction: If the light in your target photo is coming from the left, your face should also be lit from the left.
- Light Quality: Is the light harsh and direct, making sharp shadows? Or is it soft and diffused, like on a cloudy day? Try to match it.
- Camera Angle: A photo of you taken from below will look totally bizarre if you drop it into a scene shot from above. Get the angles as close as you can.
Choosing the right photos from the start is the most important step for getting results that look real. This quick checklist will help you pick the best images for the job.
| Essential Photo Quality Checklist | | :--- | :--- | :--- | | Quality Factor | What to Look For (Source Face Photo) | What to Look For (Target Photo) | | Resolution | High-resolution, clear, and in-focus. No pixelation. | High-resolution and sharp. Avoid blurry backgrounds. | | Lighting | Evenly lit, no harsh shadows or extreme backlighting. | Consistent lighting that matches your source photo's direction. | | Angle | A straightforward shot (front-facing or slight angle). | A scene where the camera angle aligns with your face photo. | | Obstructions | Face is fully visible. No sunglasses, hats, or hair covering features. | The area where the face will go is clear and unobstructed. | | Filters/Effects | Natural and unfiltered. Avoid heavy editing or creative filters. | Natural color and lighting. Avoid stylized or heavily graded images. |
By keeping these factors in mind, you're giving the AI all the right ingredients to create a seamless and believable final image.
My go-to trick is to just take a few new photos specifically for the project. I'll stand near a window and turn my head a few times to catch the light from different angles. It takes two minutes and dramatically improves the final result every single time.
For example, trying to stick a selfie from a bright, sunny day into a moody, dimly lit room is just asking for a weird, pasted-on look. Instead, find a picture of your face taken in similarly soft, indoor light. Getting that harmony right between the two images is what truly sells the illusion.
Your Guide to Adding a Face With AI Tools
Alright, let's get to the fun part: actually putting your face onto another photo. Think of this less like a technical checklist and more like a creative project. We're going to walk through the flow, get a feel for how these tools work, and learn how to get the best results.
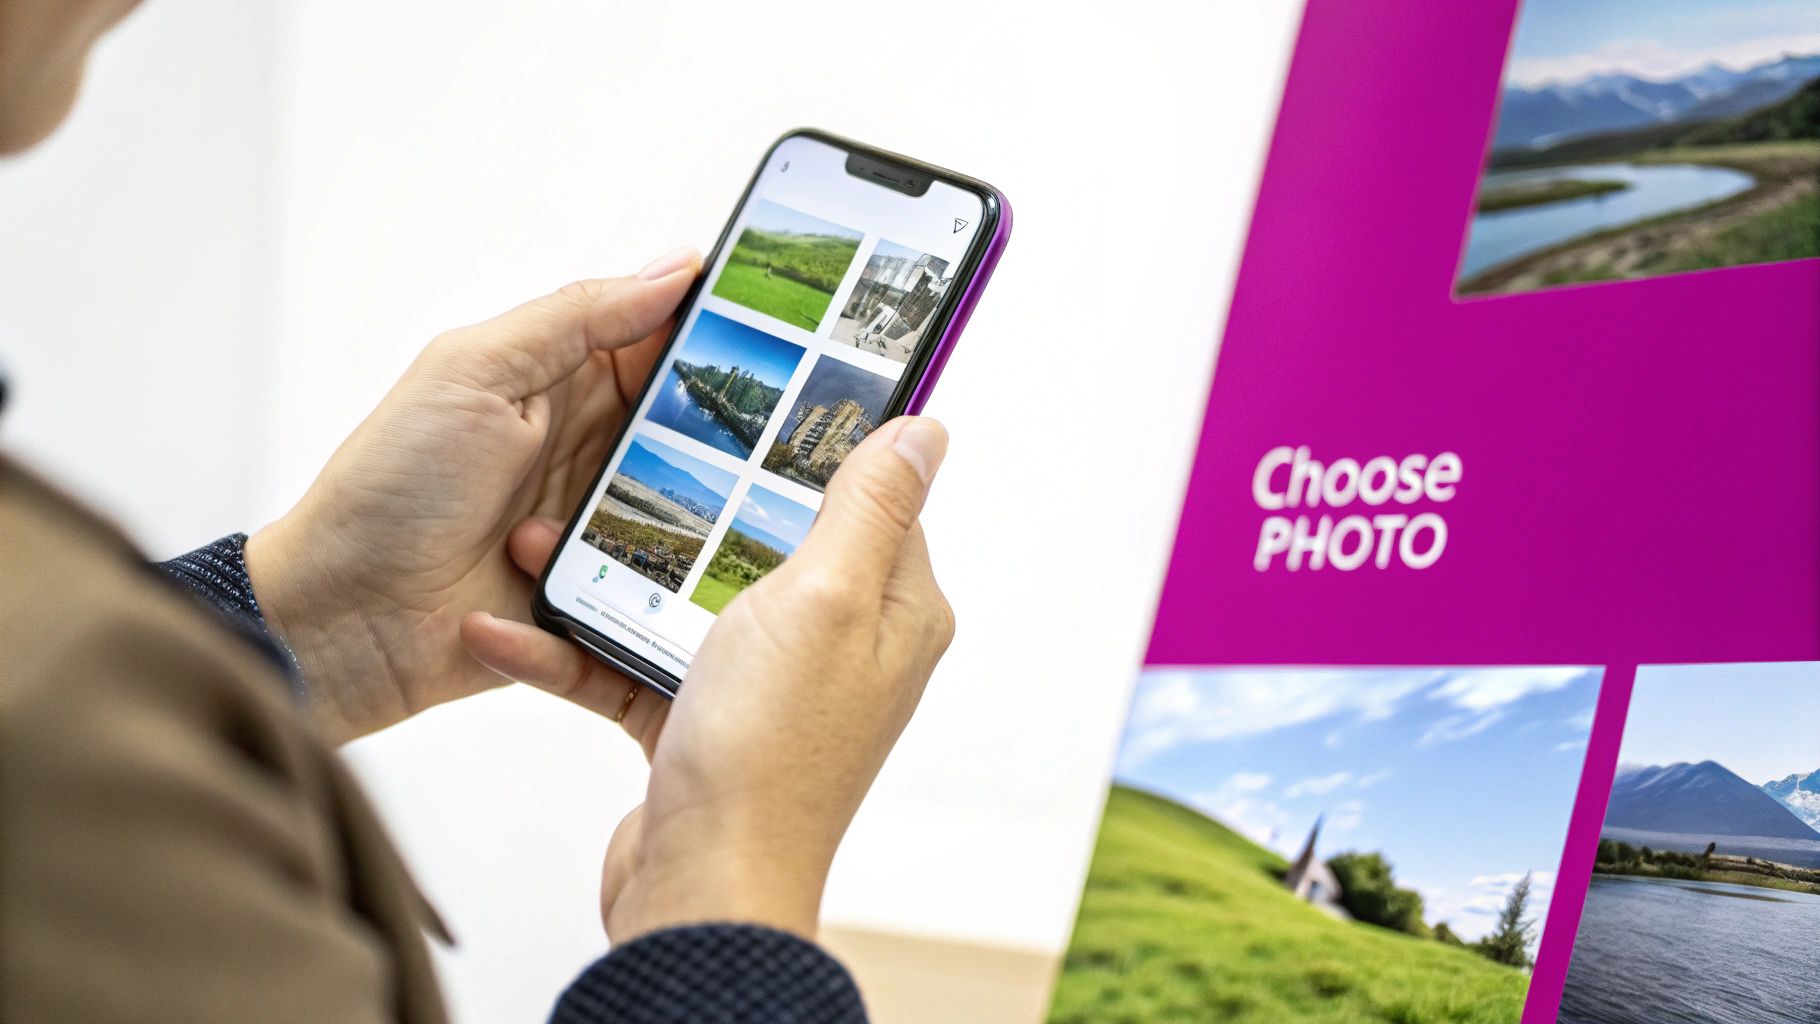
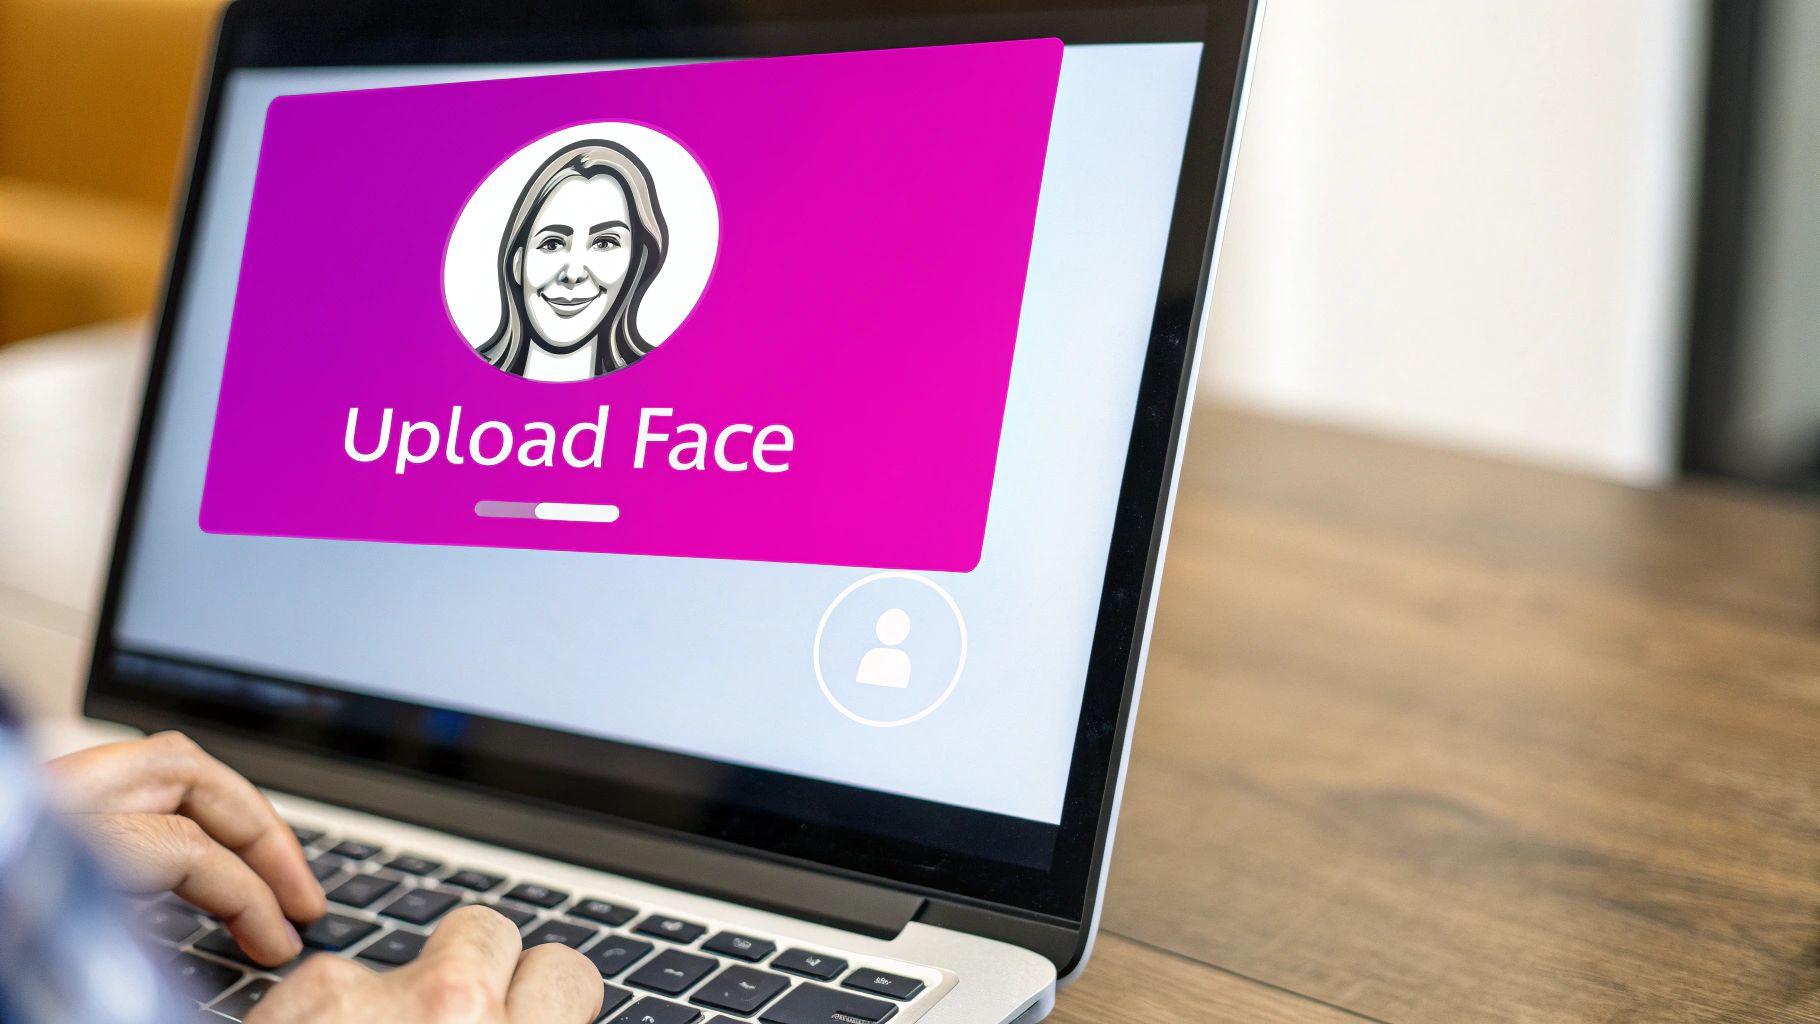
First things first, you need to give the AI your source image—a picture of your face. My advice? Choose a clear, forward-facing photo where you’re well-lit and nothing’s blocking your features. You're essentially giving the AI a clean blueprint to work from. A blurry photo from a dimly lit room just isn't going to give you the sharp results you want.
Next up is the target image. This is the scene, the character, or the photo you want to drop your face into. The AI gets to work analyzing everything from the lighting direction and textures to the angle of the original face (if there is one). This is where the real magic happens, as the system figures out how to blend your features into a totally new context.
Getting Around the AI Interface
Most of these AI tools are designed to be pretty intuitive. You’ll almost always see two main upload boxes, one for your "source face" and another for the "target image." It’s designed to be simple.
Here’s a quick visual of what that process usually looks like, from picking your photos to the final download.
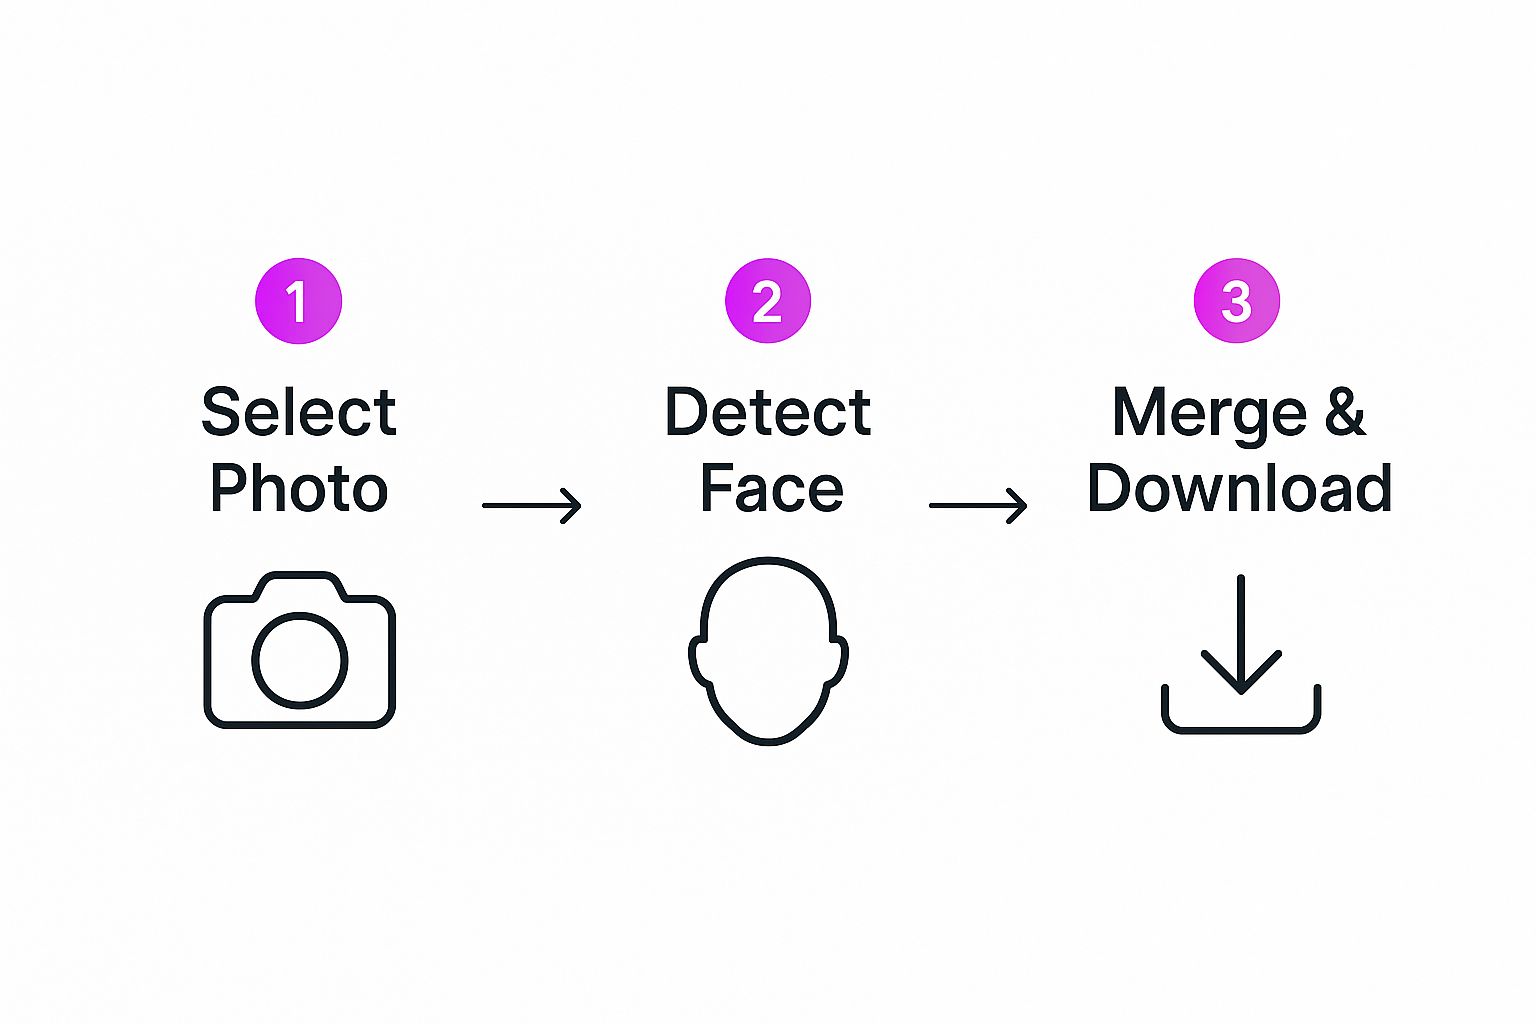
As you can see, the core journey is straightforward. It’s all about getting you from an idea to a finished image quickly, no deep technical skills required. Our own https://bulkimagegeneration.com/tools/image-generator follows a very similar, user-friendly path.
Kicking Off Your First Generation
Once your photos are in, it's time to generate. The AI will now meticulously blend your facial data into the target scene.
Don't sweat it if the first attempt isn't perfect. I often find the initial image is a great starting point that just needs a little refinement. Think of it as a first draft, not the final masterpiece.
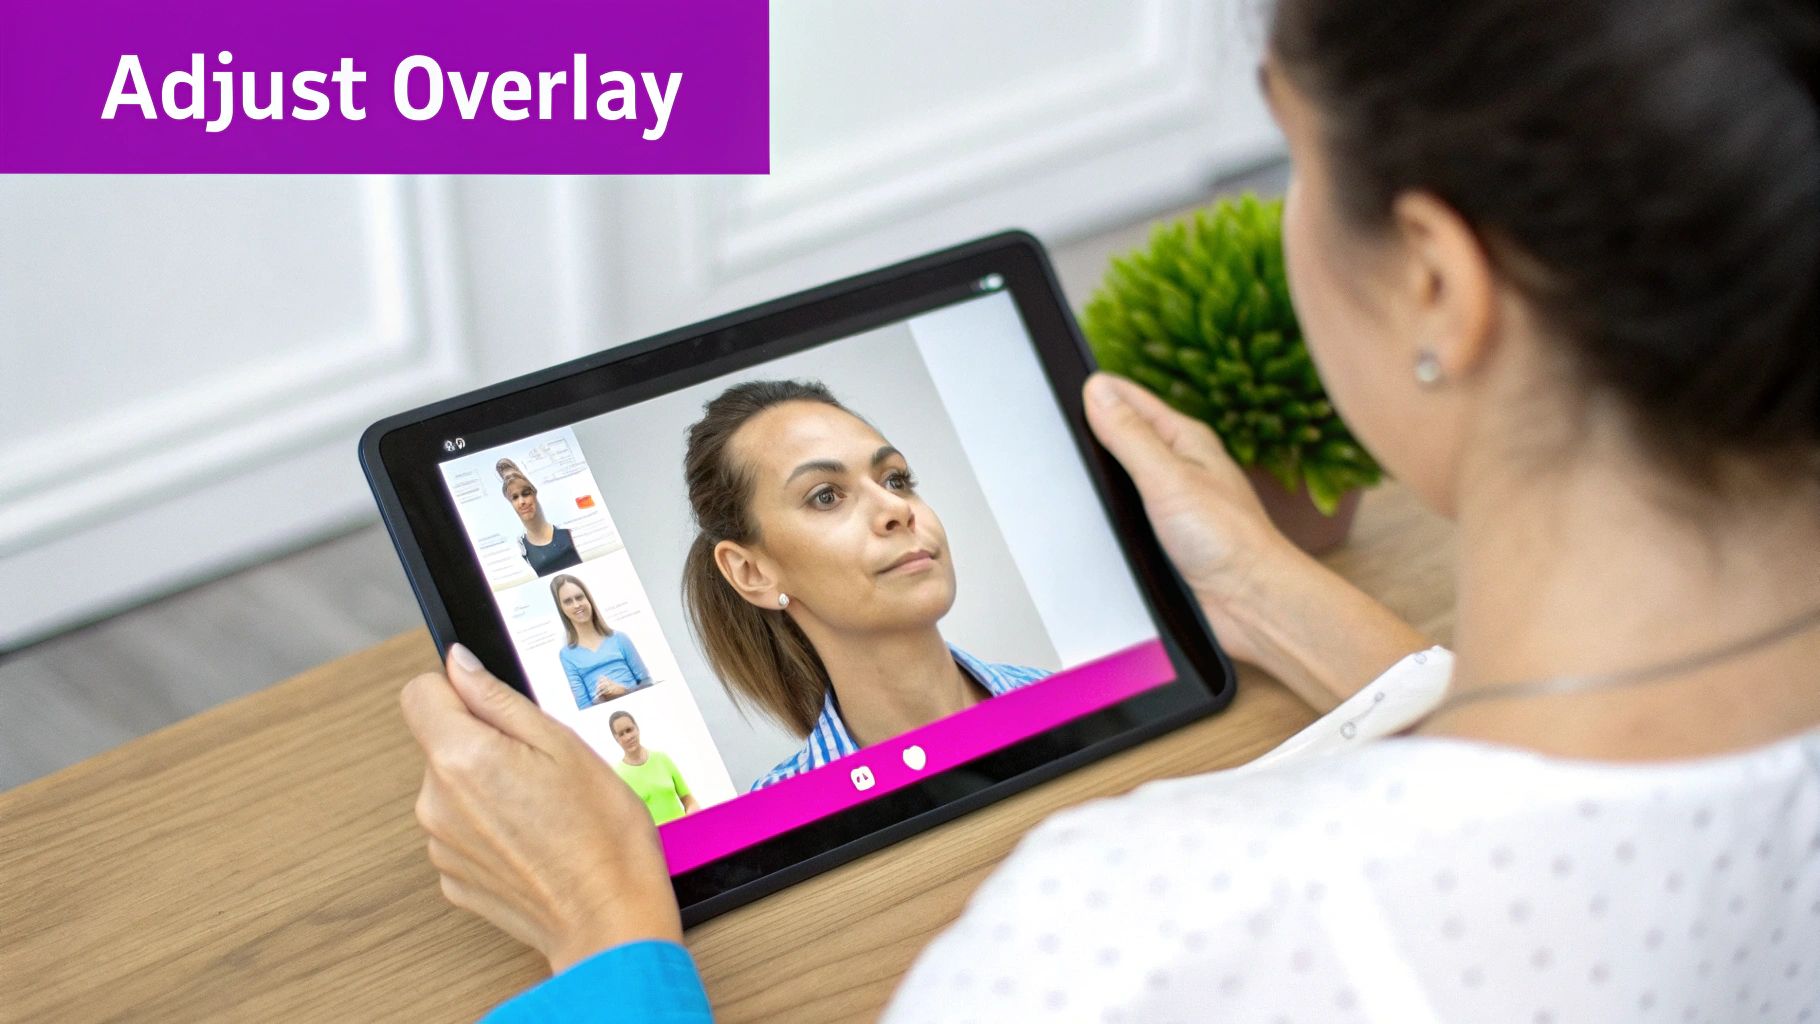
The screenshot below gives you an idea of what a typical interface looks like after you've generated an image.
Notice the options for tweaking the settings? You can almost always regenerate the image to get a better blend. While we're focused on this one task, it's worth taking some time to discover other powerful AI tools for content creators that can handle other parts of your creative workflow. The more you know about what's out there, the easier it becomes to get incredible results on your very first try.
Refining Your AI Image for a Flawless Finish
Getting that first AI-generated image is a great starting point, but the real magic happens during the refinement stage. This is where you go from a pretty good result to something genuinely believable—where you truly add your face to a photo, not just paste it on top. It’s all about those small adjustments that make a massive difference.
Most AI tools have advanced settings that give you serious control over the final blend. You’ll want to hunt down sliders or options labeled with terms like "face similarity" or "blending intensity." These are your best friends for dialing in the perfect look.
Mastering the Fine-Tuning Controls
A common hiccup is a slight mismatch in skin tone or a weird-looking edge where your face meets the new hairline. Don't scrap it and start over just yet. A tiny tweak to the blending intensity can often fix this right up. Nudging it up just a bit helps the AI feather the edges, creating a much smoother, more natural transition.
On the flip side, if the AI has taken too many creative liberties with your facial features, you can dial back the "face similarity" or fidelity setting. This usually helps restore a more accurate likeness of you. It’s a bit of a balancing act.
Here’s how I approach common problems:
- Skin Tone Mismatch: Play with the color balance or blending sliders. Just a tiny shift can be the difference between a natural look and something that screams "pasted on."
- Blurry Edges: If there’s a sharpness or detail enhancement setting, try bumping that up. It can help crisp up the transition areas.
- Feature Accuracy: If the result doesn't quite look like you, rein in the AI's "creative freedom" by increasing the "face similarity" setting.
I have one simple rule I stick to: make one adjustment at a time. Change a single setting, hit regenerate, and then compare it to the last version. This is the only way to really learn what each slider does without getting lost in a sea of changes.
Knowing when to tweak versus when to start fresh is a skill you'll develop over time. If the core lighting or the angle of the head is just fundamentally wrong, no amount of fine-tuning is going to save it. In those cases, you're better off finding a new source or target photo.
But for all those minor imperfections, these refinement tools are priceless. They give you the control needed to perfect your image, much like the detailed approach used for creating stunning digital product images with AI. This is how you nail that flawless finish.
So, What Can You Actually Do With This?
Alright, now that you know how to add your face to pretty much any photo, where do you start? The fun part is figuring out all the wild, creative things you can make. Think about it: you could design a gaming avatar that actually looks like you for once, or create ridiculously funny, personalized greeting cards that your friends will never forget.
Ever wanted to see how you'd look with a totally different hairstyle before taking the plunge? Now you can. Or maybe you just need a fresh batch of unique, share-worthy content for your social media feed. You can knock that out in minutes.
But it’s not all just for laughs. This tech has some seriously practical uses, too. Aspiring actors can whip up mock promotional posters to build their portfolio. Small business owners can generate a whole set of professional, consistent headshots for their entire team without the high cost of a photoshoot. It’s an incredible tool for visual storytelling. For more ideas on using AI for your business, check out our guide on AI product photography.
A Quick Word on Using These Tools Responsibly
With all this creative power comes the need to be smart and ethical about how you use it. The golden rule is simple: consent is everything. Never, ever use someone else’s face without getting their clear permission first. It's on you to avoid creating misleading "deepfakes" or any content that could be used to harass, bully, or misrepresent someone.
As AI tools become a bigger part of our daily lives, using them responsibly is more important than ever. The industry is pushing hard to tackle privacy issues with tech that improves both accuracy and data security, especially in fields like finance where identity verification is a huge deal. You can get a sense of the bigger picture by reading up on these facial recognition market trends.
At the end of the day, your goal should be to create, entertain, and express yourself in a positive way. When you respect others and use these tools responsibly, you can unlock your creativity while being a force for good online.
Common Questions About AI Face Editing
When you first start dropping your face into photos with AI, a few questions almost always come up. I've been there. Getting a handle on these early on can be the difference between a frustrating afternoon and a seriously impressive result.
How Many Pictures of My Face Do I Need?
This is probably the number one question I get. While you can get away with a single, high-quality picture, I've found that using 3-5 photos gives the AI a much better chance to learn your facial structure.
Think of it this way: providing shots from slightly different angles and in varied lighting helps the AI build a more complete 3D model of your face. The result? Much more consistent and believable swaps across all kinds of different target images.
Why Do Some of My Swaps Look Blurry or Warped?
Seeing a distorted or blurry final image is another common hurdle. Nine times out of ten, this comes down to a mismatch between your source photo and the target scene you're dropping it into. For example, if your selfie is a crystal-clear, high-resolution shot but the target image is old and low-quality, the AI will struggle to blend them together naturally.
The key takeaway here is consistency. Try to make sure both images share similar quality, lighting direction, and camera angles. A front-facing portrait is never going to look right when you try to force it onto a side-profile shot—that's a classic recipe for distortion.
Is It Okay to Use Any Image I Find Online?
Finally, people often wonder about the legality of using images they pull from the internet. It really breaks down into two scenarios:
- For personal use, like making a funny meme for your social media, you're generally in the clear.
- For commercial purposes, using copyrighted images without permission is a serious no-go. You're opening yourself up to legal risks.
My advice is to always play it safe. Stick to royalty-free stock photo sites or, even better, use your own pictures.
Ready to create stunning, professional images in seconds? Try Bulk Image Generation and see how easy it is to bring your creative visions to life. Get started today.